6、spring-mybatis整合
spring-mybatis整合
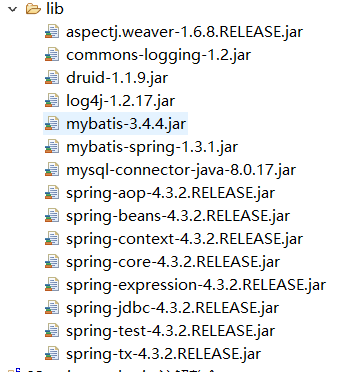
准备工作,架包
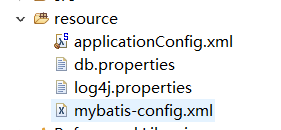
创建一个虚拟目录放配置文件

开始配置spring的配置(applicationConfig.xml)
引入aop,context,tx的约束
<beans xmlns="http://www.springframework.org/schema/beans"
	xmlns:xsi="http://www.w3.org/2001/XMLSchema-instance"
	xmlns:aop="http://www.springframework.org/schema/aop"
	xmlns:context="http://www.springframework.org/schema/context"
	xmlns:jdbc="http://www.springframework.org/schema/jdbc"
	xmlns:tx="http://www.springframework.org/schema/tx"
	xsi:schemaLocation="http://www.springframework.org/schema/jdbc http://www.springframework.org/schema/jdbc/spring-jdbc-4.3.xsd
		http://www.springframework.org/schema/beans http://www.springframework.org/schema/beans/spring-beans.xsd
		http://www.springframework.org/schema/context http://www.springframework.org/schema/context/spring-context-4.3.xsd
		http://www.springframework.org/schema/aop http://www.springframework.org/schema/aop/spring-aop-4.3.xsd
		http://www.springframework.org/schema/tx http://www.springframework.org/schema/tx/spring-tx-4.3.xsd">
spring的配置
 <!-- 配置包扫描 -->
    <context:component-scan base-package="cn.zj.ssm"/>

    <!-- 加载配置文件 -->
    <context:property-placeholder location="classpath:db.properties"/>
    <!-- 配置数据源 -->
    <bean id="dataSource" class="com.alibaba.druid.pool.DruidDataSource">
        <!-- 数据库四要素 -->
        <property name="driverClassName" value="${jdbc.driverClassName}"/>
        <property name="url" value="${jdbc.url}"/>
        <property name="username" value="${jdbc.username}"/>
        <property name="password" value="${jdbc.password}"/>
        <property name="maxActive" value="${jdbc.maxActive}"/>
    </bean>


<!-- 配置事务 -->
    <!-- 配置事务管理器 -->
    <bean id="transactionManager" class="org.springframework.jdbc.datasource.DataSourceTransactionManager">
        <!-- 需要数据源 -->
       <property name="dataSource" ref="dataSource"/>
    </bean>

    <!-- 配置通知 -->
    <tx:advice id="tx" transaction-manager="transactionManager">
        <tx:attributes>
            <!-- 配置拦截 -->
            <!-- DQL -->
            <tx:method name="select*" read-only="true"/>
            <!-- DML-->
            <tx:method name="*" read-only="false" isolation="DEFAULT" propagation="REQUIRED" timeout="-1"/>
        </tx:attributes>
    </tx:advice>
    <!-- 配置AOP切入事务到service层 -->
    <aop:config>
        <aop:advisor advice-ref="tx" pointcut="execution(* cn.zj.ssm..*.*(..))"/>
    </aop:config>
整合mybatis部分
引出问题,怎样将mybatis的SqlSessionFactory,SqlSession,和创建接口代理对象呢?
/*
	 * 没有注入UserMapper,UserMapper是一个接口,无法实例化
	 * 在mybatis中,
	 * 1.创建SqlSessionFactory对象
	 * 2.再创建SqlSession对象
	 * 3.通过getMapper(UserMapper.class)来创建代理对象
	 *
	 * ------------------------------------
	 * 解决方案:
	 *  	1.创建SqlSessionFactory对象
	 *  		将SqlSessionFactory对象交由spring容器来管理
	 *  		org.mybatis.spring.SqlSessionFactoryBean
	 * 		2.再创建SqlSession对象
	 * 			spring创建了sqlSessionFactory对象后会自动的创建SqlSession对象
	 * 		3.通过getMapper(UserMapper.class)来创建代理对象
	 * 			为接口创建代理对象(单个)
	 * 			org.mybatis.spring.mapper.MapperFactoryBean
	 * 			通过扫描包的形式创建代理对象
	 * 			org.mybatis.spring.mapper.MapperScannerConfigurer
	 *
	 *
	 */
配置整合部分:
<!-- 整合mybatis -->

    <!-- 配置mapper -->
    <!-- 解决无法创建mapper接口的代理对象 -->
    <!-- 创建sqlSessionFactory -->
    <bean id="sqlSessionFactory" class="org.mybatis.spring.SqlSessionFactoryBean">
        <!-- 注入数据源 -->
        <property name="dataSource" ref="dataSource"/>
        <!-- 配置映射文件  -->
        <property name="mapperLocations">
            <array>
               <!--  <value>classpath:/cn/zj/ssm/mapper/UserMapper.xml</value> -->
               <!-- 扫描全部的xml文件 -->
               <value>classpath:/cn/zj/ssm/mapper/*UserMapper.xml</value>
            </array>
        </property>
       <!-- 配置别名 -->
       <property name="typeAliasesPackage" value="cn.zj.ssm.pojo"/>
       <!-- 配置一些mybatis的细节,扫描mybatis的配置文件 -->
       <property name="configLocation" value="classpath:smybatis-config.xml"/>
    </bean>

    <!-- 配置userMapper的代理对象 -->
   <!--  <bean id="userMapper" class="org.mybatis.spring.mapper.MapperFactoryBean"> -->
    <bean  class="org.mybatis.spring.mapper.MapperScannerConfigurer">
        <!-- 注入工厂  -->
        <!-- <property name="sqlSessionFactory" ref="sqlSessionFactory"/> -->
        <!-- 注入映射的接口 -->
        <!-- 单个创建 -->
        <!-- <property name="mapperInterface" value="cn.zj.ssm.mapper.UserMapper"/> -->
        <!-- 扫描包的形式创建 -->
        <property name="basePackage" value="cn.zj.ssm.mapper" />
    </bean>
注解的配置
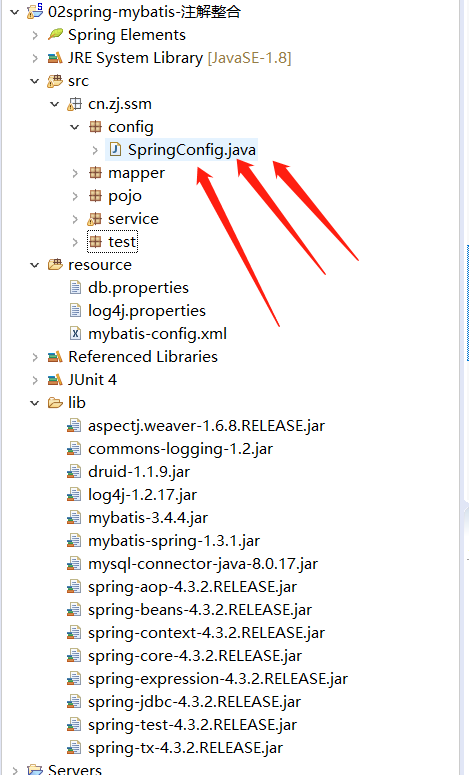
SpringConfig
@Configuration
@ComponentScan("cn.zj.ssm")//扫描包
@PropertySource("classpath:db.properties")//扫描配置文件
@EnableTransactionManagement//开启事务的注解
@MapperScan("cn.zj.ssm.mapper")//开启创建xxxmapper接口代理对象的注解
public class SpringConfig {
	@Value("${jdbc.driverClassName}")
	private String driverClassName;
	@Value("${jdbc.url}")
	private String url;
	@Value("${jdbc.username}")
	private String username;
	@Value("${jdbc.password}")
	private String password;
	@Value("${jdbc.maxActive}")
	private int maxAcrive;

	//配置数据库连接池
	@Bean
	public DataSource getDataSource() {
		DruidDataSource dataSource = new DruidDataSource();
		dataSource.setDriverClassName(this.driverClassName);
		dataSource.setUrl(this.url);
		dataSource.setUsername(this.username);
		dataSource.setPassword(this.password);
		dataSource.setMaxActive(this.maxAcrive);
		return dataSource;
	}

	//配置事务管理器
	@Bean
	public PlatformTransactionManager getTxManager() {
		DataSourceTransactionManager transactionManager = new DataSourceTransactionManager(getDataSource());
		return transactionManager;
	}

	//创建SqlSessionFactory
	@Bean
	public SqlSessionFactory getSqlSessionFactory() throws Exception {
		SqlSessionFactoryBean factoryBean = new SqlSessionFactoryBean();
		//配置数据源
		factoryBean.setDataSource(getDataSource());
		//配置别名
		factoryBean.setTypeAliasesPackage("cn.zj.ssm.pojo");
		return factoryBean.getObject();
	}
}

 浙公网安备 33010602011771号