
python 2.7 tesseract 验证码识别 使用dfs 实现降噪
环境安装:
安装pip工具
sudo easy_install pip
pip install PIL
ERROR: Could not find a version that satisfies the requirement PIL (from ver
Pip install PIL

解决

先 安装 Pillow
sudo pip install Pillow

4.安装tesseract-ocr
brew install tesseract
5.安装pytesseract库sudo pip install pytesseract

pip install cv2
出错
ERROR: Could not find a version that satisfies the requirement cv2 (from versions: none)
ERROR: No matching distribution found for cv2

pip install opencv-python
python 2.7 二维码识别 使用dfs 实现降噪
原理就是:
遍历二值化的图像 数组 的数据点,深度优先搜索 查找里面所有的点的连线,如果超过10个点的连接,认为是目标数据,否则将 连线剔除。以此来达到降噪的效果
#usr/bin/python
#coding:utf-8
import cv2
from queue import Queue
import os.path

# 自适应阀值二值化
def _get_dynamic_binary_image(img, img_name):
    im = cv2.imread(img)
    im = cv2.cvtColor(im,cv2.COLOR_BGR2GRAY) #灰值化
    # 二值化
    th1 = cv2.adaptiveThreshold(im, 255, cv2.ADAPTIVE_THRESH_GAUSSIAN_C, cv2.THRESH_BINARY, 21, 1)
    cv2.imwrite(img_name,th1)

    return th1


# 记录是否访问过
m = list()

def checkNearByP(x, y, h, w, img):
    # print x, y, h, w
    ret = set()
    if (x > 1):
        if img[x-1, y] < 100:
            ret.add((x-1, y))

    if (x < (h-1)):
        if img[x+1, y] < 100:
            ret.add((x+1, y))

    if (y > 1):
        if img[x, y - 1] < 100:
            ret.add((x, y - 1))

    if (y < (w -1)):
        if img[x, y + 1] < 100:
            ret.add((x, y + 1))

    return ret

# dfs
def search_dfs(img, x, y, img_name):
    h, w = img.shape[:2]
    # 记录 是否在 结果队列
    q = set()

    if img[x, y] < 1:
        q.add((x, y))
    else:
        return

    # pre_q 待访问队列
    pre_q = list()

    nearby_p = checkNearByP(x, y, h, w, img)

    for p in nearby_p:
        if p not in m:
            if p not in q:
                pre_q.append(p)

    while len(pre_q) > 0:
        p = pre_q.pop()

        # 标记访问过
        index = p[0] * w + p[1] - 1
        m[index] = 1

        # 放入结果队列
        q.add(p)

        nearby_p = checkNearByP(p[0], p[1], h, w, img)
        for tp in nearby_p:
            index = tp[0] * w + tp[1] - 1

            if m[index] != 1:
                if tp not in q:
                    if  tp not in pre_q:
                        pre_q.append(tp)

    if len(q) > 10:
        pass
    else:
        for p in q:
            img[p[0], p[1]] = 255

def getAdjoinPoint(img, img_name):
    h, w = img.shape[:2]

    global m
    m = []
    for x in range(1,h * w):
        m.append(0)

    for j in range(0, w):
        for i in range(0, h):
            index = i * w + j - 1
            if m[index] != 1:
                search_dfs(img, i, j, img_name)

    cv2.imwrite(img_name,img)
    return img

if __name__ == '__main__':
    from PIL import Image
    from pytesseract import *

    fname = "verifycode.png"

    img_data = _get_dynamic_binary_image(fname, fname)
    ret_data = getAdjoinPoint(img_data, fname)

    v_code = image_to_string(Image.open(fname), lang='eng', config='--psm 7 -c tessedit_char_whitelist=0123456789')
    print v_code
![]()
![]() 4629 识别率能达到80
4629 识别率能达到80
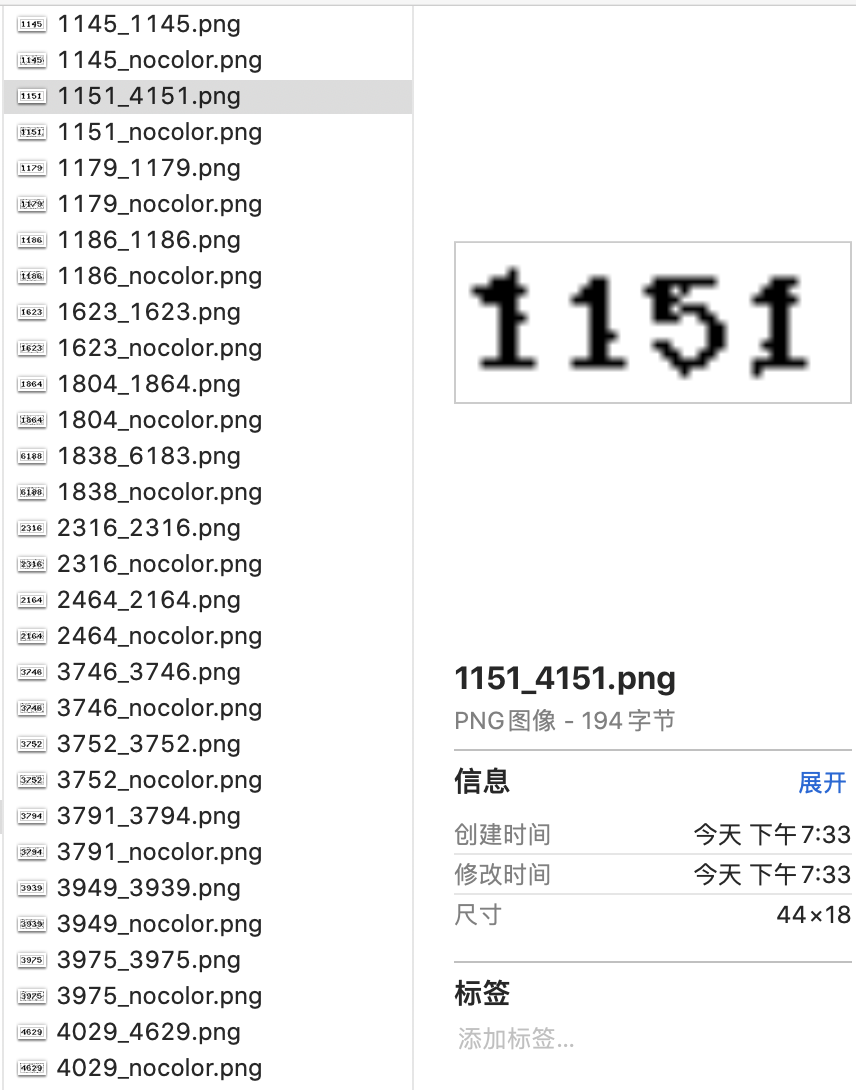
嗯哼 对比原图 我优化后的识别率 有了挺大提高

 浙公网安备 33010602011771号