flutter 效果实现 —— 构建镂空区域
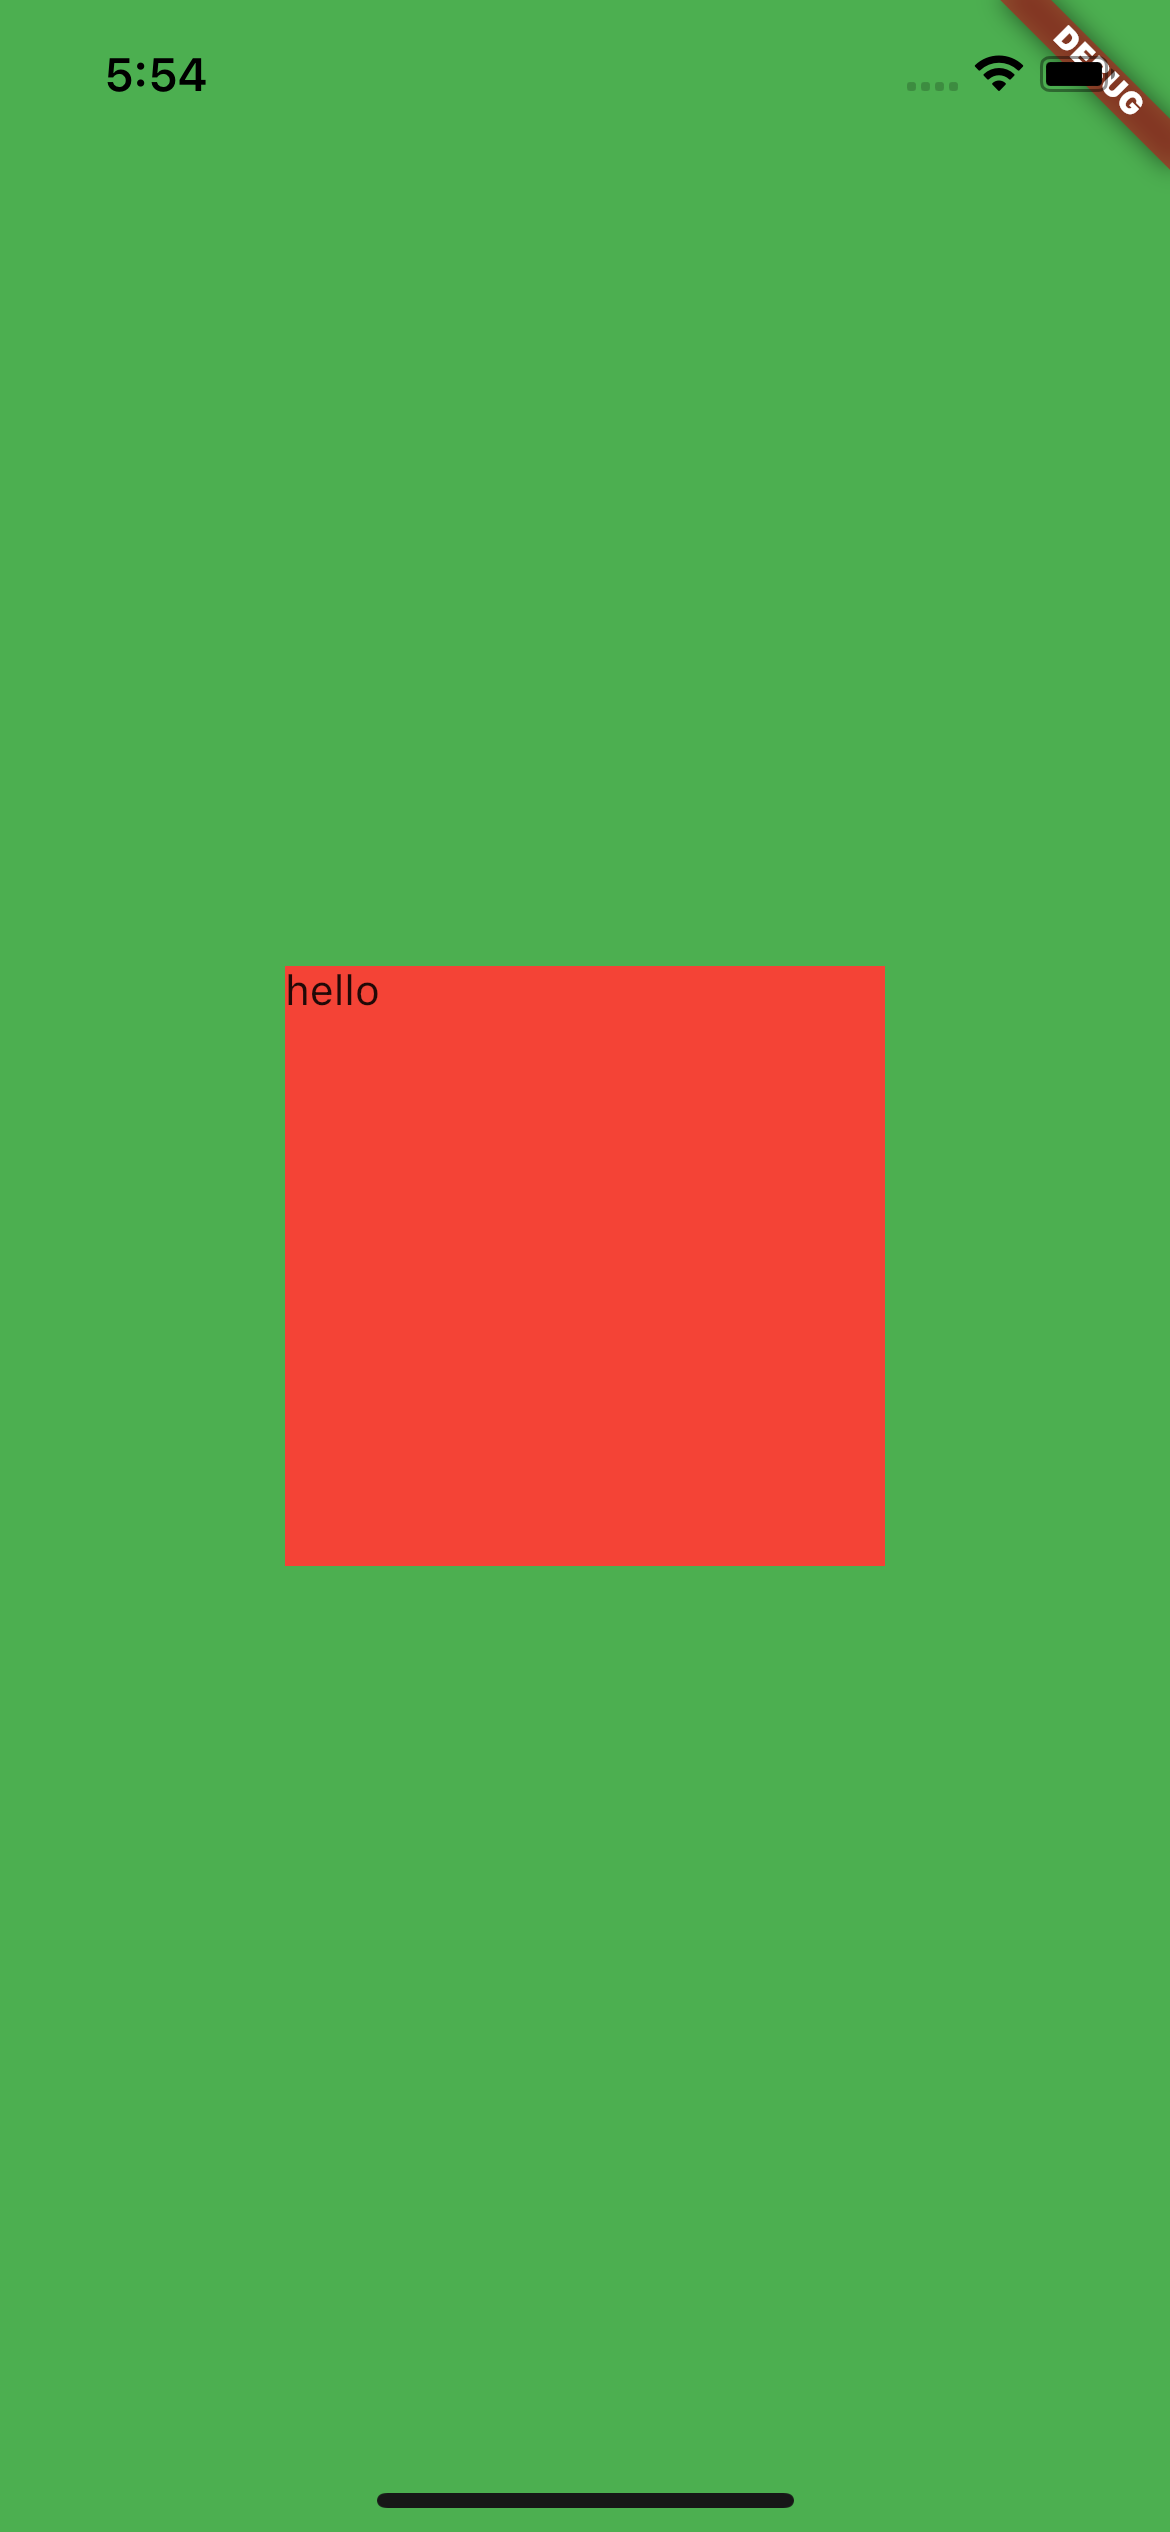
效果:
代码:
class HomePage extends StatelessWidget {
  const HomePage({Key? key}) : super(key: key);

  @override
  Widget build(BuildContext context) {
    return Scaffold(
      backgroundColor: Colors.transparent,
      body: Container(
        color: Colors.red,
        child: CustomBox(
          200,
          200,
          child: Text("hello"),
        ),
      ),
    );
  }
}

class CustomBox extends SingleChildRenderObjectWidget {
  const CustomBox(this.cutWidth, this.cutHeight, {super.child, super.key});

  final double cutWidth;
  final double cutHeight;

  @override
  RenderObject createRenderObject(BuildContext context) {
    return _RenderCustomBox(cutWidth: cutWidth, cutHeight: cutHeight);
  }

  @override
  void updateRenderObject(BuildContext context, RenderObject renderObject) {
    (renderObject as _RenderCustomBox)
      ..cutWidth = cutWidth
      ..cutHeight = cutHeight;
  }
}

class _RenderCustomBox extends RenderProxyBoxWithHitTestBehavior {
  _RenderCustomBox({required double cutWidth, required double cutHeight})
      : _cutWidth = cutWidth,
        _cutHeight = cutHeight,
        super(behavior: HitTestBehavior.opaque);

  double get cutWidth => _cutWidth;
  double _cutWidth;

  set cutWidth(double value) {
    assert(value != null);
    if (value == _cutWidth) {
      return;
    }
    _cutWidth = value;
    markNeedsPaint();
  }

  double get cutHeight => _cutHeight;
  double _cutHeight;

  set cutHeight(double value) {
    assert(value != null);
    if (value == _cutHeight) {
      return;
    }
    _cutHeight = value;
    markNeedsPaint();
  }

  @override
  void performLayout() {
    super.performLayout();
    //size 为全屏
    size = constraints.biggest;
  }

  @override
  void paint(PaintingContext context, Offset offset) {
    final inner = Size(_cutWidth, _cutHeight);
    final innerOffset = Offset((size.width - _cutWidth) / 2, (size.height - _cutHeight) / 2);

    // 通过图层暂存 + 图形裁剪构建镂空区域
    // 传递 null 等价于 offset & size,暂存当前整个屏幕,在 restore 后对图形进程合成
    context.canvas.saveLayer(null, Paint());
    // 遮罩整个屏幕
    context.canvas.drawRect(offset & size, Paint()..color = Colors.green);
    // 构造镂空区域
    // blendMode: 之前绘制的为目标图像,当前绘制的为原图像。
    // dstOut: 作用是只展示目标图像,不渲染源图像,源图像仅用作蒙板(忽略颜色,只关注透明度, 透明度越接近于1则下方图层越透明)
    // dstIn: 只渲染目标图像与源图像重合的部分,不渲染源图,源图仅用作蒙板
    // dstOver: 源图放在目标图下面
    // dstATop: 将目标图像覆盖到源图像重合的部分,其余部分渲染源图
    // xor: 源图与目标图重合部分变透明,如果只有一方不透明,则显示那一方。
    context.canvas.drawRect(
        innerOffset & inner,
        Paint()
        ..color = Colors.yellow.withOpacity(1)
          ..style = PaintingStyle.fill
          ..blendMode = BlendMode.dstOut);
    // restore 时还原整个屏幕,restore 的层级位置与执行 saveLayer 时的层级一致。
    context.canvas.restore();

// 注:save 与 saveLayer 的区别:前者用于在 save 与 restore 之间可以对旧画布执行某些操作(缩放、转换、旋转等),而在 restore 之后的画布不受影响。(举例:在 save 后将当前画布进行缩放后画一个更大的图,再 restore 后重新对原画布旋转90度。)
// 后者用于在 saveLayer 之后创建新图层,之前的旧图层不受影响,且在 restore 之后再进行合成(新旧图层共同构建了一个合成图层,且新图层的层级比旧图层要高)。
// 总结:saveLayer 存在图层合成操作,而 save 没有。

    // 通过路径填充类型构建镂空区域
    // final path = Path()
    //   ..addRect(innerOffset & inner)
    //   ..addRect(offset & size)
    //   //路径填充类型
    //   ..fillType = PathFillType.evenOdd;
    // context.canvas.drawPath(path, Paint()..color = Colors.green);

    if (child != null) {
      context.paintChild(child!, innerOffset);
    }
  }
}

 浙公网安备 33010602011771号