


FastAPI项目部署--nginx+gunicorn部署
在之前的分享中,FastAPI入门教程(持续更新中)的文章分享了Fastapi框架的入门和项目的实战,分享后,没有进行过部署,那么如何部署呢,今天带领大家去看下。
部署选择了通用的nginx 和gunicorn来进行部署。如何部署呢,本篇带着大家去看一看。
一、 环境安装
安装nginx
1 2 3 4 5 6 | brew install nginx #mac部署apt install nginx #linux部署在windows可以执行下载安装下载地址http://nginx.org/en/download.html |
1 2 3 | 安装后,修改下配置在/usr/local/etc/nginx修改下配置 |
1 2 3 4 5 6 7 8 9 | server { listen 80; server_name localhost; #charset koi8-r; #access_log logs/host.access.log main; location / { root html; index index.html index.htm; } |
启动nginx
访问localhost
这样代表我们的nginx配置完成
安装gunicorn
直接使用pip 安装即可
pip install gunicorn
二、配置
创建一个新的nginx.conf,配置下

worker_processes  1;
events {
    worker_connections  1024;
}
http {
    default_type  application/octet-stream;
    sendfile        on;
    keepalive_timeout  65;
server {
        listen 81;
        server_name localhost;
        location / {
            proxy_pass http://127.0.0.1:8000;
             proxy_set_header Host $host;
            proxy_set_header X-Forwarded-For $proxy_add_x_forwarded_for;

        }
    }
}
配置后,指向了本地的8000端口,配置后。
在去创建一个gunicorn.py
代码如下如下
daemon=True #是否守护
bind='0.0.0.0:8000'#绑定
pidfile='gunicorn.pid'#pid文件地址
chdir='.' # 项目地址
worker_class='uvicorn.workers.UvicornWorker'
workers=1
threads=2
loglevel='debug' # 日志级别
access_log_format = '%(t)s %(p)s %(h)s "%(r)s" %(s)s %(L)s %(b)s %(f)s" "%(a)s"'
accesslog = "gunicorn_access.log"
errorlog = "gunicorn_error.log"
然后执行
三、启动配置
启动gunicorn
gunicorn main:app -c gunicorn.py
可以查看gunicorn是否启动,
mac或者linx用
ps -ef | grep gunicorn
windows 可以在对应的进程查看。
启动nginx
1 | nginx -c ./nginx.conf |
-c 后面跟着的是配置的地址,启动后,访问 81 可以正常访问,
直接访问对应的接口文档地址
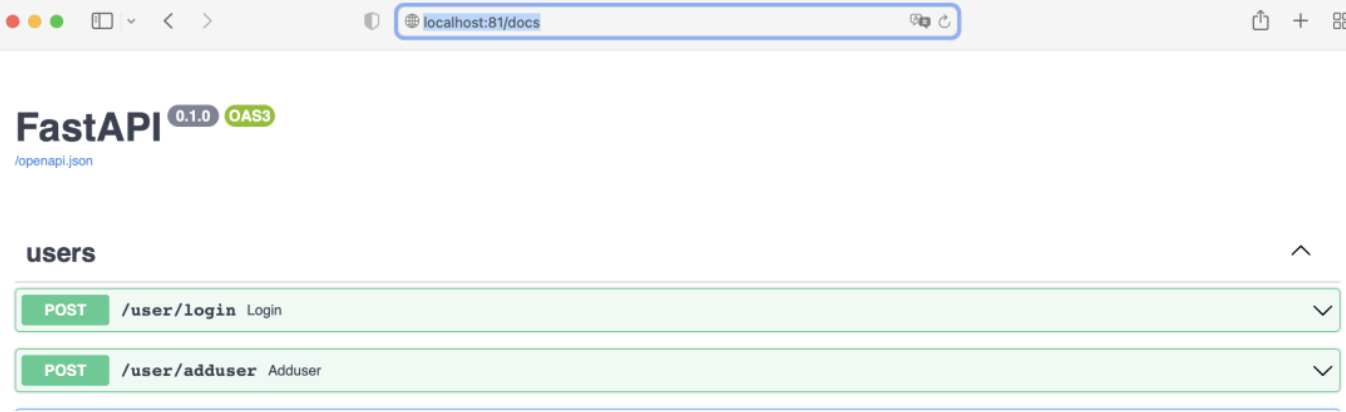
这样就部署完成了。

 访问量
访问量

【推荐】国内首个AI IDE,深度理解中文开发场景,立即下载体验Trae
【推荐】编程新体验,更懂你的AI,立即体验豆包MarsCode编程助手
【推荐】抖音旗下AI助手豆包,你的智能百科全书,全免费不限次数
【推荐】轻量又高性能的 SSH 工具 IShell:AI 加持,快人一步
· 阿里最新开源QwQ-32B,效果媲美deepseek-r1满血版,部署成本又又又降低了!
· 单线程的Redis速度为什么快?
· SQL Server 2025 AI相关能力初探
· 展开说说关于C#中ORM框架的用法!
· AI编程工具终极对决:字节Trae VS Cursor,谁才是开发者新宠?