

FastAPI 学习之路(四十七)WebSockets(三)登录后才可以聊天
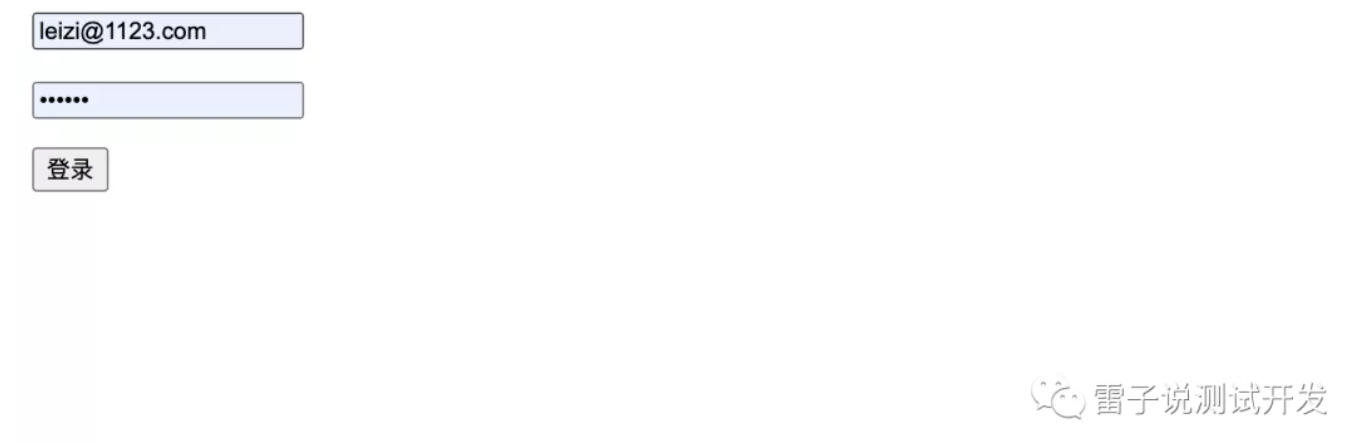
之前我们是通过前端自动生成的,这次我们通过注册登录,保存到本地去实现。我们可以应该如何实现呢,首先我们实现一个登录界面。放在templates文件下。

<!DOCTYPE html>
<html lang="en">
<head>
    <meta charset="UTF-8">
    <title>Title</title>
    <script src="https://cdn.staticfile.org/jquery/1.10.2/jquery.min.js">
</script>
</head>
<body>
<div>
    <p><input id="username" placeholder="用户名"></p>
    <p><input id="password" placeholder="密码" type="password"></p>
    <button id="login">登录</button>
</div>
<script>
    $('#login').click(function () {
        $.ajax({
            type: "post",
            url: "/token",
             contentType: "application/json; charset=utf-8",
            data: JSON.stringify({
                email: $("#username").val(),
                password: $("#password").val()
            }),
            success: function (data) {
                if (data['msg'] == "pass") {
                    window.localStorage.setItem("token", data['token'])
                    window.location.href="/"
                }else {
                    alert(data['msg'])
                }
            }
        })

    })
</script>
</body>
</html>
我们在后端去编写一个返回静态文件的页面,一个返回token的方法、
@app.get("/login")
async def login(request: Request):
    return templates.TemplateResponse(
        "login.html",
        {
            "request": request
        }
    )
@app.post('/token')
def token(user: UserCreate, db: Session = Depends(get_db)):
    db_crest = get_user_emai(db, user.email)
    fake_hashed_password = user.password + "notreallyhashed"
    if db_crest:
        if fake_hashed_password==db_crest.hashed_password:
            return {"token":"leizishuoceshi",'msg':'pass'}
    return {'msg':'fail'}
然后我们可以去启动下,当我们启动完成登录后发现本地存了token,那么这个时候我们需要改造下webchat.html,我们的取本地的 token,同时也实现了一个退出的功能。
<!DOCTYPE html>
<html>
<head>
    <title>Chat</title>
</head>
<body>
<h1>WebSocket 聊天</h1>
<form action="" onsubmit="sendMessage(event)">
    <input type="text" id="messageText" autocomplete="off"/>
    <button>Send</button>
</form>
<button onclick="logout()">退出</button>
<ul id='messages'>
</ul>
<script>
    var  token=window.localStorage.getItem("token")
    if (token==null ){
        window.location.href="/login"
    }
    var ws = new WebSocket("ws://localhost:8000/items/ws?token="+token);

    ws.onmessage = function (event) {

        var messages = document.getElementById('messages')

        var message = document.createElement('li')

        var content = document.createTextNode(event.data)

        message.appendChild(content)

        messages.appendChild(message)

    };

    function sendMessage(event) {

        var input = document.getElementById("messageText")

        ws.send(input.value)

        input.value = ''

        event.preventDefault()

    }
    function logout() {
        window.localStorage.removeItem("token")
        window.location.href='/login'
    }
</script>

</body>

</html>
这样我们就可以登录后,然后去获取登录产生的token,然后和后端发发送消息,这样我们完成了一个登录聊天,退出后无法聊天的功能。我们如果直接访问聊天的页面,也是可以直接去定向到我们的登录的界面呢,我们的聊天是依赖于我们的登录的。


成功后才可以发送聊天内容

点击退出,直接退出
本地存储也无任何

文章首发在公众号,欢迎关注。


 访问量
访问量

【推荐】国内首个AI IDE,深度理解中文开发场景,立即下载体验Trae
【推荐】编程新体验,更懂你的AI,立即体验豆包MarsCode编程助手
【推荐】抖音旗下AI助手豆包,你的智能百科全书,全免费不限次数
【推荐】轻量又高性能的 SSH 工具 IShell:AI 加持,快人一步
· 如何编写易于单元测试的代码
· 10年+ .NET Coder 心语,封装的思维:从隐藏、稳定开始理解其本质意义
· .NET Core 中如何实现缓存的预热?
· 从 HTTP 原因短语缺失研究 HTTP/2 和 HTTP/3 的设计差异
· AI与.NET技术实操系列:向量存储与相似性搜索在 .NET 中的实现
· 周边上新:园子的第一款马克杯温暖上架
· Open-Sora 2.0 重磅开源!
· 分享 3 个 .NET 开源的文件压缩处理库,助力快速实现文件压缩解压功能!
· Ollama——大语言模型本地部署的极速利器
· DeepSeek如何颠覆传统软件测试?测试工程师会被淘汰吗?
2020-10-24 Android测试工具 UIAutomator入门与介绍