
mysql5.7.21下载及安装步骤
以前都是用的5.6的数据库,现在想着换个新版本数据库。跟上时代的步伐,于是安装了一天才安装好。具体步骤如下:
1.官网下载mysql解压zip版,由于客户端安装版都是32位的,我的电脑是64位系统,所以选择了解压版安装;
我的百度云盘下载:链接:https://pan.baidu.com/s/1lx7B1HK3UyD61Xiw5x_6YQ 密码:827b
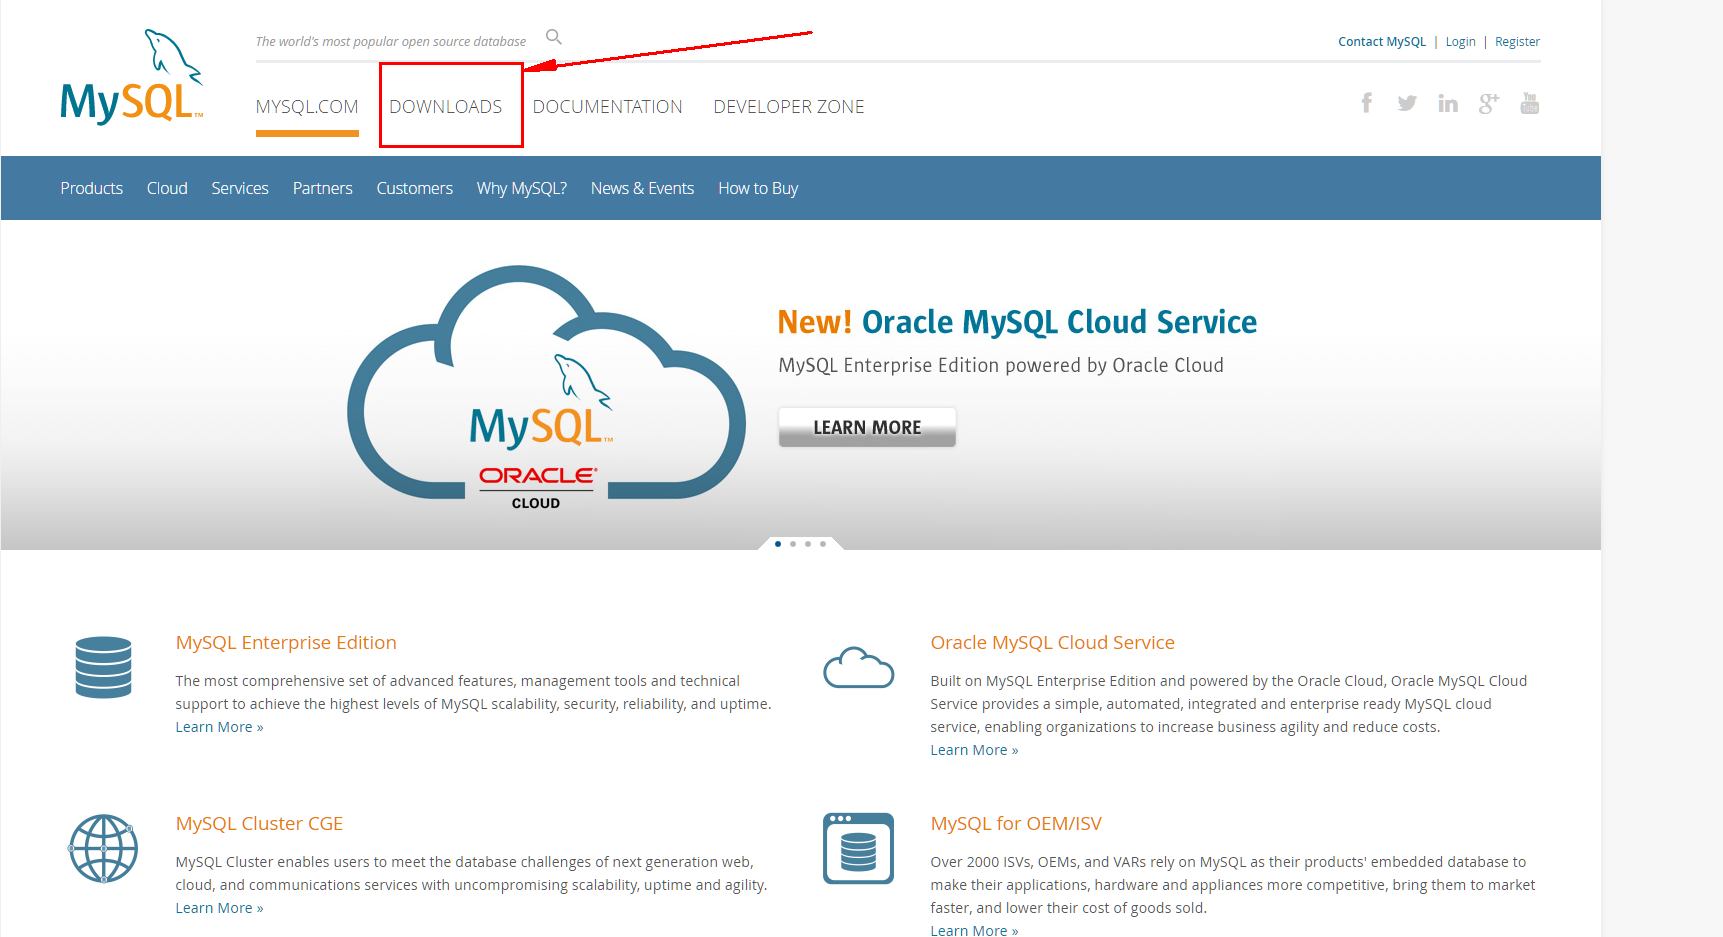
1.访问官网下载
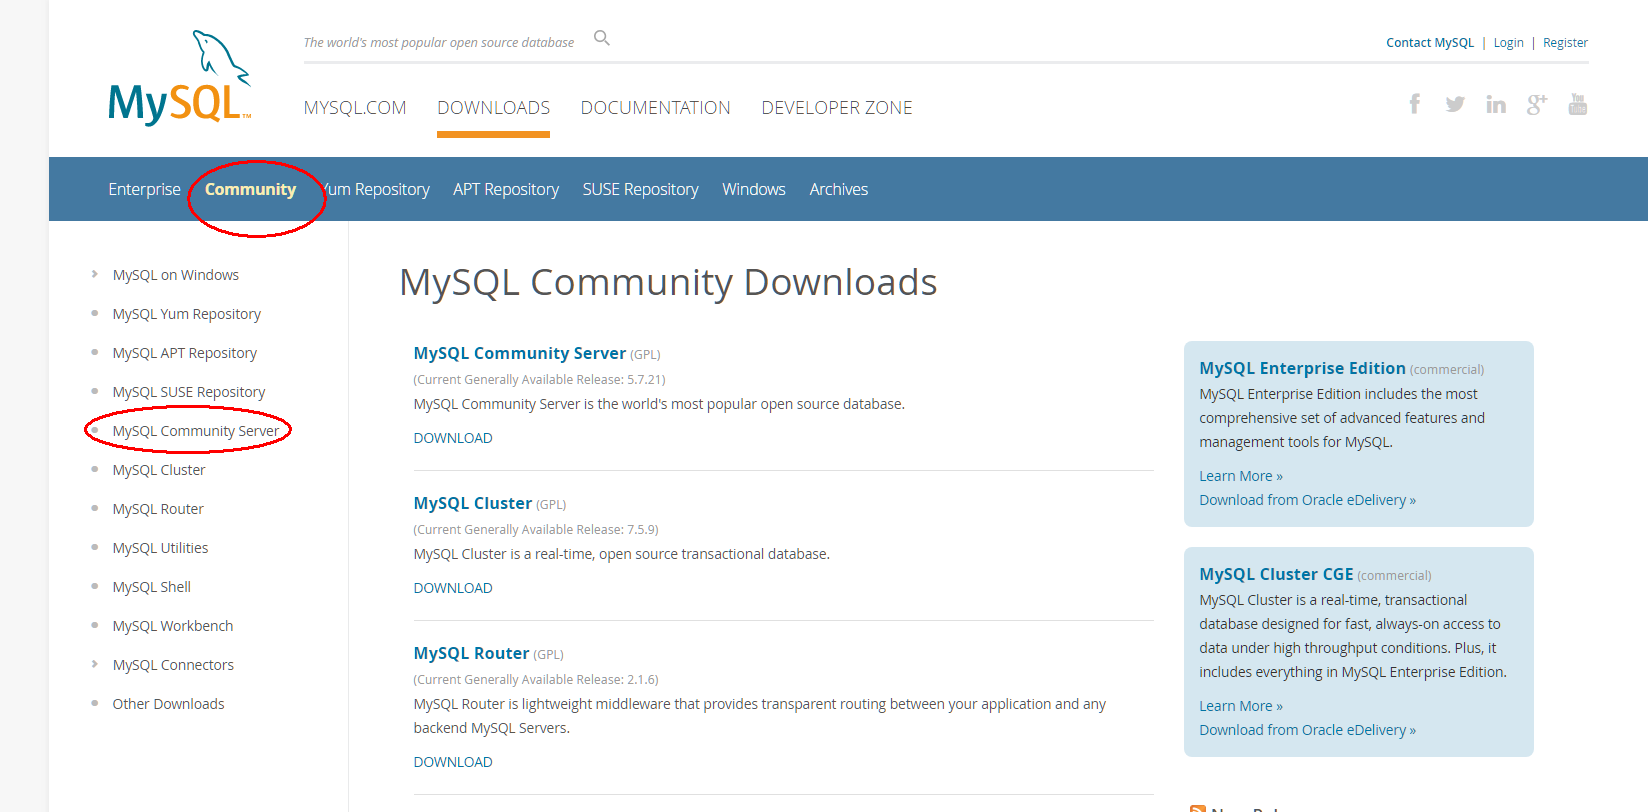
2.点击Downloads,再如下图先点击Community,再点击Mysql community server;
3.选择你要的数据库压缩文件,点击download下载;
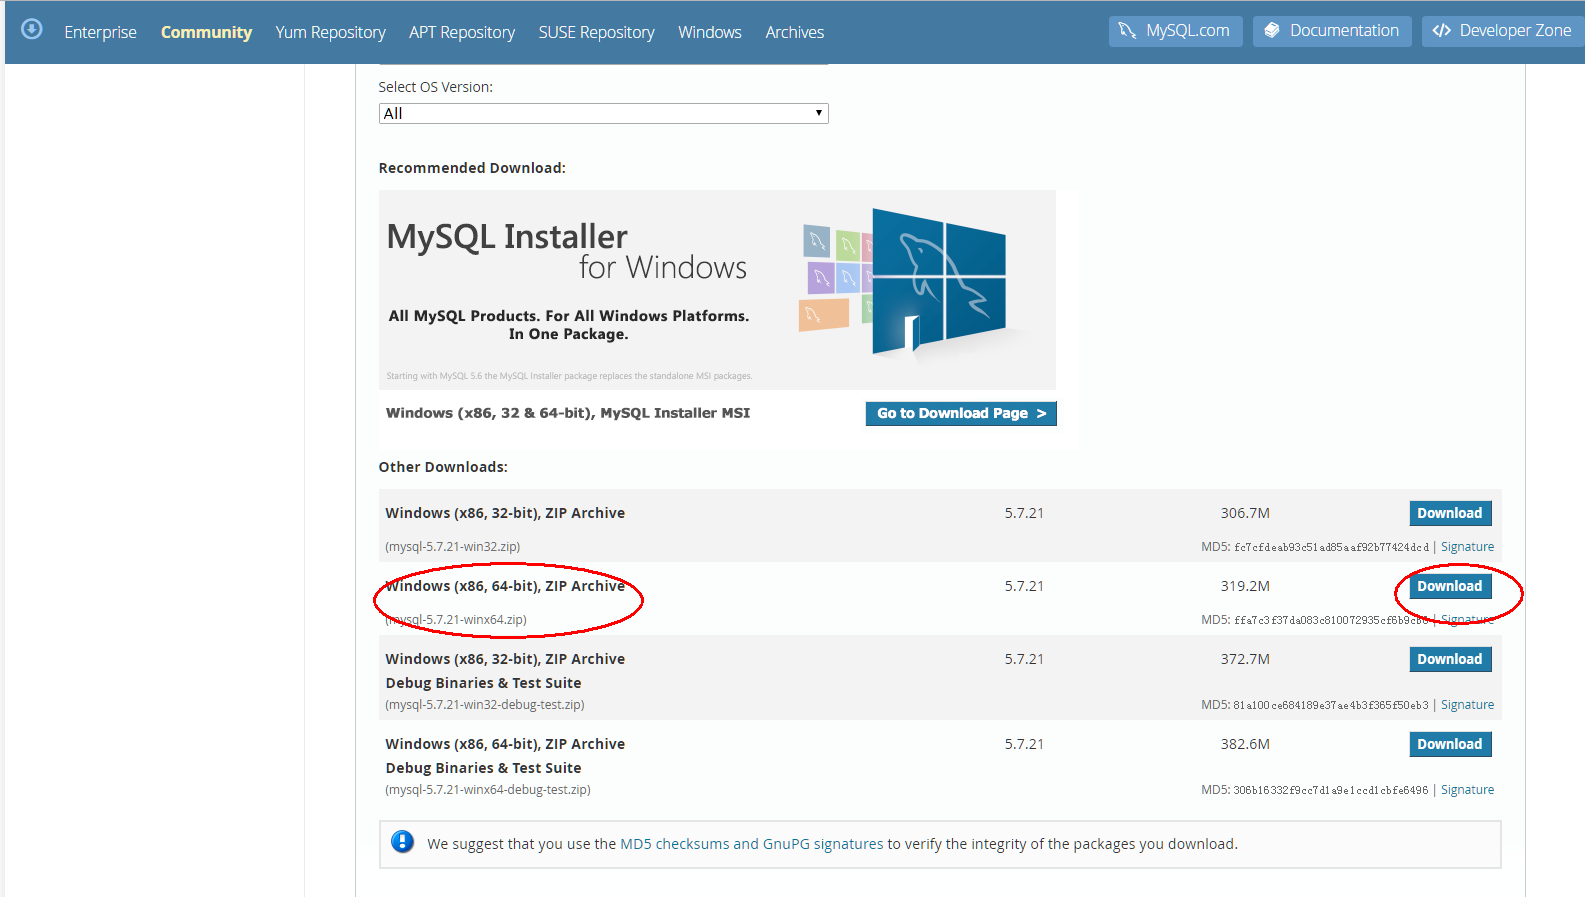
4.下载页面有注册登录按钮,也有不用登录的选项(No thanks,just start my download.),选择不用注册登录选项,进入下载状态

OK,下载完成之后就开始安装了;
安装步骤:
1.先解压压缩包,我的解压路径是:D:\mysql-5.7.21-winx64;下图是我安装好的解压图,你刚解压后是没有data文件夹和my.ini文件的。

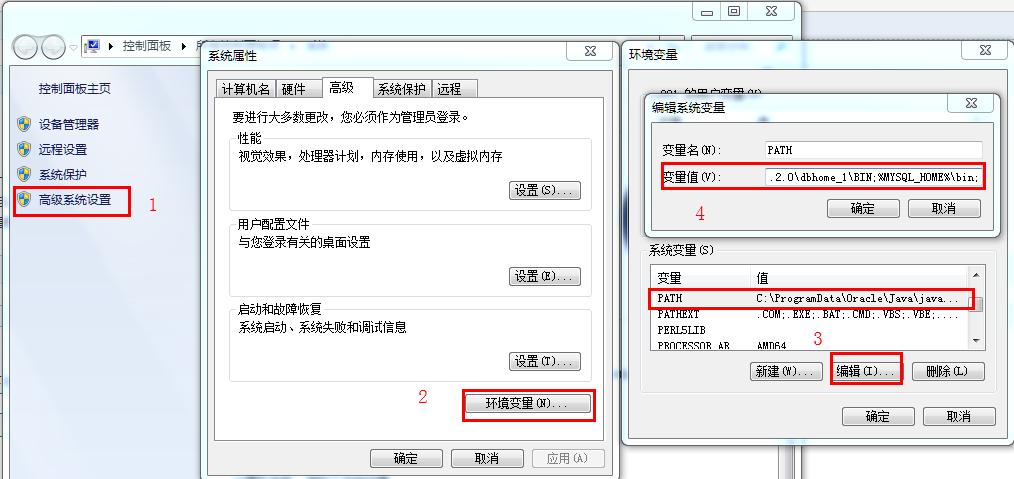
2.配置环境变量
新增系统环境变量:
键名:MYSQL_HOME
值为:D:\mysql-5.7.21-winx64
然后添加到path路径后面我的是WIN7系统;
3.在D:\mysql-5.7.21-winx64目录下新建my.ini文件,可以先新建一个my.txt文件,
然后通过重命名修改文件后缀为.ini,以前的版本解压后或许会存在my-default.ini文件,
但是5.7.21版本没有,因此要自己手动创建该文件,文件的内容如下:
# For advice on how to change settings please see
# http://dev.mysql.com/doc/refman/5.6/en/server-configuration-defaults.html
# *** DO NOT EDIT THIS FILE. It's a template which will be copied to the
# *** default location during install, and will be replaced if you
# *** upgrade to a newer version of MySQL.
[mysqld]
port = 3306
#设置mysql的安装目录
basedir=D:\mysql-5.7.21-winx64
#设置mysql的数据目录
datadir=D:\mysql-5.7.21-winx64\data
max_connections=200
character-set-server=utf8
default-storage-engine=INNODB
sql_mode=NO_ENGINE_SUBSTITUTION,STRICT_TRANS_TABLES
[mysql]
default-character-set=utf8
# Remove leading # and set to the amount of RAM for the most important data
# cache in MySQL. Start at 70% of total RAM for dedicated server, else 10%.
# innodb_buffer_pool_size = 128M
# Remove leading # to turn on a very important data integrity option: logging
# changes to the binary log between backups.
# log_bin
# These are commonly set, remove the # and set as required.
# basedir = .....
# datadir = .....
# port = .....
# server_id = .....
# Remove leading # to set options mainly useful for reporting servers.
# The server defaults are faster for transactions and fast SELECTs.
# Adjust sizes as needed, experiment to find the optimal values.
# join_buffer_size = 128M
# sort_buffer_size = 2M
# read_rnd_buffer_size = 2M
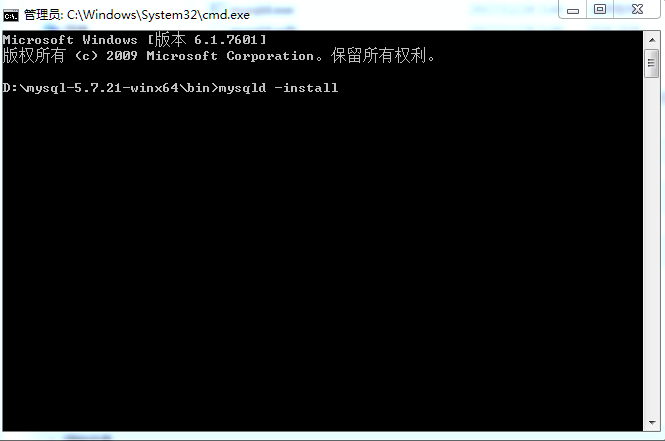
4.使用管理员身份,在安装目录的bin目录下打开CMD

5.输入mysqld -install 进行安装,执行命令后提示:Service successfully installed. 表示安装成功
6.执行mysqld --initialize-insecure --user=mysql ,进行mysql初始化;初始化之后的文件夹就是我一开始放图的文件夹了;
7.执行net start mysql,mysql服务启动;执行net stop mysql ,mysql服务停止;
8.启动服务之后,执行mysqladmin -u root -p password 新密码
直接回车回车就OK了;
9.如果需要远程连接还需要开启远程连接,连接上数据库后,修改mysql,user表中的ip地址为%,表示允许任何人连接;
