


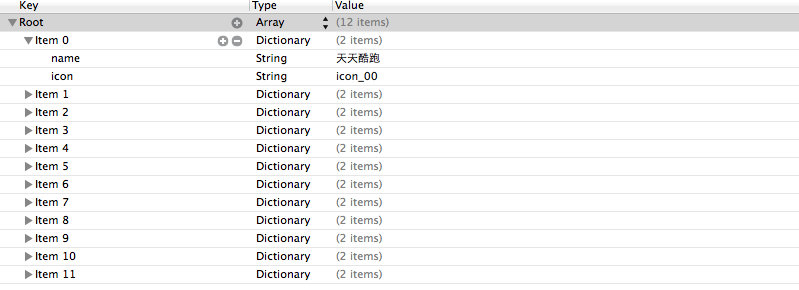
1.从plist中加载的数据
2.
字典转模型
1.字典转模型介绍
示意图:

字典转模型的好处:
(1)降低代码的耦合度
(2)所有字典转模型部分的代码统一集中在一处处理,降低代码出错的几率
(3)在程序中直接使用模型的属性操作,提高编码效率
(4)调用方不用关心模型内部的任何处理细节
字典转模型的注意点:
模型应该提供一个可以传入字典参数的构造方法
- (instancetype)initWithDict:(NSDictionary *)dict;
+ (instancetype)xxxWithDict:(NSDictionary *)dict;
提示:在模型中合理地使用只读属性,可以进一步降低代码的耦合度。
3.代码
// 字典转模型
 11 - (NSArray *)appList
 12 {
 13     if (!_appList) {
 14         // 1. 从mainBundle加载
 15         NSBundle *bundle = [NSBundle mainBundle];
 16         NSString *path = [bundle pathForResource:@"app.plist" ofType:nil];
 17 //        _appList = [NSArray arrayWithContentsOfFile:path];
 18
 19         NSArray *array = [NSArray arrayWithContentsOfFile:path];
 20         // 将数组转换成模型,意味着self.appList中存储的是LFAppInfo对象
 21         // 1. 遍历数组,将数组中的字典依次转换成AppInfo对象,添加到一个临时数组
 22         // 2. self.appList = 临时数组
 23
 24         NSMutableArray *arrayM = [NSMutableArray array];
 25         for (NSDictionary *dict in array) {
 26            //用字典来实例化对象的工厂方法
 27             [arrayM addObject:[LFAppInfo appInfoWithDict:dict]];
 28         }
 29
 30         _appList = arrayM;
 31     }
 32     return _appList;
 33 }


3.2模型代码
11 - (instancetype)initWithDict:(NSDictionary *)dict
12 {
13     self = [super init];
14     if (self) {
15         self.name = dict[@"name"];
16         self.icon = dict[@"icon"];
17     }
18     return self;
19 }
20
21 + (instancetype)appInfoWithDict:(NSDictionary *)dict
22 {
23     return [[self alloc] initWithDict:dict];
24 }

3.3
(KVC)的使用
(1)在模型内部的数据处理部分,可以使用键值编码来进行处理

 1 - (instancetype)initWithDict:(NSDictionary *)dict
 2 {
 3     self = [super init];
 4     if (self) {
 5 //        self.answer = dict[@"answer"];
 6 //        self.icon = dict[@"icon"];
 7 //        self.title = dict[@"title"];
 8 //        self.options = dict[@"options"];
 9
10         // KVC (key value coding)键值编码
11         // cocoa 的大招,允许间接修改对象的属性值
12         // 第一个参数是字典的数值
13         // 第二个参数是类的属性
14         [self setValue:dict[@"answer"] forKeyPath:@"answer"];
15         [self setValue:dict[@"icon"] forKeyPath:@"icon"];
16         [self setValue:dict[@"title"] forKeyPath:@"title"];
17         [self setValue:dict[@"options"] forKeyPath:@"options"];
18     }
19     return self;
20 }
(2)setValuesForKeys的使用
上述数据操作细节,可以直接通过setValuesForKeys方法来完成。
1 - (instancetype)initWithDict:(NSDictionary *)dict
2 {
3     self = [super init];
4     if (self) {
5         // 使用setValuesForKeys要求类的属性必须在字典中存在,可以比字典中的键值多,但是不能少。
6         [self setValuesForKeysWithDictionary:dict];
7     }
8     return self;
9 }
三、补充说明
1.readonly属性
(1)@property中readonly表示不允许修改对象的指针地址,但是可以修改对象的属性。
(2)通常使用@property关键字定义属性时,会生成getter&setter方法,还会生成一个带下划线的成员变量。
(3)如果是readonly属性,只会生成getter方法,不会生成带下划线的成员变量.
2.instancetype类型
(1)instancetype会让编译器检查实例化对象的准确类型
(2)instancetype只能用于返回类型,不能当做参数使用
3.instancetype & id的比较
(1) instancetype在类型表示上,跟id一样,可以表示任何对象类型
(2) instancetype只能用在返回值类型上,不能像id一样用在参数类型上
(3) instancetype比id多一个好处:编译器会检测instancetype的真实类型
