
HDP集群搭建全过程
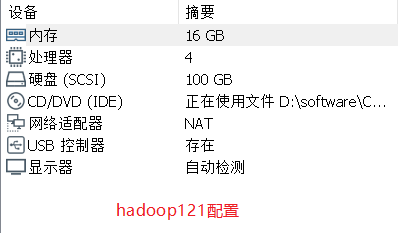
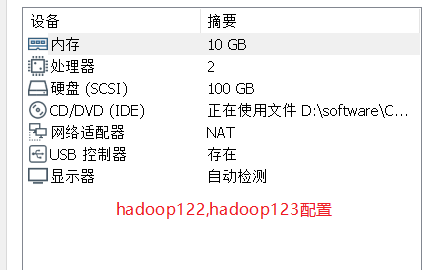
基于虚拟机搭建hdp集群,以下是我搭建集群的虚拟机环境说明
一.环境预配置
参照官网配置步骤:
1. 配置hosts与主机名
vim /etc/hosts
# 添加以下内容(三台)
192.168.127.121 hadoop121
192.168.127.122 hadoop122
192.168.127.123 hadoop123

设置主机名
hostnamectl set-hostname hadoop121
2. 配置ntp
yum install ntp -y

#hadoop121
vim /etc/ntp.conf
server 127.127.1.0
fudge 127.127.1.0 stratum 10

#hadoop122,hadoop123
echo "server hadoop121 iburst" > /etc/ntp.conf

启动ntp服务
systemctl start ntpd.service
设置开机自启
systemctl enable ntpd.service
3. 配置免密
ssh-keygen
四下回车
ssh-copy-id hadoop121
输入密码
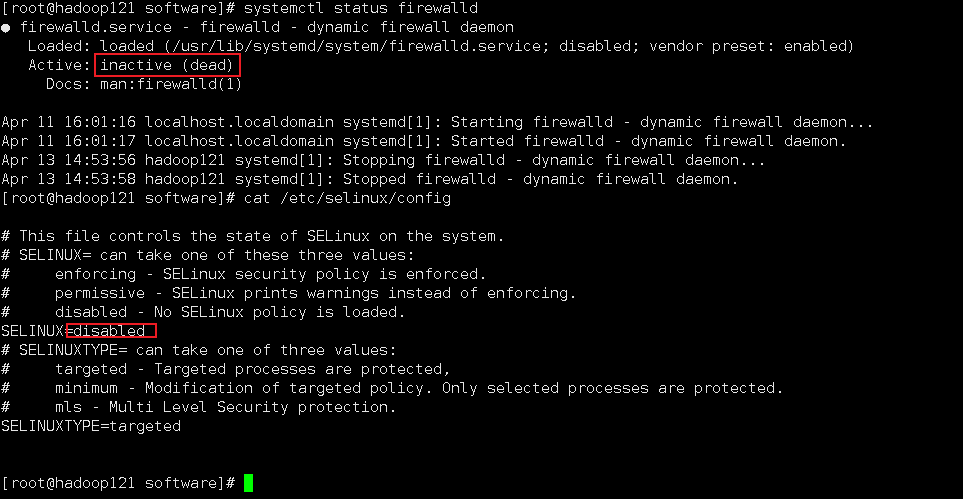
4. 关闭防火墙和selinux
#关闭防火墙
systemctl stop firewalld

# 并关闭防火墙开机自启
systemctl disable firewalld

关闭selinux
vim /etc/selinux/config

SELINUX=disabled

手动关闭
setenforce 0
查看状态为Permissive
getenforce 0
5. 安装数据库
[root@hadoop121 software]# rpm -qa | grep -I mariadb
mariadb-libs-5.5.60-1.el7_5.x86_64
[root@hadoop121 software]# rpm -e mariadb-libs-5.5.60-1.el7_5.x86_64
error: Failed dependencies:
	libmysqlclient.so.18()(64bit) is needed by (installed) postfix-2:2.10.1-7.el7.x86_64
	libmysqlclient.so.18(libmysqlclient_18)(64bit) is needed by (installed) postfix-2:2.10.1-7.el7.x86_64
[root@hadoop121 software]# rpm -e mariadb-libs-5.5.60-1.el7_5.x86_64 --nodeps
[root@hadoop121 software]# rpm -qa | grep -I mariadb
[root@hadoop121 software]# rpm -qa | grep -I mysql
[root@hadoop121 software]# rpm -ivh mysql-community-*.rpm --nodeps
warning: mysql-community-client-5.7.29-1.el7.x86_64.rpm: Header V3 DSA/SHA1 Signature, key ID 5072e1f5: NOKEY
Preparing...                          ################################# [100%]
Updating / installing...
   1:mysql-community-common-5.7.29-1.e################################# [ 20%]
   2:mysql-community-libs-5.7.29-1.el7################################# [ 40%]
   3:mysql-community-client-5.7.29-1.e################################# [ 60%]
   4:mysql-community-server-5.7.29-1.e################################# [ 80%]
   5:mysql-community-libs-compat-5.7.2################################# [100%]

启动mysql
查看初始密码
[root@hadoop121 software]# cat /var/log/mysqld.log | grep password
2022-04-13T07:04:24.093457Z 1 [Note] A temporary password is generated for root@localhost: *yyPriqOh73*


mysql -uroot -p*yyPriqOh73*

修改密码安全等级及root密码,设置远程连接
mysql> set global validate_password_policy=LOW;
Query OK, 0 rows affected (0.00 sec)

mysql> set global validate_password_length=4;
Query OK, 0 rows affected (0.00 sec)

mysql> ALTER USER 'root'@'localhost' IDENTIFIED BY 'root';
Query OK, 0 rows affected (0.07 sec)


mysql> update user set host='%' where user='root';
Query OK, 1 row affected (0.00 sec)
Rows matched: 1  Changed: 1  Warnings: 0

mysql> flush privileges;
Query OK, 0 rows affected (0.00 sec)
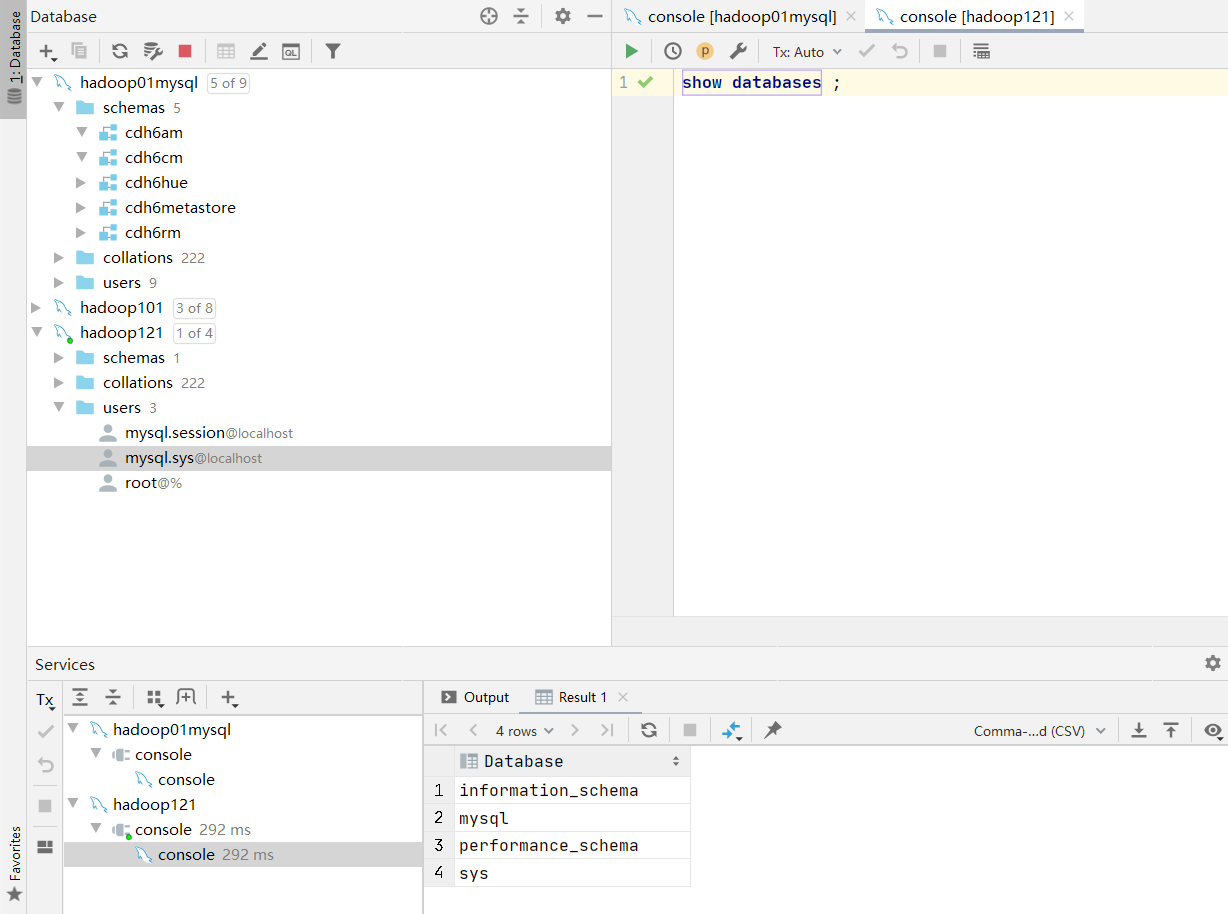
使用datagrip工具连接测试
6.其他配置
6.1 透明大页面
6.2 文件句柄和进程数限制
6.3 安装jdk,scala,python3,maven
二.安装ambari
#提前准备好下面四个安装包:
-rw-r--r--. 1 root root 2030700094 Apr 13 13:54 ambari-2.7.4.0-centos7.tar.gz
-rw-r--r--. 1 root root 9506255805 Apr 13 13:57 HDP-3.1.4.0-centos7-rpm.tar.gz
-rw-r--r--. 1 root root     162038 Apr 13 13:54 HDP-GPL-3.1.4.0-centos7-gpl.tar.gz
-rw-r--r--. 1 root root   90606616 Apr 13 13:54 HDP-UTILS-1.1.0.22-centos7.tar.gz
下载链接:
访问Cloudera的官网,进入到如下网址界面:https://docs.cloudera.com/HDPDocuments/Ambari-2.7.5.0/bk_ambari-installation/content/ambari_repositories.html
请下载以下的资源包:
Ambari相关安装包:http://public-repo-1.hortonworks.com/ambari/centos7/2.x/updates/2.7.4.0/ambari-2.7.4.0-centos7.tar.gz
HDP安装:http://public-repo-1.hortonworks.com/HDP/centos7/3.x/updates/3.1.4.0/HDP-3.1.4.0-centos7-rpm.tar.gz
HDP-UTIL安装包:http://public-repo-1.hortonworks.com/HDP-UTILS-1.1.0.22/repos/centos7/HDP-UTILS-1.1.0.22-centos7.tar.gz
HDP-GPL文件:http://public-repo-1.hortonworks.com/HDP-GPL/centos7/3.x/updates/3.1.4.0/HDP-GPL-3.1.4.0-centos7-gpl.tar.gz
1. 配置 Ambari本地YUM源
安装httpd服务
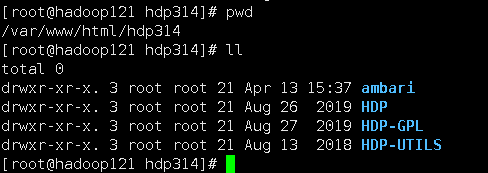
mkdir -p /var/www/html/hdp314

将安装包解压到创建的目录:
tar -zxvf /software/ambari-2.7.4.0-centos7.tar.gz -C /var/www/html/hdp314/
tar -zxvf /software/HDP-3.1.4.0-centos7-rpm.tar.gz -C /var/www/html/hdp314/
tar -zxvf /software/HDP-GPL-3.1.4.0-centos7-gpl.tar.gz -C /var/www/html/hdp314/
tar -zxvf /software/HDP-UTILS-1.1.0.22-centos7.tar.gz -C /var/www/html/hdp314/
vim ambari.repo
[CentOS7-HDP]
name=CentOS7-HDP
baseurl=http://hadoop121/hdp314/HDP/centos7/3.1.4.0-315
gpgcheck=0
enabled=1
[CentOS7-HDP-GPL]
name=CentOS7-HDP-GPL
baseurl=http://hadoop121/hdp314/HDP-GPL/centos7/3.1.4.0-315
gpgcheck=0
enabled=1
[CentOS7-HDP-UTILS]
name=CentOS7-HDP-UTILS
baseurl=http://hadoop121/hdp314/HDP-UTILS/centos7/1.1.0.22
gpgcheck=0
enabled=1
[CentOS7-ambari]
name=CentOS7-ambari
baseurl=http://hadoop121/hdp314/ambari/centos7/2.7.4.0-118
gpgcheck=0
enabled=1
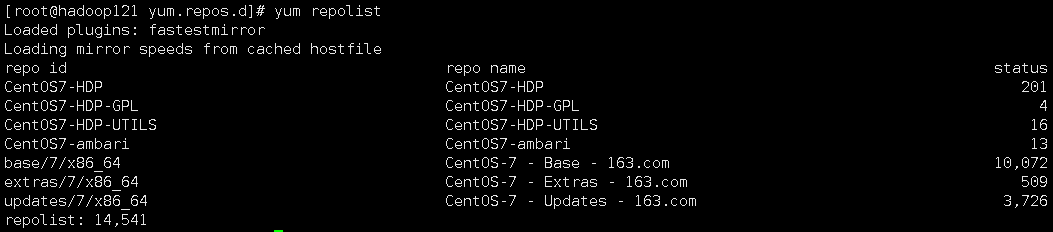
yum clean all
yum makecache
yum repolist
2. 安装ambari服务
yum -y install ambari-server
3. 初始化ambari数据库
mysql> create database ambari DEFAULT CHARSET utf8 COLLATE utf8_general_ci;
Query OK, 1 row affected (0.03 sec)

mysql> use ambari;
Database changed
mysql> CREATE USER 'ambari'@'%' IDENTIFIED BY 'ambari';
Query OK, 0 rows affected (0.02 sec)

mysql> GRANT ALL ON ambari.* TO 'ambari'@'%';
Query OK, 0 rows affected (0.01 sec)

mysql> FLUSH PRIVILEGES;
Query OK, 0 rows affected (0.00 sec)
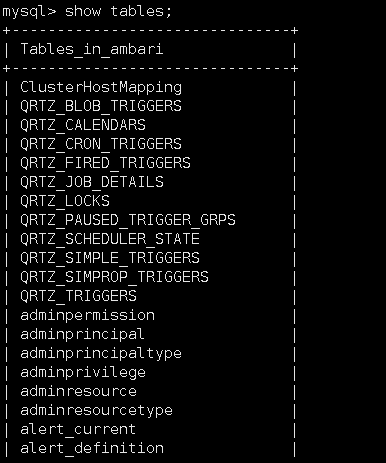
切换ambari用户登录mysql进行初始化:
mysql -uambari -pambari
source /var/lib/ambari-server/resources/Ambari-DDL-MySQL-CREATE.sql;
3. 配置ambari
执行配置命令,并按照提示填写相应信息:
[root@hadoop121 yum.repos.d]# ambari-server setup
Using python  /usr/bin/python
Setup ambari-server
Checking SELinux...
SELinux status is 'enabled'
SELinux mode is 'permissive'
WARNING: SELinux is set to 'permissive' mode and temporarily disabled.
OK to continue [y/n] (y)? n
[root@hadoop121 yum.repos.d]# cat /etc/selinux/config

# This file controls the state of SELinux on the system.
# SELINUX= can take one of these three values:
#     enforcing - SELinux security policy is enforced.
#     permissive - SELinux prints warnings instead of enforcing.
#     disabled - No SELinux policy is loaded.
SELINUX=disabled
# SELINUXTYPE= can take one of three values:
#     targeted - Targeted processes are protected,
#     minimum - Modification of targeted policy. Only selected processes are protected.
#     mls - Multi Level Security protection.
SELINUXTYPE=targeted


[root@hadoop121 yum.repos.d]# ambari-server setup
Using python  /usr/bin/python
Setup ambari-server
Checking SELinux...
SELinux status is 'enabled'
SELinux mode is 'permissive'
WARNING: SELinux is set to 'permissive' mode and temporarily disabled.
OK to continue [y/n] (y)? y
Customize user account for ambari-server daemon [y/n] (n)? n
Adjusting ambari-server permissions and ownership...
Checking firewall status...
Checking JDK...
[1] Oracle JDK 1.8 + Java Cryptography Extension (JCE) Policy Files 8
[2] Custom JDK
==============================================================================
Enter choice (1): 2
WARNING: JDK must be installed on all hosts and JAVA_HOME must be valid on all hosts.
WARNING: JCE Policy files are required for configuring Kerberos security. If you plan to use Kerberos,please make sure JCE Unlimited Strength Jurisdiction Policy Files are valid on all hosts.
Path to JAVA_HOME: /usr/java/jdk1.8.0_141
Validating JDK on Ambari Server...done.
Check JDK version for Ambari Server...
JDK version found: 8
Minimum JDK version is 8 for Ambari. Skipping to setup different JDK for Ambari Server.
Checking GPL software agreement...
GPL License for LZO: https://www.gnu.org/licenses/old-licenses/gpl-2.0.en.html
Enable Ambari Server to download and install GPL Licensed LZO packages [y/n] (n)? y
Completing setup...
Configuring database...
Enter advanced database configuration [y/n] (n)? y
Configuring database...
==============================================================================
Choose one of the following options:
[1] - PostgreSQL (Embedded)
[2] - Oracle
[3] - MySQL / MariaDB
[4] - PostgreSQL
[5] - Microsoft SQL Server (Tech Preview)
[6] - SQL Anywhere
[7] - BDB
==============================================================================
Enter choice (1): 3
Hostname (localhost): hadoop121
Port (3306):
Database name (ambari):
Username (ambari):
Enter Database Password (bigdata):
Re-enter password:
Configuring ambari database...
Should ambari use existing default jdbc /usr/share/java/mysql-connector-java.jar [y/n] (y)? y
Configuring remote database connection properties...
WARNING: Before starting Ambari Server, you must run the following DDL directly from the database shell to create the schema: /var/lib/ambari-server/resources/Ambari-DDL-MySQL-CREATE.sql
Proceed with configuring remote database connection properties [y/n] (y)? y
Extracting system views...
ambari-admin-2.7.4.0.118.jar
....
Ambari repo file doesn't contain latest json url, skipping repoinfos modification
Adjusting ambari-server permissions and ownership...
Ambari Server 'setup' completed successfully.
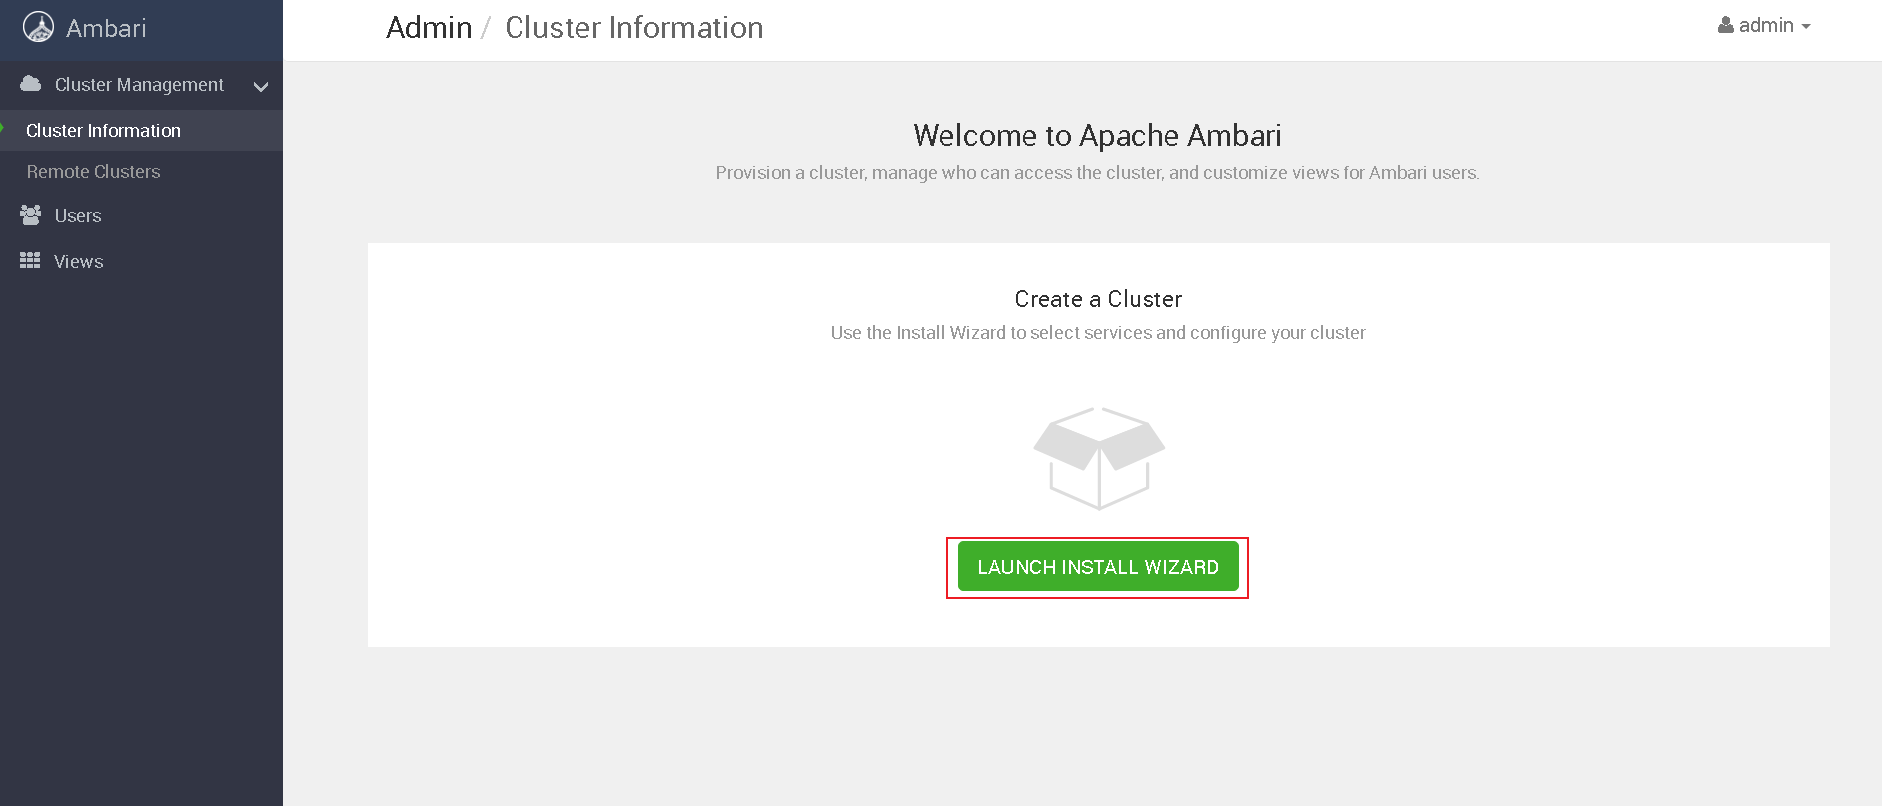
4. 启动ambari服务,登录web界面
[root@hadoop121 yum.repos.d]# ambari-server start
Using python  /usr/bin/python
Starting ambari-server
Ambari Server running with administrator privileges.
Organizing resource files at /var/lib/ambari-server/resources...
Ambari database consistency check started...
Server PID at: /var/run/ambari-server/ambari-server.pid
Server out at: /var/log/ambari-server/ambari-server.out
Server log at: /var/log/ambari-server/ambari-server.log
Waiting for server start..................................................................................
Server started listening on 8080

DB configs consistency check: no errors and warnings were found.
Ambari Server 'start' completed successfully.
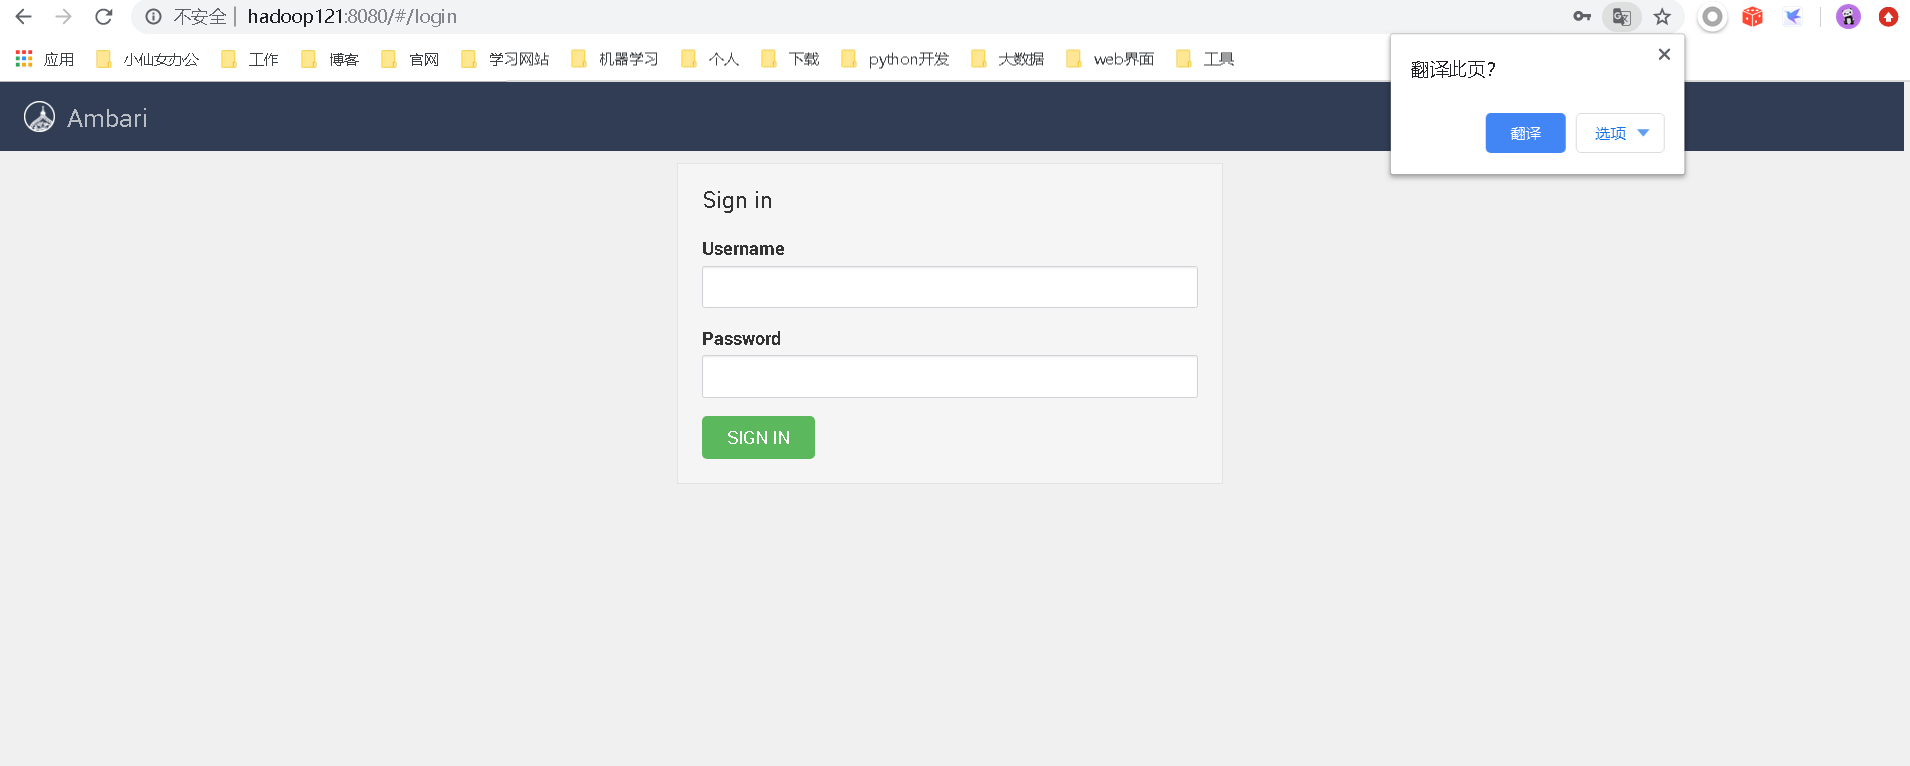
初始账号为admin/admin
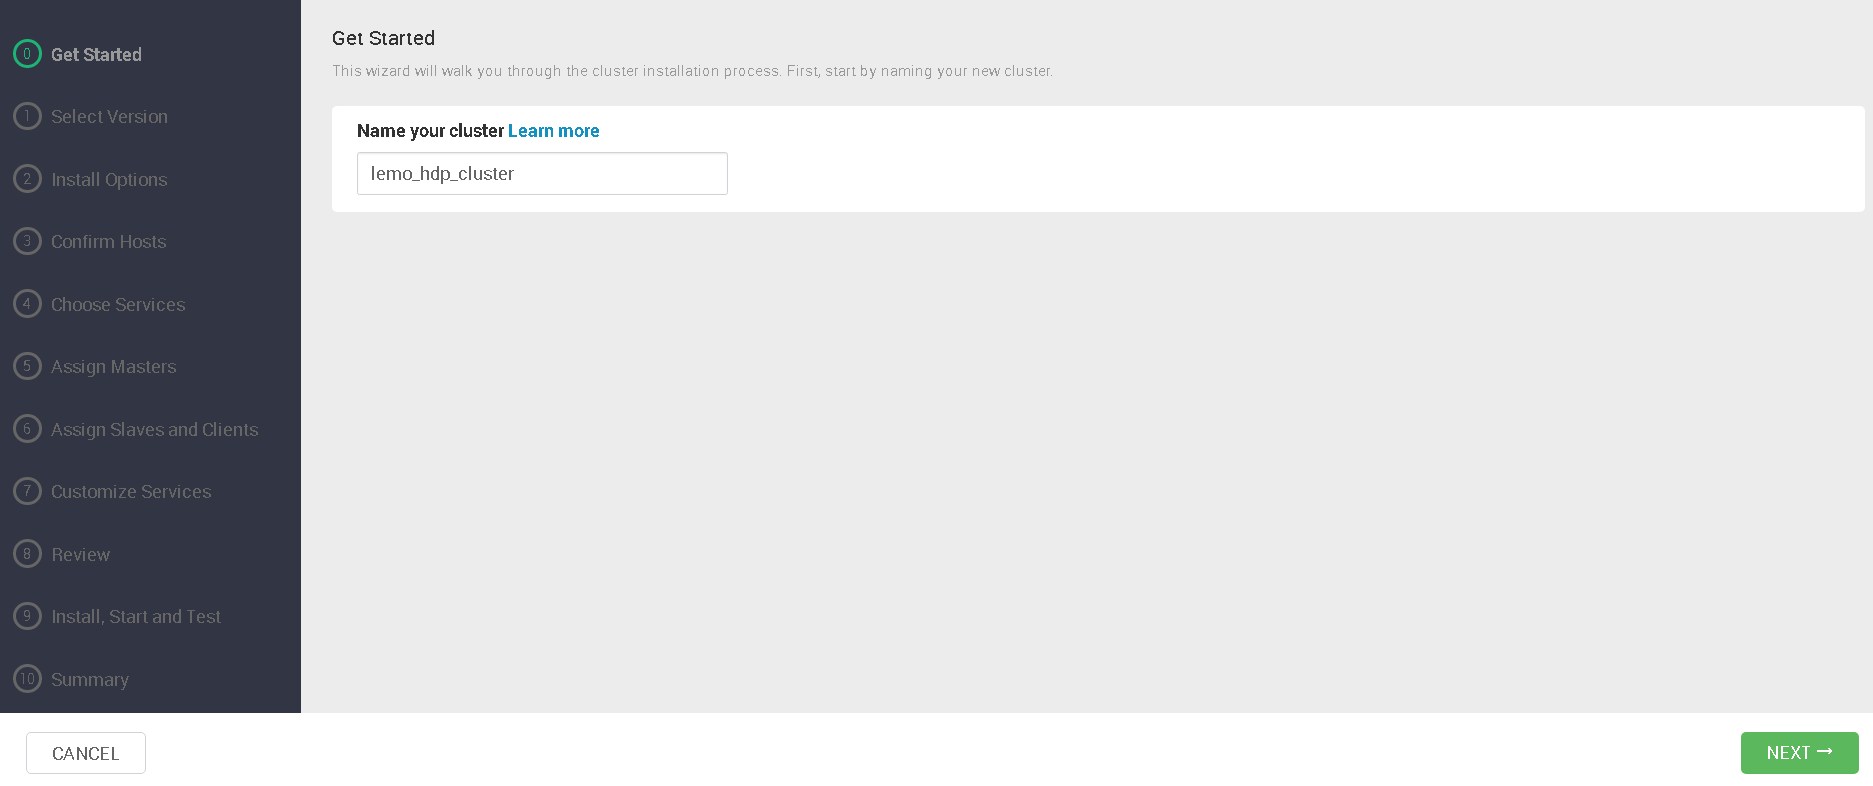
三.安装集群
定义集群名:
选择本地库和版本:
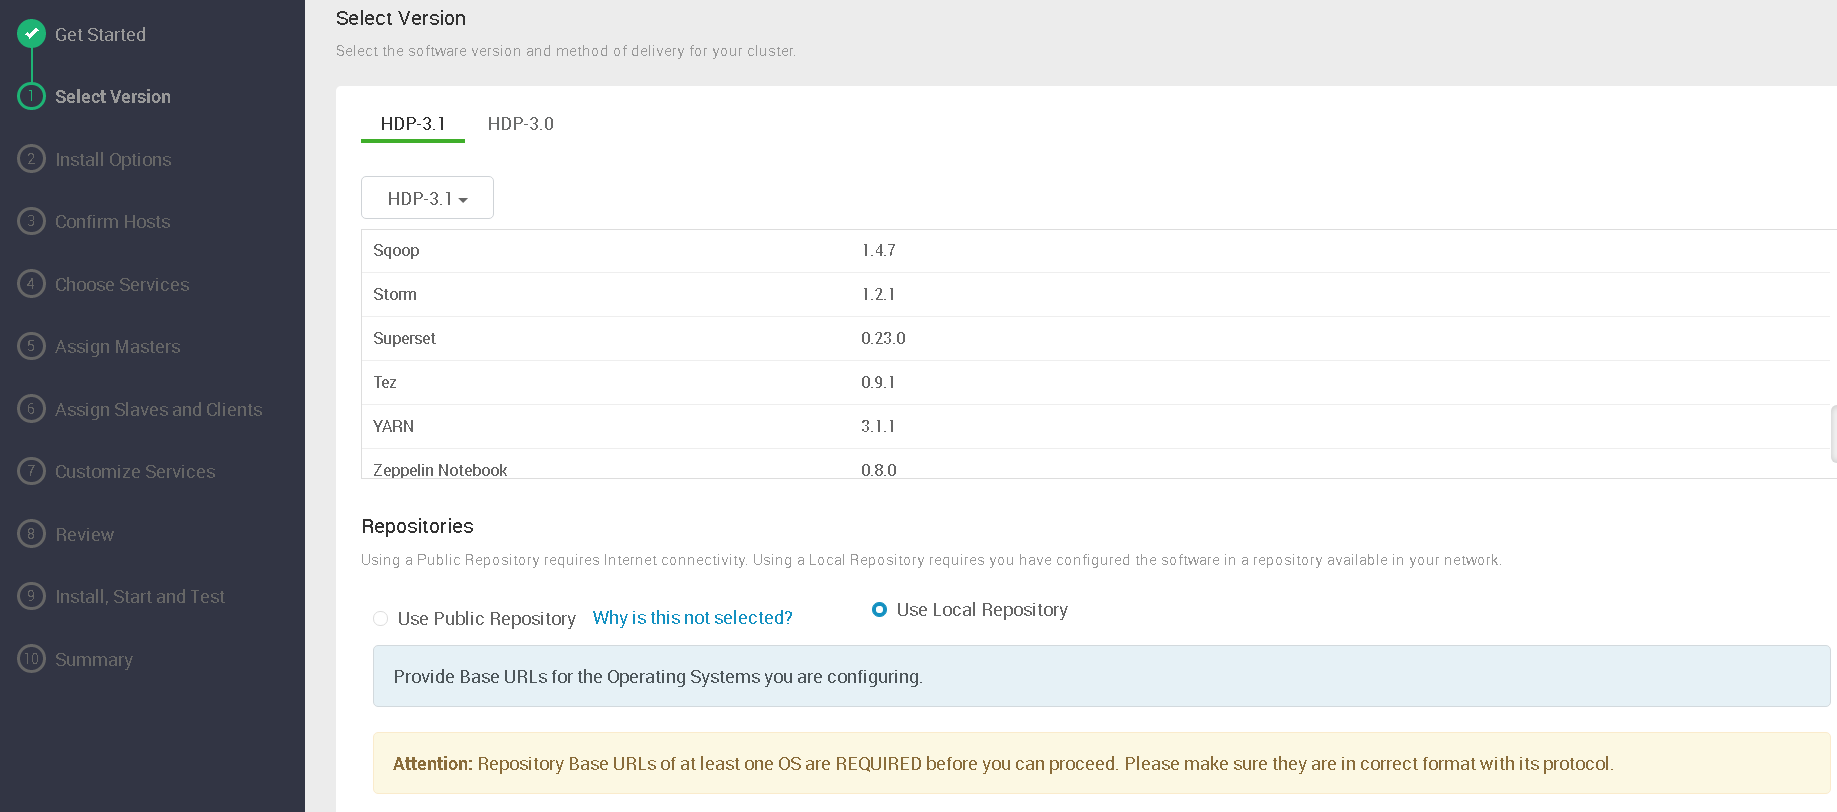
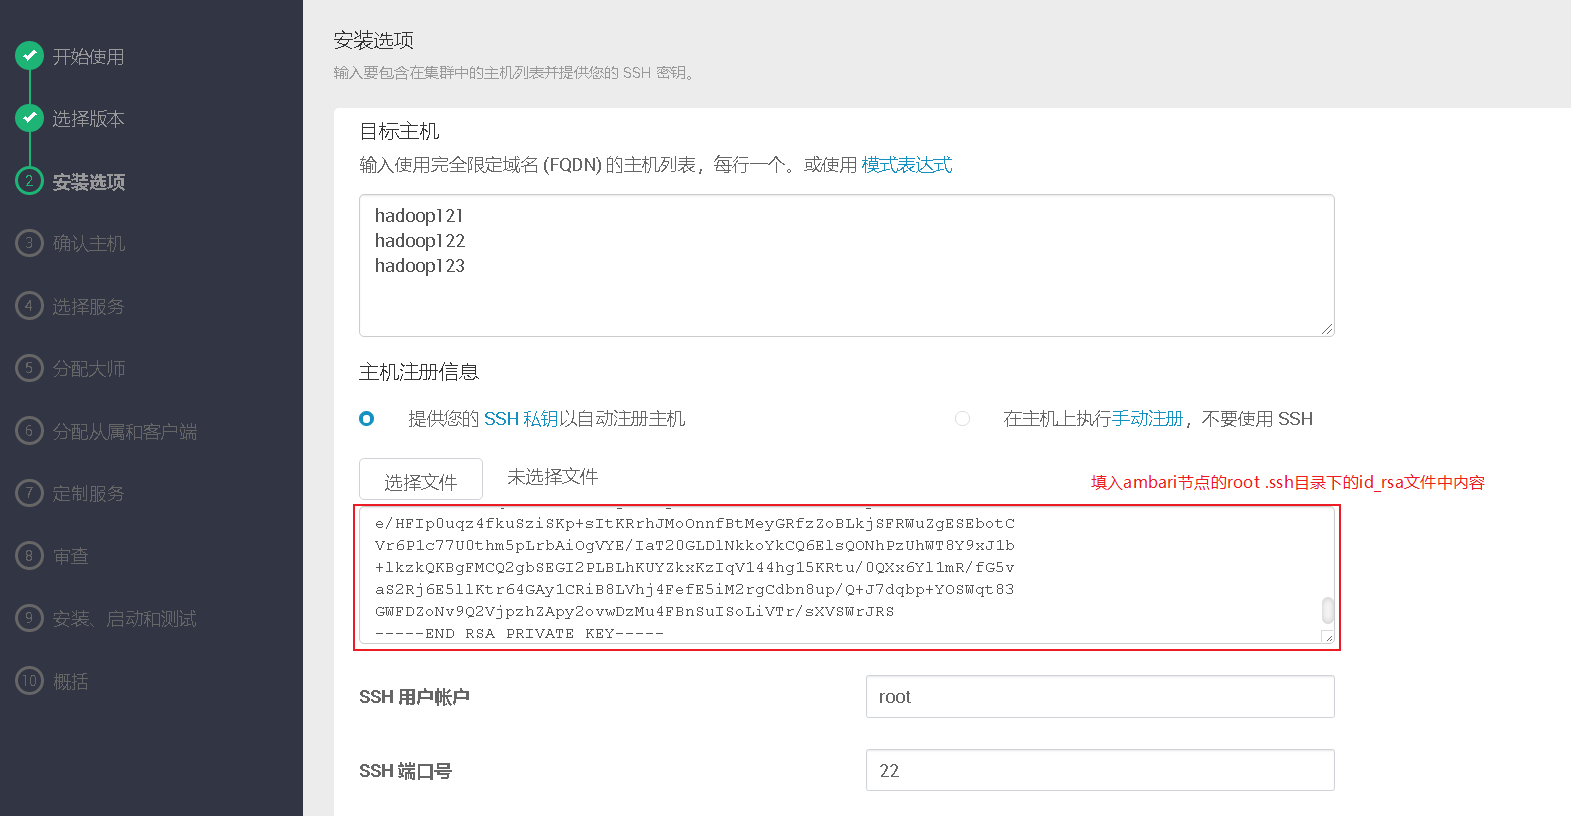
我的是centos7,自行选择对应系统类型进行填写:

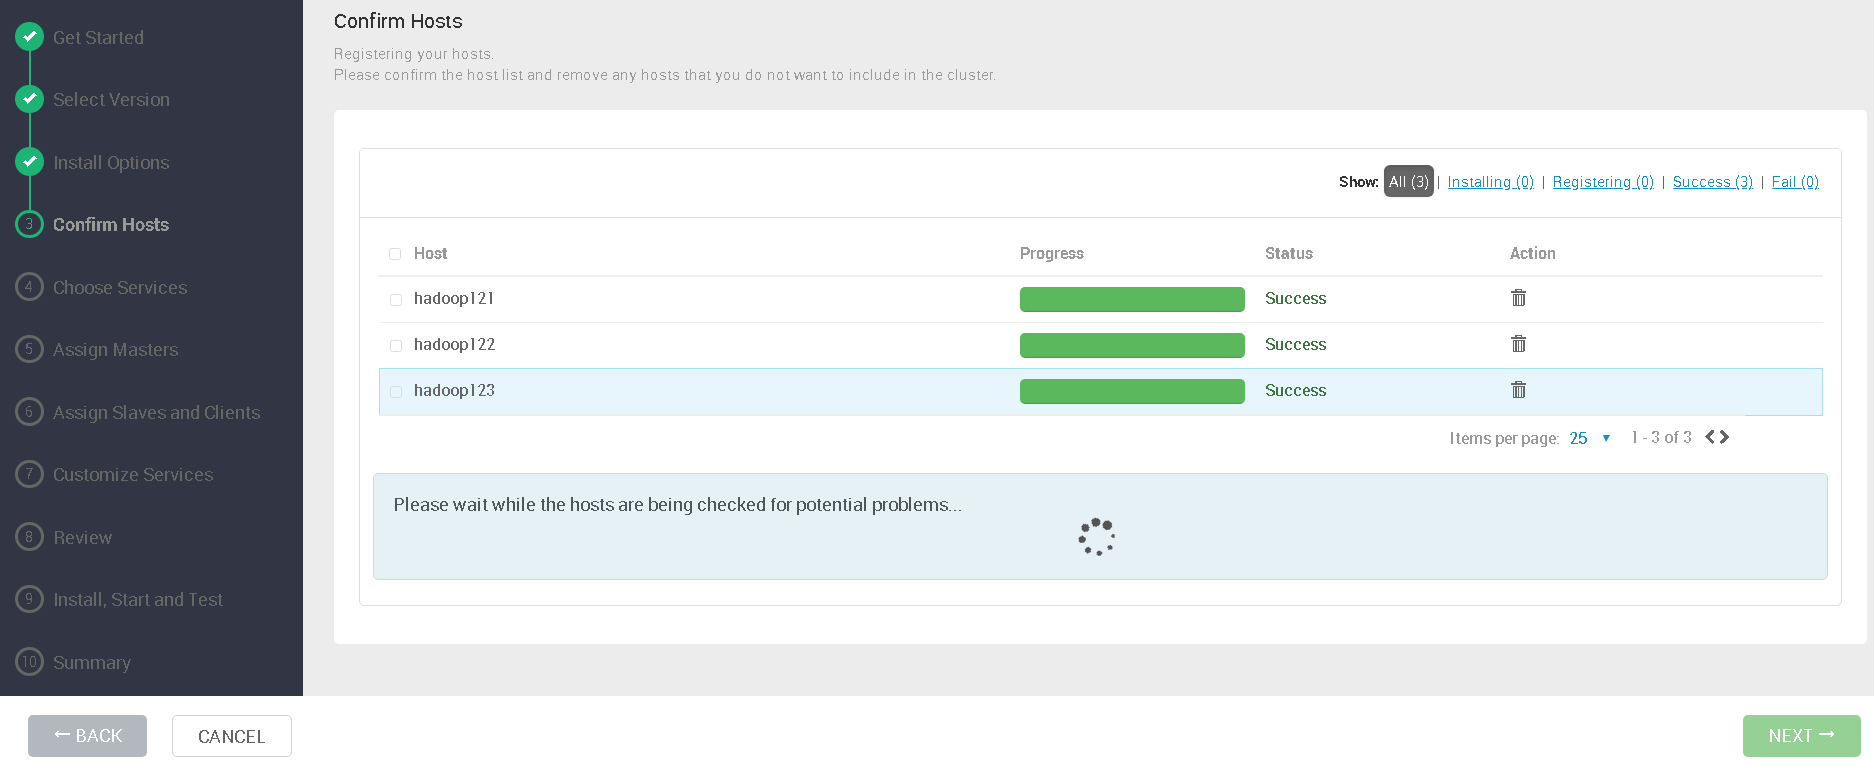
填写主机列表并自动注册:
显示注册成功:
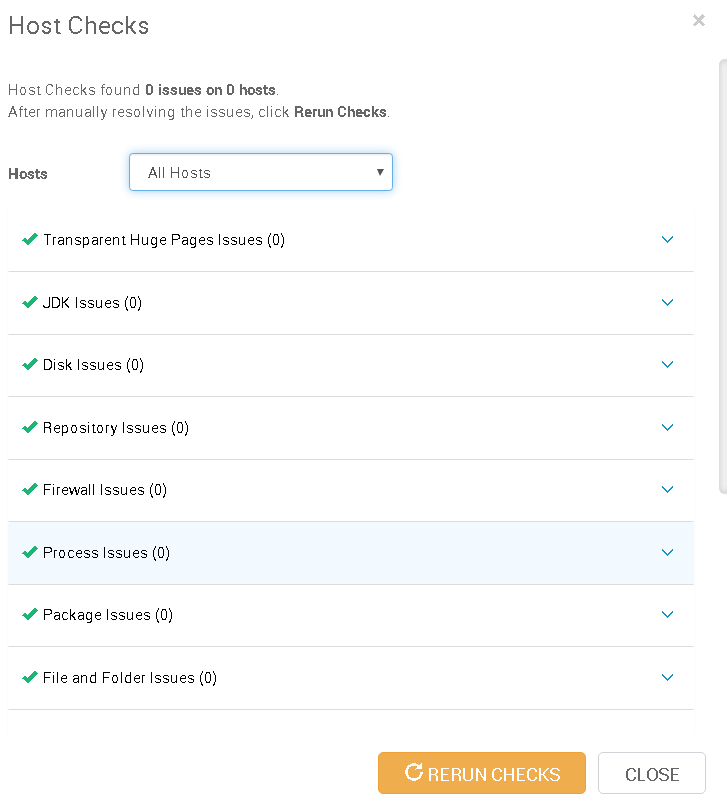
主机检测显示均通过:
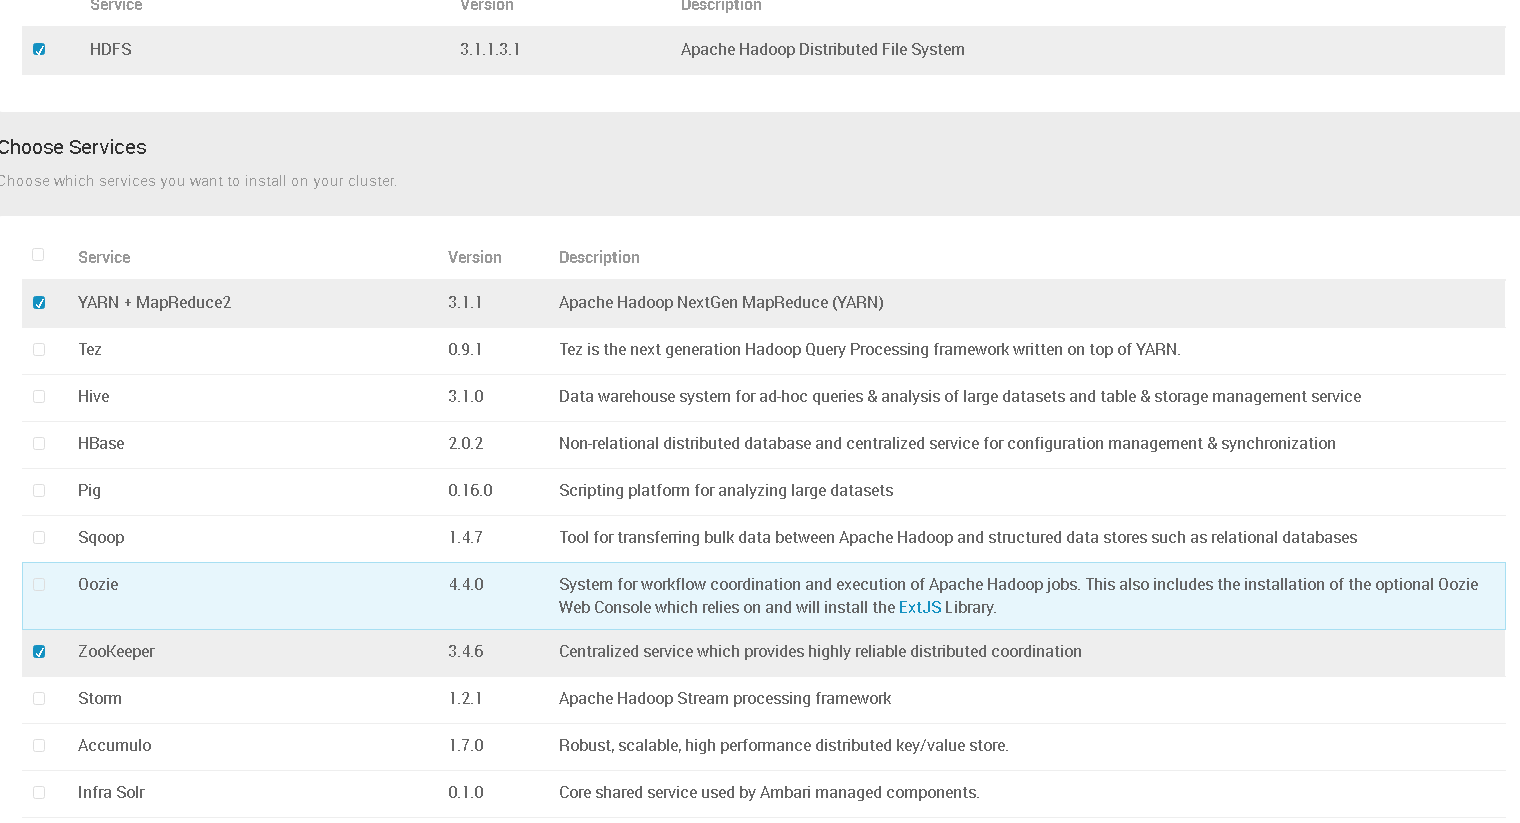
选择需要安装的组件进行安装即可,这里已hdfs为例:
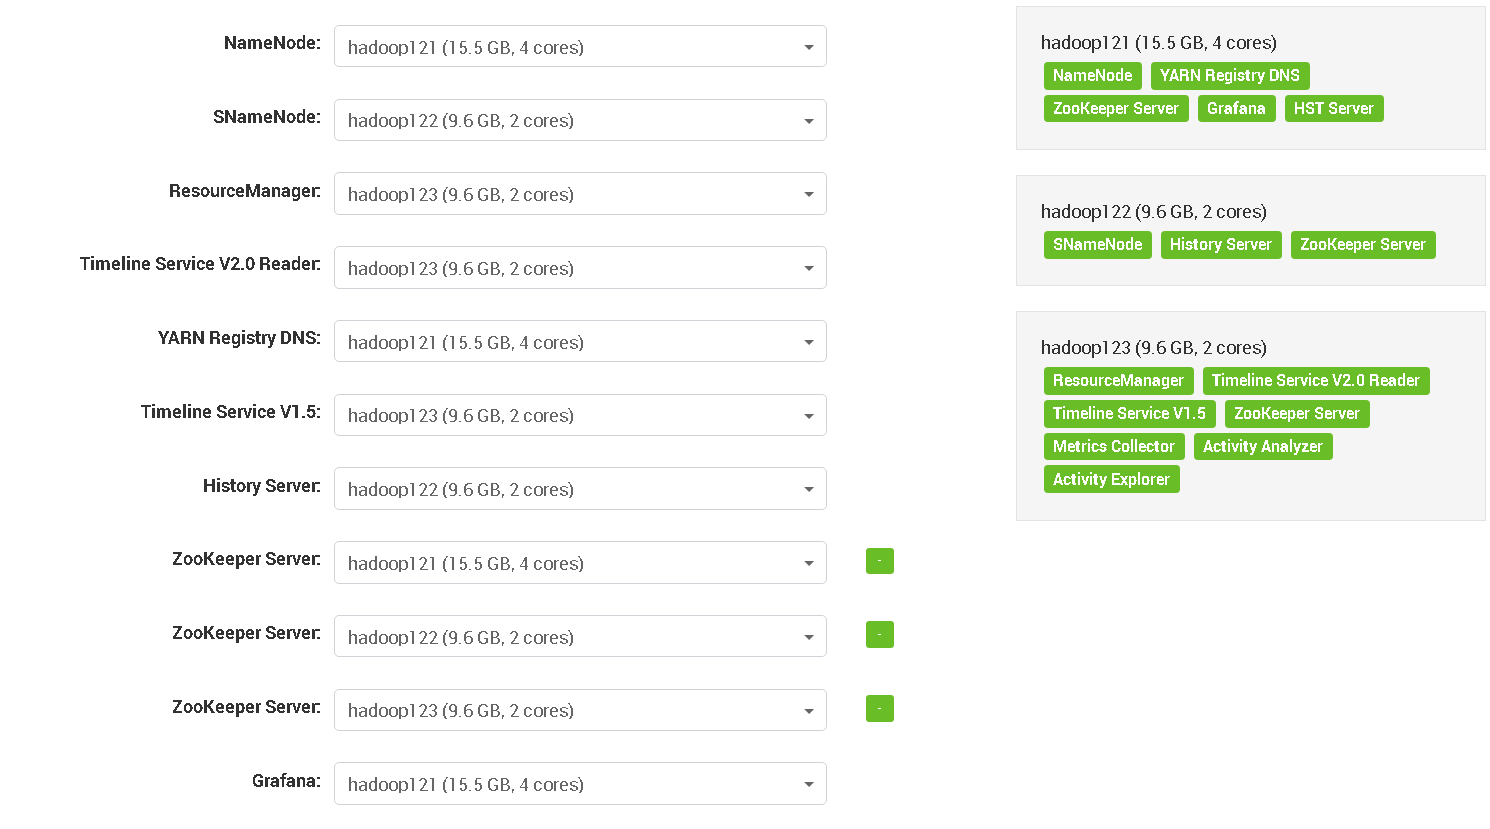
分配角色:
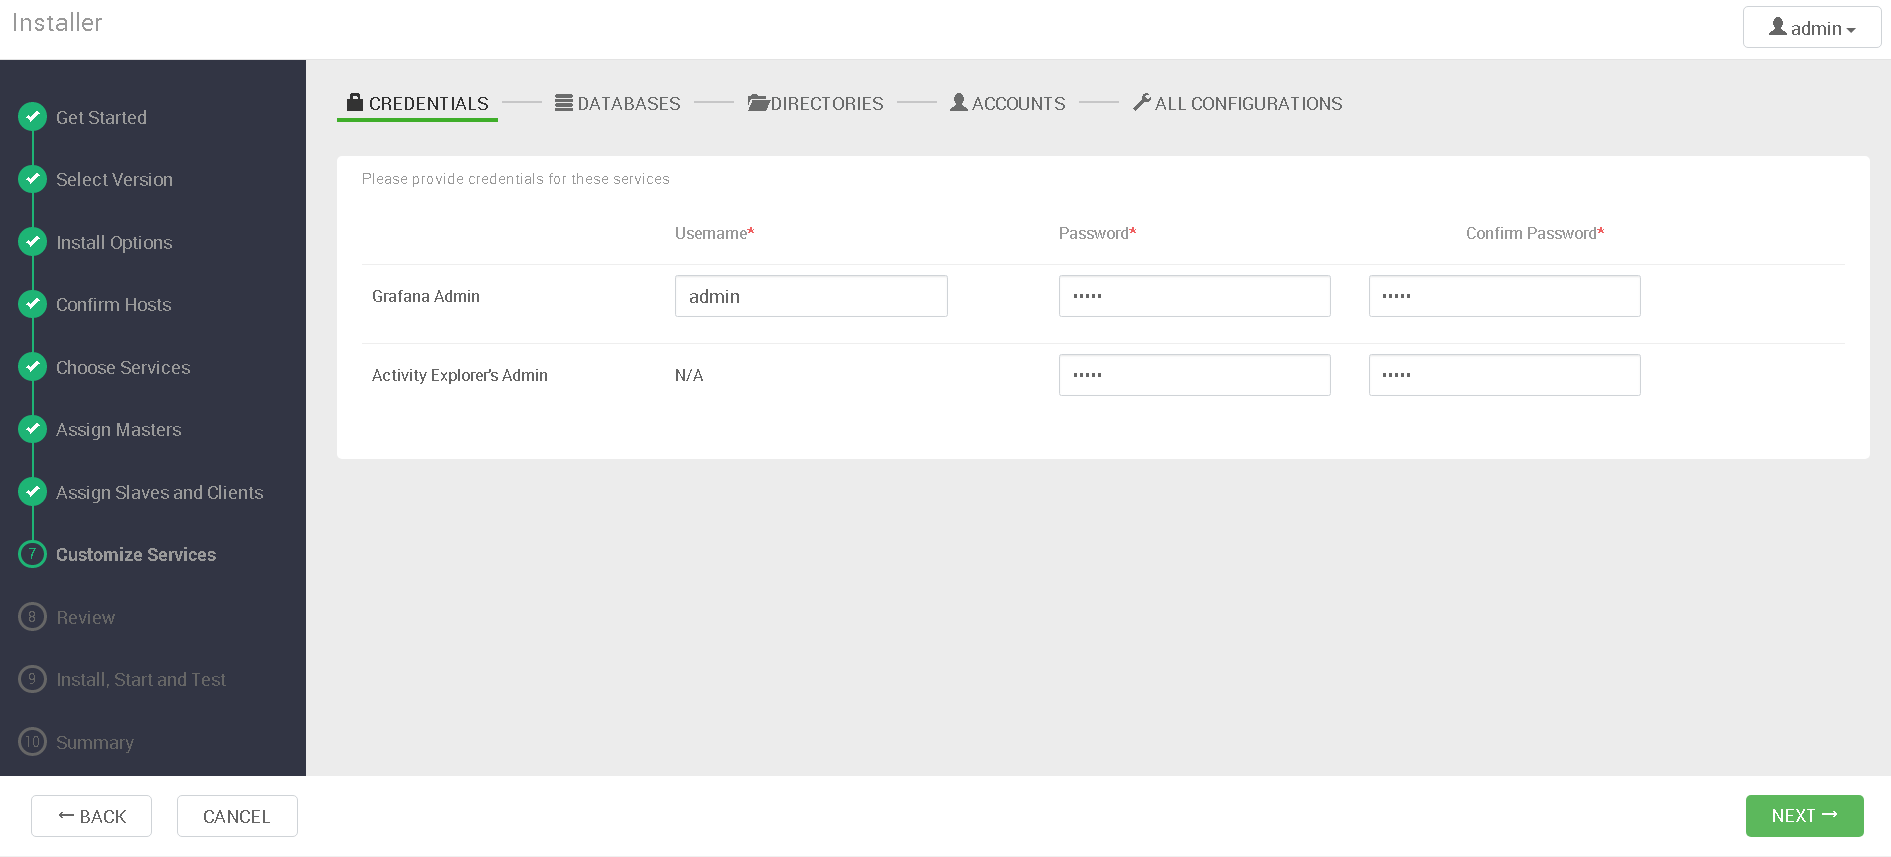
安装步骤跟cdh差不多,根据需要修改配置信息即可:
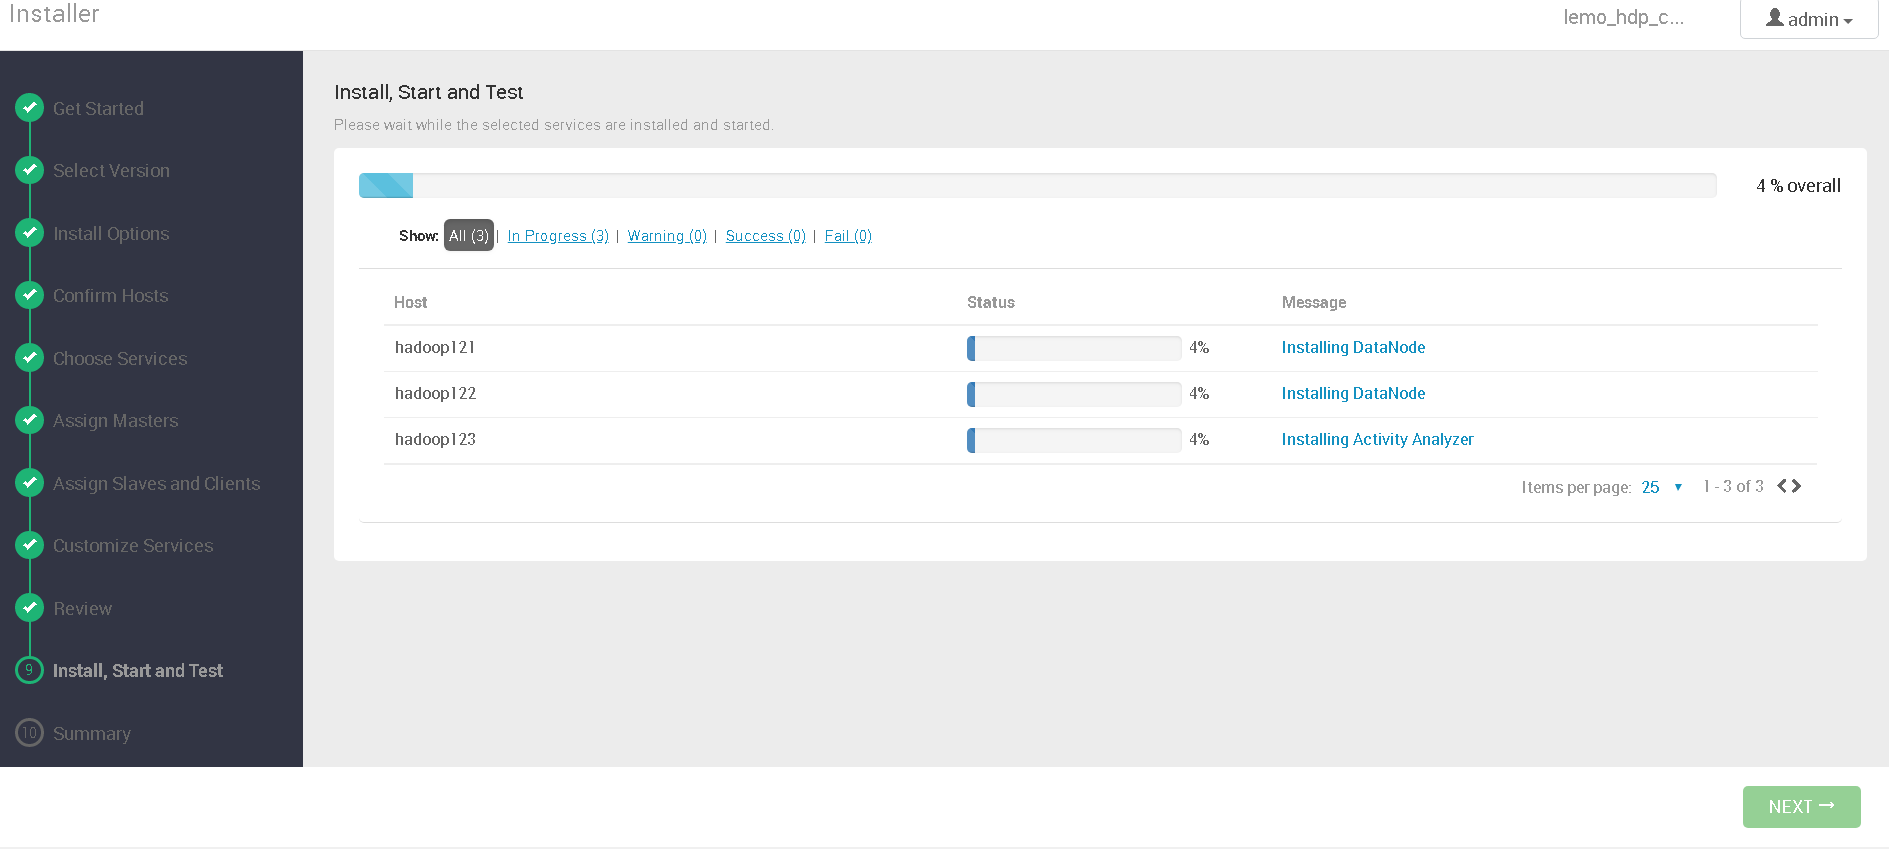
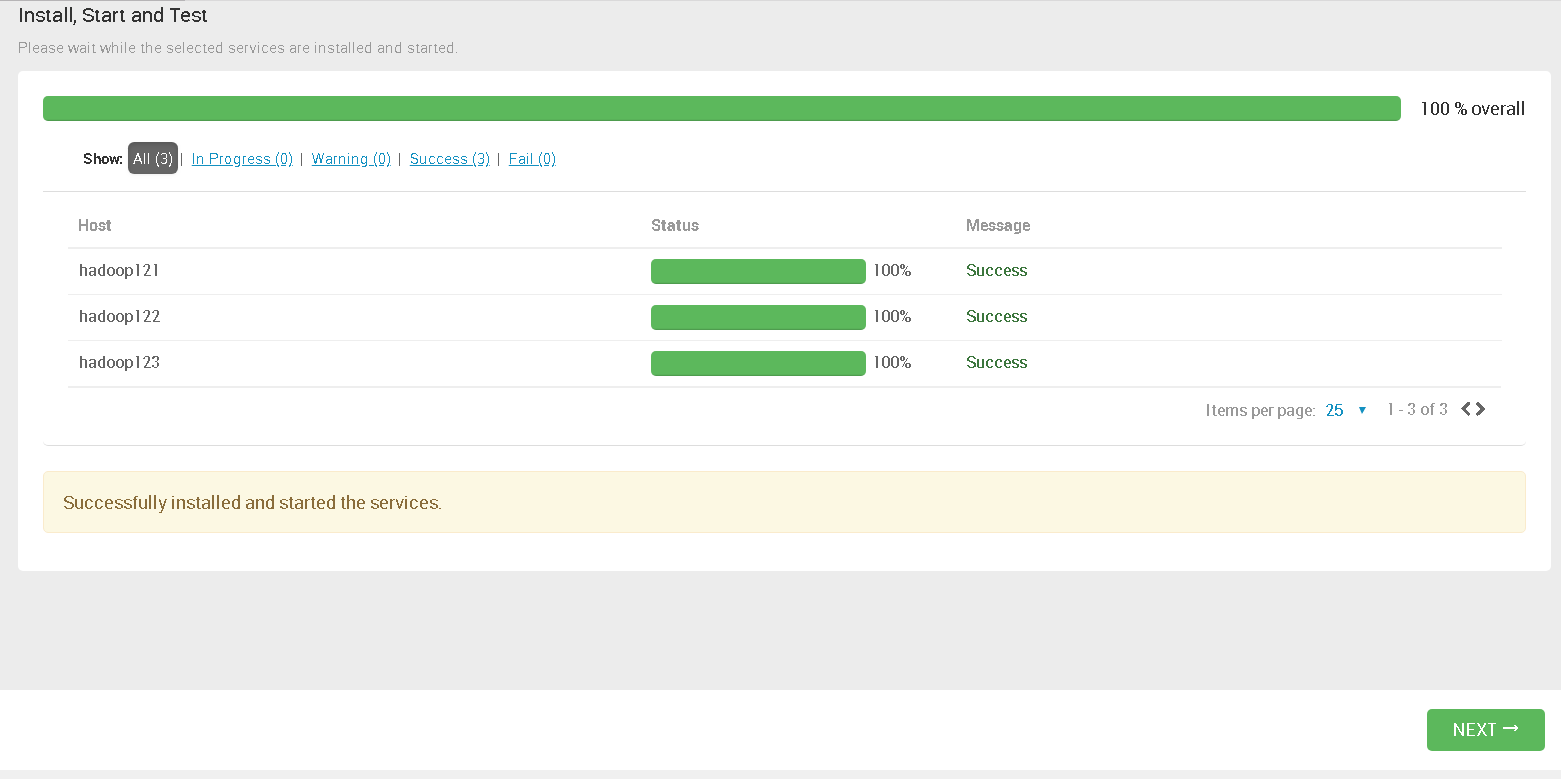
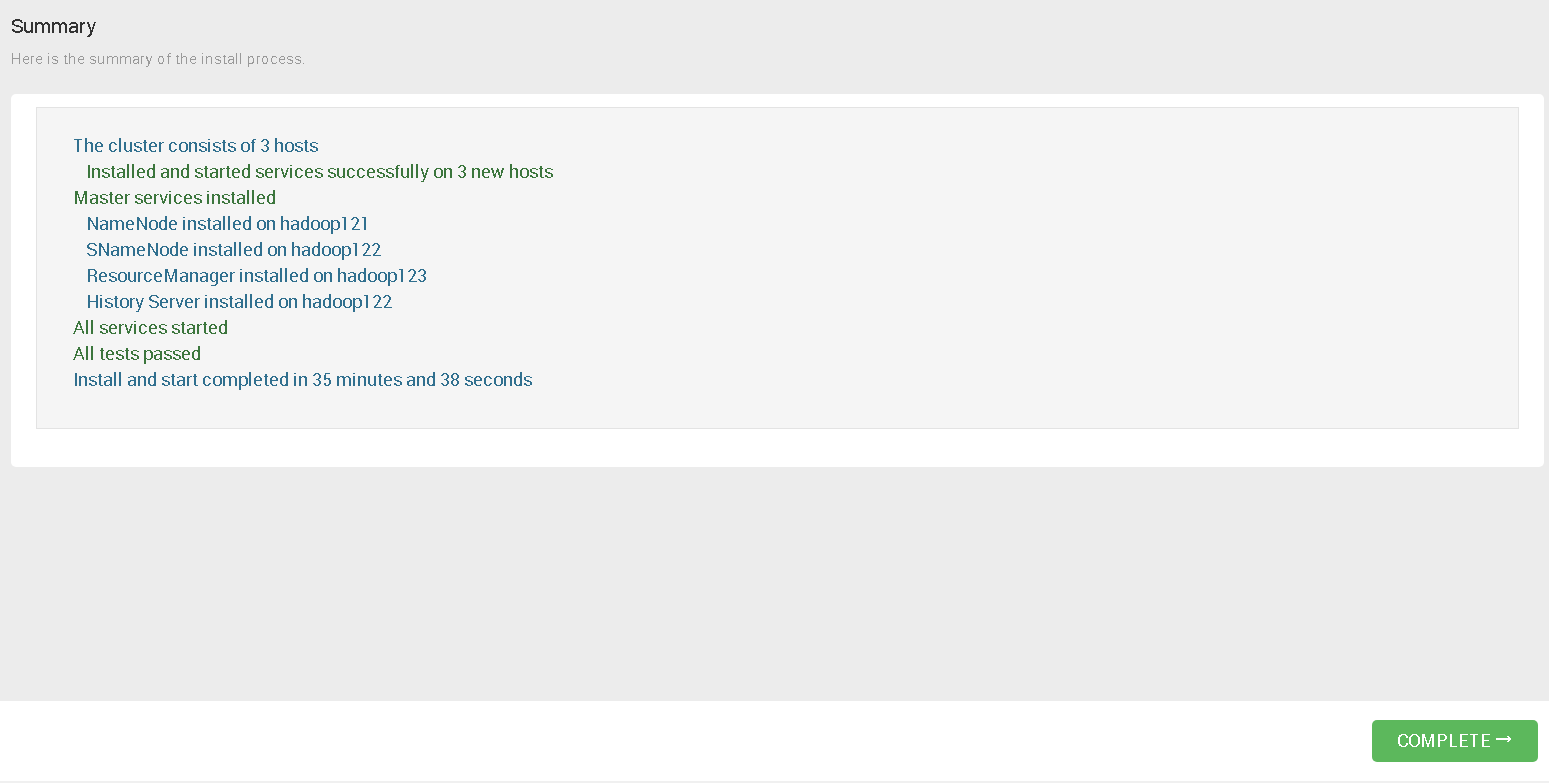
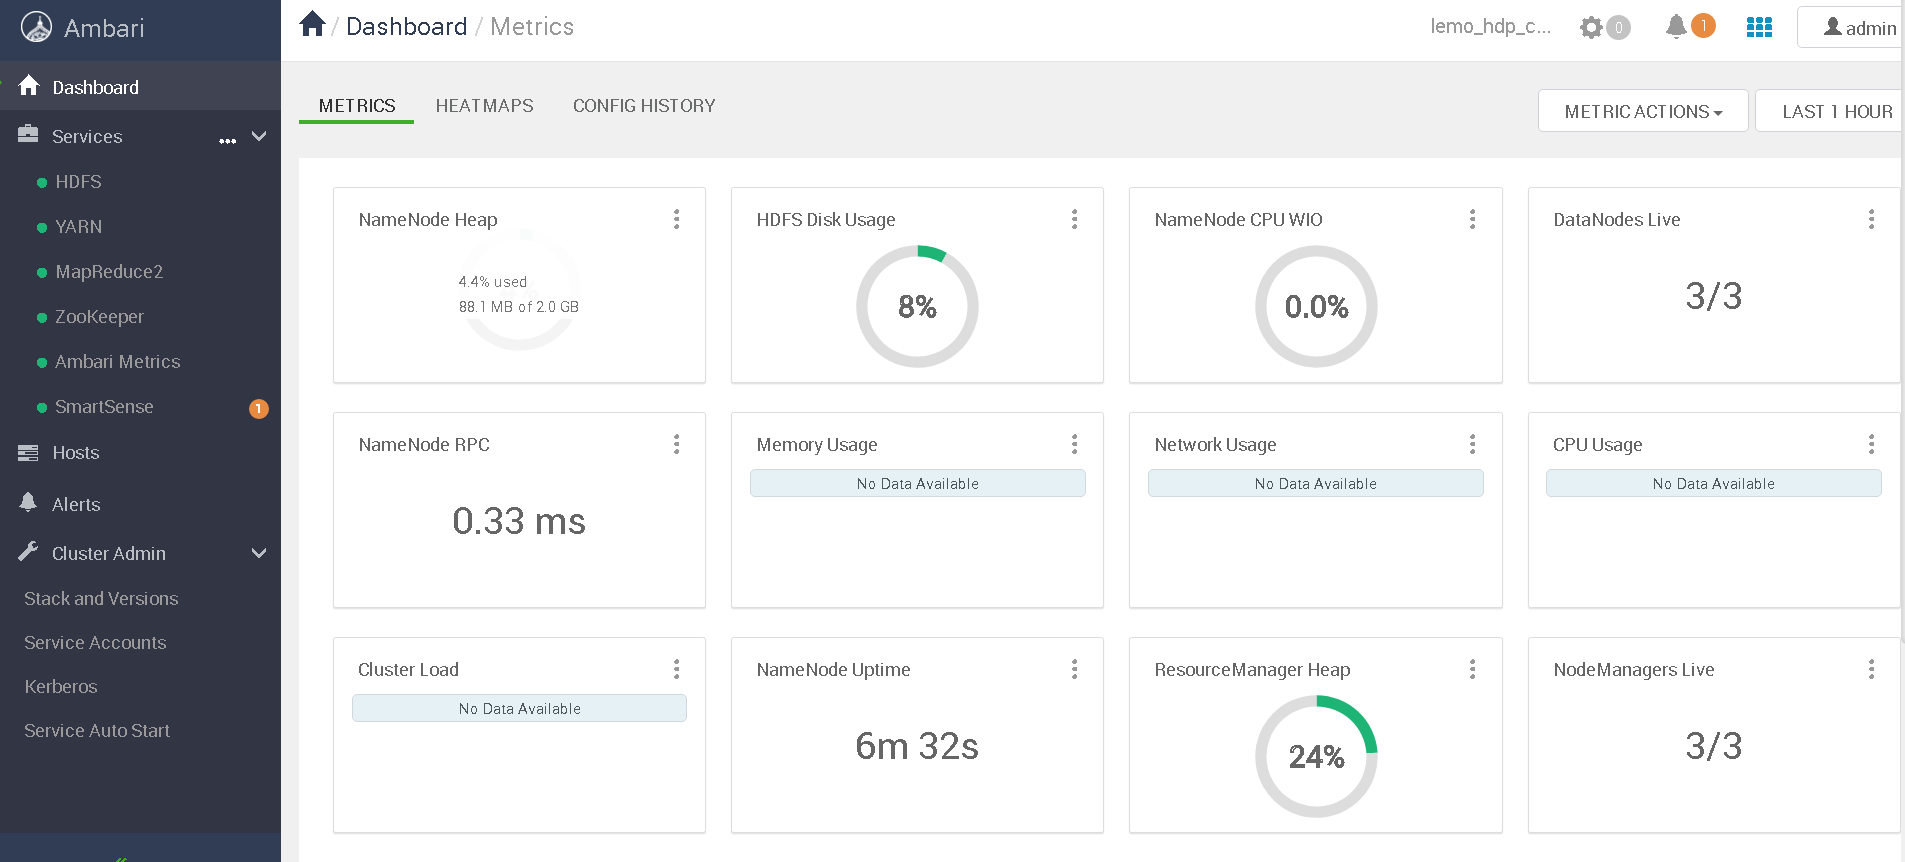
安装完成,后面再补充各个组件安装步骤已经各组件集成方式.
第一次安装没遇到任何坑,一路绿灯安装完成,运气还是不错
