webpack使用七
产品阶段的构建
目前为止,我们已经使用webpack构建了一个完整的开发环境。但是在产品阶段,可能还需要对打包的文件进行额外的处理,比如说优化,压缩,缓存以及分离CSS和JS。
对于复杂的项目来说,需要复杂的配置,这时候分解配置文件为多个小的文件可以使得事情井井有条,以上面的例子来说,我们创建一个webpack.production.config.js的文件,在里面加上基本的配置,它和原始的webpack.config.js很像,如下
// webpack.production.config.js
const webpack = require('webpack');
const HtmlWebpackPlugin = require('html-webpack-plugin');

module.exports = {
    entry: __dirname + "/app/main.js", //已多次提及的唯一入口文件
    output: {
        path: __dirname + "/build",
        filename: "bundle.js"
    },
    devtool: 'eval-source-map',
    devServer: {
        contentBase: "./public", //本地服务器所加载的页面所在的目录
        historyApiFallback: true, //不跳转
        inline: true,
        hot: true
    },
    module: {
        rules: [{
            test: /(\.jsx|\.js)$/,
            use: {
                loader: "babel-loader"
            },
            exclude: /node_modules/
        }, {
            test: /\.css$/,
            use: ExtractTextPlugin.extract({
                fallback: "style-loader",
                use: [{
                    loader: "css-loader",
                    options: {
                        modules: true
                    }
                }, {
                    loader: "postcss-loader"
                }],
            })
        }]
    },
    plugins: [
        new webpack.BannerPlugin('版权所有,翻版必究'),
        new HtmlWebpackPlugin({
            template: __dirname + "/app/index.tmpl.html" //new 一个这个插件的实例,并传入相关的参数
        }),
        new webpack.HotModuleReplacementPlugin() //热加载插件
    ],
};
//package.json
{
  "name": "test",
  "version": "1.0.0",
  "description": "",
  "main": "index.js",
  "scripts": {
    "test": "echo \"Error: no test specified\" && exit 1",
    "start": "webpack",
    "server": "webpack-dev-server --open",
    "build": "NODE_ENV=production webpack --config ./webpack.production.config.js --progress"
  },
  "author": "",
  "license": "ISC",
  "devDependencies": {
...
  },
  "dependencies": {
    "react": "^15.6.1",
    "react-dom": "^15.6.1"
  }
}
注意:window下的build后应该这样写:"set NODE_ENV=production webpack --config ./webpack.production.config.js --progress"
优化插件
webpack提供了一些在发布阶段非常有用的优化插件,它们大多来自于webpack社区,可以通过npm安装,通过以下插件可以完成产品发布阶段所需的功能
OccurenceOrderPlugin:为组件分配ID,通过这个插件webpack可以分析和优先考虑使用最多的模块,并为它们分配最小的IDUglifyJsPlugin:压缩JS代码;ExtractTextPlugin:分离CSS和JS文件
我们继续用例子来看看如何添加它们,OccurenceOrder 和 UglifyJS plugins 都是内置插件,你需要做的只是安装其它非内置插件
npm install --save-dev extract-text-webpack-plugin
在配置文件的plugins后引用它们
// webpack.production.config.js
const webpack = require('webpack');
const HtmlWebpackPlugin = require('html-webpack-plugin');
const ExtractTextPlugin = require('extract-text-webpack-plugin');

module.exports = {
    entry: __dirname + "/app/main.js",//已多次提及的唯一入口文件
    output: {
        path: __dirname + "/build",
        filename: "bundle.js"
    },
    devtool: 'none',
    devServer: {
        contentBase: "./public",//本地服务器所加载的页面所在的目录
        historyApiFallback: true,//不跳转
        inline: true,
        hot: true
    },
    module: {
        rules: [
            {
                test: /(\.jsx|\.js)$/,
                use: {
                    loader: "babel-loader"
                },
                exclude: /node_modules/
            },
            {
                test: /\.css$/,
                use: [
                    {
                        loader: "style-loader"
                    }, {
                        loader: "css-loader",
                        options: {
                            modules: true
                        }
                    }, {
                        loader: "postcss-loader"
                    }
                ]
            }
        ]
    },
    plugins: [
        new webpack.BannerPlugin('版权所有,翻版必究'),
        new HtmlWebpackPlugin({
            template: __dirname + "/app/index.tmpl.html"
        }),
        new webpack.optimize.OccurrenceOrderPlugin(),
        new webpack.optimize.UglifyJsPlugin(),
        new ExtractTextPlugin("style.css")
    ],
};
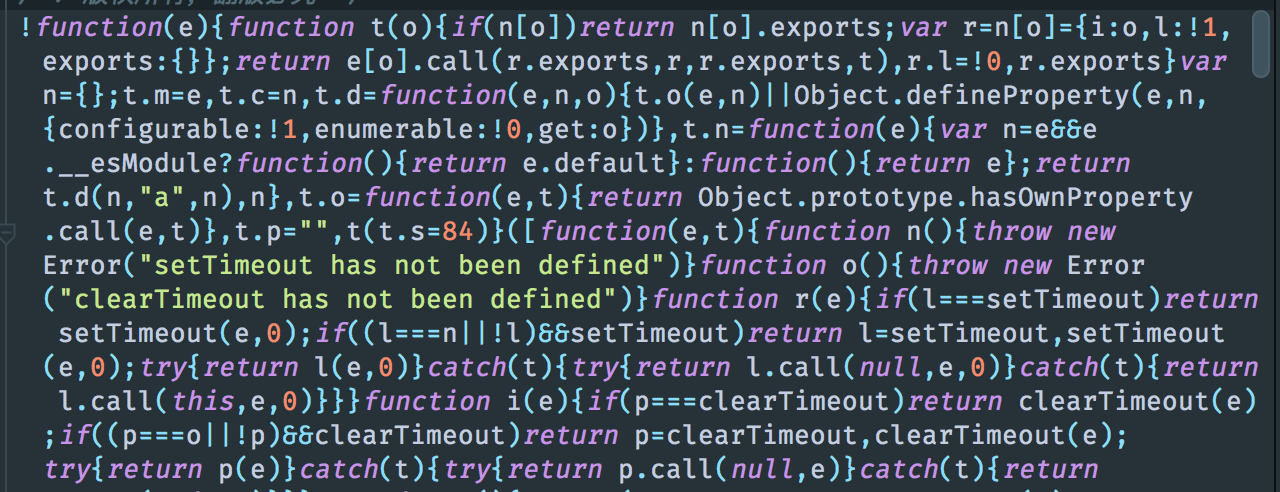
此时执行npm run build可以看见代码是被压缩后的

缓存
缓存无处不在,使用缓存的最好方法是保证你的文件名和文件内容是匹配的(内容改变,名称相应改变)
webpack可以把一个哈希值添加到打包的文件名中,使用方法如下,添加特殊的字符串混合体([name], [id] and [hash])到输出文件名前
const webpack = require('webpack');
const HtmlWebpackPlugin = require('html-webpack-plugin');
const ExtractTextPlugin = require('extract-text-webpack-plugin');

module.exports = {
..
    output: {
        path: __dirname + "/build",
        filename: "bundle-[hash].js"
    },
   ...
};
现在用户会有合理的缓存了。


