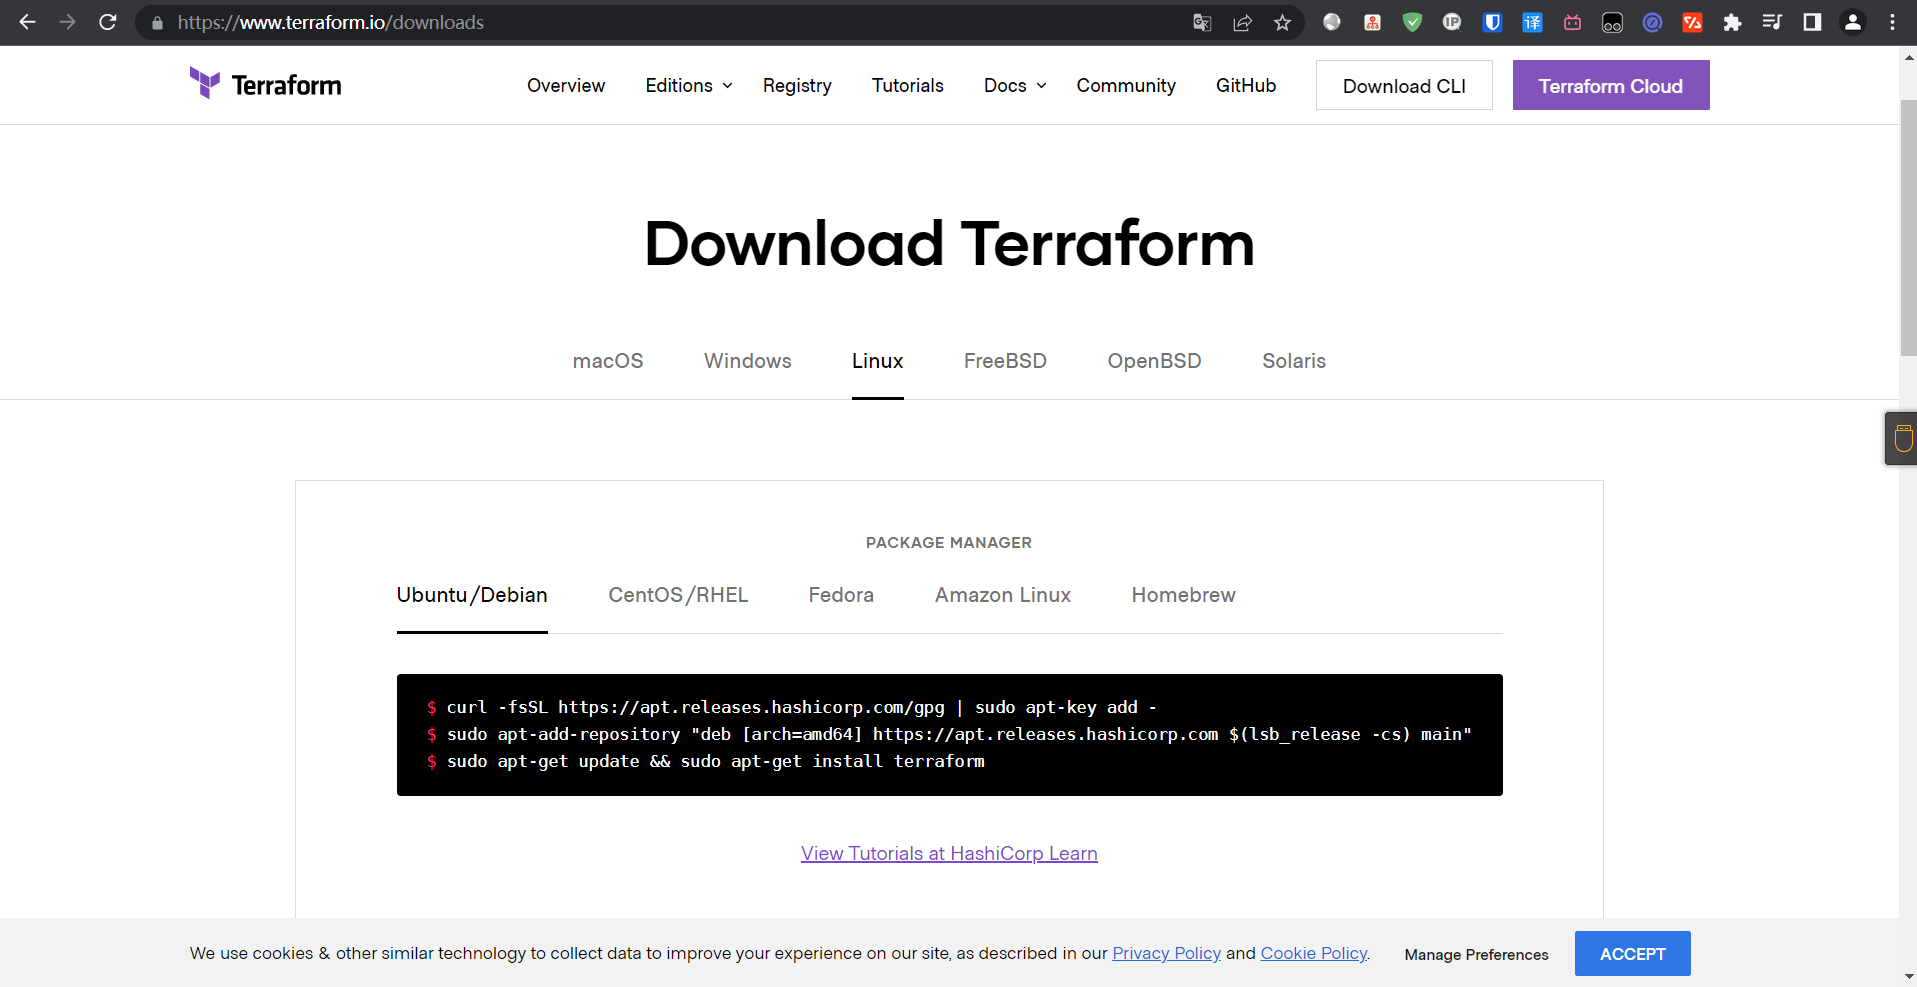
下载链接:https://www.terraform.io/downloads

[root@terrafrom ~]# yum install -y yum-utils
[root@terrafrom ~]# yum-config-manager --add-repo https://rpm.releases.hashicorp.com/RHEL/hashicorp.repo
[root@terrafrom ~]# yum -y install terraform

检测安装:
[root@terrafrom ~]# terraform --version
Terraform v1.1.7
on linux_amd64
# 证明安装完成
2:配置Aliyun账户
# Terraform配置语法:
1:Terraform的配置文件都是以.tf结尾的
2:Terraform支持两种模式:HCL,JSON

# 我们需要有一个AK SK
通过RAM生成一个账户(开通api调用权限,以及需要操作资源的权限),然后通过用户登录到控制台生成AK SK即可或直接在主账号生成也可以
3:配置Provider
Provider:Terraform通过Provider管理基础设施,使用Provider与云供应商API进行交互;每个Provider都包含相关的资源和数据源
alicoud provider:https://registry.terraform.io/providers/aliyun/alicloud/latest
docs:https://registry.terraform.io/providers/aliyun/alicloud/latest/docs

# 声明式provider
[root@terrafrom ~]# cat versions.tf
terraform {
    required_version = "1.1.7"
    required_providers {
      alicloud = {
        source = "aliyun/alicloud"
        version = "1.162.0"
    }
  }
}

1:required_providers{}:定义Providers;
2:source:定义provider的源地址
3:required_version:指定Terraform的版本

# 配置provider
# 保护好AK SK 这里是通过第一种变量的方式去调用AK SK
1:alicloud_access_key:RAM用户的AK信息
2:alicloud_secret_key:RAM用户的SK信息
3:region:定义资源的区域
[root@terrafrom ~]# cat main.tf
provider "alicloud" {
  access_key = var.alicloud.access_key
  secret_key = var.alicloud.secret_key
  region = var.region
}
或者
provider "alicloud" {
  access_key = "${var.access_key}"
  secret_key = "${var.secret_key}"
  region 	 = "${var.region}"
}

# 定义环境变量
# 可以从环境变量或文本文件中读取
[root@terrafrom ~]# cat variables.tf
variable "access_key" {
  type = string
}

variable "secret_key" {
  type = string
}

variable "region" {
  type = string
}

# 声明变量,这里我就用xxx代提了
[root@terrafrom ~]# export TF_VAR_alicloud_access_key="xxxxxxxxxxxxxxxxxJn0vZx4uTmoY3HFw"
[root@terrafrom ~]# export TF_VAR_alicloud_secret_key="xxxxxxxxxxxxxxxzZtxjESP5TaR1KM"
[root@terrafrom ~]# export TF_VAR_region="cn-shanghai"
4:定义阿里云资源
1:resource:
资源来自provider,是Terraform中最重要的元素,每个资源块描述一个或多个基础对象,例如:网络,计算实例,或更高级别的组件,例如DNS记录等
资源名称必须以字母或下划线开头,并且只能字母,数字,下划线,破折号。
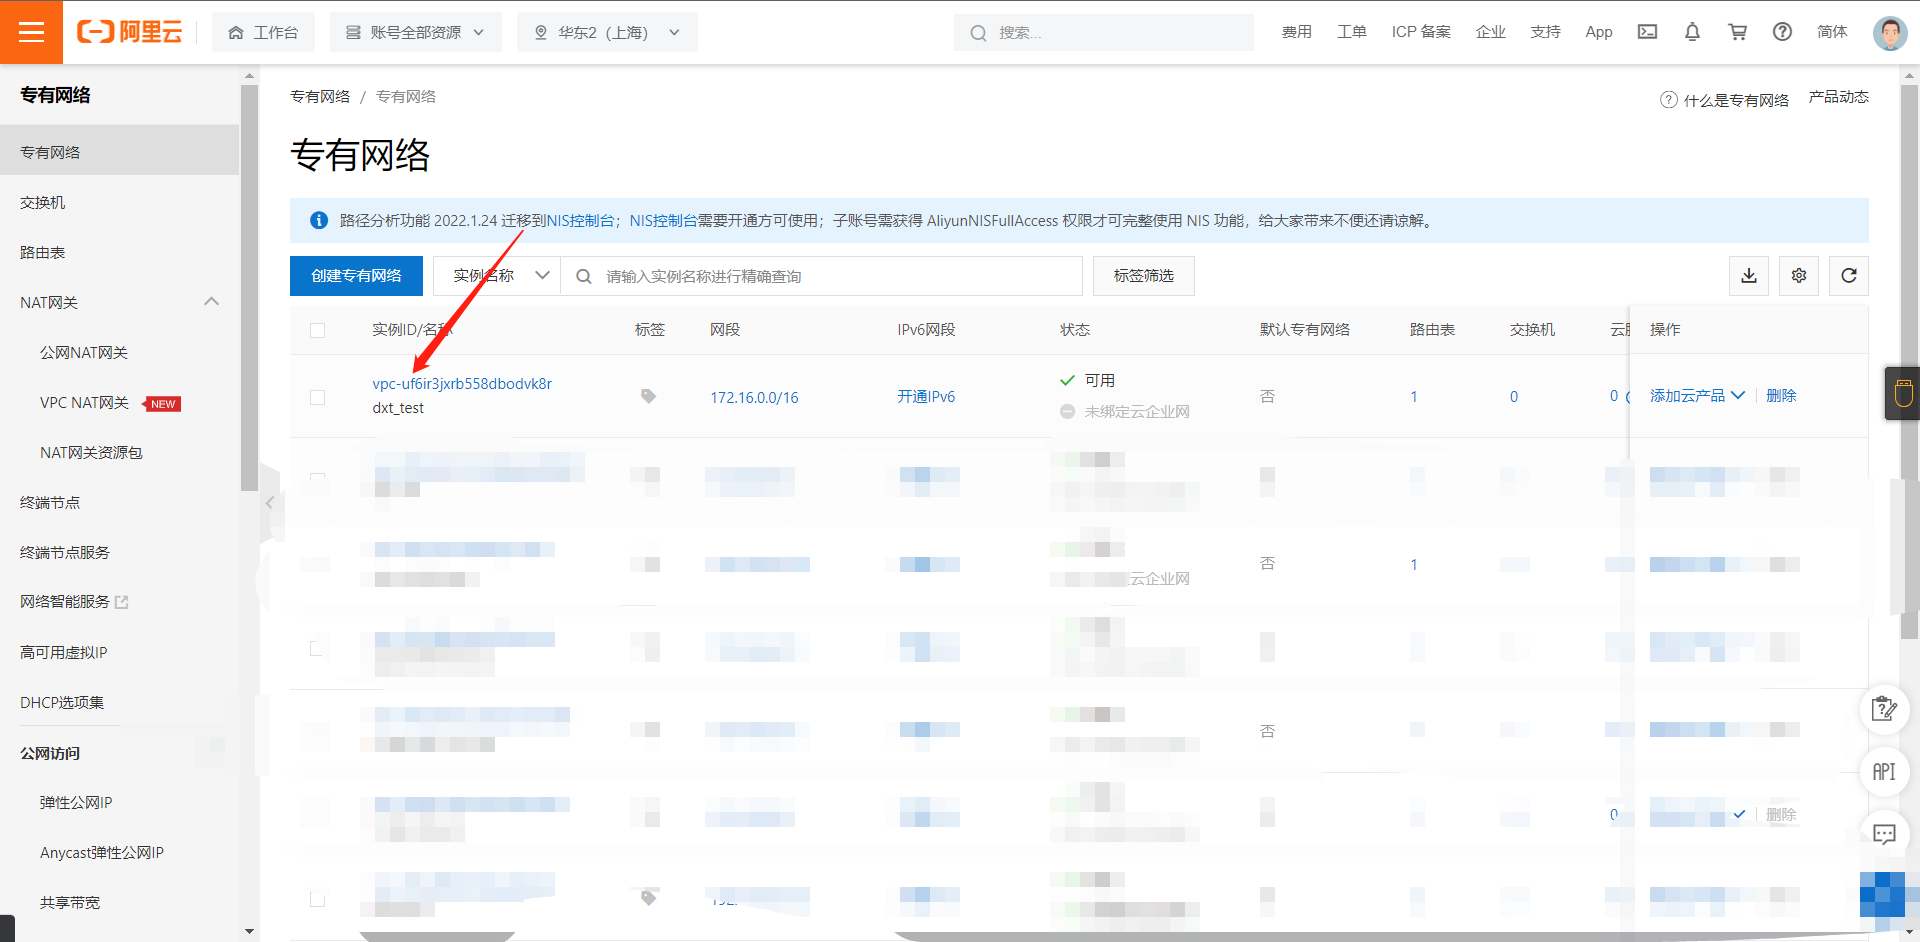
2:定义一个VPC资源
VPC(Virtual Private Cloud):是用户基于阿里云创建的自定义私有网络,不同的专有网络之间有着二层逻辑隔离,用户可以在自己创建的专有网络内创建和管理云产品,比如ECS,SLB,RDS等。
[root@terrafrom ~]# cat aliyun_vpc.tf
resource "alicloud_vpc" "vpc" {
vpc_name = "duxt_test"
cidr_block = "172.16.0.0/16"
}
resource "alicloud_vswitch" "vsw" {
vpc_id = alicloud_vpc.vpc.name
cidr_block = "172.16.0.0/16"
zone_id = "cn-shanghai"
}
# 知识点
此处涉及到资源的引用,因为创建VPC需要创建虚拟交换机,然后虚拟交换机又需要引用vpc,所以这里就产生了资源引用
引用方式是:<RESOURCE TYPE>.<NAME>.<ATTRIBUTE>
# vswatch的创建需要绑定给VPC,即VPC的ID
2:定义一个安全组
安全组:安全组是一种虚拟防火墙,用于控制安全组内的ECS实例的入流量与出流量,从而提高ECS的安全性。安全组具备状态检测和数据包过滤能力,您可以基于安全组的特性和安全组规则的配置在云端划分安全域
resource "alicloud_security_group" "group" {
name = "duxt_test"
vpc_id = alicloud_vpc.vpc.id
security_group_type = "normal"
}
resource "alicloud_security_group_rule" "allow_80_tcp" {
type = "ingress"
ip_protocol = "tcp"
nic_type = "intranet"
policy = "accept"
portrange = "80/80"
priority = 16
security_group_id = alicloud_security_group.group.id
cidr_ip = "0.0.0.0/0"
}
resource "alicloud_security_group_rule" "allow_22_tcp" {
type = "ingress"
ip_protocol = "tcp"
nic_type = "intranet"
policy = "accept"
portrange = "22/22"
priority = 16
security_group_id = alicloud_security_group.group.id
cidr_ip = "0.0.0.0/0"
}
3:初始化
[root@terrafrom terraform]# terraform init
Initializing the backend...
Initializing provider plugins...
- Finding aliyun/alicloud versions matching "1.162.0"...
- Installing aliyun/alicloud v1.162.0...
- Installed aliyun/alicloud v1.162.0 (signed by a HashiCorp partner, key ID 47422B4AA9FA381B)
Partner and community providers are signed by their developers.
If you'd like to know more about provider signing, you can read about it here:
https://www.terraform.io/docs/cli/plugins/signing.html
Terraform has created a lock file .terraform.lock.hcl to record the provider
selections it made above. Include this file in your version control repository
so that Terraform can guarantee to make the same selections by default when
you run "terraform init" in the future.
Terraform has been successfully initialized!
You may now begin working with Terraform. Try running "terraform plan" to see
any changes that are required for your infrastructure. All Terraform commands
should now work.
If you ever set or change modules or backend configuration for Terraform,
rerun this command to reinitialize your working directory. If you forget, other
commands will detect it and remind you to do so if necessary.
4:使用plan制定计划
[root@terrafrom terraform]# terraform plan
Terraform used the selected providers to generate the following execution plan. Resource actions are indicated with the following
symbols:
+ create
Terraform will perform the following actions:
# alicloud_security_group.group will be created
+ resource "alicloud_security_group" "group" {
+ id = (known after apply)
+ inner_access = (known after apply)
+ inner_access_policy = (known after apply)
+ name = "duxt_test"
+ security_group_type = "normal"
+ vpc_id = (known after apply)
}
# alicloud_security_group_rule.allow_22_tcp will be created
+ resource "alicloud_security_group_rule" "allow_22_tcp" {
+ cidr_ip = "0.0.0.0/0"
+ id = (known after apply)
+ ip_protocol = "tcp"
+ nic_type = "intranet"
+ policy = "accept"
+ port_range = "22/22"
+ prefix_list_id = (known after apply)
+ priority = 16
+ security_group_id = (known after apply)
+ type = "ingress"
}
# alicloud_security_group_rule.allow_80_tcp will be created
+ resource "alicloud_security_group_rule" "allow_80_tcp" {
+ cidr_ip = "0.0.0.0/0"
+ id = (known after apply)
+ ip_protocol = "tcp"
+ nic_type = "intranet"
+ policy = "accept"
+ port_range = "80/80"
+ prefix_list_id = (known after apply)
+ priority = 16
+ security_group_id = (known after apply)
+ type = "ingress"
}
# alicloud_vpc.vpc will be created
+ resource "alicloud_vpc" "vpc" {
+ cidr_block = "172.16.0.0/16"
+ id = (known after apply)
+ ipv6_cidr_block = (known after apply)
+ name = (known after apply)
+ resource_group_id = (known after apply)
+ route_table_id = (known after apply)
+ router_id = (known after apply)
+ router_table_id = (known after apply)
+ status = (known after apply)
+ vpc_name = "duxt_test"
}
# alicloud_vswitch.vsw will be created
+ resource "alicloud_vswitch" "vsw" {
+ availability_zone = (known after apply)
+ cidr_block = "172.16.0.0/16"
+ id = (known after apply)
+ name = (known after apply)
+ status = (known after apply)
+ vpc_id = (known after apply)
+ vswitch_name = (known after apply)
+ zone_id = "cn-shanghai"
}
Plan: 5 to add, 0 to change, 0 to destroy.
────────────────────────────────────────────────────────────────────────────────────────────────────────────────────────────────────────
Note: You didn't use the -out option to save this plan, so Terraform can't guarantee to take exactly these actions if you run "terraform
apply" now.
5:部署
[root@terrafrom terraform]# terraform apply

 浙公网安备 33010602011771号