

源码03-Modal简单使用
Modal的简单使用
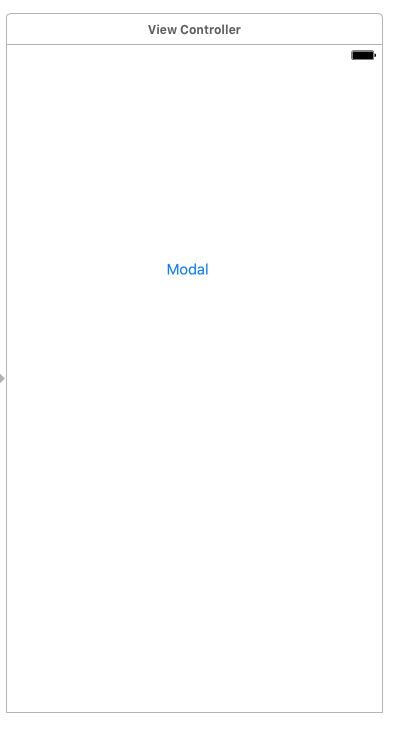
//  ViewController.m
//  01-Modal简单使用
#import "ViewController.h"

#import "TwoViewController.h"

@interface ViewController ()

@property (nonatomic, strong) UIViewController *presentVC;

@end

@implementation ViewController

// 注意:以后想要把一个控制器的view添加到自己控制器的上面,一定要保证这个控制器不要被销毁。

// 点击modal
- (IBAction)modal:(id)sender {


    TwoViewController *vc = [[TwoViewController alloc] init];

    vc.view.backgroundColor = [UIColor yellowColor];


    // 模仿modal效果,Modal出来的控制器添加窗口上面
    // 以后开发经验。以后一个控件只要想显示到最前面,就添加到窗口。

//    // 获取窗口
//    UIWindow *window = [UIApplication sharedApplication].keyWindow;
//    [window addSubview:vc.view];
//
//    // 往下平移一个控制器的高度
//    vc.view.transform = CGAffineTransformMakeTranslation(0, self.view.bounds.size.height);
//
//    [UIView animateWithDuration:0.25 animations:^{
//        // 清空形变
//        vc.view.transform = CGAffineTransformIdentity;
//    }];
//
//    // 强引用modal出来的控制器
//    self.presentVC = vc;


//    UIView animateWithDuration:<#(NSTimeInterval)#> animations:<#^(void)animations#> completion:<#^(BOOL finished)completion#>

    // modal一个控制器
    [self presentViewController:vc animated:YES completion:nil];

    NSLog(@"%@",self.presentedViewController);


}

- (void)viewDidLoad {
    [super viewDidLoad];
    // Do any additional setup after loading the view, typically from a nib.
}

- (void)didReceiveMemoryWarning {
    [super didReceiveMemoryWarning];
    // Dispose of any resources that can be recreated.
}

@end
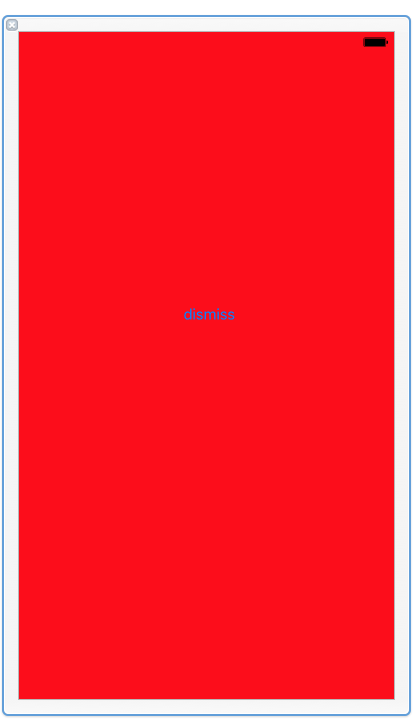
//  TwoViewController.m
//  01-Modal简单使用
#import "TwoViewController.h"

@interface TwoViewController ()

@end

@implementation TwoViewController
// 退出modal的控制器
- (IBAction)dismiss:(id)sender {
    NSLog(@"%s",__func__);

    // modal出谁,谁就有权利dismiss
    // 谁modal控制器,谁也有权利dismiss
//    [self dismissViewControllerAnimated:YES completion:nil];

}

- (void)viewDidLoad {
    [super viewDidLoad];
    // Do any additional setup after loading the view from its nib.
}

- (void)didReceiveMemoryWarning {
    [super didReceiveMemoryWarning];
    // Dispose of any resources that can be recreated.
}

/*
#pragma mark - Navigation

// In a storyboard-based application, you will often want to do a little preparation before navigation
- (void)prepareForSegue:(UIStoryboardSegue *)segue sender:(id)sender {
    // Get the new view controller using [segue destinationViewController].
    // Pass the selected object to the new view controller.
}
*/

@end
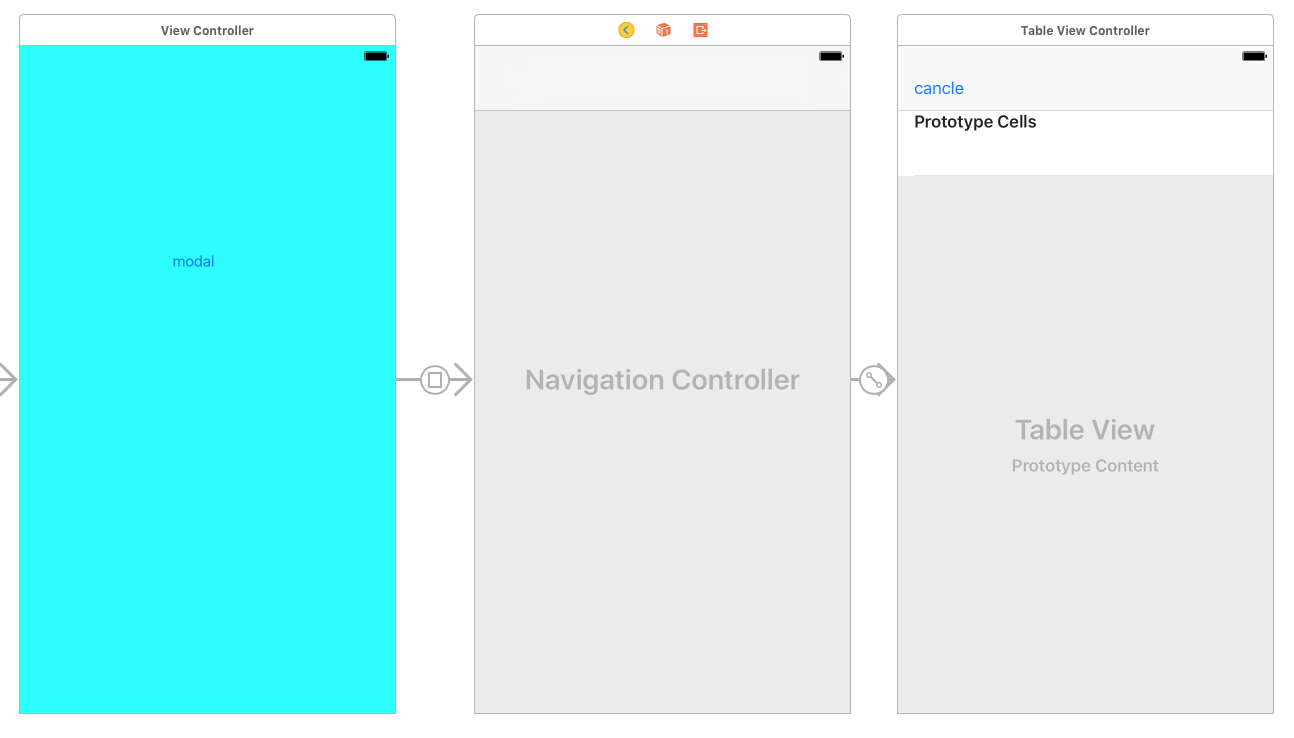
通过storyboard Modal 操作
默认拖出来的控制器有时候是不好使的,删掉自己重新拖一个,
通过stroyboard Modal出来的控制器;只能通过代码dismiss,
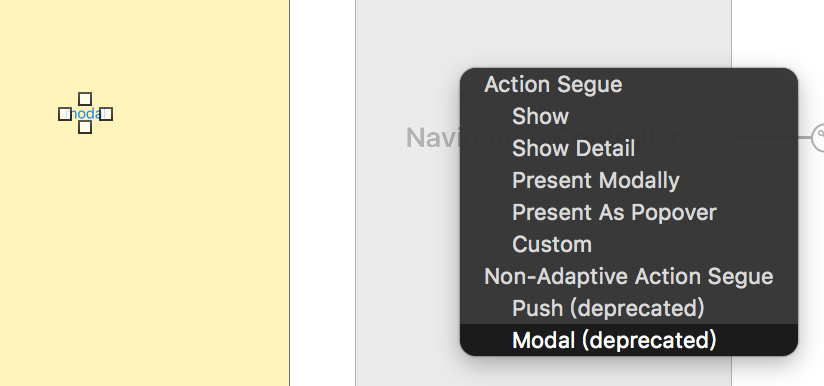
Segue对象页面跳转:
调用Segue对象的- (void)perform;方法开始执行页面跳转操作
首先判断下Segue的类型
如果segue的style是push
调用sourceViewController所在的UINavigationController
调用UINavigationController的push方法将destinationViewController压入栈中,完成跳转
如果segue的style是modal
调用sourceViewController的presentViewController方法将destinationViewController展示出来;
本人无商业用途,仅仅是学习做个笔记,特别鸣谢小马哥,学习了IOS,另日语学习内容有需要文本和音频请关注公众号:riyuxuexishuji

 浙公网安备 33010602011771号