macOS 13.5 编译Android11.0源码并导入android studio 并且刷机
1、准备编译环境
1. 电脑配置和版本
- macOS Ventura 版本 13.5
- xcode-select version 2397
- aosp分支:android-11.0.0_r1

2. 安装jdk、xcode、依赖库
具体参考官方文档
- 安装 jdk8u45 or newer
- 安装xcode命令行
- 安装编译依赖库
xcode-select --install
brew install gmake libsdl git gnupg
3. 设置可以同时打开的文件数限制,避免编译时超出限制
在 ~/.bash_profile 添加如下语句
# set the number of open files to be 1024
ulimit -S -n 1024
4. 创建区分大小写的APFS宗卷
官方文档创建的是区分大小写HFS+磁盘镜像,我们这边使用区分大小写的APFS卷宗
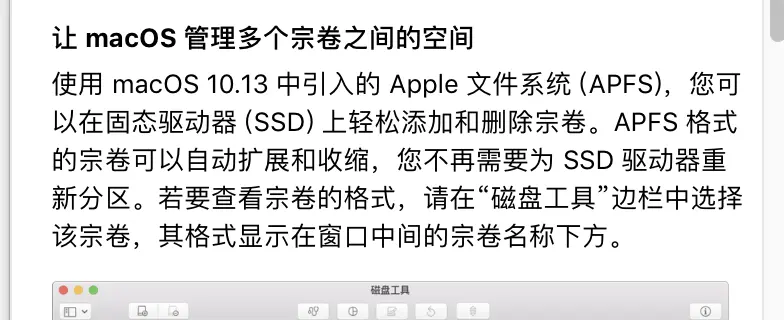
操作步骤:
step1.打开磁盘工具按下图步骤操作:
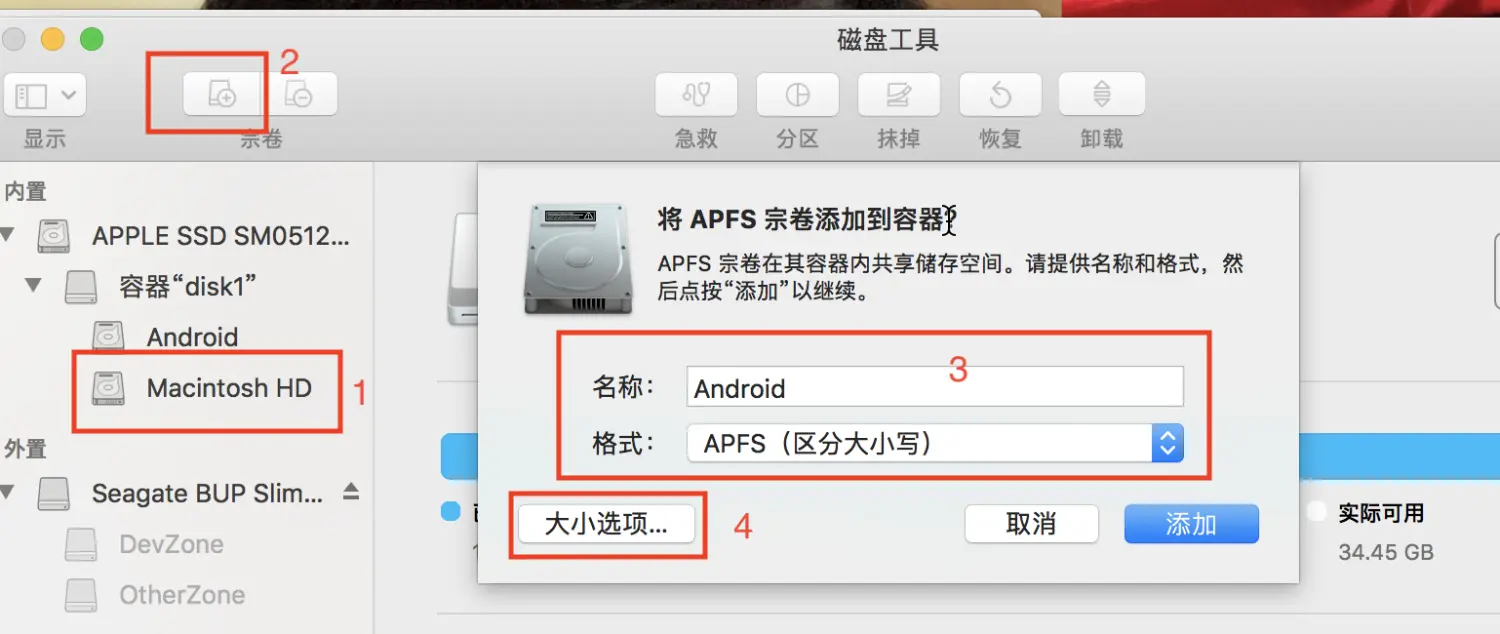
step2. 设置宗卷大小
具体大小根据自己情况设定,配额大小最好不要小于200G

2、下载aosp源码
1. Googleapi 下载
curl https://storage.googleapis.com/git-repo-downloads/repo > ~/bin/repo
chmod a+x ~/bin/repo
repo init -u https://android.googlesource.com/platform/manifest -b android11-dev
2. Tsinghua 源下载
curl https://mirrors.tuna.tsinghua.edu.cn/git/git-repo > ~/bin/repo
chmod a+x ~/bin/repo

export REPO_URL='https://mirrors.tuna.tsinghua.edu.cn/git/git-repo/'

repo init -u https://aosp.tuna.tsinghua.edu.cn/platform/manifest -b android11-dev
或者
curl https://gerrit-googlesource.lug.ustc.edu.cn/git-repo > ~/bin/repoh
repo init -u https://aosp.tuna.tsinghua.edu.cn/platform/manifest -b android11-dev --repo-url=https://gerrit-googlesource.lug.ustc.edu.cn/git-repo
3、编译
编译命令
source build/envsetup.sh
lunch 47
make -j128
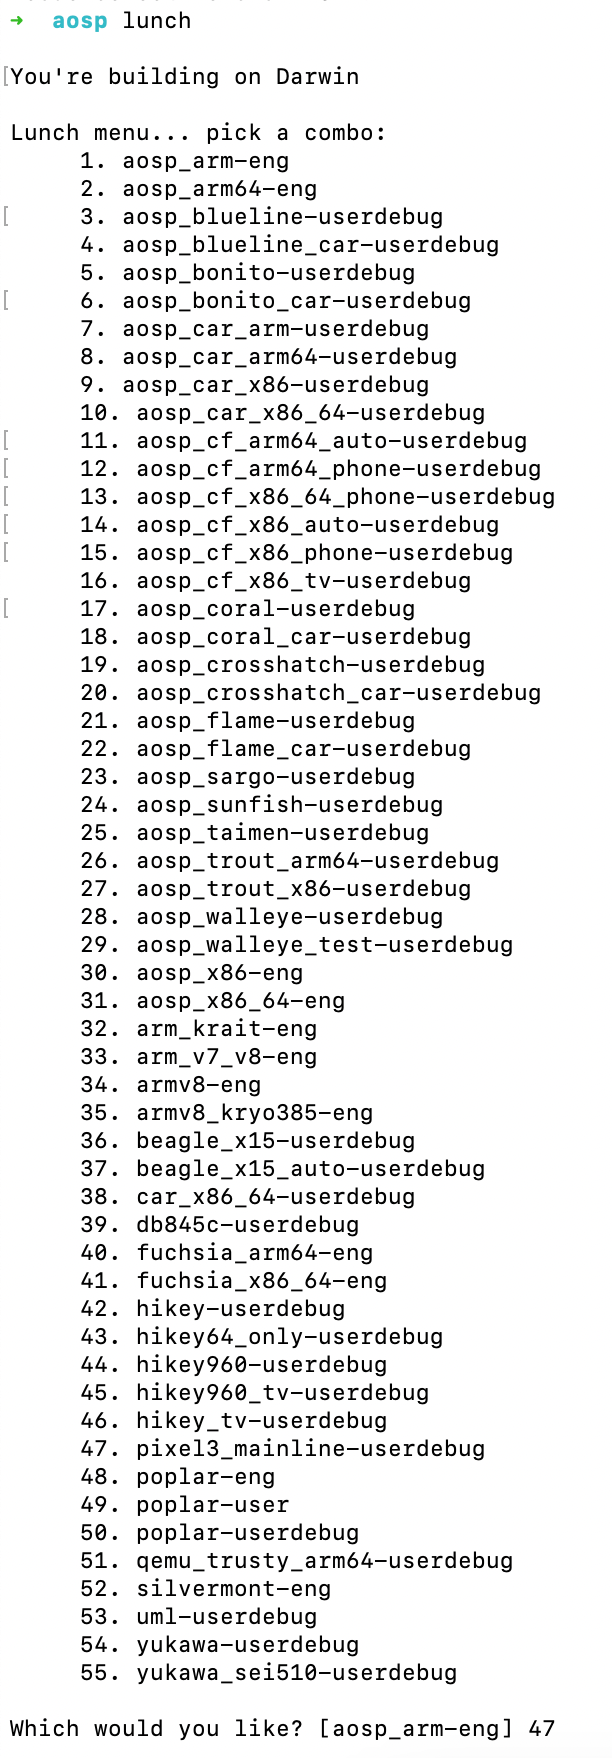
问题1:Could not find a supported mac sdk(mac sdk 版本不匹配)
错误日志如下:

解决方案1:
可以去 github 下载支持的SDK版本,然后解压缩到以下目录:
/Applications/Xcode.app/Contents/Developer/Platforms/MacOSX.platform/Developer/SDKs
例如日志中支持的最新SDK版本是10.15,所以我下载了该版本并直接解压缩到上面的目录,然后继续开编:

处理方案:
/Applications/Xcode.app/Contents/Developer/Platforms/MacOSX.platform/Info.plist
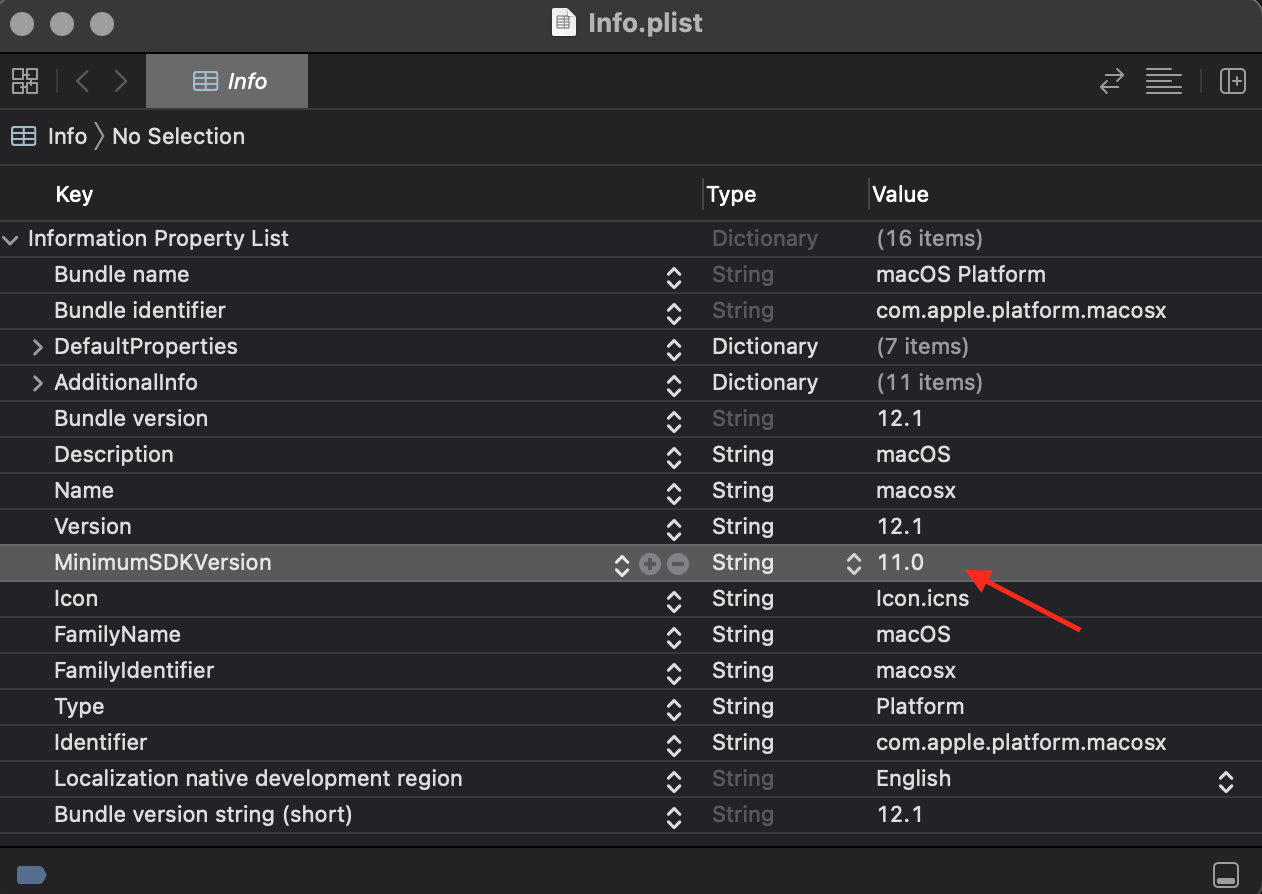
修改成 10.15 即可解决此问题。
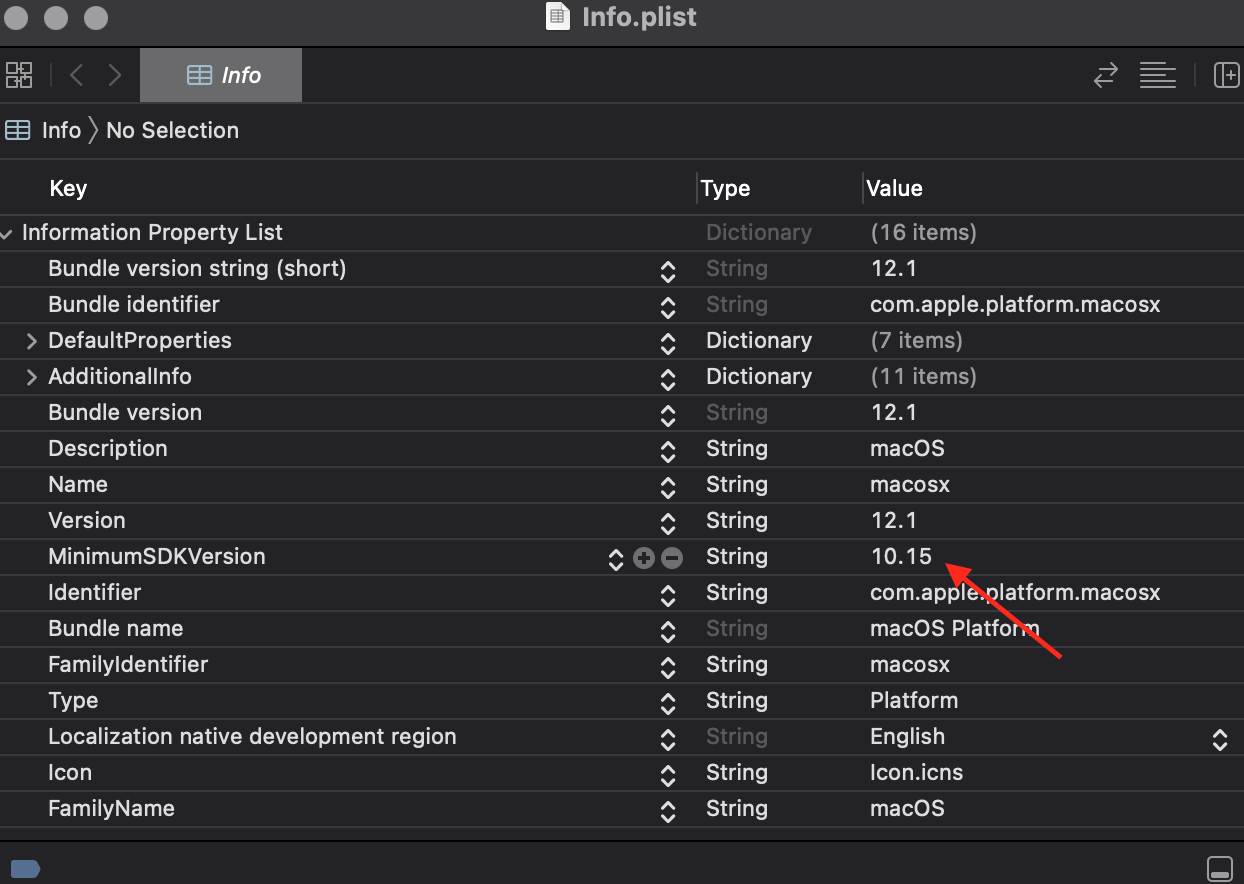
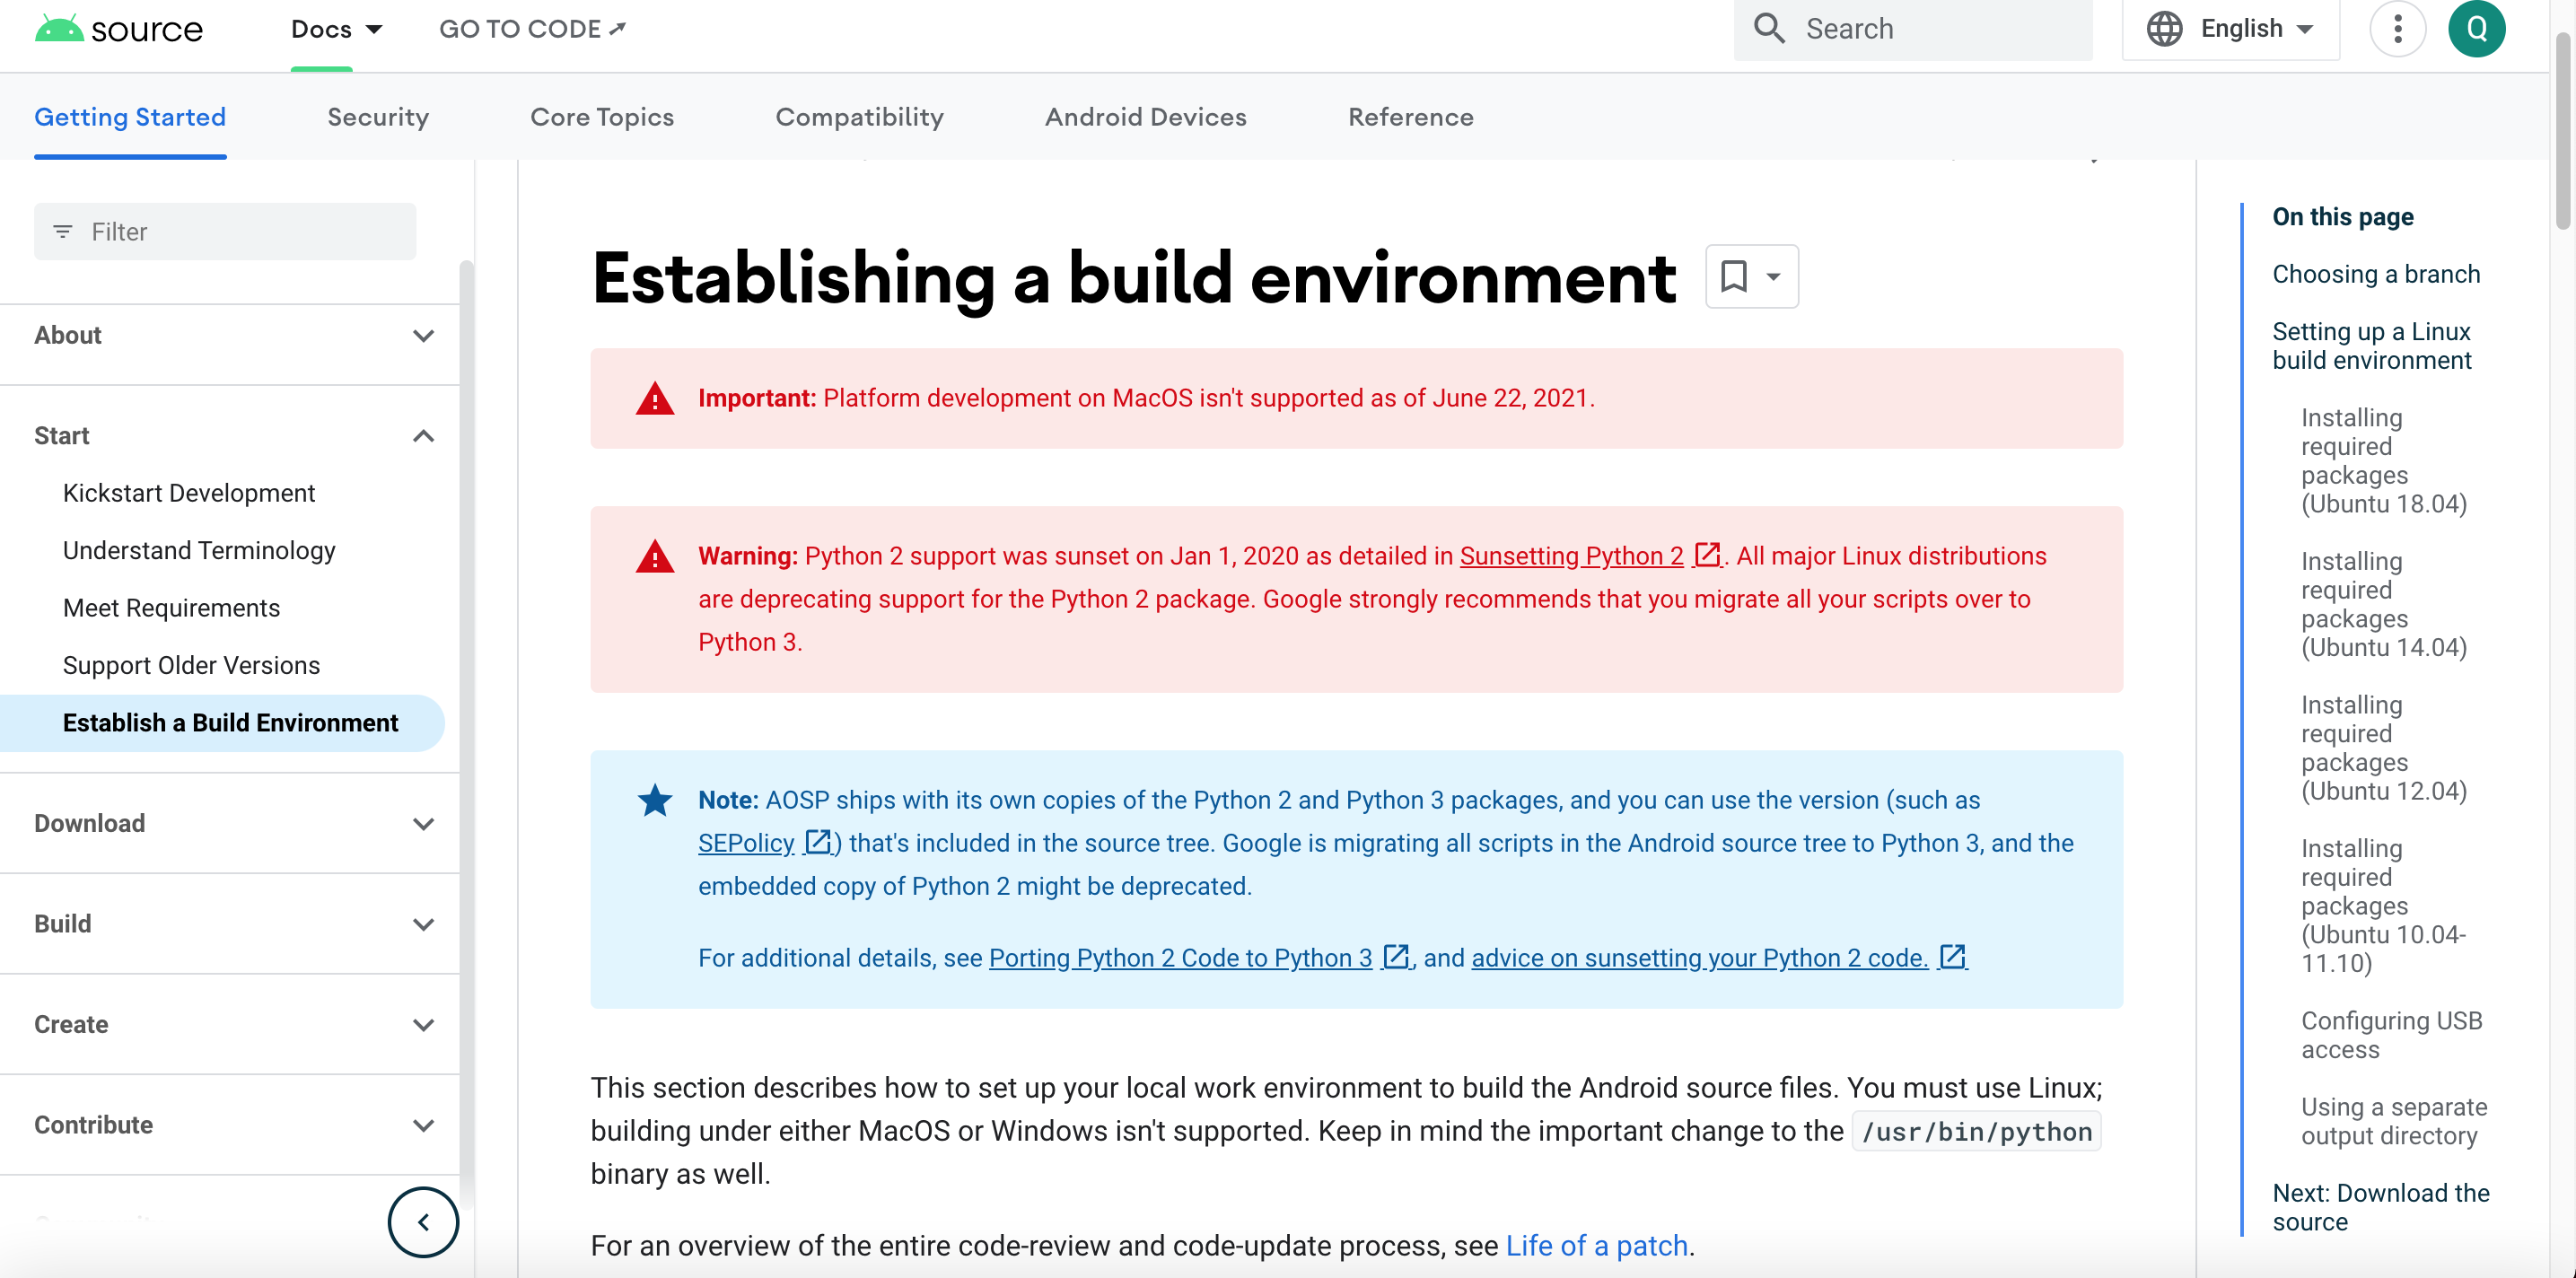
注意:如果本机的MacOSX SDK的版本是11.\*和受支持的sdk版本已经相差一个大版本了,建议最好不要直接按网上的方案一样去在受支持的SDK列表中添加该版本,会导致很多意外的问题,本人尝试了几次均以失败告终。过程记录在文末 其他 部分。
问题2:too many open files(同时开启的文件太多)
错误日志如下:

解决方案:在~/.bash_profile最后面添加以下内容:
ulimit -S -n 2048
添加完后需执行source命令使其立即生效:
source ~/.bash_profile
经过近3个小时的等待,终于编译成功

4、运行模拟器刷机
直接执行emulator命令,刚编译的系统就刷在模拟器中了:

5、使用android studio阅读源码
如无特殊说明,以下命令执行都在所下载源码的根目录下。
1、生成工程信息文件
依次执行以下命令,生成IDE工程信息文件 android.ipr 和 android.iml
source build/envsetup.sh
mmma development/tools/idegen
development/tools/idegen/idegen.sh
2、修改android studio配置
加大idea VM内存:
打开IDEA 菜单栏 Help > Edit Custom VM Options,添加
// Help > Edit Custom VM Options-Xms1g
-Xmx5g
修改文件大小限制,打开区分大小写选项
打开IDEA 菜单栏 Help -> Edit custom properties, 添加
idea.max.intellisense.filesize=100000
idea.case.sensitive.fs=true
NOTE: 重启IDEA使配置生效。
3、重启
重启idea使配置生效,然后用idea打开第一步中生成的 android.ipr 文件,由于工程很大,需要较长的时间建立索引(我这台机器花了将近2个小时),请耐心等待。
4、创建JDK 1.8 (No Libraries)
此时当我们打开文件的时候,IDE会有以下提示

所以我们需要创建JDK 1.8 (No Libraries),点击 Configure...,然后选择Add JDK

直接选择jdk1.8.0_181.jdk/Contents/Home,open之后JDK 1.8 (No Libraries)就创建好了
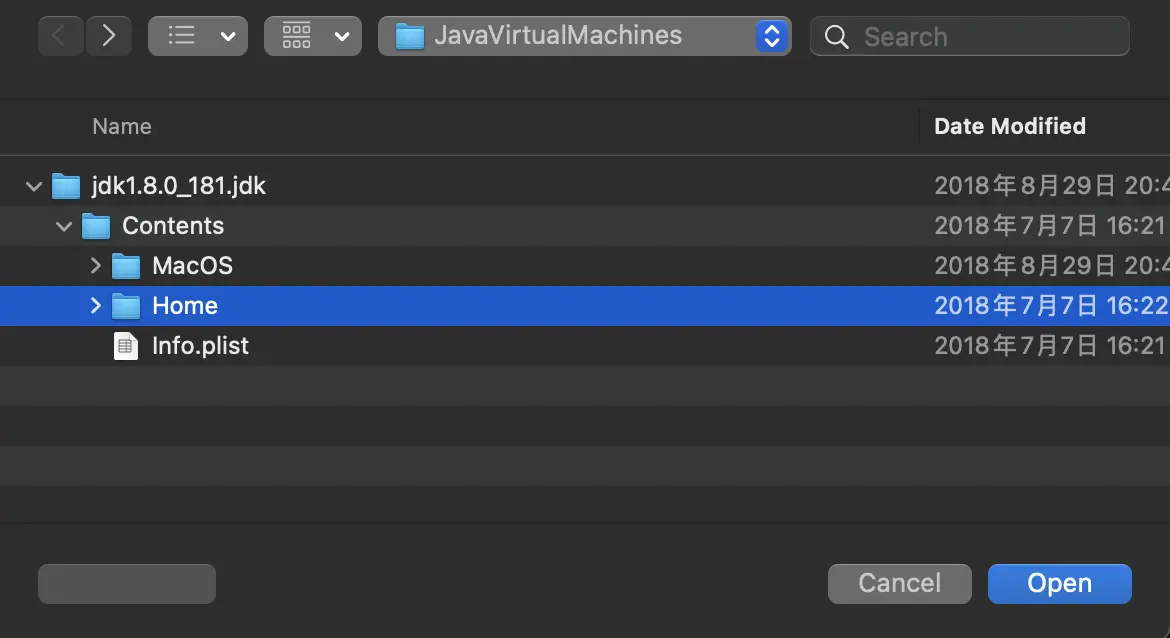
然后我们需要在项目的SDK 配置中删掉刚才创建的JDK 1.8 (No Libraries)中Classpath里面所有的jar,以保证跳转到AOSP的源码而不是系统安装的JDK中:

5、删除Modules中的dependencies

6、添加生成的资源文件ID目录

完成以上步骤然后同步一下,就可以愉快的在idea中阅读Android源码了,相比于使用sublime等纯文本工具阅读代码,这种方式的优势在于在跟进方法调用时很方便,可以直接control+鼠标左键 进行代码跳转,而这种便捷的代价就是可能需要花上数天完成 环境配置 + 代码下载 + 源码整编。
7、其他
本节主要记录编译过程中的走弯路历程。
在遇到 Could not find a supported mac sdk问题之后网上查阅资料,大部分建议为直接在受支持的mac sdk列表中添加当前SDK版本过程如下:
首先查看本机SDK版本:
cd /Applications/Xcode.app/Contents/Developer/Platforms/MacOSX.platform/Developer/SDKs/
ls

然后在/build/soong/cc/config/x86_darwin_host.go文件中添加该版本:
    darwinSupportedSdkVersions = []string{
        "10.10",
        "10.11",
        "10.12",
        "10.13",
        "10.14",
        "10.15",
        "11.1",
        "13.5",
    }
添加完后,紧接着遇到了下面的问题:
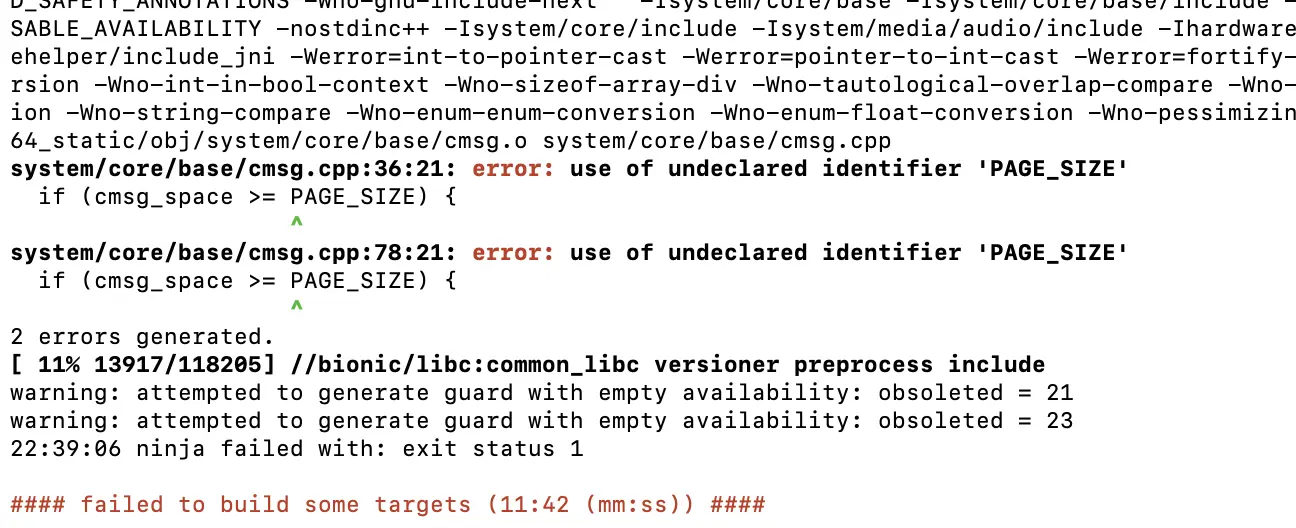
system/core/base/cmsg.cpp:36:21: error: use of undeclared identifier 'PAGE_SIZE'
碰到了代码的问题,PAGE_SIZE这个变量未定义,详细日志如下:
解决方案
satckoverflow 上有人碰到类似的问题,看到下面有回复说是配置mac os sdk版本的问题,有点慌了,不过还是按照第二个方案改了一下:
在/system/core/base/include/android-base/cmsg.h中添加如下内容:
#ifndef PAGE_SIZE
#define PAGE_SIZE (size_t)(sysconf(_SC_PAGESIZE))
#endif
在这个回答下面,答主还提到了后续会遇到的问题,不过实践是检验真理的唯一标准,不自己试试怎么知道呢,继续编译
building。。。
果然遇到了他说的那个问题,看样子太新的Mac系统编Android系统代码确实会有很多问题
passing argument to parameter 'bufsize' here

解决方案
按照上一个回答的解决思路尝试:
在external/python/cpython2/Modules/getpath.c找到以下内容:
#ifdef __APPLE__
#if MAC_OS_X_VERSION_MAX_ALLOWED >= MAC_OS_X_VERSION_10_4
    uint32_t nsexeclength = MAXPATHLEN;
#else
    unsigned long nsexeclength = MAXPATHLEN;
#endif
#endif
然后将上面内容修改为:
#ifdef __APPLE__
    uint32_t nsexeclength = MAXPATHLEN;
#endif
经过漫长的等待后,发现这么修改并不能解决问题,至此放弃修改受支持的SDK版本列表。
6、刷机
1. 刷机的配置
export ANDROID_PRODUCT_OUT=~/android_13/out
2. 全刷命令
adb reboot bootloader
fastboot flashing unlock
fastboot reboot fastboot
fastboot flashall -w
3. 单刷命令
fastboot flash system system.img

fastboot devices   //加载fastboot驱动
fastboot erase xxxx    //假如我要擦除RECOVERY 就是:fastboot erase recovery
刷BOOT fastboot flash boot boot.img
临时刷 recovery:fastboot boot recovery.img
请勿随便刷这个 fastboot flash hboot hboot.img

fastboot flash system system.img
fastboot flash userdata userdata.img
fastboot flash recovery recovery.img

fastboot flash radio radio.img
fastboot reboot


 浙公网安备 33010602011771号