Servlet应用
1、在idea中新建spring boot项目,把html文件复制到static目录下,配置mysql连接启动项目
(idea中:new->prokect->Spring Initializr->改名字或者不改->next->勾选Spring Boot Devtools,spring web,Mysql Driver,MyBatis Framework,Thtmeleaf->next。新建成功)。
由于勾选了mysql,需要先在application.properties中配置mysql连接。配置过后启动。
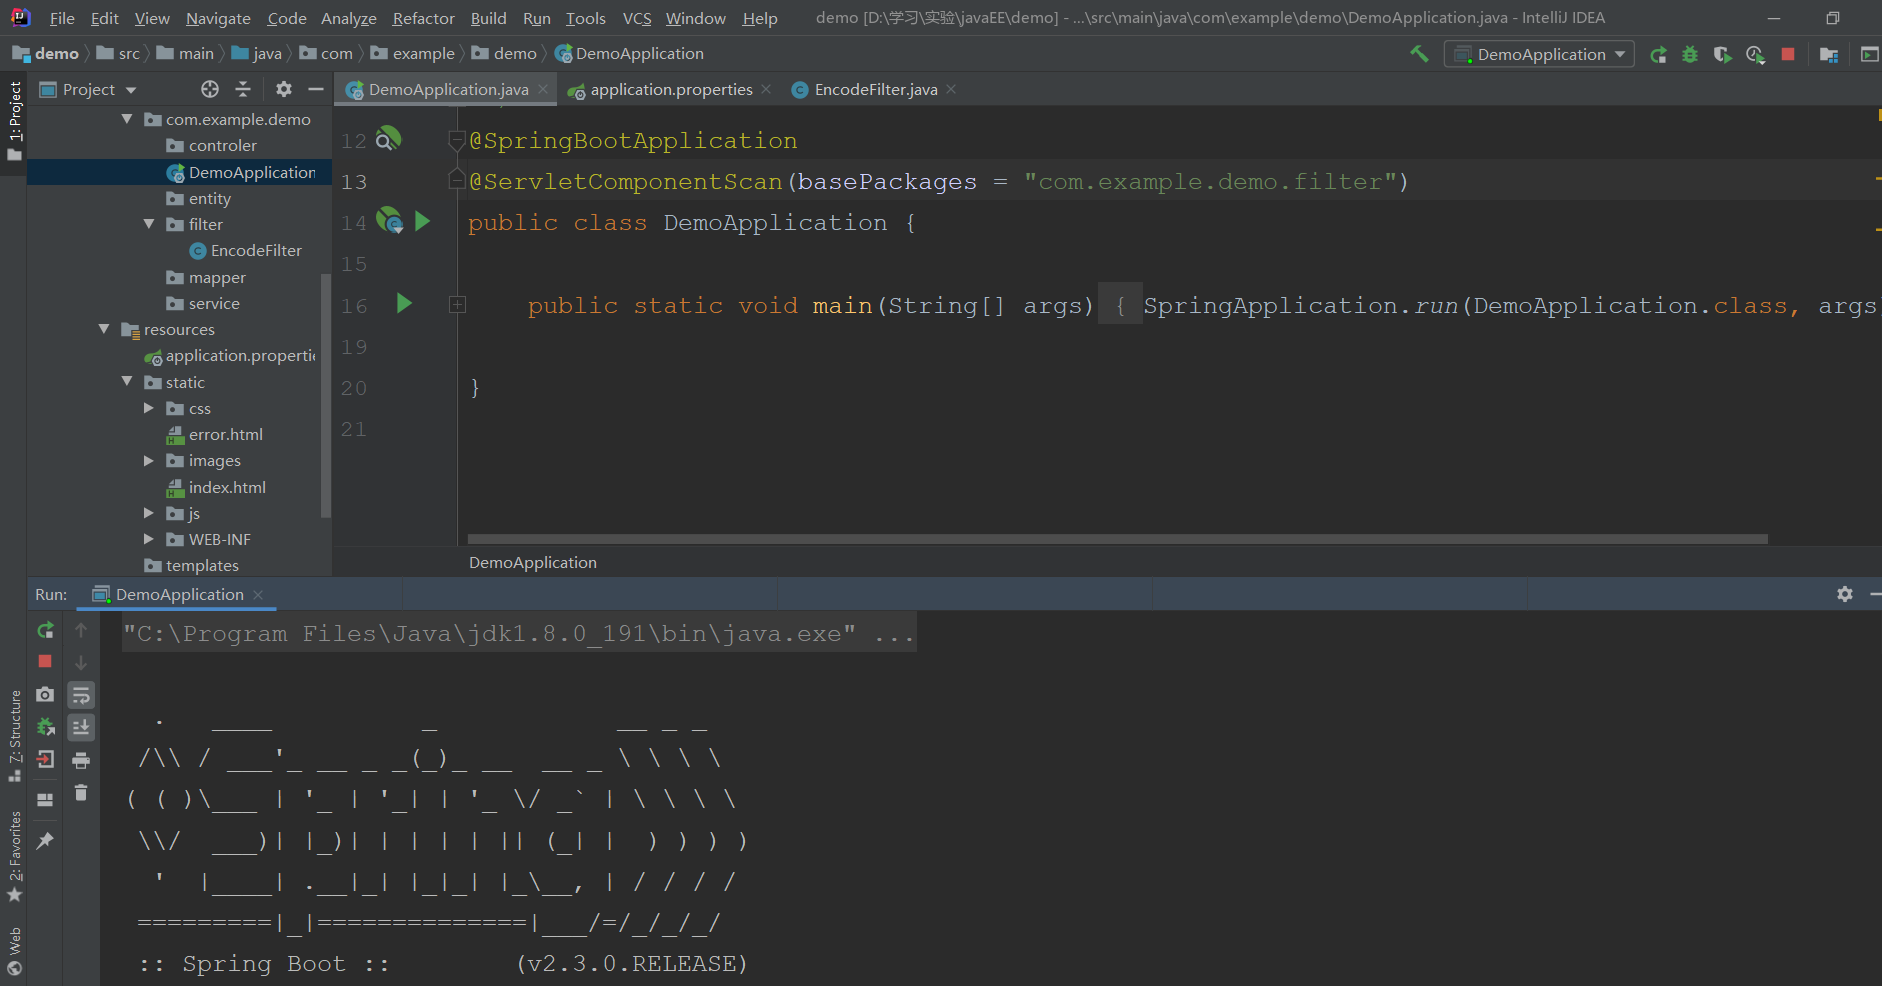
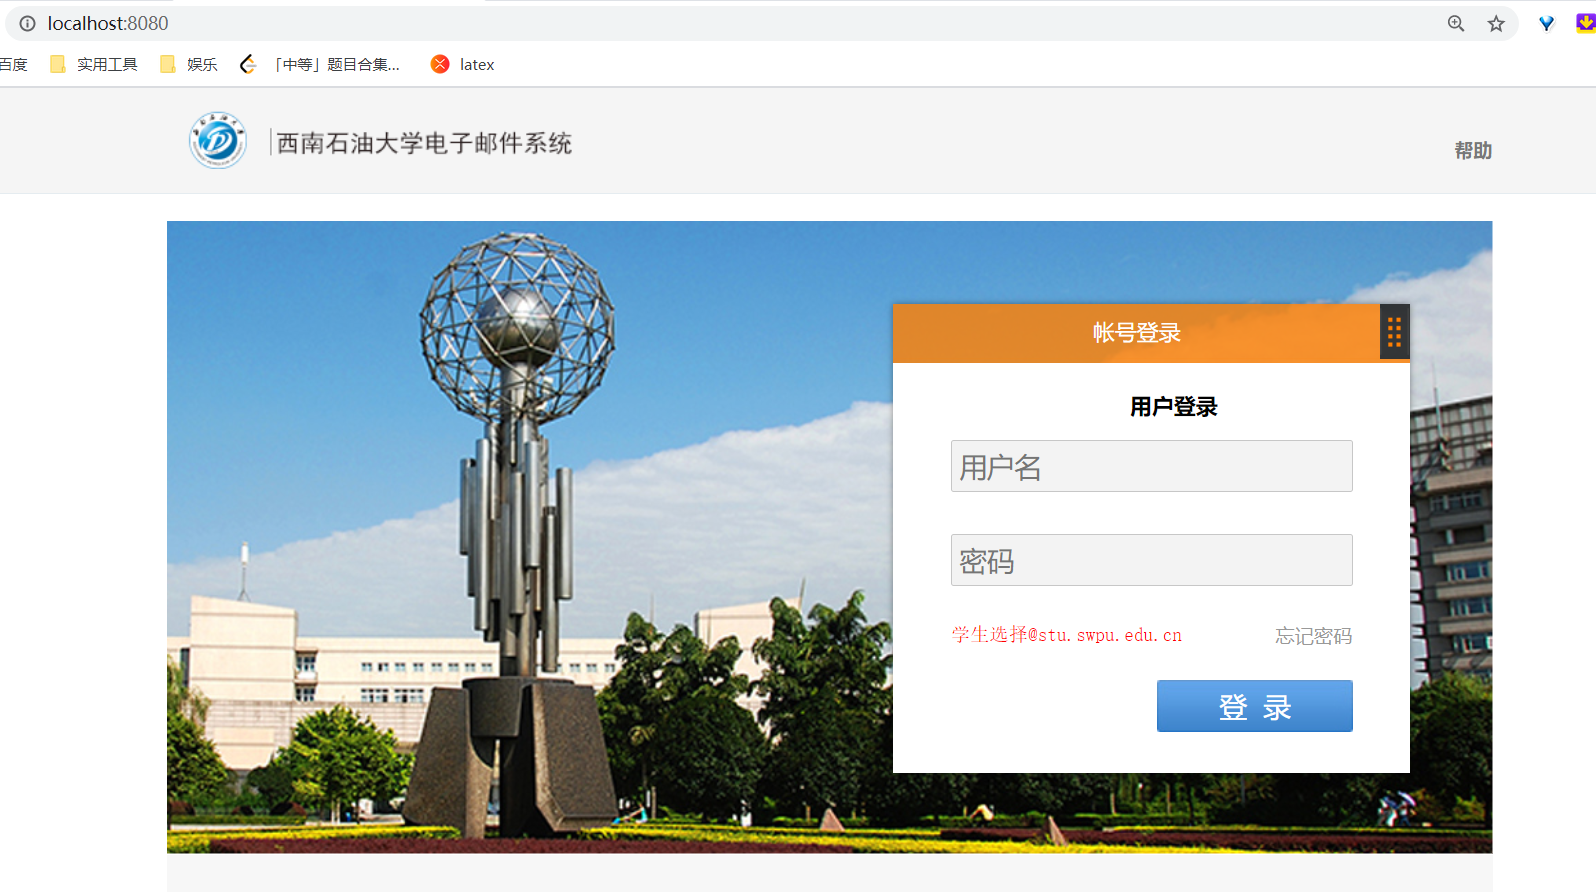
访问默认页面:localhost:8080。
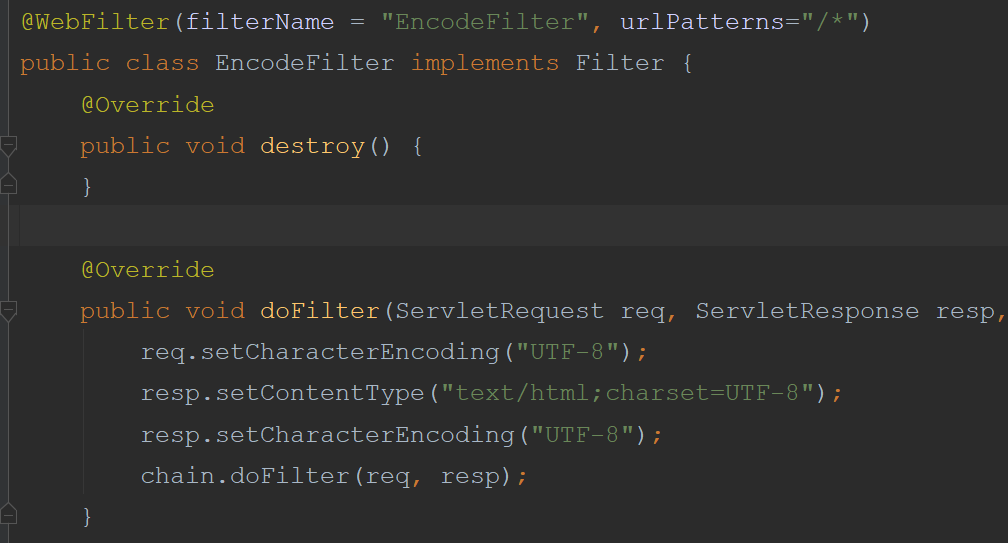
2、配置过滤器
添加过滤器的扫描包

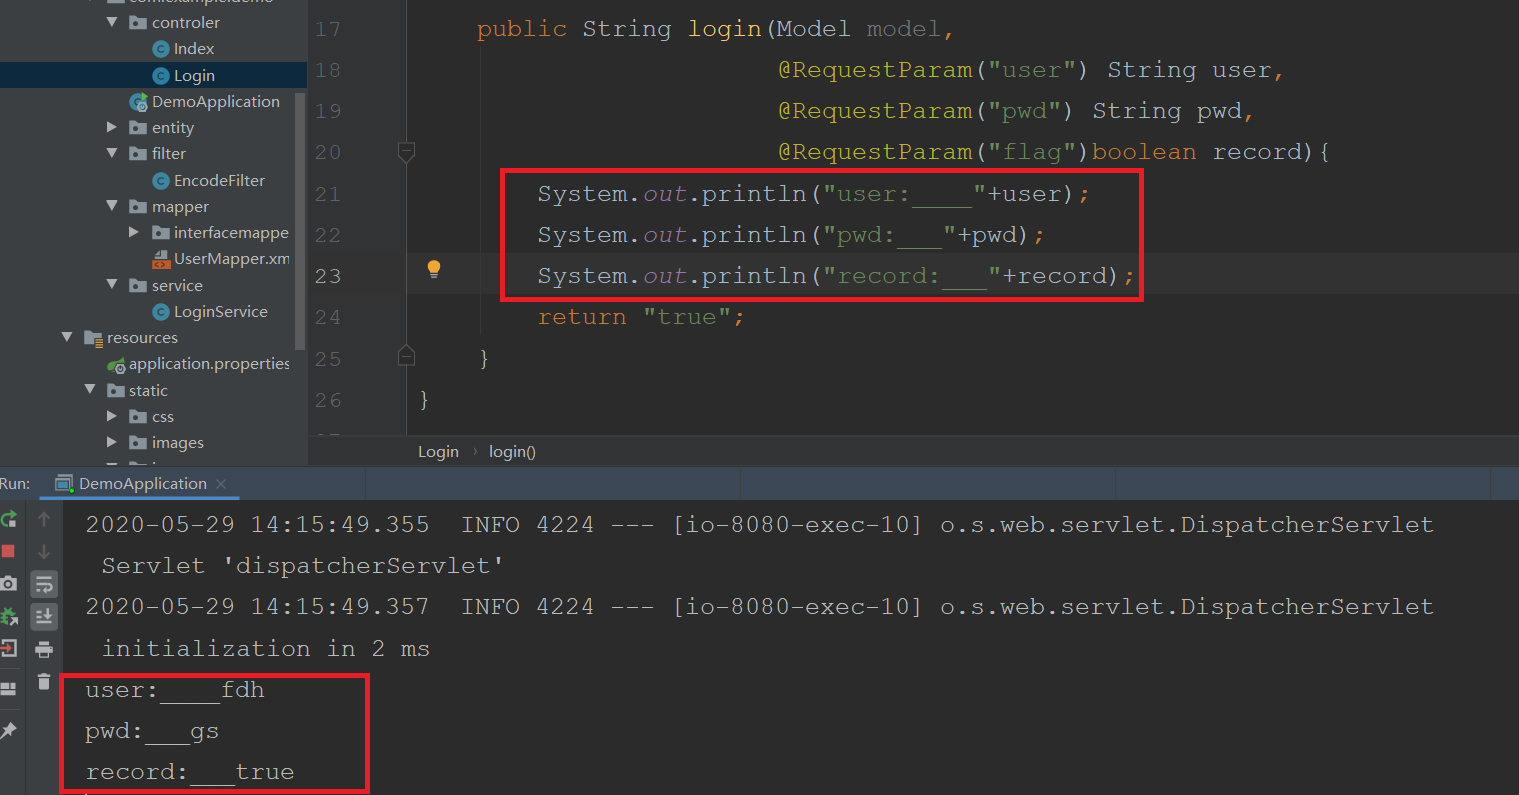
3、编写servlet接收用户输入,由于添加了保存登录信息选项,需要修改html和添加了一个参数flag记录是否保存登录信息。
4、在数据库中建立表

5、配置Mybatis

6、在服务端用session保存用户的登录信息,在客户端用cookie保存登录信息
logger.info("user:-----------"+name);
        logger.info("pwd:-----------"+pwd);
        logger.info("record:-----------"+flag);
        //查询数据库,验证用户名和密码
        User user1 = userMapper.findUser(name,pwd);
        if(user1==null){
            return new LoginResult(false,"","用户名或密码错误");
        }else {
            //是否需要记录用户信息,写入session
            if(flag==true){
                String token = getMd5(name);
                httpServletRequest.getSession().setAttribute(token,name);
                //设置session过期时间30天
                httpServletRequest.getSession().setMaxInactiveInterval(30*24*60*60);
                System.out.println("session过期时间 : "+httpServletRequest.getSession().getMaxInactiveInterval());
                System.out.println("session token: "+httpServletRequest.getSession().getAttribute(token));
                Cookie cookie = new Cookie("token",token);
                cookie.setMaxAge(30*24*60*60);
                response.addCookie(cookie);
            }
            return new LoginResult(true,name,"");
客户端的token。

7、使用session记录当前登录人数
Enumeration<String> attributeNames = httpServletRequest.getSession().getAttributeNames();
        int count=0;
        for (;attributeNames.hasMoreElements();){
            attributeNames.nextElement();
            count++;
        }
        JSONObject jsonObject = new JSONObject();
        jsonObject.put("count",count);
        logger.info(jsonObject.toString());
        return jsonObject.toString();

8、上传到github。地址 https://github.com/JPL1988/demo
