
vite 项目中使用svg 2.0.1版本
1、安装vite-plugin-svg-icons
yarn add vite-plugin-svg-icons -D
or
npm i vite-plugin-svg-icons -D
2、添加配置:在vite.config.js中配置插件
import { createSvgIconsPlugin } from 'vite-plugin-svg-icons';
import Path from 'path';
export default defineConfig({
plugins: [
createSvgIconsPlugin({
// 指定需要缓存的图标文件夹
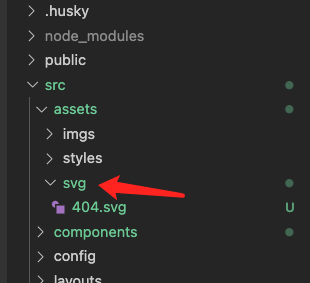
iconDirs: [Path.resolve(process.cwd(), 'src/assets/svg')], // 此处路径要跟自己放置svg图标的路径一致
// 指定symbolId格式
symbolId: 'icon-[dir]-[name]',
}),
]
});
注意事项:
创建svg图标存放文件夹:我们在项目目录下的assets目录创建svg,然后需要把svg图片放在这个目录。可以自定义svg图标放置的路径。
3、在 src/main.js
import 'virtual:svg-icons-register';
4、创建svg组件
在项目根目录下的components目录里创建SvgIcon.vue, 这个.vue文件就是我们自定义的图标组件, 代码如下
<template>
  <svg :class="svgClass" v-bind="$attrs" :style="{ color: color }">
    <use :xlink:href="iconName" />
  </svg>
</template>

<script setup>
import { computed } from 'vue';

const props = defineProps({
  name: {
    type: String,
    required: true,
  },
  color: {
    type: String,
    default: '',
  },
});

const iconName = computed(() => `#icon-${props.name}`);
const svgClass = computed(() => {
  if (props.name) {
    return `svg-icon icon-${props.name}`;
  }
  return 'svg-icon';
});
</script>

<style lang="scss">
.svg-icon {
  width: 1em;
  height: 1em;
  fill: currentColor;
  vertical-align: middle;
}
</style>
5、页面中使用:
<svg-icon class="page" name="404"></svg-icon>

最终预览效果如下:

参考:
https://blog.csdn.net/qq_43548590/article/details/122166668
https://blog.csdn.net/weixin_49014702/article/details/128414398
不要在该奋斗的年纪选择去偷懒,只有度过一段连自己都被感动了的日子,才会变成那个最好的自己.
