单节点部署Elastic Stack
部署Elastic Search
下载安装包
下载地址: https://www.elastic.co/cn/downloads/elasticsearch
解压
tar -xzf tar -xzf elasticsearch-7.10.1-linux-x86_64.tar.gz
添加用户
root用户默认无法启动Elastic Search,因此需要添加一个普通用户并修改文件夹的拥有者:
useradd elasticsearch
chown -R elasticsearch:elasticsearch elasticsearch-7.10.1
su elasticsearch
启动应用
cd elasticsearch-7.10.1
./bin/elasticsearch
检查应用
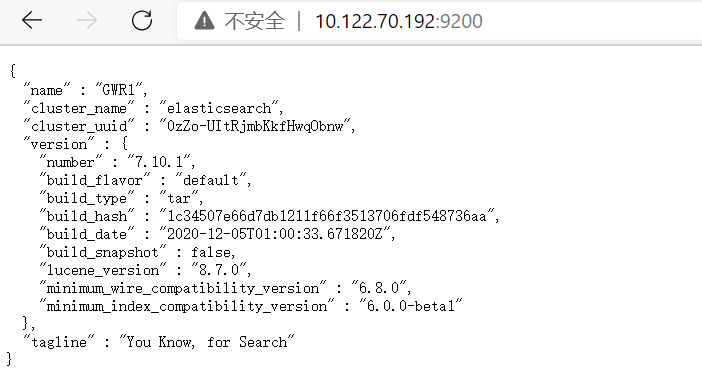
访问本机的9200端口后返回:
[elasticsearch@GWR1 elasticsearch-7.10.1]$ curl localhost:9200
{
  "name" : "GWR1",
  "cluster_name" : "elasticsearch",
  "cluster_uuid" : "0zZo-UItRjmbKkfHwqObnw",
  "version" : {
    "number" : "7.10.1",
    "build_flavor" : "default",
    "build_type" : "tar",
    "build_hash" : "1c34507e66d7db1211f66f3513706fdf548736aa",
    "build_date" : "2020-12-05T01:00:33.671820Z",
    "build_snapshot" : false,
    "lucene_version" : "8.7.0",
    "minimum_wire_compatibility_version" : "6.8.0",
    "minimum_index_compatibility_version" : "6.0.0-beta1"
  },
  "tagline" : "You Know, for Search"
}
终止应用
ps aux | grep elasticsearch
kill -9 PID
外部访问
由于Elastic Search默认配置,只能闭环访问。想要使用外部机器访问必须修改配置文件:
vim config/elasticsearch.yml
修改network.host,设置其监听0.0.0.0,即所有未知的主机和目的网络的集合。并添加discovery.type配置(Elastic Search默认为生产环境,启动时会对环境进行各项检查。而单节点服务器无法通过检查,配置此项以跳过检查)。
# 注意yaml文件中的:后面的空格不能省略
network.host: 0.0.0.0
discovery.type: single-node
重启应用后即可通过外部机器访问:
部署Kibana
下载安装包
下载地址:https://www.elastic.co/cn/downloads/kibana
解压
tar -xzf kibana-7.10.1-linux-x86_64.tar.gz
启动应用
cd kibana-7.10.1-linux-x86_64
./bin/kibana --allow-root &
exit
检查应用
curl localhost:5601
外部访问
与Elastic Search类似,修改配置文件:
vim config/kibana.yml
修改server.host:
server.host: "0.0.0.0"
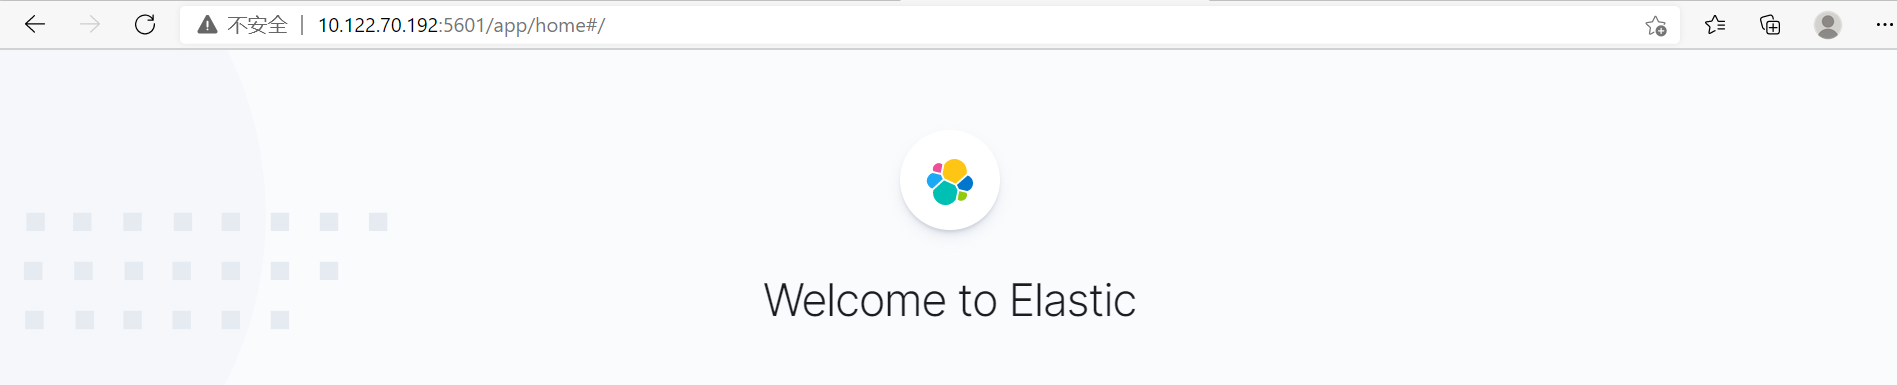
重启应用后即可通过外部机器访问:
部署Logstash
下载安装包
下载地址:https://www.elastic.co/cn/downloads/logstash
解压
tar -xzf logstash-7.10.1-linux-x86_64.tar.gz
启动应用
cd logstash-7.10.1
./bin/logstash -option
测试应用
# 将stdin作为输入经过logstash管道输出到stdout
./bin/logstash -e 'input { stdin {} } output { stdout {} }'
在终端中输入hello world后回车,可以得到结果:
[2021-01-13T03:44:00,145][INFO ][logstash.javapipeline    ][main] Pipeline started {"pipeline.id"=>"main"}
The stdin plugin is now waiting for input:
[2021-01-13T03:44:00,201][INFO ][logstash.agent           ] Pipelines running {:count=>1, :running_pipelines=>[:main], :non_running_pipelines=>[]}
[2021-01-13T03:44:00,441][INFO ][logstash.agent           ] Successfully started Logstash API endpoint {:port=>9600}
hello world
{
       "message" => "hello world",
          "host" => "GWR1",
      "@version" => "1",
    "@timestamp" => 2021-01-13T08:44:43.028Z
}
配置输入和输出
新建配置文件logstash.conf:接收来自Filebeat的输出结果,并将结果处理后输出到Elasticsearch中。此处的IP地址需要填写本机的内网或外网IP,不可以写"localhost"。
input{
  beats {
    port => "5044"
  }
}
filter {
    # 可以对Filebeat的输出结果进行处理
}
output {
  elasticsearch {
    hosts => ["YOUR_IP:9200"]
  }
}
启动logstash时添加flag:"-f"即可使配置文件生效,同时可以使用nohup命令配合"&"实现后台运行:
nohup ./bin/logstash -f logstash.conf &
部署Filebeat
下载安装包
下载地址:https://www.elastic.co/cn/downloads/beats/filebeat
解压
tar -xzf filebeat-7.10.1-linux-x86_64.tar.gz
修改配置文件
cd filebeat-7.10.1
vim filebeat.yml
首先将Filebeat关联到ElasticSearch中:
output.elasticsearch:
  hosts: ["myEShost:9200"]
  username: "filebeat_internal"
  password: "YOUR_PASSWORD"
然后关联Kibana:
setup.kibana:
    host: "mykibanahost:5601"
    username: "my_kibana_user"
    password: "{pwd}"
如果ElasticSearch和Kibana运行在同一台主机上,则无需进行这一步的配置。
添加Filebeat收集日志的模块
首先查看模块列表:
./filebeat modules list
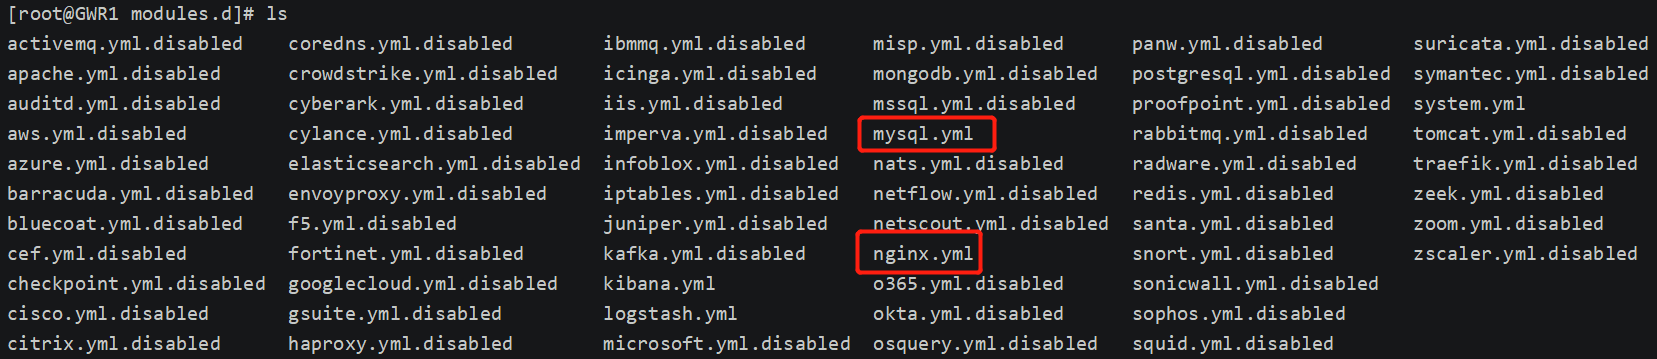
然后添加需要的模块(以nginx和mysql为例)
./filebeat modules enable system nginx mysql
每个模块的配置文件存放在modules.d文件夹下:
将Filebeat的输出结果送往Logstash处理
新建一个yaml文件filebeat_config.yml:
filebeat.inputs:
- type: log
  enabled: true
  paths:
    - /var/log/*.log
output.logstash:
  hosts: ["YOUR_IP:5044"]
上述配置文件规定了Filebeat的输入来自于/var/log文件夹下的所有日志文件,结果输出到Logstash暴露的5044端口中。此处的IP地址需要填写本机的内网或外网IP,不可以写"localhost"。
启动Filebeat
./filebeat setup -e
./filebeat -e -c filebeat_config.yml

 浙公网安备 33010602011771号