
一、 模板的静态资源
1.1 引入静态文件
下载 bootstrap, 创建项目的静态文件存放目录static, 完成静态文件导入 /static/{css,js,fonts}
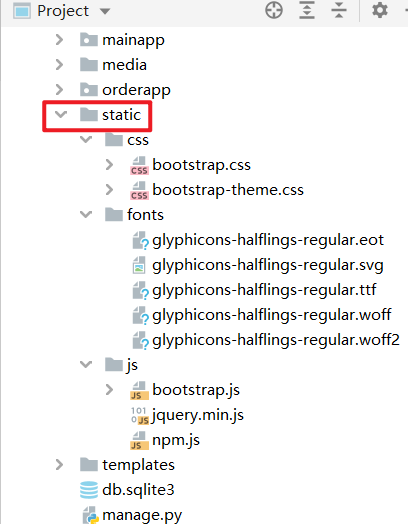
1.2 settings.py 配置
STATIC_URL = '/static/'
STATICFILES_DIRS = [
    # 配置静态资源的目录
    os.path.join(BASE_DIR, 'static')
]
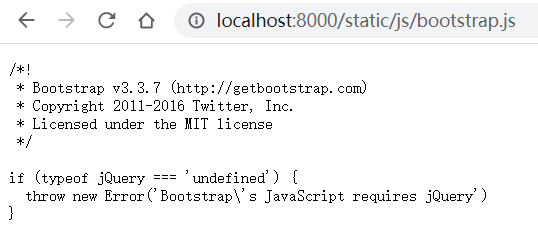
1.3 测试
访问 http://localhost:8000/static/js/bootstrap.js
1.4 在模板中调用加载
绝对路径:  <link rel="stylesheet" href="/static/css/bootstrap.min.css">
相对路径: {% load static %} <img src="{% static 'images/bd.jpg'%}">
注意: 不推荐使用绝对路径; 相对于STATICFILES_DIRS中的路径: {% static '路径' %}
二、 编写基础模板
2.1 编写 templates/base_css.html
<link rel="stylesheet" href="/static/css/bootstrap-theme.min.css">
<link rel="stylesheet" href="/static/css/bootstrap.min.css">
2.2 编写 templates/base_js.html
<script src="/static/js/bootstrap.min.js"></script>
<script src="/static/js/jquery.min.js"></script>
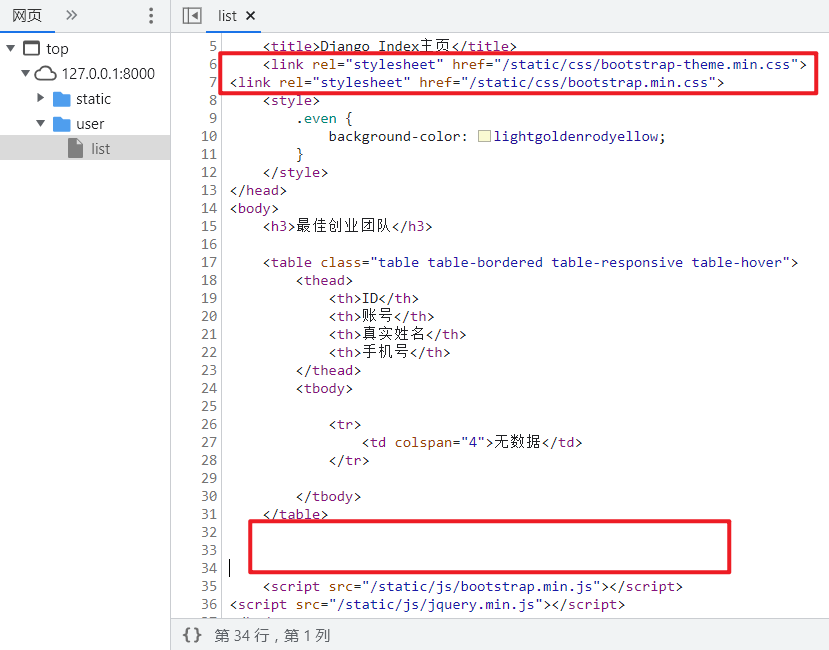
2.3 在模板中引入基础模板
<head>
    <meta charset="UTF-8">
    <title>Django Index主页</title>
    {% include 'base_css.html' %}
    <style>
        .even {
            background-color: lightgoldenrodyellow;
        }
    </style>
</head>
<body>
   <table class="table table-bordered table-responsive table-hover">
        <thead>
            <th>ID</th>
            <th>账号</th>
            <th>真实姓名</th>
            <th>手机号</th>
        </thead>

    {% include 'base_js.html' %}
</body>
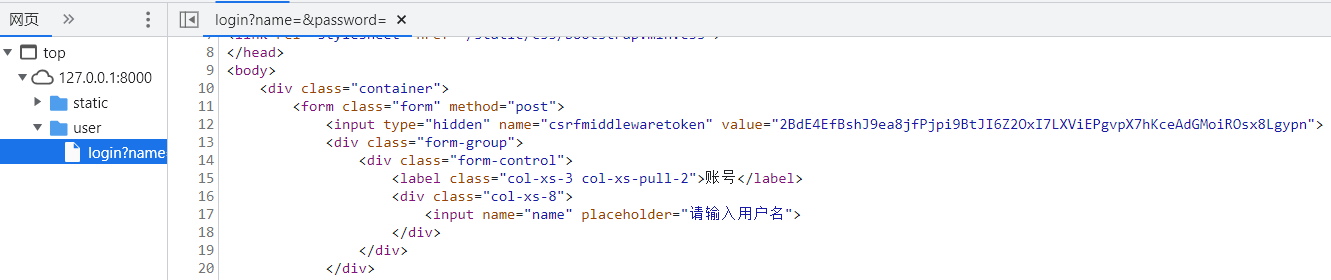
2.4 模板引入后的源码, 注释的内容不会显示
三、 CSRF 防止跨站请求伪造
3.1 概述
- 作用: 防止跨站请求伪造; 某些恶意网站包含链接,js利用登录用户在浏览器中的认证信息,进行非法操作
- token: 口令, 用于验证身份; 生成规则:保证生成的数据是唯一的, 使用md5(摘要)
- 本质:128位的二进制, 32个16进制。 不管输入有多少,输出都是定长的。
- 中间件csrf_token: 增加系统安全性; 在请求头的cookie中生成一个csrftoken键值对
- 在settings.py中 MIDDLEWARE 包含 'django.middleware.csrf.CsrfViewMiddleware',
- <form>表单: {% csrf_token %} 只针对POST提交
- 在模板<form>表单内部使用,生成隐藏字段 csrfmiddlewaretoken。
- 它的值在渲染模板时产生,存储在session, 表单提交到后端时,通过CsrfViewMiddleWare验证。
3.2 登录接口测试CSRF
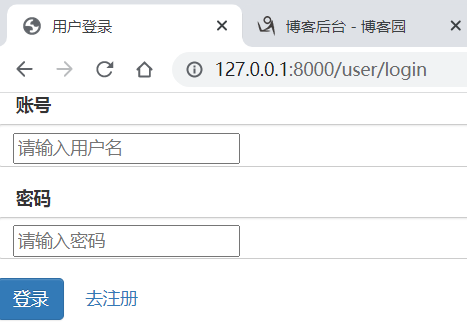
3.2.1 登录页面
<head>
    <meta charset="UTF-8">
    <title>用户登录</title>
    {% include 'base_css.html' %}
</head>
<body>
    <div class="container">
        <form class="form form-horizontal" method="post">
            <div class="form-group">
                <div class="form-control">
                    <label class="col-xs-3">账号</label>
                    <div class="col-xs-8">
                        <input name="name" placeholder="请输入用户名" value="{{ name }}">
                    </div>
                </div>
            </div>
            <div class="form-group">
                <div class="form-control">
                    <label class="col-xs-3">密码</label>
                    <div class="col-xs-8">
                        <input type="password" name="password" placeholder="请输入密码" value="{{ password }}">
                    </div>
                </div>
            </div>
            <div class="form-group">
                <button class="btn btn-primary">登录</button>
                <a class="btn btn-link" href="/user/register">去注册</a>
            </div>
        </form>
    </div>

    {% include 'base_js.html' %}
</body>
3.2.2 输入账号和密码, 访问被禁止403
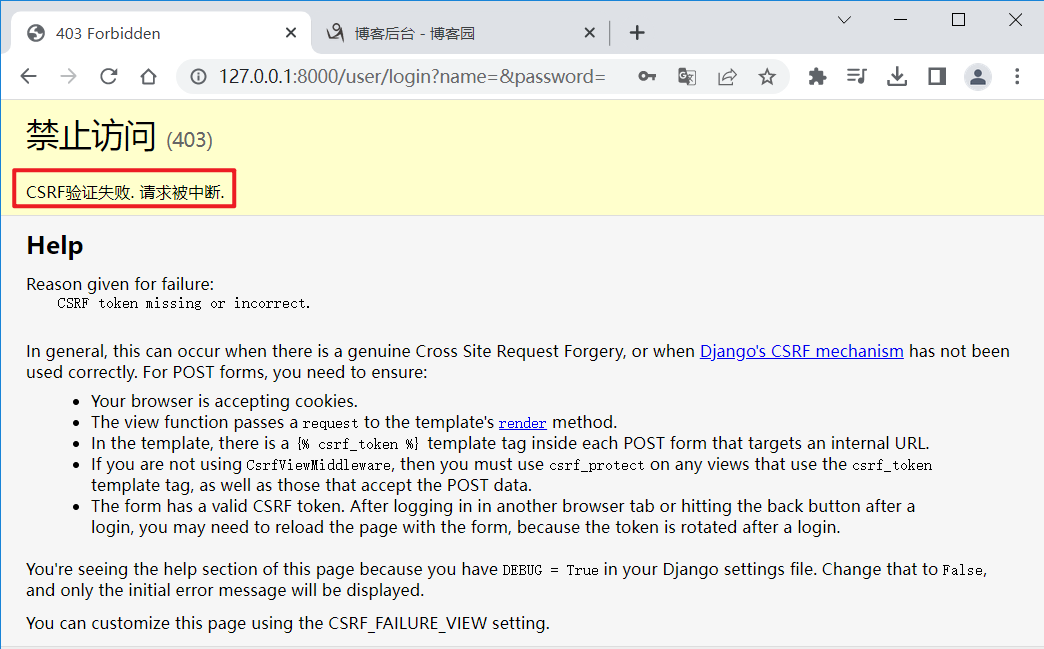
3.2.3 添加 csrf_token 标签; 登录成功
        <form class="form form-horizontal" method="post">
            {% csrf_token %}
3.3 登录的后端逻辑
3.3.1 模型类 UserEntity, 新增password字段
class UserEntity(models.Model):
    password = models.CharField(max_length=15, verbose_name='密码', blank=True, null=True)
3.3.2 改写save方法,实现密码自动加密, 用于新建用户
from django.contrib.auth.hashers import make_password

class UserEntity(models.Model):
    def save(self, force_insert=False, force_update=False, using=None,
             update_fields=None):
        if len(self.password) < 15:
           # 密码长度符合小于15位,明文转密文
            self.password = make_password(self.password)
        super().save()
3.3.3 改写update方法, 用于更新密码
class UserManager(models.Manager):
    def update(self, **kwargs):
        password = kwargs.get('password', None)
        if password and len(password) < 15:
            kwargs['password'] = make_password(password)
        super().update(**kwargs)

class UserEntity(models.Model):
    objects = UserManager()
>>> from mainapp.models import UserEntity
>>> UserEntity.objects.update(password='123456')
3
3.3.4 登录接口
from django.contrib.auth.hashers import check_password

def login(request: HttpRequest):
    if request.method == 'POST':
        name = request.POST.get('name')
        password = request.POST.get('password')
        print('获取到用户:', name, ',密码: ', password)
        if not all((name, password)):
            error_msg = '用户名或密码不能为空'
        else:
            # 查询用户是否存在
            qs = UserEntity.objects.filter(name=name)
            if qs.exists():
                login_user: UserEntity = qs.first()
                if check_password(password, login_user.password):
                    # 登陆成功, 将用户信息写入到session
                    request.session['login_user'] = {
                        'name': login_user.name,
                        'user_id': login_user.id,
                        'phone': login_user.phone
                    }
                    return redirect('/user/list')
                else:
                    error_msg = '用户名或密码错误'
            else:
                error_msg = '用户未注册,<a href=/user/register>去注册</a>'
    return render(request, 'user/login.html', locals())
登录界面 增加对 error_msg 的显示
<input name="name" placeholder="请输入用户名" value="{{ name }}">      # 添加 value 传输数据到后端
<input type="password" name="password" placeholder="请输入密码" value="{{ password }}">

    </div>
    <p class="text-danger">
        {{ error_msg | safe }}
    </p>
    {% include 'base_js.html' %}
3.4 取消 CSRF
3.4.1 方法一: 注释掉 MIDDLEWARE中的 CsrfViewMiddleware
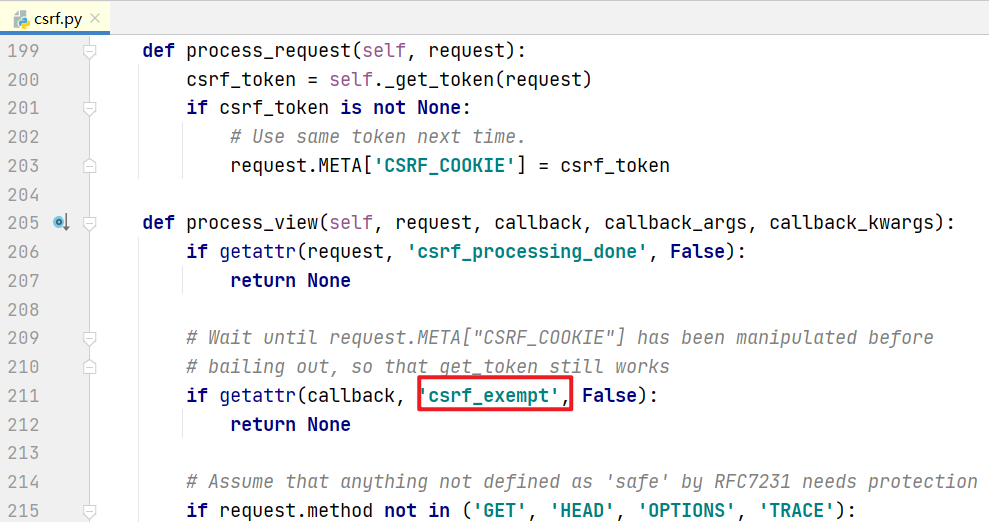
3.4.2 方法二: 使用@csrf_exempt
from django.views.decorators.csrf import csrf_exempt

@csrf_exempt
def login(request: HttpRequest):
四、 模板布局
block / extends / include
{{ block.super}} 显示父模板的内容
4.1 编写 templates/base.html
<head>
    <meta charset="UTF-8">
    <meta http-equiv="X-UA-Compatible" content="IE=edge">
    <meta name="viewport" content="width=device-width, initial-scale=1">
    <title>{% block title %}爱心水果店{% endblock %}</title>
    {% include 'base_css.html' %}
    {% block css %}
        <style>
            #logo{ margin-top: 2px; margin-right: 20px;
                display: inline-block; width: 15px; height: 15px;}
        </style>
    {% endblock %}
</head>
<body class="container">
<nav class="navbar navbar-default">
    <div class="container-fluid">
        <div class="navbar-header">
            <a class="navbar-brand" href="#"><span id="logo" class="glyphicon glyphicon-thumbs-up"></span>坤肯社区水果平台</a>
        </div>
        <div class="navbar-collapse collapse" id="navbar">
                <ul class="nav navbar-nav navbar-left">
                    <li class="acitve"><a href="#">精选水果</a><span></span></li>
                    <li><a href="#">本周推荐</a></li>
                    <div class="navbar-form navbar-left" style="margin-top: 4px">
                        <div class="form-group">
                            <input type="text" class="form-control" placeholder="水果店或点名">
                            <button type="submit" class="btn btn-default">搜索</button>
                        </div>
                    </div>
                </ul>
                <ul class="nav navbar-nav navbar-right">
                    {% if request.session.login_user %}
                        <li class="dropdown">
                            <a href="#" class="dropdown-toggle" data-toggle="dropdown" role="button" aria-haspopup="true" aria-expanded="false">
                                <span class="caret">{{ request.session.login_user.name }}</span></a>
                            <ul class="dropdown-menu">
                                <li><a href="#">修改密码</a></li>
                                <li><a href="#">我的订单</a></li>
                                <li><a href="/user/user">个人中心</a></li>
                            </ul>
                        </li>
                    {% else %}
                        <li><a href="/user/login">登录</a></li>
                        <li><a href="/user/register">注册</a></li>
                    {% endif %}
                </ul>
            </div>
    </div>  <!-- /.container-fluid -->

</nav>
<div class="row">
    <div class="col-xs-8" style="height: 500px; width: 100%">
        {% block content %}
        {% endblock %}
    </div>
    <div class="col-xs-4">
        {% block right %}
        {% endblock %}
    </div>
</div>

<footer class="text-center">
    {% block footer %}
        @齐天大圣 - 水果平台
    {% endblock %}
</footer>

{% include 'base_js.html' %}
</body>
</html>
4.2 编写 templates/list.html
{% extends 'base.html' %}
{% block css %}
    <style>
        #logo{
            margin: 0 10px;
            display: inline-block;
            width: 15px;
            height: 15px;
        }
    </style>
{% endblock %}

{% block content %}
    <h1>Hi, List</h1>
{% endblock %}

{% block footer %}
    {{ block.super }}          ## 显示父模板的内容
    <p> 网络备案IDC: 京P1023QMD42SD</p>
{% endblock %}
4.3 未登录时页面和已登录页面


五、 app模块内部模板
每个app 下都可以增加templates目录, 存放自己模块的模板文件
app内部的模板templates目录,不需要在settings.py中设置
如果app模块之外存在templates目录,且在settings.py中设置,加载模板时,优先从外部templates中加载文件。

 浙公网安备 33010602011771号