
Spring - 10集成Web环境
(1)搭建Spring集成Web环境
(1.1)项目添加webapp
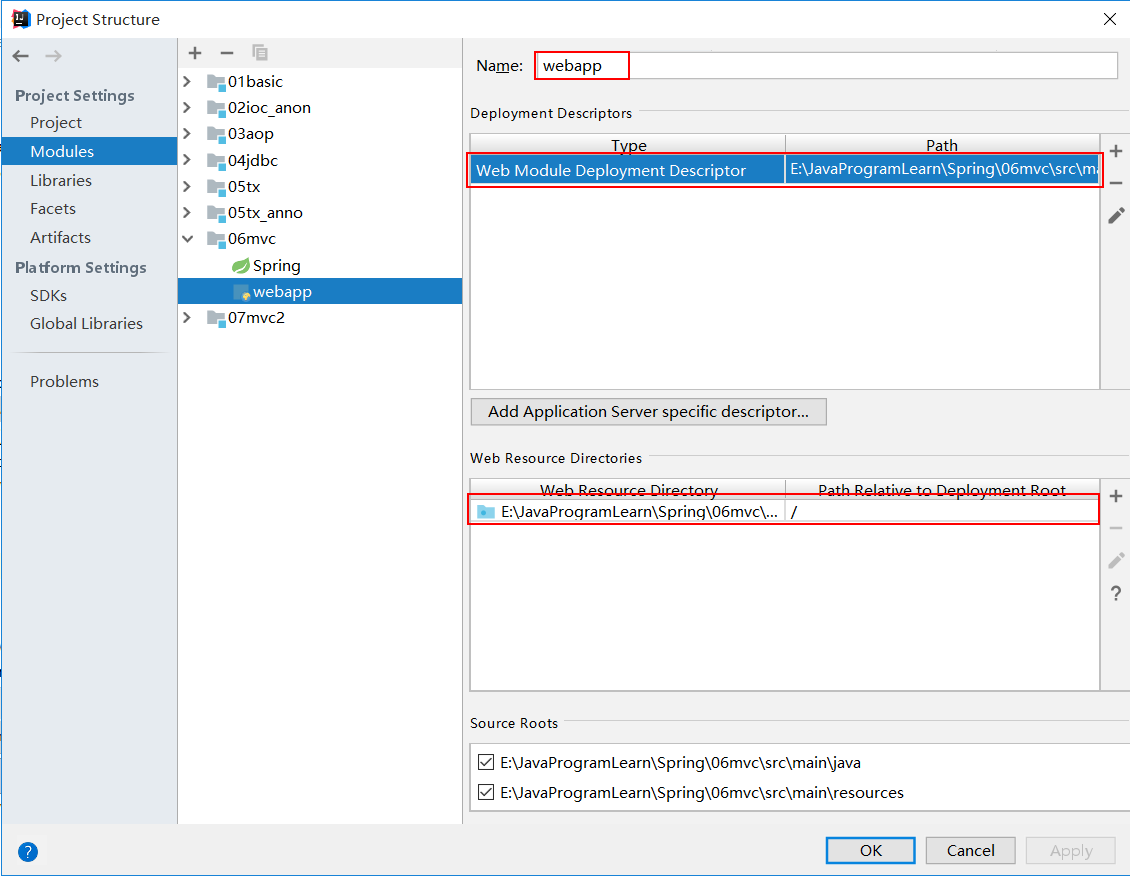
IDEA工具: File -> Project Structure -> Modules -> 点击"+"号 -> 选择"Web"![]()
-> 填写文件夹名称 -> 填写项目的web.xml文件路径 -> 填写WebResourceDirectory
(1.2)编写基础代码
public class UserDaoImpl implements UserDao {
    public void save() {
        System.out.println("save running......");
    }
}
//---------------------------------------------
public class UserServiceImpl implements UserService  {
    private UserDao userDao;
    public void setUserDao(UserDao userDao){
       this.userDao = userDao;
    }
    public void save() {
        userDao.save();
    }
}
(1.3)配置文件
    <context:property-placeholder location="classpath:jdbc.properties"/>

    <bean id="dataSource" class="com.mchange.v2.c3p0.ComboPooledDataSource">
        <property name="driverClass" value="${jdbc.driver}"/>
        <property name="jdbcUrl" value="${jdbc.url}"/>
        <property name="user" value="${jdbc.username}"/>
        <property name="password" value="${jdbc.password}"/>
    </bean>

    <bean id="userDao" class="com.bearpx.spring.mvc.dao.impl.UserDaoImpl"/>

    <bean id="userService" class="com.bearpx.spring.mvc.service.impl.UserServiceImpl">
        <property name="userDao" ref="userDao"/>
    </bean>
(1.4)引入坐标 javax.servlet-api, javax.servlet.jsp-api
       <dependency>
            <groupId>javax.servlet</groupId>
            <artifactId>javax.servlet-api</artifactId>
            <version>3.1.0</version>
            <scope>provided</scope>
        </dependency>

        <dependency>
            <groupId>javax.servlet.jsp</groupId>
            <artifactId>javax.servlet.jsp-api</artifactId>
            <version>2.2.1</version>
            <scope>provided</scope>
        </dependency>
(1.5)配置自定义Servlet
public class UserServlet extends HttpServlet {

    @Override
    protected void doGet(HttpServletRequest req, HttpServletResponse resp) throws ServletException, IOException {
        ApplicationContext app = new ClassPathXmlApplicationContext("applicationContext.xml");
        UserService userService = app.getBean(UserService.class);
        userService.save();
    }
}
(1.6)配置web.xml
    <servlet>
        <servlet-name>UserServlet</servlet-name>
        <servlet-class>com.bearpx.spring.mvc.web.UserServlet</servlet-class>
    </servlet>

    <servlet-mapping>
        <servlet-name>UserServlet</servlet-name>
        <url-pattern>/userServlet</url-pattern>
    </servlet-mapping>
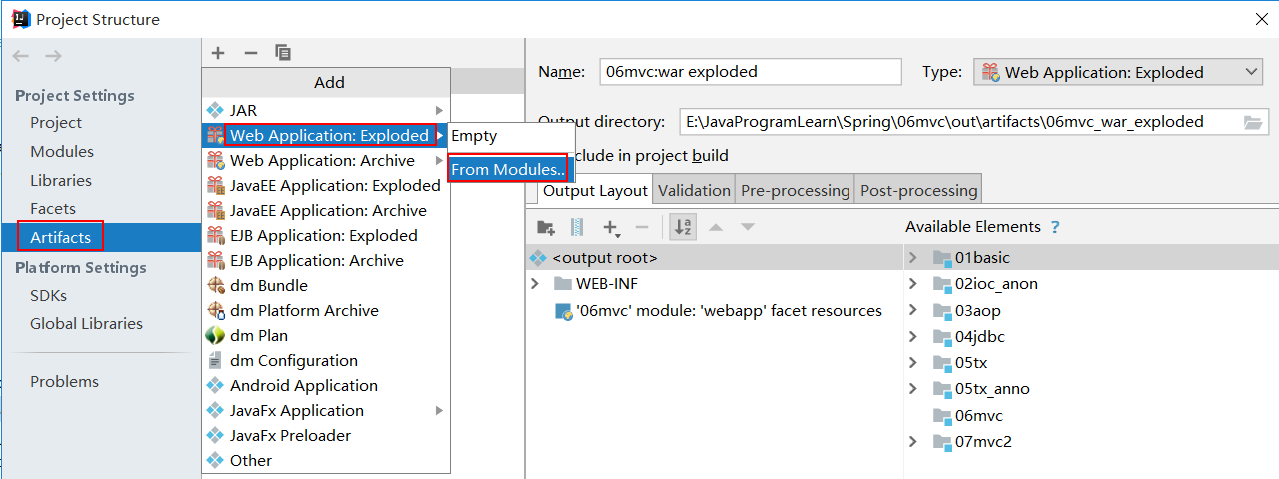
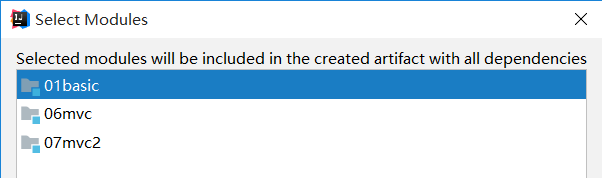
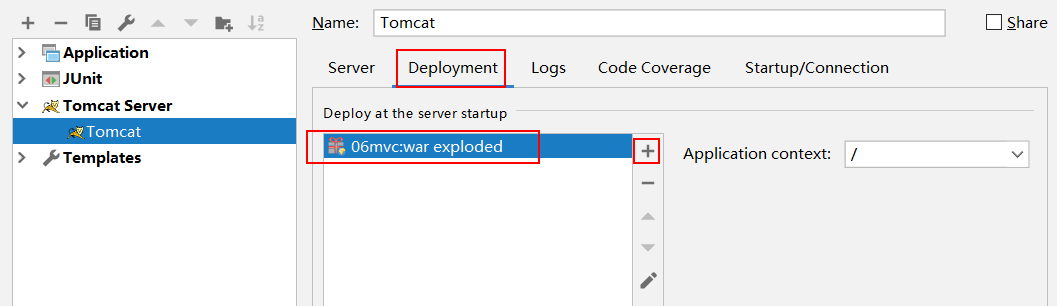
(1.7)配置Tomcat,启动项目
先要在项目工程中,加入Tomcat,然后把项目添加到Tomcat中


(2)ApplicationContext应用上下文获取方式
应用上下文对象是通过new ClasspathXmlApplicationContext(spring配置文件)方式获取的,但是每次从容器中获得Bean时
都要编写new ClasspathXmlApplicationContext(spring配置文件),这样的弊端是配置文件加载多次,应用上下文对象创建多次。
在Web项目中,可以使用ServletContextListener监听Web应用的启动,可以在Web应用启动时,就加载Spring的配置文件,创建应用上下文对象ApplicationContext,
再将其保存到最大的域servletContext域中,这样就可以在任意位置从域中获得应用上下文ApplicationContext对象了。
(2.1)实现ServletContextListener
public class ContextLoaderListener implements ServletContextListener {
    public void contextInitialized(ServletContextEvent servletContextEvent) {
        ApplicationContext app = new ClassPathXmlApplicationContext("applicationContext.xml");
        ServletContext servletContext = servletContextEvent.getServletContext();
        servletContext.setAttribute("app",app);  // 将Spring的应用上下文对象存储到ServletContext域中
        System.out.println("spring容器创建完毕......");
    }

    public void contextDestroyed(ServletContextEvent servletContextEvent) {}
}
在web.xml 配置监听器
    <listener>
        <listener-class>com.bearpx.spring.mvc.listener.ContextLoaderListener</listener-class>
    </listener>
改进Servlet
public class UserServlet extends HttpServlet {

    @Override
    protected void doGet(HttpServletRequest req, HttpServletResponse resp) throws ServletException, IOException {
//        ApplicationContext app = new ClassPathXmlApplicationContext("applicationContext.xml");
        ServletContext servletContext = this.getServletContext();
        ApplicationContext app = (ApplicationContext) servletContext.getAttribute("app");
        UserService userService = app.getBean(UserService.class);
        userService.save();
    }
}
(2.2)将配置文件的使用从代码中去掉,改成引用配置文件
在web.xml 设置 全局初始化参数
    <context-param>
        <param-name>contextConfigLocation</param-name>
        <param-value>applicationContext.xml</param-value>
    </context-param>
读取初始化参数
    public void contextInitialized(ServletContextEvent servletContextEvent) {
        ServletContext servletContext = servletContextEvent.getServletContext();

        // 读取web.xml 中的全局参数
        String contextConfigLocation = servletContext.getInitParameter("contextConfigLocation");
        ApplicationContext app = new ClassPathXmlApplicationContext(contextConfigLocation);

        // 将Spring的应用上下文对象存储到ServletContext域中
        servletContext.setAttribute("app",app);
        System.out.println("spring容器创建完毕......");
    }
自定义获取应用上下文的工具
public class WebApplicationContextUtils {
    public static ApplicationContext getWebApplicationContext(ServletContext servletContext){
        return (ApplicationContext) servletContext.getAttribute("app");
    }
}
改进UserServlet
public class UserServlet extends HttpServlet {

    @Override
    protected void doGet(HttpServletRequest req, HttpServletResponse resp) throws ServletException, IOException {
//        ApplicationContext app = new ClassPathXmlApplicationContext("applicationContext.xml");
        ServletContext servletContext = this.getServletContext();
//        ApplicationContext app = (ApplicationContext) servletContext.getAttribute("app");
        // 使用工具类,获取ApplicationContext
        ApplicationContext app = WebApplicationContextUtils.getWebApplicationContext(servletContext);
        UserService userService = app.getBean(UserService.class);
        userService.save();
    }
}
(2.3)Spring提供获取应用上下文工具
Spring提供了一个监听器ContextLoaderListener就是对上述功能的封装,
该监听器内部加载Spring配置文件,创建应用上下文对象,并存储到ServletContext域中,
并提供了一个客户端工具WebApplicationContextUtils供使用者获得应用上下文对象。
导入spring-web坐标
        <dependency>
            <groupId>org.springframework</groupId>
            <artifactId>spring-web</artifactId>
            <version>5.0.10.RELEASE</version>
        </dependency>
在web.xml中配置ContextLoadListener监听器
    <context-param>
        <param-name>contextConfigLocation</param-name>
        <param-value>classpath:applicationContext.xml</param-value>
    </context-param>

    <listener>
        <listener-class>org.springframework.web.context.ContextLoaderListener</listener-class>
    </listener>
使用WebApplicationContextUtils获取应用上下文对象 ApplicationContext
public class UserServlet extends HttpServlet {

    @Override
    protected void doGet(HttpServletRequest req, HttpServletResponse resp) throws ServletException, IOException {
        ServletContext servletContext = this.getServletContext();
        ApplicationContext app = WebApplicationContextUtils.getWebApplicationContext(servletContext);
        UserService userService = app.getBean(UserService.class);
        userService.save();
    }
}

 浙公网安备 33010602011771号