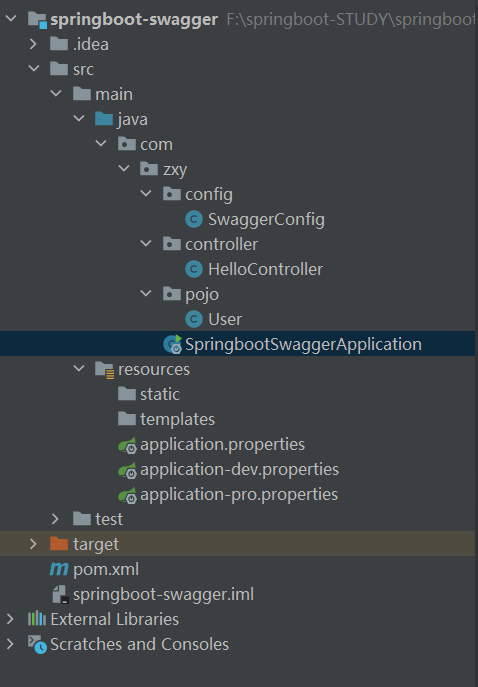
Swagger最基础的基本配置和接口扫描,开关,接口注释和分组
1.依赖

<!--swagger-->
        <dependency>
            <groupId>io.springfox</groupId>
            <artifactId>springfox-swagger2</artifactId>
            <version>2.9.2</version>
        </dependency>

        <dependency>
            <groupId>io.springfox</groupId>
            <artifactId>springfox-swagger-ui</artifactId>
            <version>2.9.2</version>
        </dependency>
2.需要在swaggerConfig配置类上@EnableSwagger2
import org.springframework.context.annotation.Bean;
import org.springframework.context.annotation.Configuration;
import org.springframework.core.env.Environment;
import org.springframework.core.env.Profiles;
import springfox.documentation.builders.RequestHandlerSelectors;
import springfox.documentation.service.ApiInfo;
import springfox.documentation.service.Contact;
import springfox.documentation.spi.DocumentationType;
import springfox.documentation.spring.web.plugins.Docket;
import springfox.documentation.swagger2.annotations.EnableSwagger2;

import java.util.ArrayList;


@Configuration
@EnableSwagger2   //开启swagger
public class SwaggerConfig {

    @Bean  //配置多个组  每个人协调开发
    public Docket docket1(){
        return new Docket(DocumentationType.SWAGGER_2).groupName("A");
    }
    @Bean
    public Docket docket2(){
        return new Docket(DocumentationType.SWAGGER_2).groupName("B");
    }
    @Bean
    public Docket docket3(){
        return new Docket(DocumentationType.SWAGGER_2).groupName("C");
    }

    //配置了Swagger的Docket的bean实例
    @Bean
    public Docket docket(Environment environment){
        //如何在生产环境中使用swagger 发布环境中不使用呢?

        //设置要显示的swagger环境  切换环境也要修改端口号8081 8082等
        Profiles profiles = Profiles.of("dev");   //用外部环境判断 为dev返回true  反之false
        //通过environment.acceptsProfiles判断是否处在自己设置的环境当中
        boolean flag = environment.acceptsProfiles(profiles);

        return new Docket(DocumentationType.SWAGGER_2)
                .apiInfo(apiInfo()) //基础信息配置
                .groupName("xxx") //配置API文档的分组
                .enable(flag)  //是否启用swagger 为false 则不能再浏览器中访问
                //下面四个一套的
                .select()
                .apis(RequestHandlerSelectors.basePackage("com.zxy.controller"))
                //.paths(PathSelectors.ant("com/zxy/**"))
                .build();
                //RequestHandlerSelectors 配置要扫描接口的方式
                //basePackage  指定要扫描的包  这样就只扫描controller
                //any   都扫描
                //none  都不扫描
                //withClassAnnotation   扫描类上的注解,参数是一个反射对象
                //withMethodAnnotation   扫描方法上的注解
                //paths 过滤路径
    }
    //基础信息配置
    private ApiInfo apiInfo(){
        //作者信息
        Contact contact = new Contact("xxx","https://www.cnblogs.com/kidzxy/","1603533323@qq.com");

        return new ApiInfo(
                "xxx的SwaggerApi文档",
                "nb",
                "v1.0",
                "https://www.cnblogs.com/kidzxy/",
                contact,
                "Apache 2.0",
                "http://www.apache.org/licenses/LICENSE-2.0",
                new ArrayList<>()
        );

    }

}
3.接口注释
3.1Controller
package com.zxy.controller;

import com.zxy.pojo.User;
import io.swagger.annotations.ApiOperation;
import io.swagger.annotations.ApiParam;
import org.springframework.web.bind.annotation.GetMapping;
import org.springframework.web.bind.annotation.PostMapping;
import org.springframework.web.bind.annotation.RequestMapping;
import org.springframework.web.bind.annotation.RestController;

@RestController
public class HelloController {

    @GetMapping("/hello")
    public String hello(){
        return "hello";
    }

    //实体类无法扫描到swagger中只要我们的接口中有实体类就会被扫描到Swagger中
    @PostMapping("/user")
    public User user(){
        return new User();
    }

    @ApiOperation("hello控制类")//给接口方法加注释 仅此而已
    @GetMapping("/hello2")
    public String hello2(@ApiParam("用户名") String username){ //给属性加api注释
        return "hello"+username;
    }
}
3.2实体类注释
package com.zxy.pojo;

import io.swagger.annotations.ApiModel;
import io.swagger.annotations.ApiModelProperty;

@ApiModel("用户实体类")  //给Api文档中给字段文档加注释
public class User {
    @ApiModelProperty("用户名")
    public String username;
    @ApiModelProperty("密码")
    public String password;
}


【推荐】国内首个AI IDE,深度理解中文开发场景,立即下载体验Trae
【推荐】编程新体验,更懂你的AI,立即体验豆包MarsCode编程助手
【推荐】抖音旗下AI助手豆包,你的智能百科全书,全免费不限次数
【推荐】轻量又高性能的 SSH 工具 IShell:AI 加持,快人一步
· TypeScript + Deepseek 打造卜卦网站:技术与玄学的结合
· Manus的开源复刻OpenManus初探
· AI 智能体引爆开源社区「GitHub 热点速览」
· 三行代码完成国际化适配,妙~啊~
· .NET Core 中如何实现缓存的预热?