
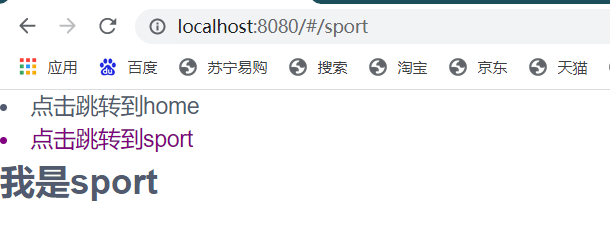
声明式导航
1.to属性
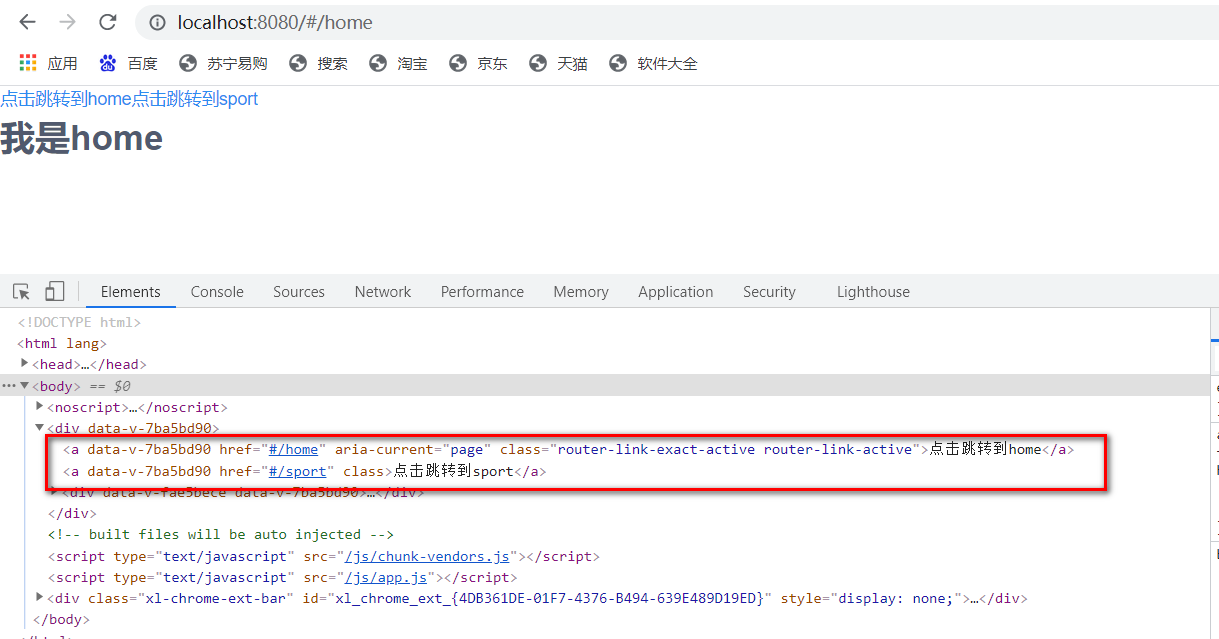
之前我们学习的路由地址都是自己手动输入的,没有任何的触发条件,此时我们可通过router-link设置点击跳转的元素
1 <template>
2 <div>
3     <router-link to='home'>点击跳转到home</router-link>
4     <router-link to='sport'>点击跳转到sport</router-link>
5     <!-- 显示区域 -->
6     <router-view></router-view>
7 </div>
8 </template>

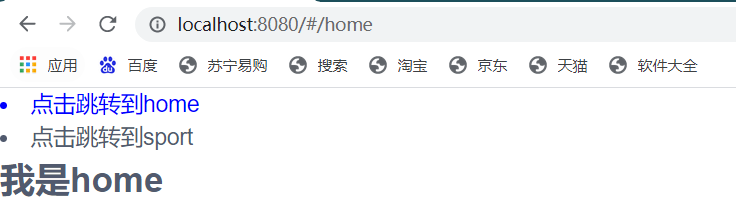
此时我们发现点击sport或者home,router-view组件会显示对应的组件内容
机理router-link组件默认渲染为带有正确链接的<a>标签
to属性是必传属性
1 <router-link to='home'>点击跳转到home</router-link>
此时就代表跳router-view显示的是/home的页面地址
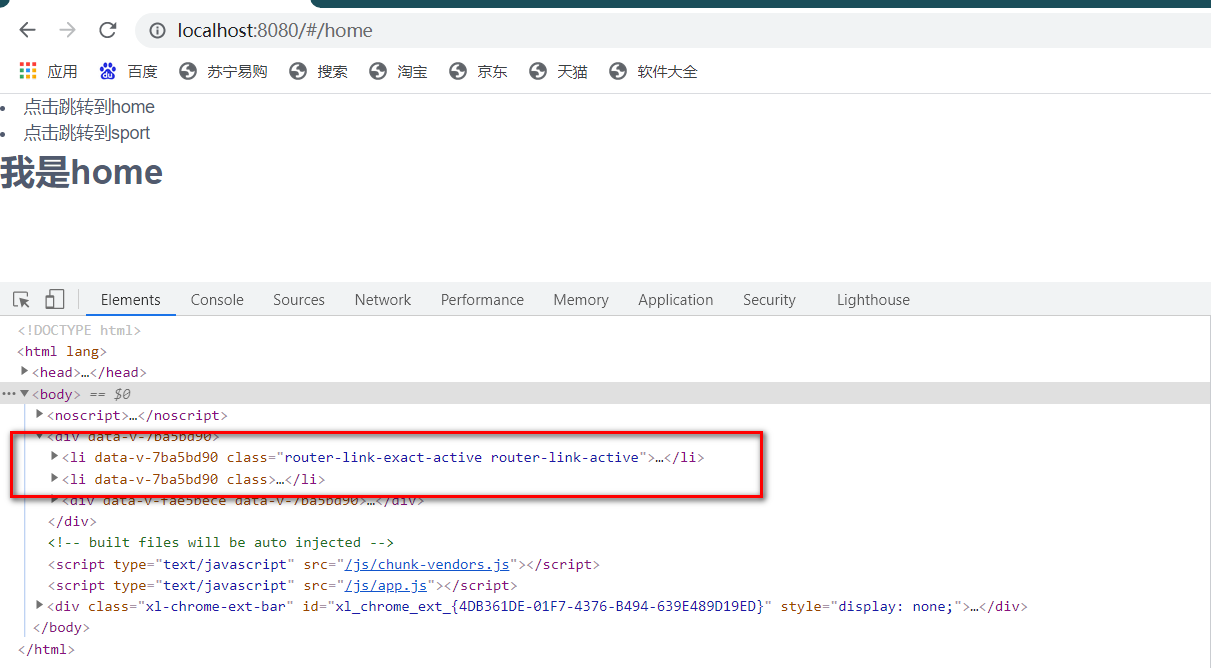
2.tag属性
由于router-link默认会加载为a标签,此时可以通过tag属性进行配置
默认显示
此时我们将tag配置为了li
1 <template>
2     <div>
3         <!--显示区域-->
4             <router-link to='home' tag="li">点击跳转到home</router-link>
5             <router-link to='sport'  tag="li">点击跳转到sport</router-link>
6         <router-view></router-view>
7     </div>
8 </template>
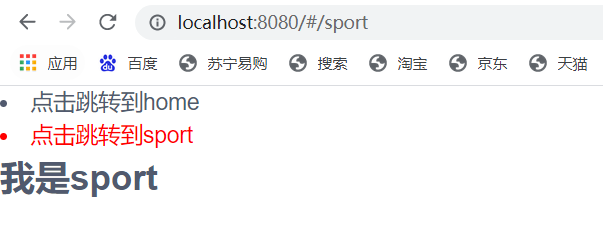
3.active-class属性
active-class属性的作用是添加被激活的class类名
1 <template>
2     <div>
3         <!--显示区域-->
4             <router-link to='home' tag="li" active-class="aclass">点击跳转到home</router-link>
5             <router-link to='sport' tag="li" active-class="aclass">点击跳转到sport</router-link>
6         <router-view></router-view>
7     </div>
8 </template>
1 <style scoped>
2 li{
3     font-size: 18px;
4 }
5 .aclass{
6     color: red;
7 }
8 </style>

如果不设置active-class此时默认被激活的class类名是.router-link-active
1 <style scoped>
2 li{
3     font-size: 18px;
4 }
5 .router-link-active{
6     color: purple;
7 }
8 </style>
我们也可以进行全局配置默认被激活class
 1 import vue from "vue"
 2 import vueRouter from "vue-router"
 3 import Home from "../views/Home.vue"
 4 import Sport from "../views/Sport.vue"
 5 vue.use(vueRouter)
 6 let router=new vueRouter({
 7     linkActiveClass:'is-active',   //全局添加这个属性
 8     routes:[
 9         {
10             path:'/home',
11             component:Home
12         },
13         {
14             path:'/sport',
15             component:Sport
16         }
17     ]
18 })
19
20 export default router
1 <style scoped>
2 li{
3     font-size: 18px;
4 }
5 .is-active{
6     color: red;
7 }
8 </style>
4.exact
exact属性是精确匹配的意思
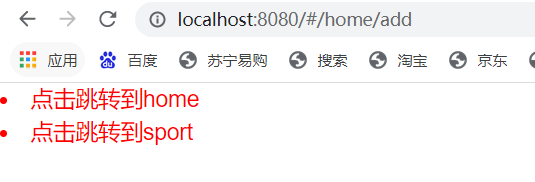
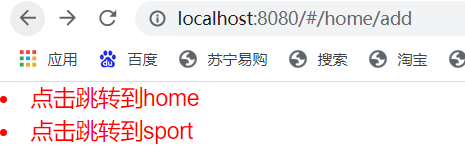
比如我们的路由地址有/add和/add/a,如果触发了/add/a,此时/add的路由也会被激活class状态
1 <template>
2     <div>
3         <!--显示区域-->
4             <router-link to='/home'  tag="li" >点击跳转到home</router-link>
5             <router-link to='/home/add' tag="li" >点击跳转到sport</router-link>
6         <router-view></router-view>
7     </div>
8 </template>
此时我们点击home/add,此时home也会添加一个被激活的类
可以设置exact属性
1 <template>
2     <div>
3         <!--显示区域-->
4             <router-link to='/home' exact tag="li" >点击跳转到home</router-link>
5             <router-link to='/home/add' tag="li" >点击跳转到sport</router-link>
6         <router-view></router-view>
7     </div>
8 </template>
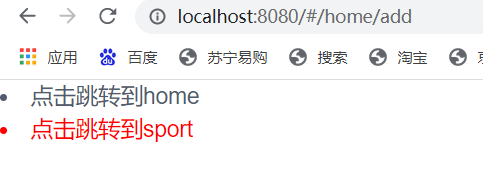
exact也有自己精确匹配的class
1 <template>
2     <div>
3         <!--显示区域-->
4             <router-link to='/home' exact exact-active-class="eclass" tag="li" >点击跳转到home</router-link>
5             <router-link to='/home/add' tag="li" >点击跳转到sport</router-link>
6         <router-view></router-view>
7     </div>
8 </template>
1 .eclass{
2     color: blue;
3 }
5. event属性
可以通过event属性设置router-link被触发的方式
1 <template>
2     <div>
3         <!--显示区域-->
4             <router-link to='/home' event='mouseenter' tag="li" >点击跳转到home</router-link>
5             <router-link to='/home/add' event='mouseenter' tag="li" >点击跳转到sport</router-link>
6         <router-view></router-view>
7     </div>
8 </template>

此时router-link触发的方式鼠标移上
6.replace属性
路由跳转有router和replace,如果是router会记录跳转地址,replace不会记录
如果我们用的router此时可以倒退,
但是我们添加了replace之后就不会发生了跳转,此时不能点击
1 <template>
2     <div>
3         <!--显示区域-->
4            <router-link to='/home' replace tag="li">点击跳转到home</router-link>
5              <router-link to='/home/add' replace tag="li">点击跳转到sport</router-link>
6         <router-view></router-view>
7     </div>
8 </template>
7.append属性
append属性是在当前的路由基础之上,进行累加,而不是重构
1 <template>
2     <div>
3         <!--显示区域-->
4            <router-link to='home' append tag="li">点击跳转到home</router-link>
5              <router-link to='sport' append tag="li">点击跳转到sport</router-link>
6         <router-view></router-view>
7     </div>
8 </template>

此时页面会有反复累加的状态
注意,如果需要设置需要append状态的路由,前面别加/
1 <template>
2     <div>
3         <!--显示区域-->
4            <router-link to='/home' append tag="li">点击跳转到home</router-link>
5              <router-link to='/sport' append tag="li">点击跳转到sport</router-link>
6         <router-view></router-view>
7     </div>
8 </template>
上面的路由由于加了/所以不会进行路由的叠加
