


文章目录
前言
Thymeleaf是Spring Boot官方的推荐使用模板。
所以放弃jsp吧(我不是打广告的)
一、thymeleaf是什么?
Thymeleaf是一个用于Web和独立Java环境的模板引擎,能够处理HTML、XML、JavaScript、CSS甚至纯文本。能轻易的与Spring MVC等Web框架进行集成作为Web应用的模板引擎。与其它模板引擎相比,Thymeleaf最大的特点是能够直接在浏览器中打开并正确显示模板页面,而不需要启动整个Web应用.
Thymeleaf 3.0是一个完全彻底重构的模板引擎,极大的减少内存占用和提升性能和并发性,避免v2.1版因大量的输出标记的集合产生的资源占用。
Thymeleaf 3.0放弃了大多数面向DOM的处理机制,变成了一个基于事件的模板处理器,它通过处理模板标记或文本并立即生成其输出,甚至在新事件之前响应模板解析器/缓存事件。
二、使用步骤
1.导入坐标
<!--        引入thymeleaf模板引擎-->
        <dependency>
            <groupId>org.springframework.boot</groupId>
            <artifactId>spring-boot-starter-thymeleaf</artifactId>
        </dependency>
更改SpringBoot默认版本
 	<properties>
        <java.version>1.8</java.version>
        <thymeleaf.version>3.0.11.RELEASE</thymeleaf.version>
        <--布局功能支持的程序 thymeleaf3版本 对应 layout2以上版本-->
        <thymeleaf-layout-dialect.version>2.2.2</thymeleaf-layout-dialect.version>
    </properties>
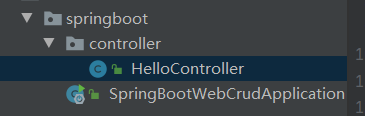
2.Spring Boot项目中创建controller
@Controller
public class HelloController {


    @RequestMapping("/success")
    public String success(){

        return "success";
    }
}
3.分析源码
打开org.springframework.boot.autoconfigure.thymeleaf.ThymeleafProperties
源码如下所示

public static final String DEFAULT_PREFIX = "classpath:/templates/";
public static final String DEFAULT_SUFFIX = ".html";
这两行类似于SpringMVC框架里配置的视图解析器
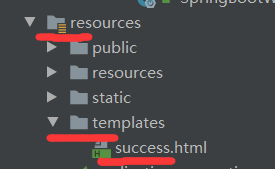
4.配置success.html
<!DOCTYPE html>
<html lang="en">
<head>
<meta charset="UTF-8">
<title>success</title>
</head>
<body>
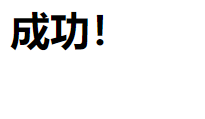
<h1>成功!</h1>
</body>
</html>
5.启动主配置文件访问http://localhost:8080/success
总结
只要将html页面放到classpath:/templates/下,thmeleaf就能帮我们自动渲染了

 浙公网安备 33010602011771号