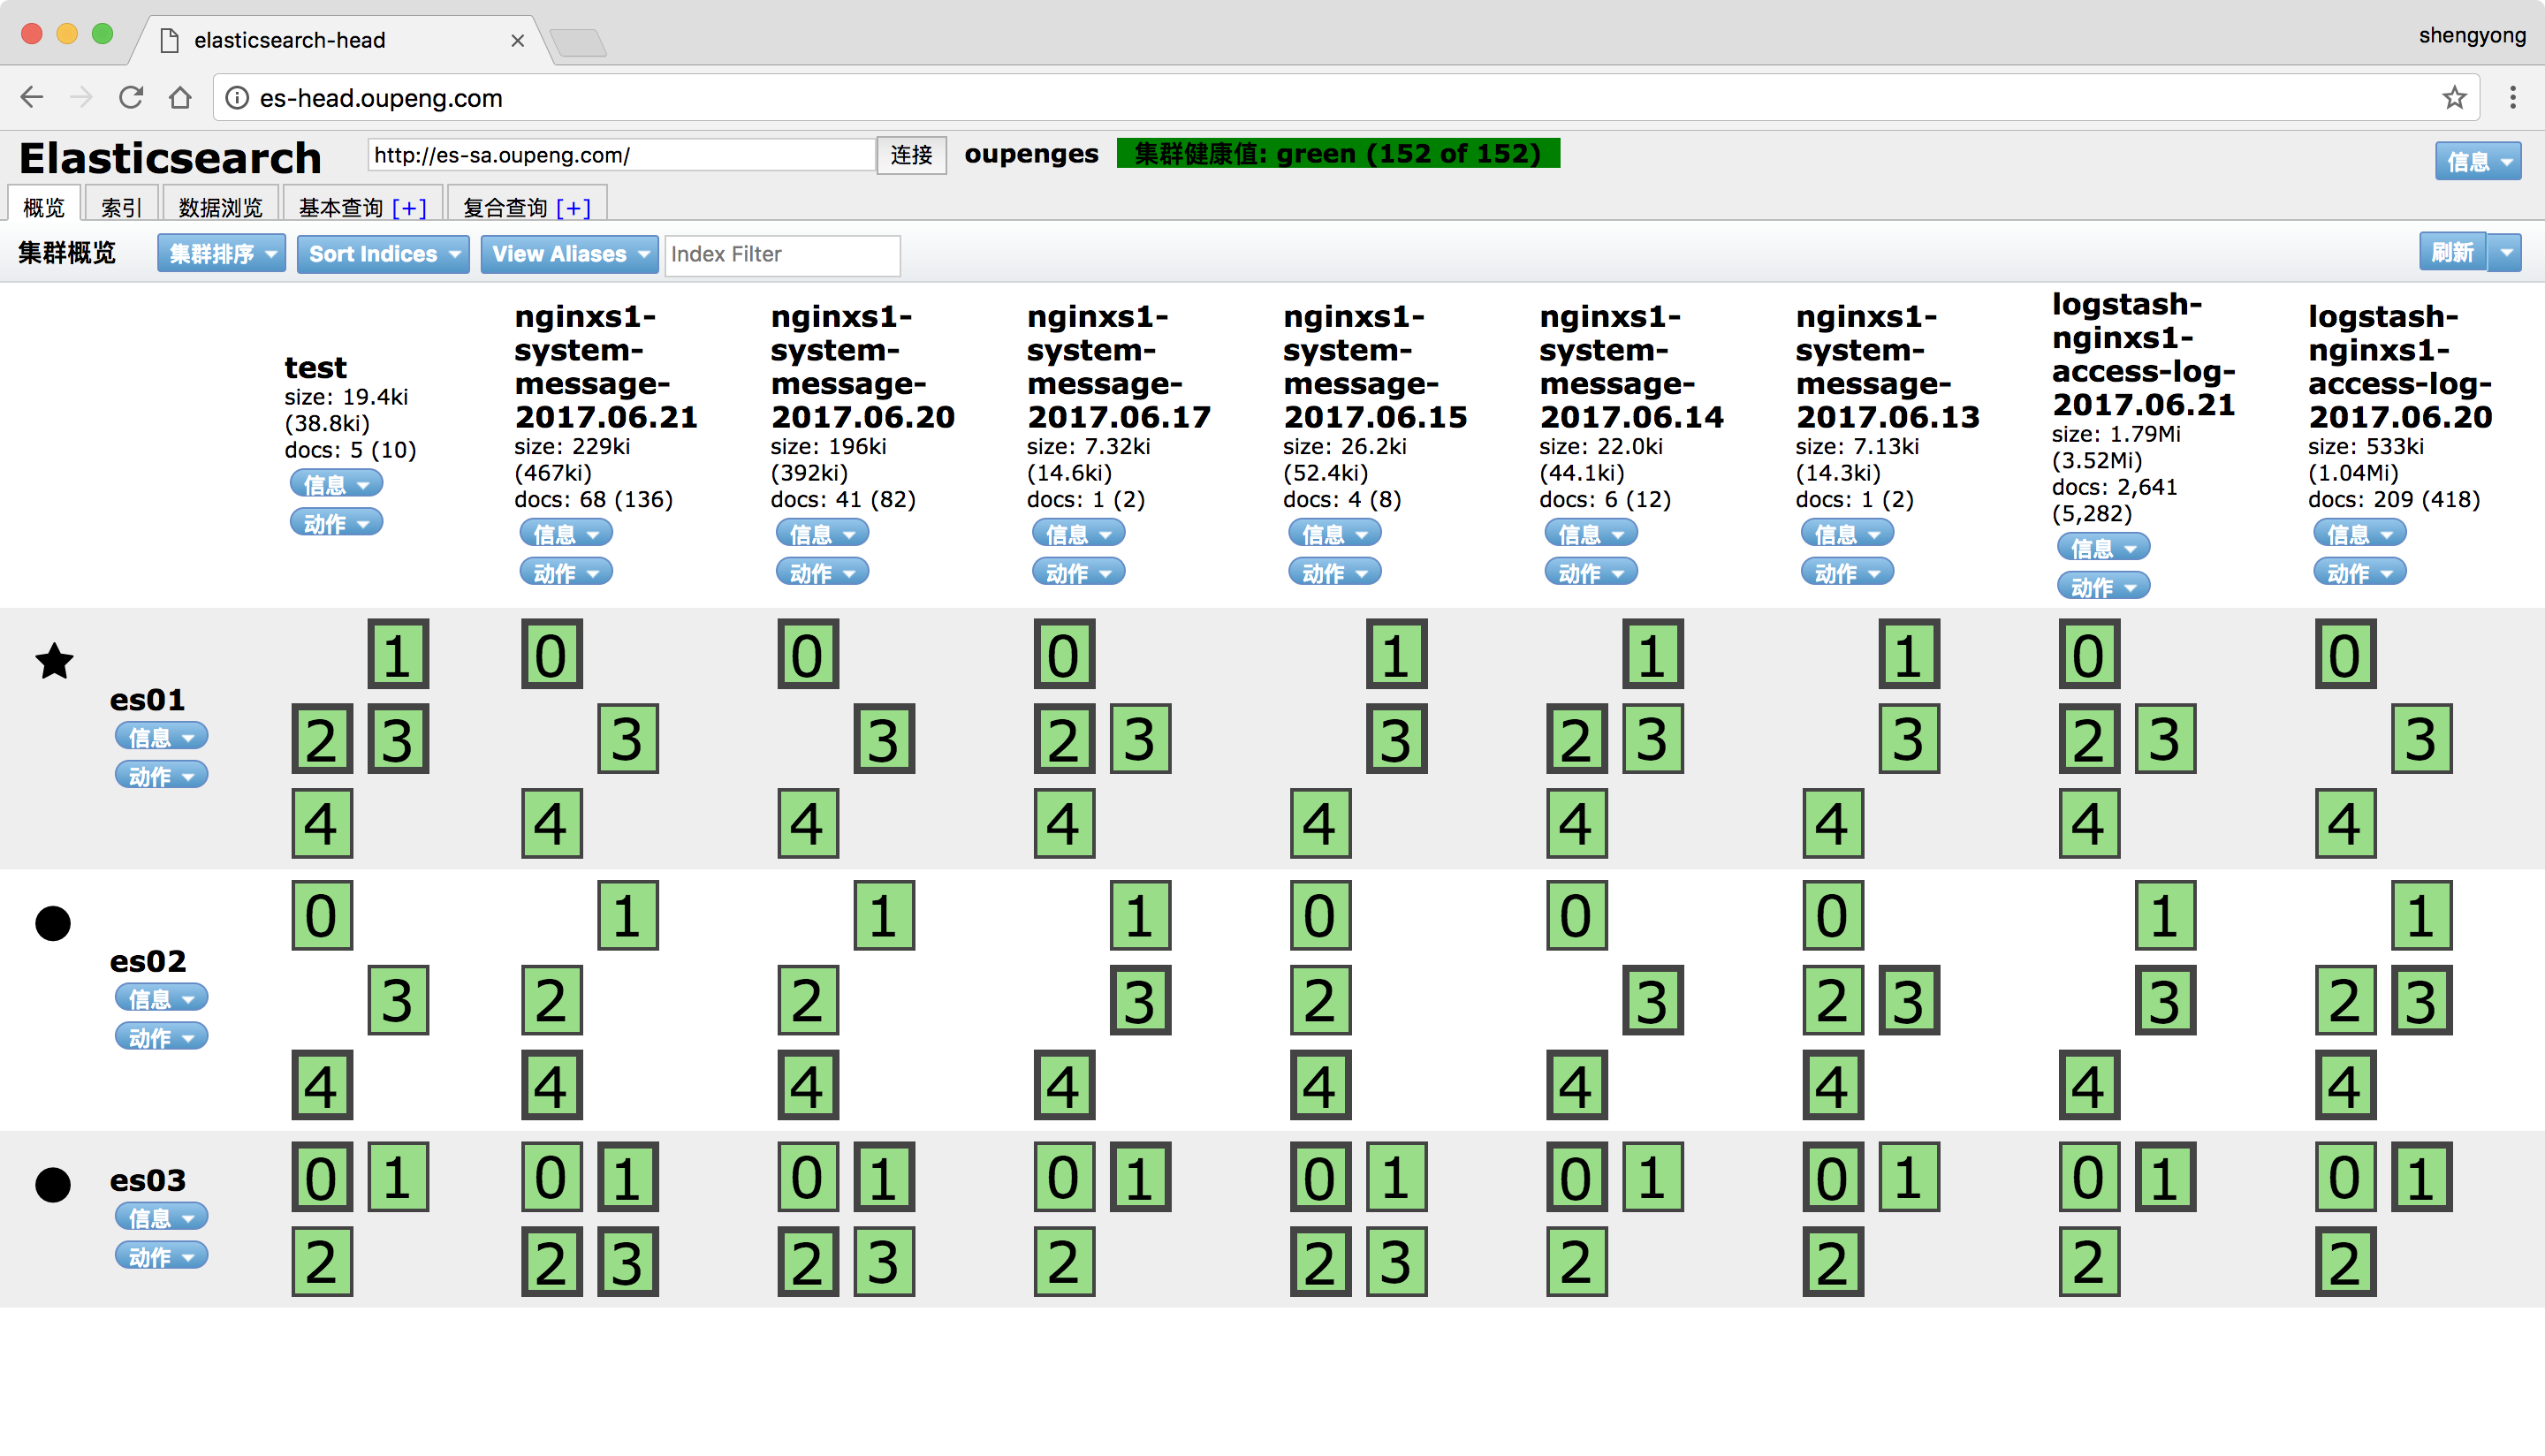
安装elasticsearch5.4.1集群和head插件
这里用的系统版本是CentOS6.6。
192.168.3.56    ES01
192.168.3.49    ES02
192.168.3.57    ES03
1、为三个节点安装java环境
# yum install -y java java-1.8.0-openjdk-devel
# vim /etc/profile.d/java.sh
export JAVA_HOME=/usr
# source /etc/profile.d/java.sh
2、同步时间
# ntpdate pool.ntp.org
3、上官网下载rpm包,或者按照guide设置官方repo,分别为三个节点安装ES
# yum install -y elasticsearch-5.4.1.rpm
https://www.elastic.co/guide/en/elasticsearch/reference/current/install-elasticsearch.html
4、修改配置文件
节点1,ES01:
# vim /etc/elasticsearch/elasticsearch.yml
cluster.name: oupenges
node.name: es01
bootstrap.system_call_filter: false
http.cors.enabled: true
http.cors.allow-origin: "*"
bootstrap.memory_lock: true
network.host: 192.168.3.56
discovery.zen.ping.unicast.hosts: ["192.168.3.56", "192.168.3.49", "192.168.3.57"]
节点2,ES02:
# vim /etc/elasticsearch/elasticsearch.yml
cluster.name: oupenges
node.name: es02
bootstrap.system_call_filter: false
http.cors.enabled: true
http.cors.allow-origin: "*"
bootstrap.memory_lock: true
network.host: 192.168.3.49
discovery.zen.ping.unicast.hosts: ["192.168.3.56", "192.168.3.49", "192.168.3.57"]
节点3,ES03:
# vim /etc/elasticsearch/elasticsearch.yml
cluster.name: oupenges
node.name: es03
bootstrap.system_call_filter: false
http.cors.enabled: true
http.cors.allow-origin: "*"
bootstrap.memory_lock: true
network.host: 192.168.3.57
discovery.zen.ping.unicast.hosts: ["192.168.3.56", "192.168.3.49", "192.168.3.57"]
两个http参数的含义可以参考这里:
https://www.elastic.co/guide/en/elasticsearch/reference/current/modules-http.html
5、修改limits.conf,系统默认的1024太小,这里需要至少2048才能启动服务
# vim /etc/security/limits.conf
*               hard    nofile  65536
*               soft    nofile  65536
*               hard    memlock unlimited
*               soft    memlock unlimited
elasticsearch   hard    nproc   514834
elasticsearch   soft    nproc   514834
https://www.elastic.co/guide/en/elasticsearch/reference/current/setting-system-settings.html#limits.conf
https://www.elastic.co/guide/en/elasticsearch/reference/current/_memory_lock_check.html
6、启动服务
# service elasticsearch start
# chkconfig elasticsearch on
7、通过cluster API查看集群状态:
# curl -XGET 'http://192.168.3.56:9200/_cluster/health?pretty=true'
{
  "cluster_name" : "oupenges",
  "status" : "green",
  "timed_out" : false,
  "number_of_nodes" : 3,
  "number_of_data_nodes" : 3,
  "active_primary_shards" : 71,
  "active_shards" : 142,
  "relocating_shards" : 0,
  "initializing_shards" : 0,
  "unassigned_shards" : 0,
  "delayed_unassigned_shards" : 0,
  "number_of_pending_tasks" : 0,
  "number_of_in_flight_fetch" : 0,
  "task_max_waiting_in_queue_millis" : 0,
  "active_shards_percent_as_number" : 100.0
}
8、安装head插件(需要事先安装nodejs和phantomjs,这里只说一下phantomjs)
安装phantomjs:
# wget https://bitbucket.org/ariya/phantomjs/downloads/phantomjs-2.1.1-linux-x86_64.tar.bz2
# tar xvf phantomjs-2.1.1-linux-x86_64.tar.bz2
# cd phantomjs-2.1.1-linux-x86_64/
# ln -sv /root/phantomjs-2.1.1-linux-x86_64/bin/phantomjs /usr/bin/
运行head:
# git clone https://github.com/mobz/elasticsearch-head.git
# cd elasticsearch-head/

# npm install
# nohup npm run start &
默认监听9100端口,用浏览器访问:http://192.168.3.56:9100/


