内网映射到外网环境-阿里云ECS Ubuntu18.04 Nginx安装及数据转发
1. Nginx 的安装
1.1 安装依赖
安装GCC
sudo apt-get install gcc
检查是否安装成功
gcc --version
如下图表示正确安装

安装其他依赖
sudo apt-get install libpcre3 libpcre3-dev
sudo apt-get install zlib1g zlib1g-dev
sudo apt-get install openssl openssl-dev
1.2 安装Nginx
1.2.1 下载

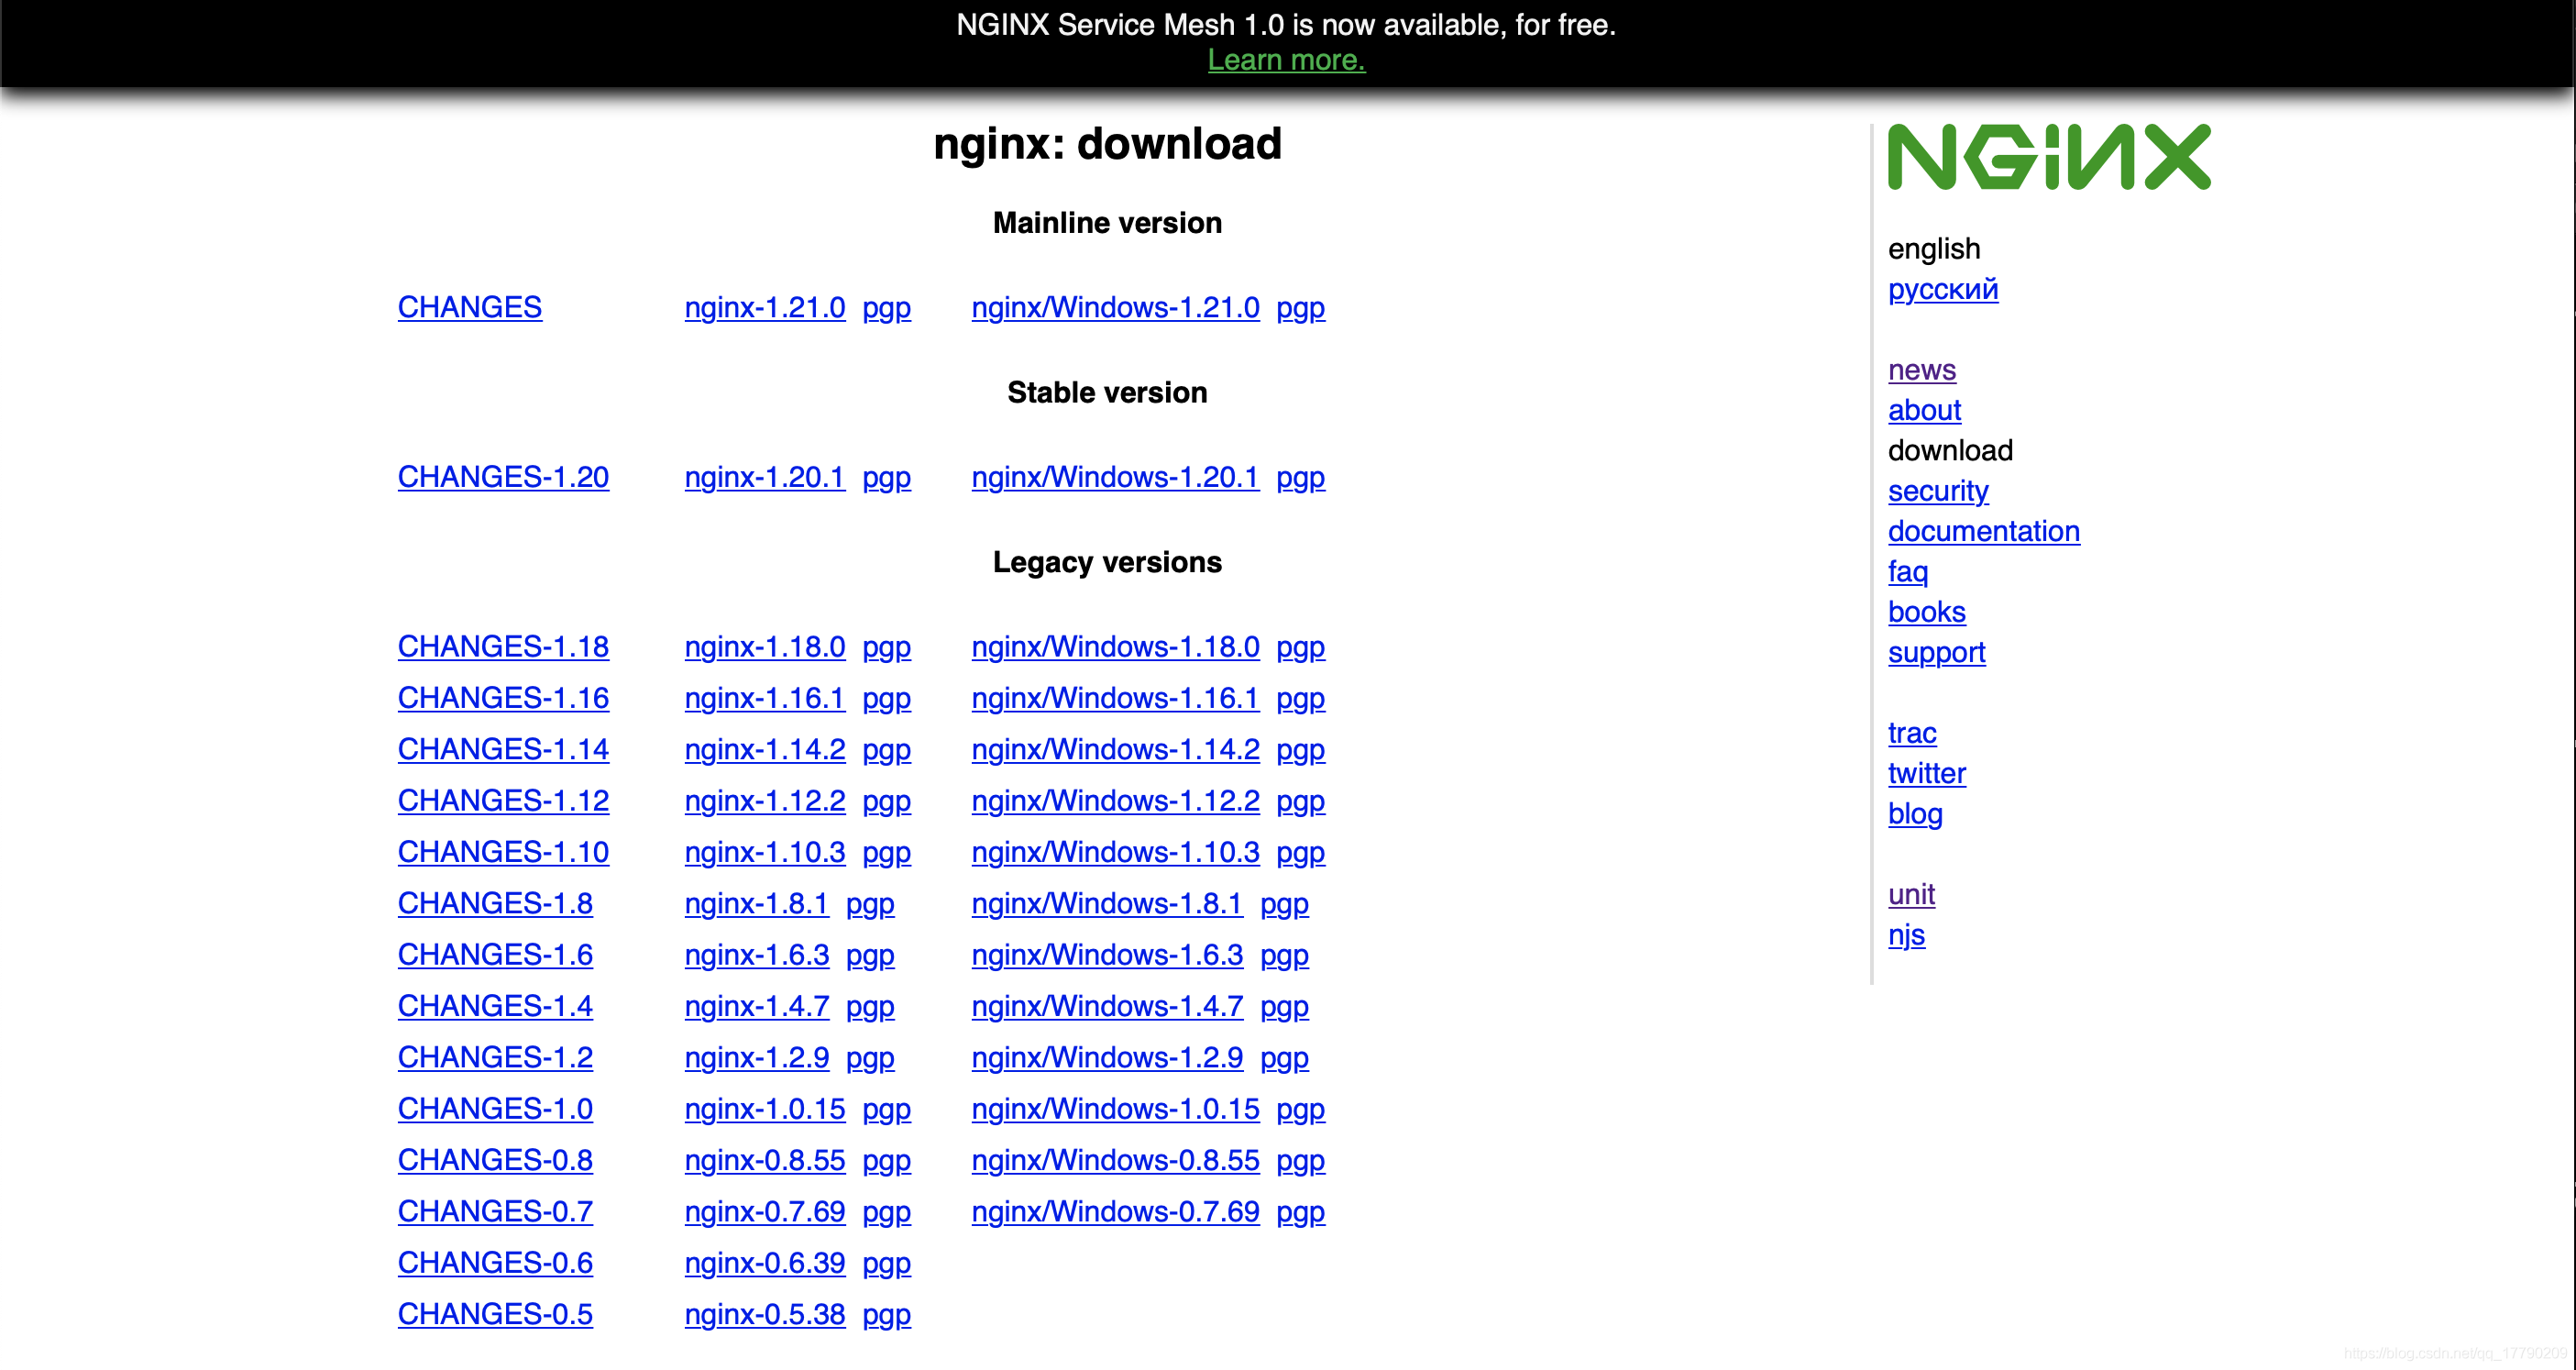
这里NGINX官网下载页面下载 nginx-1.20.1版本,就是图片中Stable Version里的中间的那个(因为环境为Ubuntu 18.04)
1.2.2 安装
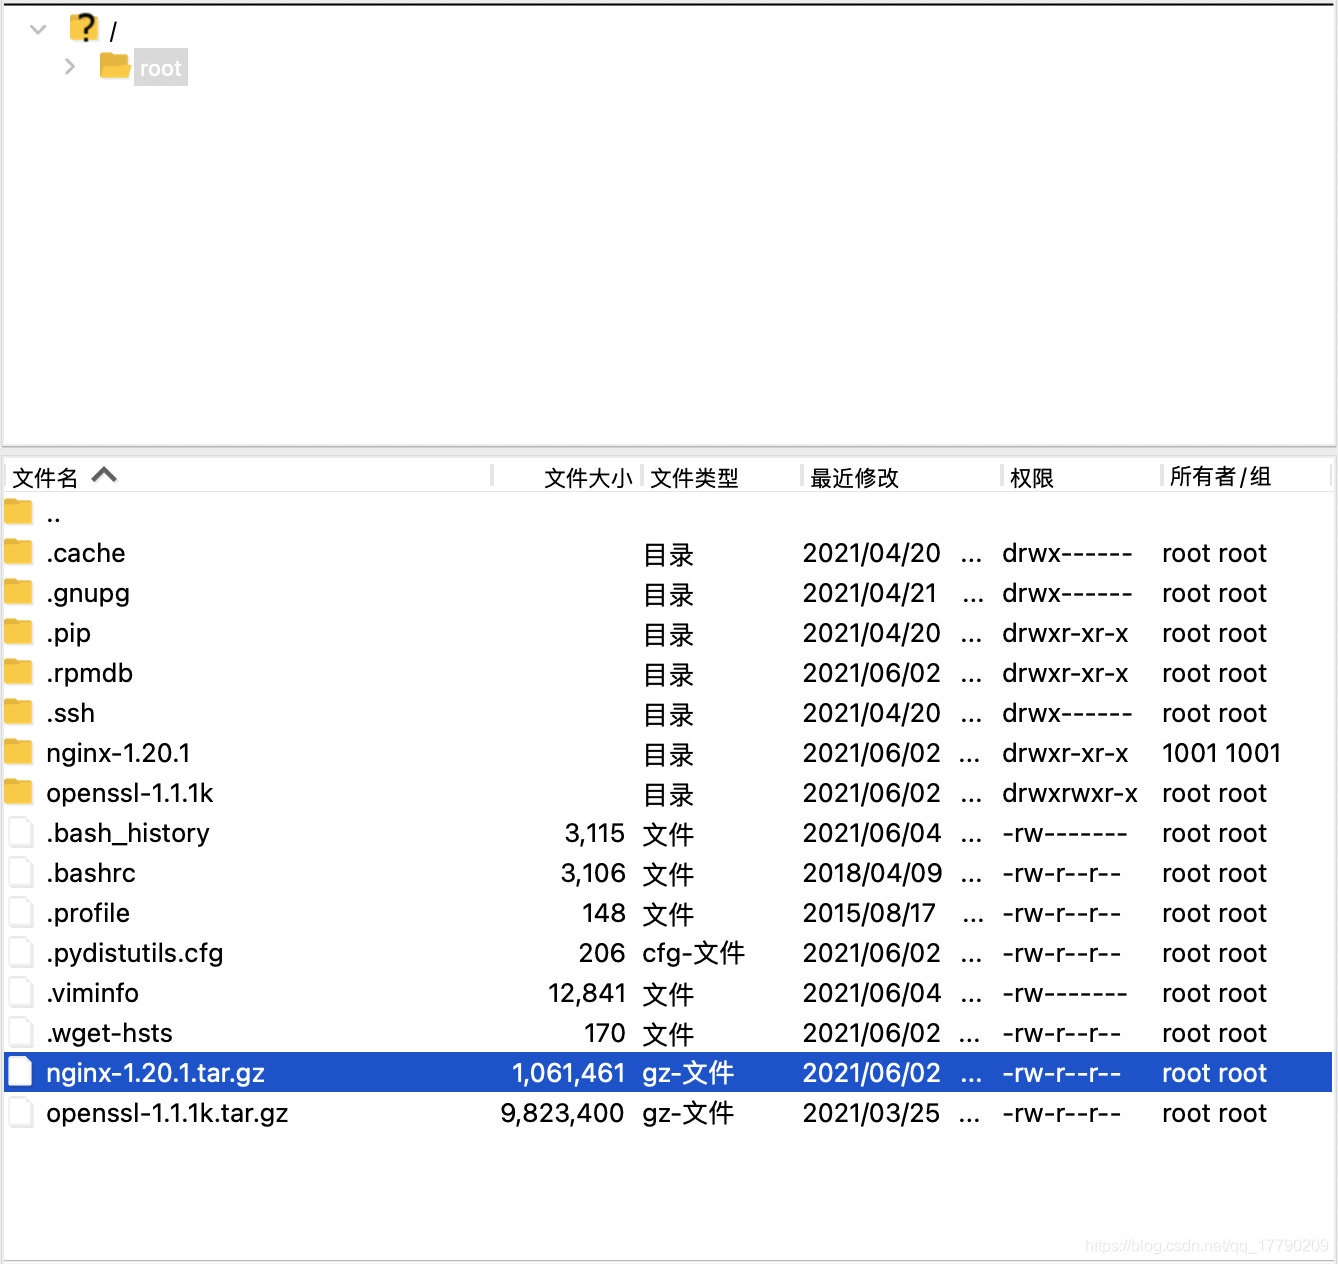
通过SFTP连接到ECS,并上传文件

用SSH连接到ECS,把nginx解压到/usr/local目录下
cd ~
tar -xvf nginx-1.20.1.tar.gz -C /usr/local
检查一下是否解压完成
cd /usr/local/
ls

上图出现的深蓝色的nginx-1.20.1就是解压后的文件(PS:这里还出现了一个深蓝色的nginx,这个是我安装完的文件夹位置,这篇博客是我完整安装完成之后才写的)
接着,我们进入目录
cd nginx-xxx
./configure --prefix=/usr/local/nginx  --with-http_stub_status_module --with-openssl=/usr/local/openssl-1.0.1j --with-http_ssl_module --with-http_realip_module --with-http_flv_module --with-http_mp4_module --with http_gzip_static_module --with-stream --with-stream_ssl_module

make && make install
如果出现不能够make的情况,请使用如下命令
sudo apt-get update
sudo apt-get install ubuntu-make
我本人在安装的时候还出现了如下的报错(这个报错是在make summary之后的出现的)
OpenSSL library is not used
出现以上问题的原因是,在安装nginx的时候没有指定openssl的解压路径。
输入如下指令即可解决
./configure --prefix=/usr/local/nginx --with-openssl=/usr/local/openssl-1.1.1k --with-http_ssl_module
同样的,如果pcre和zlib也出现类似的问题的话,输入如下指令即可解决
--with-pcre=/usr/local/pcre-7.7 --with-zlib=/usr/local/zlib-1.2.3 --with-http_stub_status_module
接着,如果编译的时候还出现了如下的问题或者类似如下的问题
/bin/sh: line 2: ./config: No such file or directory
make[1]: *** [/usr/local/ssl/.openssl/include/openssl/ssl.h] Error 127
make[1]: Leaving directory `/usr/local/src/nginx-1.20.1'
make: *** [build] Error 2
我们先进入/usr/local/nginx-1.20.1/auto/lib/openssl,里面有一个conf文件,用vim打开
将如下代码
CORE_INCS="$CORE_INCS $OPENSSL/.openssl/include"
CORE_DEPS="$CORE_DEPS $OPENSSL/.openssl/include/openssl/ssl.h"
CORE_LIBS="$CORE_LIBS $OPENSSL/.openssl/lib/libssl.a"
CORE_LIBS="$CORE_LIBS $OPENSSL/.openssl/lib/libcrypto.a"
CORE_LIBS="$CORE_LIBS $NGX_LIBDL"
替换为
CORE_INCS="$CORE_INCS $OPENSSL/include"
CORE_DEPS="$CORE_DEPS $OPENSSL/include/openssl/ssl.h"
CORE_LIBS="$CORE_LIBS $OPENSSL/lib/libssl.a"
CORE_LIBS="$CORE_LIBS $OPENSSL/lib/libcrypto.a"
CORE_LIBS="$CORE_LIBS $NGX_LIBDL"
之后返回到nginx-1.20.1的目录下,如果之前编译过,就先清除make clean,然后再编译
make && make install
最后开放端口
/sbin/iptables -I INPUT -p tcp --dport 80 -j ACCEPT
访问你的网站,如果看到下面的内容,说明nginx正常运行了

2. SSH连接与Nginx转发
2.1 公网服务器的设置
使用
ps -ef | grep nginx
查询安装地址,这里显示的是./nginx

结合我们前面的安装地址,应该是在/usr/local/里面,我们进入到如下的目录里/usr/local/nginx/sbin
cd /usr/local/nginx/sbin
然后运行
./nginx -t

显示一个OK一个Successful,就说明Nginx正常运行。
紧接着,我们进入/usr/local/nginx/conf目录,编辑一个叫做nginx.conf的文件
vim nginx.conf
在里面添加
upstream tunnel {
	server 127.0.0.1:7689;
}

server {
	listen 80;
	server_name xxx.xxxxxx.xxx;

	location / {
		proxy_set_header  X-Real-IP  $remote_addr;
		proxy_set_header  X-Forwarded-For $proxy_add_x_forwarded_for;
		proxy_set_header Host $http_host;
		proxy_redirect off;

		proxy_pass http://tunnel;
	}
}
这里创建了一个Nginx的转发,当有人访问xxx.xxxxxx.xxx的时候,Nginx会转发到tunnel。这个Tunnel就是公网的服务器,端口号是7689,下一步将通过这个把本地服务器连接到公网服务器上。
这里需要说明一下,upstream和server是可以设置多个的,而server里面的Listen是不能够相同的。端口号默认的是80,访问的时候就直接输入地址就行,不用单独输入端口号。而设置例如8080等端口,我们在访问的时候就得这样输入xxx.xxxxxx.xxx:8080
2.2 本地服务器的设置
我们在本地的服务器打开终端Terminal使用SSH连接公网服务器
ssh -vnNT -R 服务器端口:localhost:本地端口 服务器用户名@服务器 IP 地址
这里的服务器端口就是我们刚才设置的upstream里面的端口,本地端口就是本地电脑所使用的端口。到此,当我们访问xxx.xxxxxx.xxx的时候,得到的内容响应就是你的本地服务器所提供的了。
2021.06.15更新
我发现在使用的时候,长时间连接SSH并处于空闲状态的话,NAT防火墙会把这个会话断掉,导致我需要重新连接,更新一下代码
ssh -vnNT -R 服务器端口:localhost:本地端口 -o ServerAliveInterval=30 服务器用户名@服务器 IP 地址
这里面新添加了一个-o ServerAliveInterval=30,表明每30秒自动发送一个保持会话的消息来防止NAT防火墙终止掉会话。


