Android之手机向导以及设置中心模块的开发
当我们使用的新的软件的时候,我们首先需要教用户如何使用我们的软件,当用户学习完使用教程,下次再登录的时候,我们应该直接跳到我们的功能界面,下面我来展示一下我学习视频做的效果图:手机防盗这个功能模块就是绑定SIM卡,然后通过检测SIM卡开机的时候是否变更,来保护用户的手机是否处于安全状态,如果发现SIM卡变化,这样就需要我们的第二步,设置一个安全号码,当发现SIM卡已经变化,这个时候手机会自动的发送报警短信提示用户的手机已经处于不安全的状态。当我们看完教程仍不知如何操作我们的软件的时候,这个时候就需要设置一个功能,重新让用户再可以看教程。这就是我们防盗模块的思想。

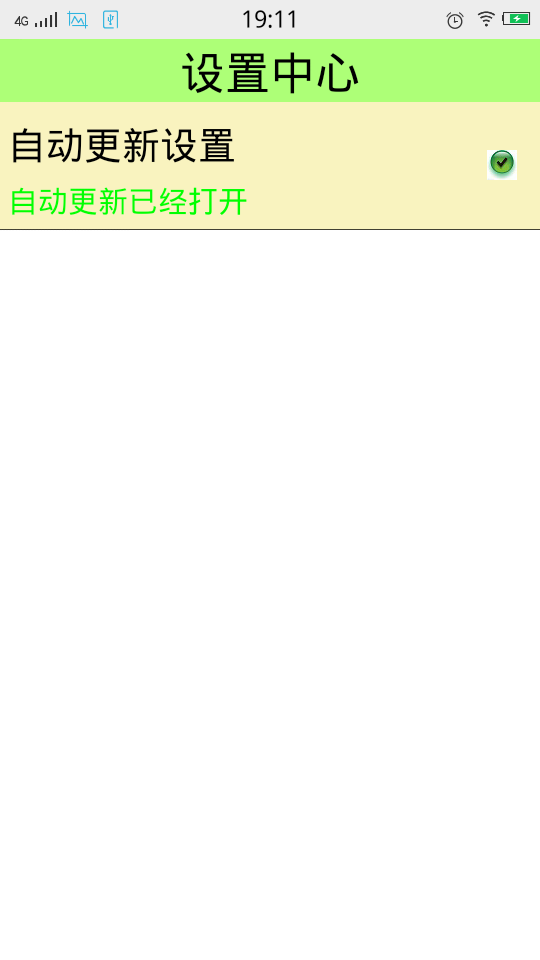
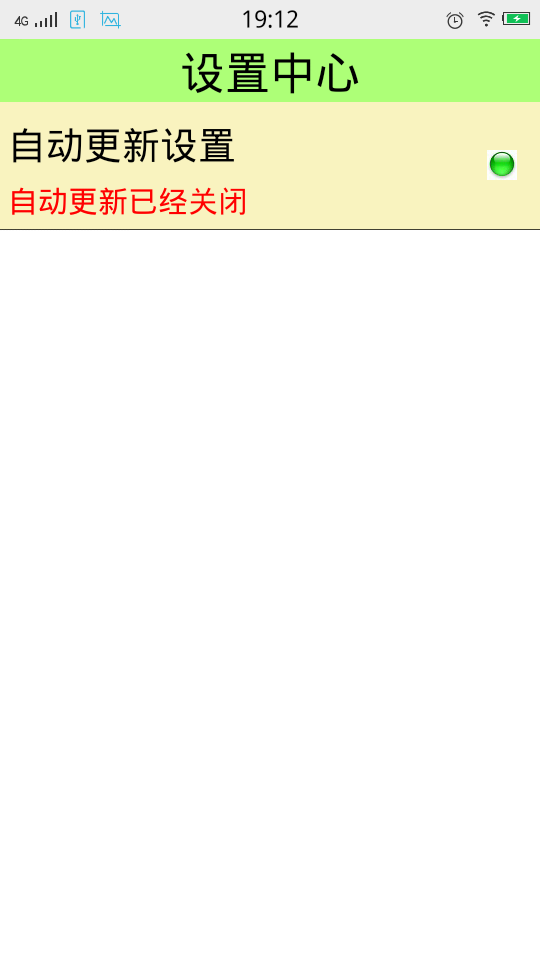
设置中心模块的中心思想就是一些常用的功能是否开启和关闭。例如自动更新的设置,黑名单的设置。。。
当然我们不仅仅需要知道这些设计思想,还需要把这些思想以及功能得以实现。
下面我来记录一下,我学习到的知识点:
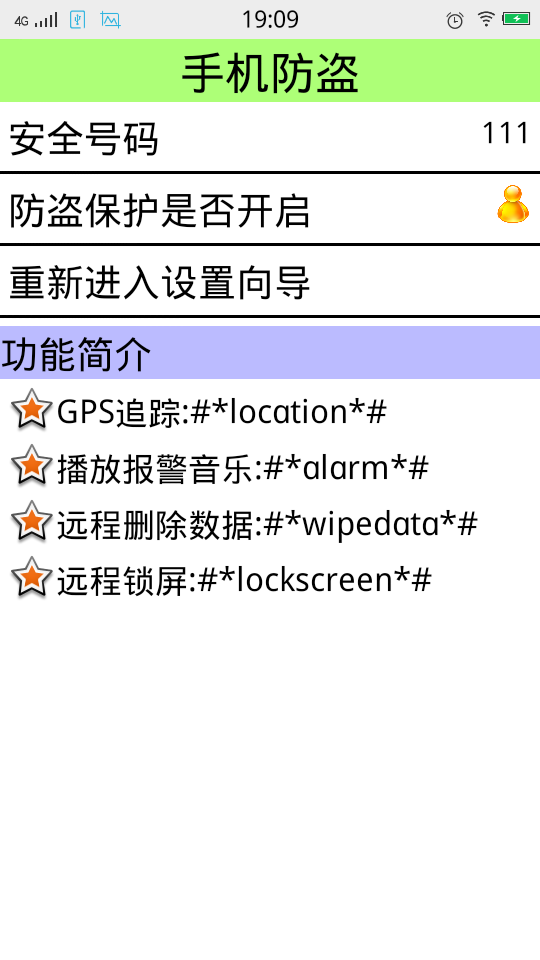
先来说一下手机防盗那个页面:
首先我们用的应该是LinearLayout,还有RelativeLayout。
android:drawableLeft="@android:drawable/star_big_on"这个是Android开发自带的星星图片,可以利用左右上下属性来控制星星所在的位置
style="@style/TitleStyle" 当我们的布局文件中出现大量的重复性的代码的时候,我们应该学会把这些代码抽取出来。放在values文件下面。
<LinearLayout xmlns:android="http://schemas.android.com/apk/res/android"
    xmlns:tools="http://schemas.android.com/tools"
    android:layout_width="match_parent"
    android:layout_height="match_parent"
    android:background="@color/white"
    android:orientation="vertical"
    tools:context=".LostAndFindActivity" >

    <TextView
       style="@style/TitleStyle"
        android:text="手机防盗" />
    <RelativeLayout
        android:layout_width="match_parent"
        android:layout_height="wrap_content">
        <TextView
            style="@style/ContentStyle"
            android:text="安全号码"/>
        <TextView
            android:layout_width="wrap_content"
            android:layout_height="wrap_content"
            android:layout_alignParentRight="true"
            android:layout_marginRight="5dp"
            android:layout_centerVertical="true"
            android:textColor="@color/black"
            android:textSize="20dp"
            android:text="111"/>
    </RelativeLayout>
    <View
        android:layout_width="match_parent"
        android:layout_height="2dp"
        android:background="@color/black"
        android:layout_marginTop="5dp"/>
<RelativeLayout
        android:layout_width="match_parent"
        android:layout_height="wrap_content">
        <TextView
            style="@style/ContentStyle"
            android:text="防盗保护是否开启"/>
        <ImageView
            android:layout_width="25dp"
            android:layout_height="25dp"
            android:layout_alignParentRight="true"
            android:layout_marginRight="5dp"
            android:layout_centerVertical="true"
           android:src="@drawable/person"/>
    </RelativeLayout>
    <View
        android:layout_width="match_parent"
        android:layout_height="2dp"
        android:background="@color/black"
        android:layout_marginTop="5dp"/>
    <TextView
        android:layout_width="match_parent"
        android:layout_height="wrap_content"
        android:clickable="true"
        android:onClick="reEnterSetUp"
        android:padding="5dp"
        android:background="@drawable/btn_shape_selector"
        android:text="重新进入设置向导"
        android:textColor="@color/black"
        android:textSize="25sp"/>
     <View
        android:layout_width="match_parent"
        android:layout_height="2dp"
        android:background="@color/black"/>
     <TextView
      style="@style/ContentStyle"
      android:layout_width="match_parent"
      android:background="#bbf"
      android:layout_marginLeft="0dp"
    android:text="功能简介"/>
<TextView
      style="@style/ContentStyle"
      android:drawableLeft="@android:drawable/star_big_on"
      android:gravity="center"
      android:textSize="22sp"
    android:text="GPS追踪:#*location*#"/>
<TextView
      style="@style/ContentStyle"
      android:drawableLeft="@android:drawable/star_big_on"
      android:gravity="center"
      android:textSize="22sp"
    android:text="播放报警音乐:#*alarm*#"/>
<TextView
      style="@style/ContentStyle"
      android:drawableLeft="@android:drawable/star_big_on"
      android:gravity="center"
      android:textSize="22sp"
    android:text="远程删除数据:#*wipedata*#"/>
<TextView
      style="@style/ContentStyle"
      android:drawableLeft="@android:drawable/star_big_on"
      android:gravity="center"
      android:textSize="22sp"
    android:text="远程锁屏:#*lockscreen*#"/>

</LinearLayout>
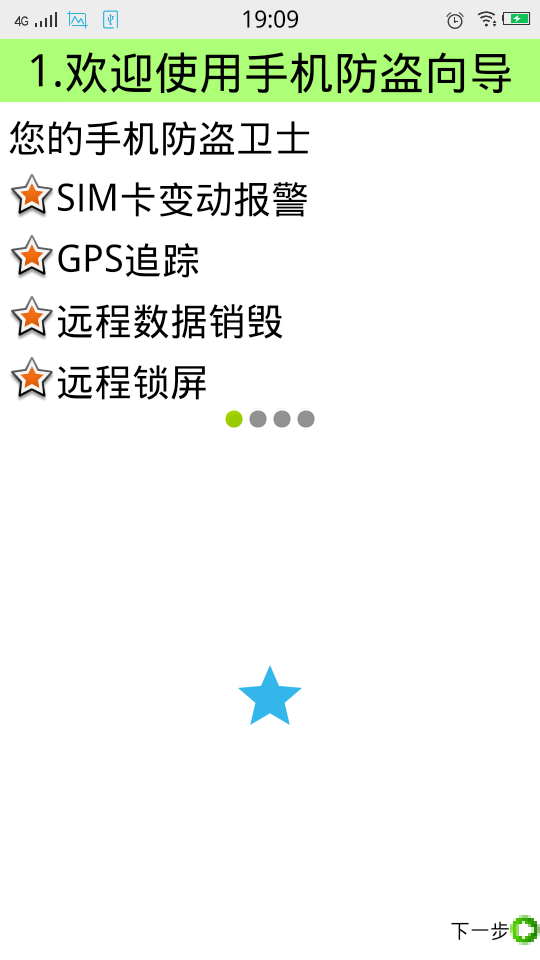
教程的第一步,我们同样用到了上面的一些相似的属性吗,以及控件的样式。重点是:
android:src="@android:drawable/presence_online" 这是那四个小圆点的属性,online是会出现类似于被点击的效果,
android:src="@android:drawable/presence_invisible" 这是类似于没有被点击的效果。这个控件就类似于上面的星星一样,也是自带的效果
<LinearLayout xmlns:android="http://schemas.android.com/apk/res/android"
    xmlns:tools="http://schemas.android.com/tools"
    android:layout_width="match_parent"
    android:layout_height="match_parent"
    android:orientation="vertical"
    android:background="@color/white" >

    <TextView
        style="@style/TitleStyle"
        android:text="1.欢迎使用手机防盗向导" />
<TextView
      style="@style/ContentStyle"
    android:text="您的手机防盗卫士"/>
<TextView
      style="@style/ContentStyle"
      android:drawableLeft="@android:drawable/star_big_on"
      android:gravity="center"
    android:text="SIM卡变动报警"/>
<TextView
      style="@style/ContentStyle"
      android:drawableLeft="@android:drawable/star_big_on"
      android:gravity="center"
    android:text="GPS追踪"/>
<TextView
      style="@style/ContentStyle"
      android:drawableLeft="@android:drawable/star_big_on"
      android:gravity="center"
    android:text="远程数据销毁"/>
<TextView
      style="@style/ContentStyle"
      android:drawableLeft="@android:drawable/star_big_on"
      android:gravity="center"
    android:text="远程锁屏"/>
<LinearLayout
    android:layout_width="match_parent"
    android:layout_height="wrap_content"
    android:gravity="center">
    <ImageView
        android:layout_width="wrap_content"
        android:layout_height="wrap_content"
        android:src="@android:drawable/presence_online"/>
    <ImageView
        android:layout_width="wrap_content"
        android:layout_height="wrap_content"
        android:src="@android:drawable/presence_invisible"/>
    <ImageView
        android:layout_width="wrap_content"
        android:layout_height="wrap_content"
        android:src="@android:drawable/presence_invisible"/>
    <ImageView
        android:layout_width="wrap_content"
        android:layout_height="wrap_content"
        android:src="@android:drawable/presence_invisible"/>

</LinearLayout>
<RelativeLayout
        android:layout_width="match_parent"
        android:layout_height="match_parent">

    <ImageView
        android:id="@+id/imageView1"
        android:layout_width="wrap_content"
        android:layout_height="wrap_content"
        android:layout_centerHorizontal="true"
        android:layout_centerVertical="true"
        android:src="@drawable/ic_launcher" />

    <Button
       style="@style/NextPage"/>

    </RelativeLayout>
</LinearLayout>
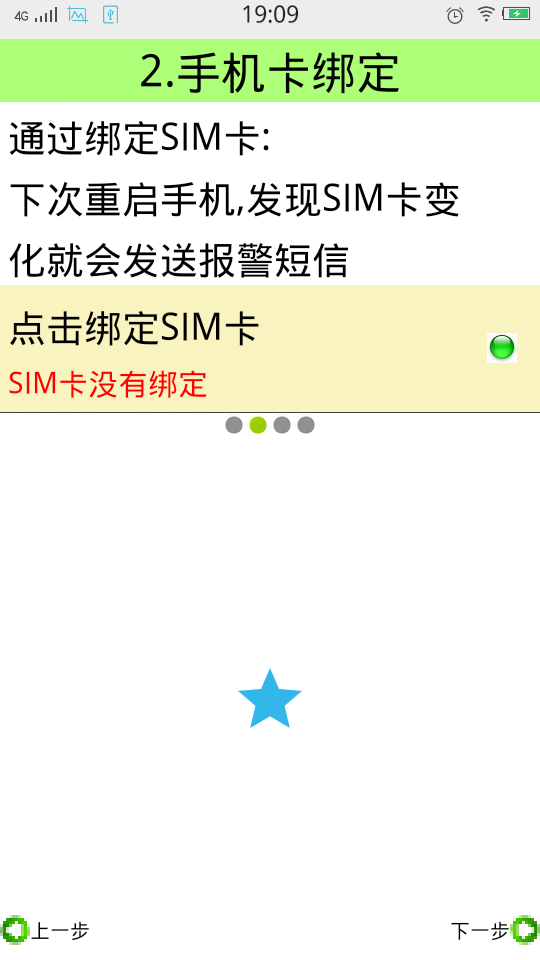
教程第二步:
下面这个内容是视频当中最重要的内容:
自定义属性的步骤:
1.自定义命名空间:(使用自定义控件的布局文件里面写)
 xmlns:itheima(自己随意命名)="http://schemas.android.com/apk/res/包名"
2.自定义属性
在res目录下的values目录里面,创建一个attrs.xml
声明自己定义的属性
<?xml version="1.0" encoding="utf-8"?>
<resources>
    <declare-styleable name="SettingView">
        <attr name="title" format="string" />
        <attr name="descs" format="string" />
    </declare-styleable>
</resources>
属性声明完成以后就会在R文件里面生成id。
3.xml布局文件里面配置这个属性(在使用自定义控件的布局文件里面写)
   itheima:descs="SIM卡已绑定#SIM卡没有绑定"
    itheima:title="点击绑定SIM卡"
4.在代码里面获取属性(在自定义的Java代码里面写)
     String title = attrs.getAttributeValue("http://schemas.android.com/apk/res/com.itcast.mobilesafe58.activity","title");
        String desc = attrs.getAttributeValue(命名空间, 属性的名称);
5.设置这个属性的值 (在自定义的Java代码里面写)
<LinearLayout
    xmlns:android="http://schemas.android.com/apk/res/android"
    xmlns:tools="http://schemas.android.com/tools"
     xmlns:itheima="http://schemas.android.com/apk/res/com.itcast.mobilesafe58.activity"
    android:layout_width="match_parent"
    android:layout_height="match_parent"
    android:background="@color/white"
    android:orientation="vertical"
    tools:context=".SetUp2Activity" >
 <TextView
        style="@style/TitleStyle"
        android:text="2.手机卡绑定" />
<TextView
      style="@style/ContentStyle"
    android:text="通过绑定SIM卡:"/>
 <TextView
      style="@style/ContentStyle"
    android:text="下次重启手机,发现SIM卡变"/>
<TextView
      style="@style/ContentStyle"
    android:text="化就会发送报警短信"/>
 <com.itcast.mobilesafe58.view.SettingItemView
    android:id="@+id/siv_bind"
    android:layout_width="match_parent"
    android:layout_height="wrap_content"
    itheima:descs="SIM卡已绑定#SIM卡没有绑定"
    itheima:title="点击绑定SIM卡"/>


<LinearLayout
    android:layout_width="match_parent"
    android:layout_height="wrap_content"
    android:gravity="center">
    <ImageView
        android:layout_width="wrap_content"
        android:layout_height="wrap_content"
        android:src="@android:drawable/presence_invisible"/>
    <ImageView
        android:layout_width="wrap_content"
        android:layout_height="wrap_content"
        android:src="@android:drawable/presence_online"/>
    <ImageView
        android:layout_width="wrap_content"
        android:layout_height="wrap_content"
        android:src="@android:drawable/presence_invisible"/>
    <ImageView
        android:layout_width="wrap_content"
        android:layout_height="wrap_content"
        android:src="@android:drawable/presence_invisible"/>

</LinearLayout>
<RelativeLayout
        android:layout_width="match_parent"
        android:layout_height="match_parent">

    <ImageView
        android:id="@+id/imageView1"
        android:layout_width="wrap_content"
        android:layout_height="wrap_content"
        android:layout_centerHorizontal="true"
        android:layout_centerVertical="true"
        android:src="@drawable/ic_launcher" />

    <Button
       style="@style/NextPage"/>

    <Button
       style="@style/PreviousPage" />

    </RelativeLayout>


</LinearLayout>
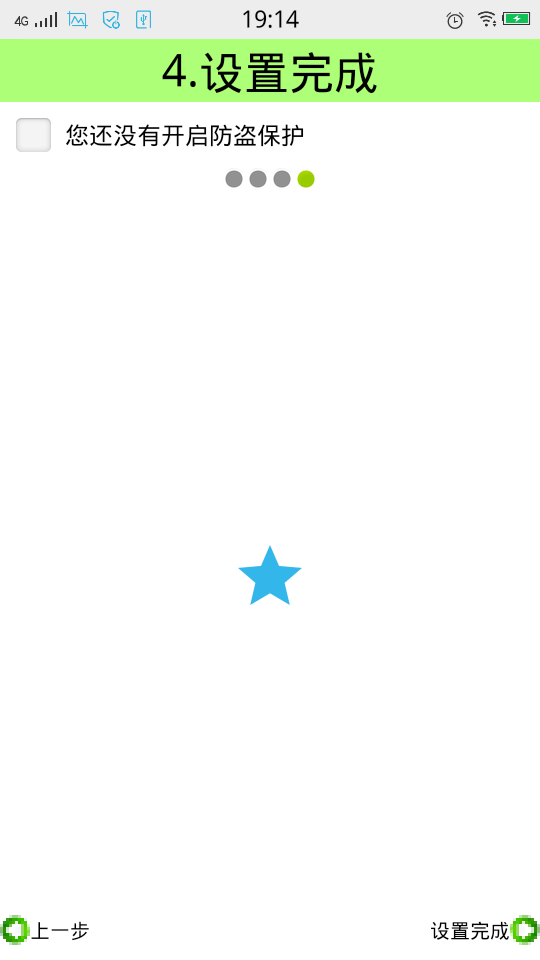
下面还有一个知识点:就是手势滑动的效果:
进入到下一个页面:
<?xml version="1.0" encoding="utf-8"?>
<translate
    xmlns:android="http://schemas.android.com/apk/res/android"
    android:duration="500"
    android:fromXDelta="100%p"
    android:toXDelta="0">
</translate>
回到上一个页面:
<?xml version="1.0" encoding="utf-8"?>
<translate
    xmlns:android="http://schemas.android.com/apk/res/android"
    android:duration="500"
    android:fromXDelta="0"
    android:toXDelta="-100%p">
</translate>
然后在Java文件里面调用这个方法:
overridePendingTransition(R.anim.translate_previous_in, R.anim.translate_previous_out);
最后还有注意的一点是添加权限的问题:
<uses-permission android:name="android.permission.INTERNET" />
    <uses-permission android:name="android.permission.WRITE_EXTERNAL_STORAGE" />
    <uses-permission android:name="android.permission.RECEIVE_BOOT_COMPLETED" />
    <uses-permission android:name="android.permission.READ_PHONE_STATE" />
由于这个项目的代码文件太长,我已经把文件上传到我博客的文件中。
posted on 2016-05-22 20:23 kang_ya_ping 阅读(1449) 评论(0) 收藏 举报

 浙公网安备 33010602011771号