
SpringBoot配置自定义美化Swagger2
1.添加maven依赖
 <dependency>
            <groupId>io.springfox</groupId>
            <artifactId>springfox-swagger2</artifactId>
            <version>2.9.2</version>
        </dependency>

        <dependency>
            <groupId>io.springfox</groupId>
            <artifactId>springfox-swagger-ui</artifactId>
            <version>2.9.2</version>
        </dependency>

        <dependency>
            <groupId>com.github.xiaoymin</groupId>
            <artifactId>swagger-bootstrap-ui</artifactId>
            <version>1.8.9</version>
        </dependency>
2.添加swagger2配置文件
@Configuration
public class Swagger2 {

    @Bean
    public Docket createRestApi() {
        return new Docket(DocumentationType.SWAGGER_2)
                .apiInfo(apiInfo())
                .select()
                .apis(RequestHandlerSelectors.basePackage("com.xiaokang.login_MP.controllor"))
                .paths(PathSelectors.any())
                .build();
    }

    private ApiInfo apiInfo() {
        return new ApiInfoBuilder()
                .title("springboot利用swagger构建api文档")
                .description("简单优雅的restfun风格,")
                .termsOfServiceUrl("")
                .version("1.0")
                .build();
    }
}
3.对接口增加描述
@ApiOperation(value = "登录页面", notes = "index登录页面")
    @RequestMapping("index")
    public String index() {
        return "index";
    }
更多使用看最后资料
4.开启Swagger2注解
@MapperScan(value = "com.xiaokang.login_MP.dao")
@EnableSwagger2
@EnableSwaggerBootstrapUI
@SpringBootApplication
public class LoginMpApplication {

    public static void main(String[] args) {
        SpringApplication.run(LoginMpApplication.class, args);
    }

}
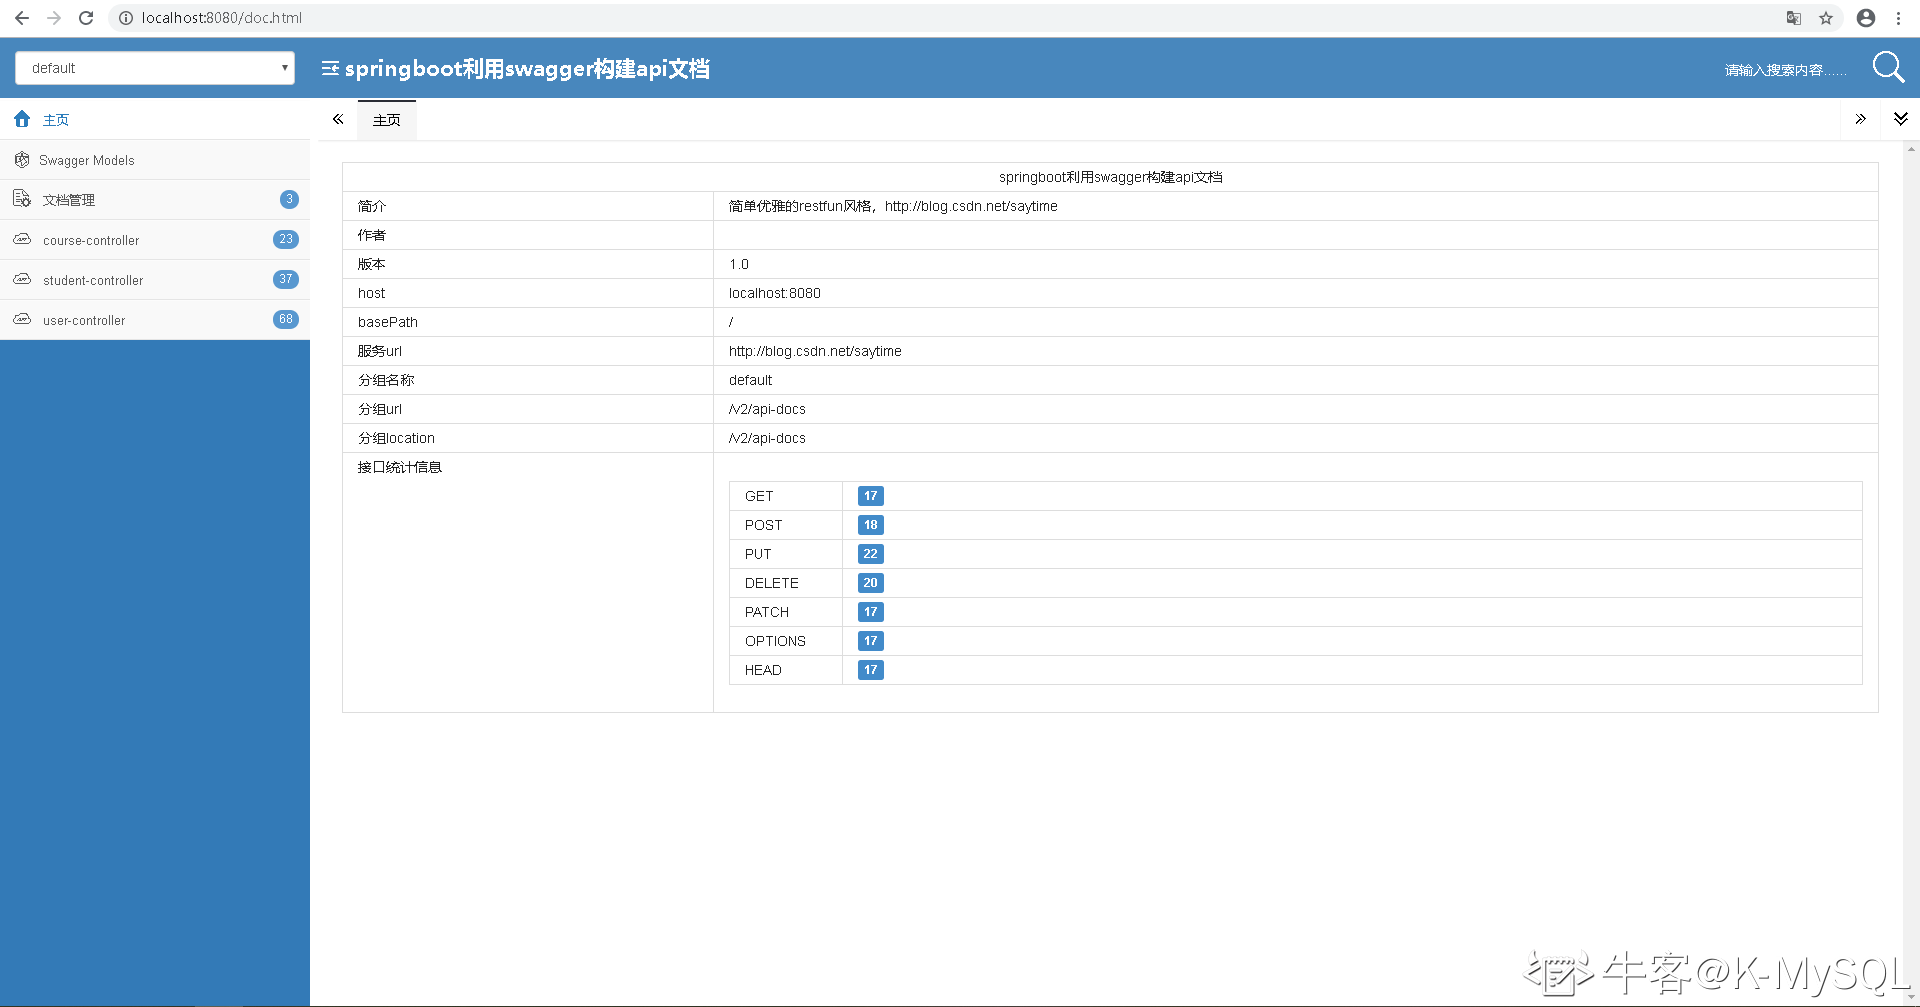
5.登录 http://localhost:8080/doc.html 来查看界面
6.如果 输入 http://localhost:8080/doc.html 后显示404,找不到页面则需要配置一下
@Configuration
public class WebConf extends WebMvcConfigurationSupport {

    @Override
    public void addResourceHandlers(ResourceHandlerRegistry registry) {
        // 将所有/static/** 访问都映射到classpath:/static/ 目录下
        registry.addResourceHandler("/**").addResourceLocations("classpath:/resources/")
                .addResourceLocations("classpath:/static/").addResourceLocations("classpath:/templates/")
                .addResourceLocations("classpath:/public/");
        // swagger2
        registry.addResourceHandler("/swagger-ui.html").addResourceLocations("classpath:/META-INF/resources/");
        registry.addResourceHandler("/webjars/**").addResourceLocations("classpath:/META-INF/resources/webjars/");
        registry.addResourceHandler("/doc.html").addResourceLocations("classpath:/META-INF/resources/");
        registry.addResourceHandler("/docs.html").addResourceLocations("classpath:/META-INF/resources/");

        super.addResourceHandlers(registry);
    }
}
7.Swagger2注解
swagger通过注解表明该接口会生成文档,包括接口名、请求方法、参数、返回信息的等等。
- @Api:修饰整个类,描述Controller的作用
- @ApiOperation:描述一个类的一个方法,或者说一个接口
- @ApiParam:单个参数描述
- @ApiModel:用对象来接收参数
- @ApiProperty:用对象接收参数时,描述对象的一个字段
- @ApiResponse:HTTP响应其中1个描述
- @ApiResponses:HTTP响应整体描述
- @ApiIgnore:使用该注解忽略这个API
- @ApiError :发生错误返回的信息
- @ApiImplicitParam:一个请求参数
- @ApiImplicitParams:多个请求参数
8.更多参考链接

