gitlab搭建使用
一、简介
Git是一种代码管理工具,GitLab 是一个用于仓库管理系统的开源项目,使用git作为代码管理工具,并在此基础上搭建起来的web服务。GitHub如果不是开源项目的话是需要付费使用,所以选择使用GitLab,由于公司没有网络安全专家,如果黑客对公司的网络边界以及代码库进行扫描,如果扫描到邮箱,暴力破解后,可能就会获取代码,所以采用在自己内网搭建GitLab服务的方式。
二、Gitlab安装
系统:centos 7.6
1、安装基础包
yum install vim gcc gcc-c++ wget net-tools lrzsz iotop lsof iotop bash-completion -y
yum install curl policycoreutils openssh-server openssh-clients postfix -y2、添加epel源
epel(Extra Packages for Enterprise Linux)是由 Fedora 社区打造,为 RHEL 及衍生发行版如 CentOS等提供高质量软件包的项目。装上了epel,就像在 Fedora 上一样,可以通过 yum install 软件包名,即可安装很多以前需要编译安装的软件、常用的软件或一些比较流行的软件,比如现在流行的nginx、htop、ncdu、vnstat等等,都可以使用EPEL很方便的安装更新。
wget -O /etc/yum.repos.d/epel.repo http://mirrors.aliyun.com/repo/epel-7.repo3、关闭防火墙
systemctl stop firewalld
systemctl disable firewalld4、关闭selinux
sed -i '/SELINUX/s/enforcing/disabled/' /etc/sysconfig/selinux
setenforce 05、配置yum源
[root@localhost ~]# cat /etc/yum.repos.d/gitlab.repo
[gitlab-ce]
name=gitlab-ce
baseurl=http://mirrors.tuna.tsinghua.edu.cn/gitlab-ce/yum/el7
repo_gpgcheck=0
gpgcheck=0
enabled=1
gpgkey=https://packages.gitlab.com/gpg.key
6、用yum info gitlab-ce检测是否有gitlib-ce包的信息
[root@localhost ~]# yum info gitlab-ce
已加载插件:fastestmirror, langpacks
Loading mirror speeds from cached hostfile
 * base: mirrors.163.com
 * extras: mirrors.163.com
 * updates: mirrors.163.com
已安装的软件包
名称    :gitlab-ce
架构    :x86_64
版本    :13.11.3
发布    :ce.0.el7
大小    :1.9 G
源    :installed
来自源:gitlab-ce
简介    : GitLab Community Edition (including NGINX, Postgres, Redis)
网址    :https://about.gitlab.com/
协议    : MIT
描述    : GitLab Community Edition (including NGINX, Postgres, Redis)
7、安装gitlab-ce
yum install -y gitlab-ce
8、查看安装位置
[root@localhost ~]# rpm -qa|grep gitlab
gitlab-ce-13.11.3-ce.0.el7.x86_64
[root@localhost ~]# rpm -ql gitlab-ce-13.11.3-ce.0.el7.x86_64|more
/opt
/opt/gitlab
/opt/gitlab/LICENSE
/opt/gitlab/LICENSES
9.找到配置文件
[root@localhost gitlab]# cd etc/
[root@localhost etc]# ls
alertmanager     gitlab-healthcheck-rc  gitlab.rb            gitlab-workhorse  postgres-exporter
gitaly           gitlab-psql-rc         gitlab.rb.template   grafana           prometheus
gitlab-exporter  gitlab-rails           gitlab-redis-cli-rc  node-exporter     redis-exporter
[root@localhost etc]# pwd
/opt/gitlab/etc
[root@localhost etc]# ls gitlab.rb
gitlab.rb
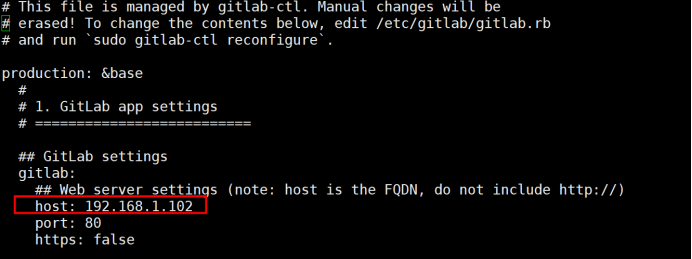
10、修改配置文件

后面通过这个地址进行访问
11、初始化gitlab
[root@localhost etc]# gitlab-ctl reconfigure
耐心等待....
12、查看服务状态
[root@localhost etc]# gitlab-ctl status
run: alertmanager: (pid 27688) 2121s; run: log: (pid 27681) 2121s
run: gitaly: (pid 27665) 2121s; run: log: (pid 27663) 2121s
run: gitlab-exporter: (pid 27678) 2121s; run: log: (pid 27677) 2121s
run: gitlab-workhorse: (pid 27676) 2121s; run: log: (pid 27674) 2121s
run: grafana: (pid 27694) 2121s; run: log: (pid 27692) 2121s
run: logrotate: (pid 27671) 2121s; run: log: (pid 27667) 2121s
run: nginx: (pid 27685) 2121s; run: log: (pid 27680) 2121s
run: node-exporter: (pid 27686) 2121s; run: log: (pid 27683) 2121s
run: postgres-exporter: (pid 27693) 2121s; run: log: (pid 27691) 2121s
run: postgresql: (pid 27670) 2121s; run: log: (pid 27666) 2121s
run: prometheus: (pid 27689) 2121s; run: log: (pid 27682) 2121s
run: puma: (pid 27668) 2121s; run: log: (pid 27664) 2121s
run: redis: (pid 27672) 2121s; run: log: (pid 27669) 2121s
run: redis-exporter: (pid 27687) 2121s; run: log: (pid 27679) 2121s
run: sidekiq: (pid 27675) 2121s; run: log: (pid 27673) 2121s
[root@localhost etc]#
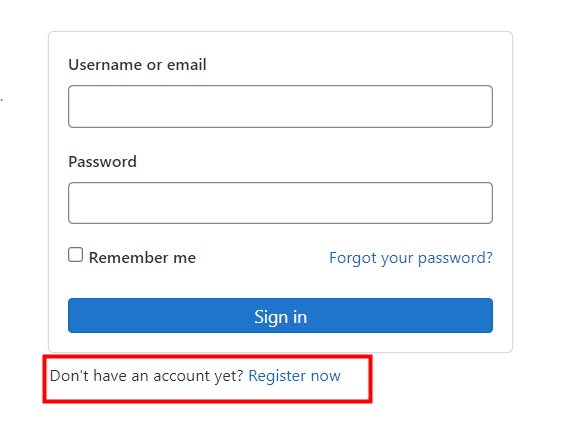
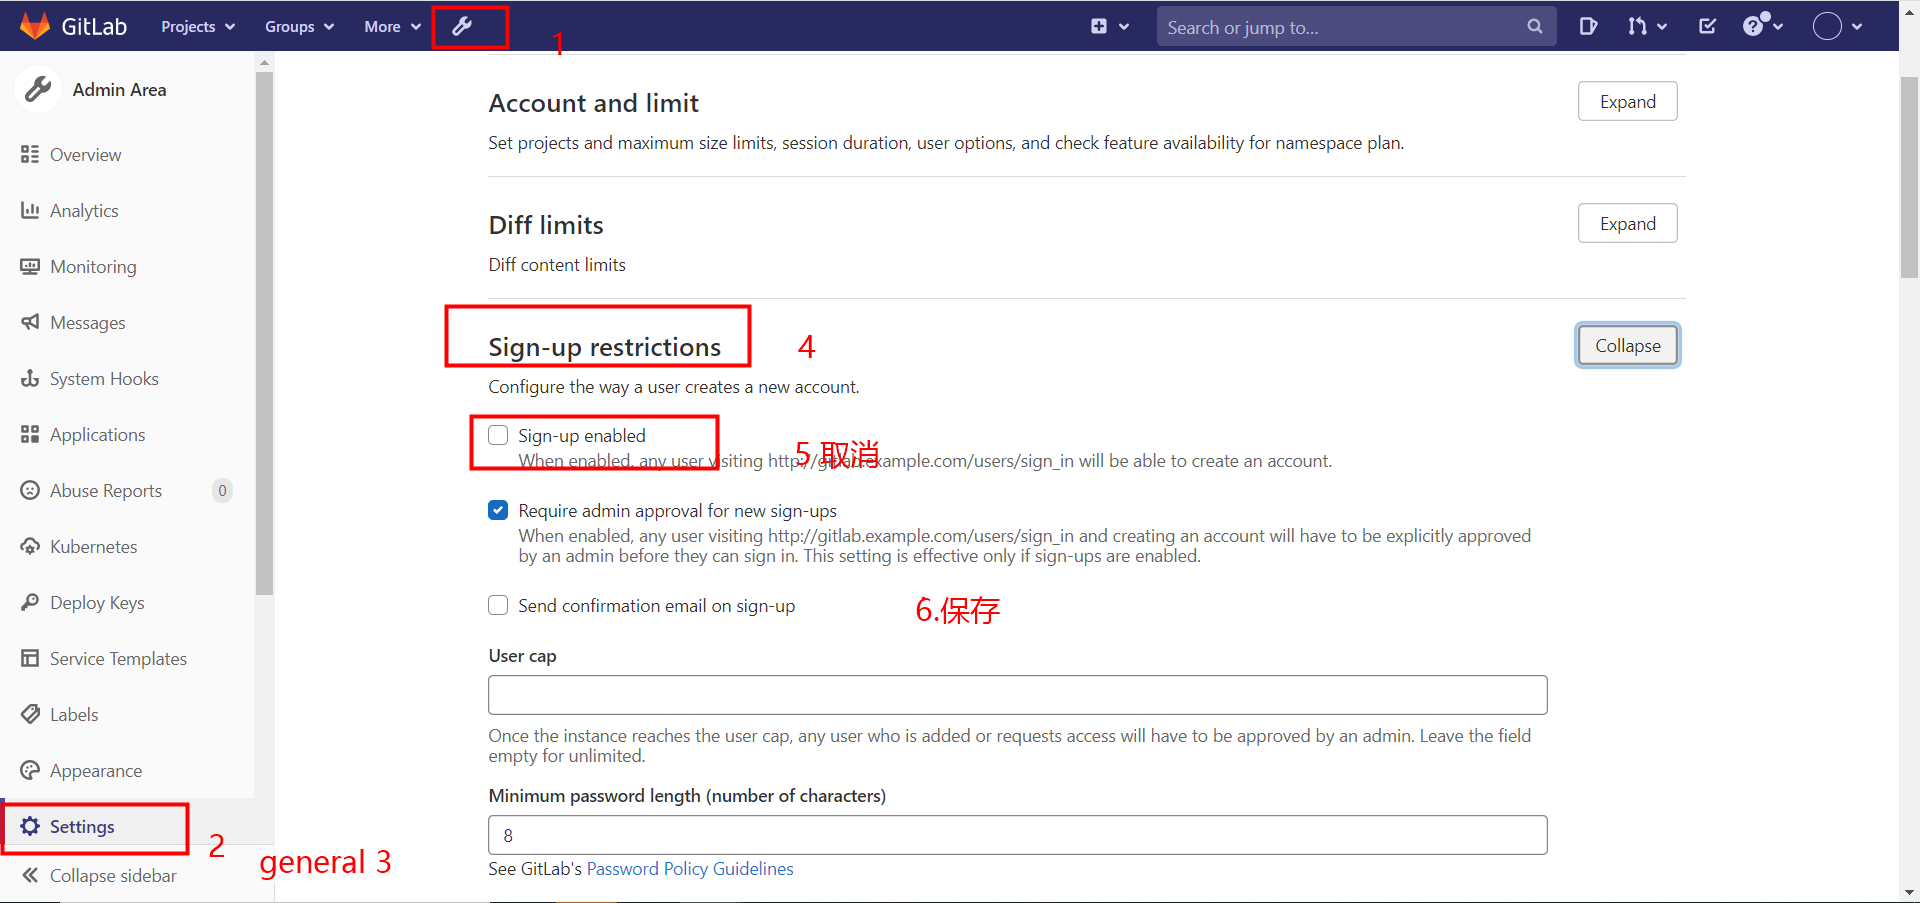
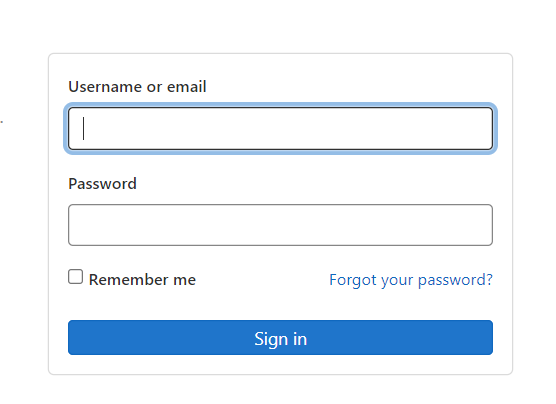
三、Gitlab使用-关闭注册功能
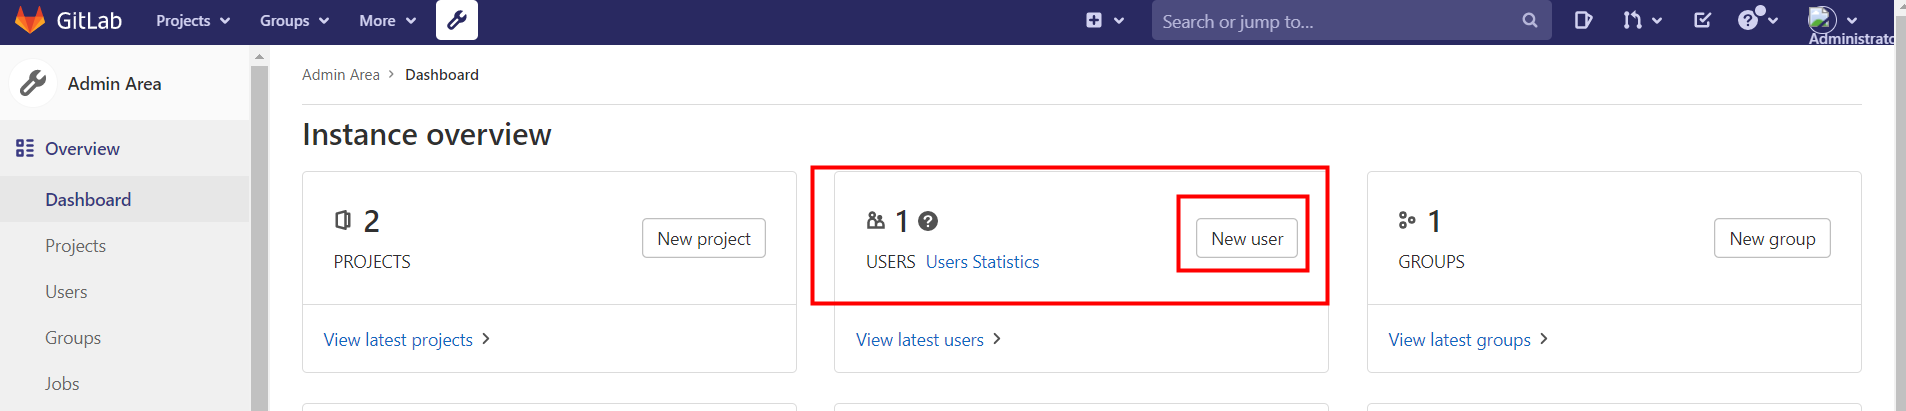
四、Gitlab使用-创建用户

修改密码 :提示:在root用户新建用户后的界面上,点击edit,就可给刚才新建的用户设置密码;或者用root用户登录,点击上面的小扳手,找到下面的用户名,然后点击,也可以跳转到上面的界面

五、Gitlab使用-停止和启动
gitlab安装完毕后,默认开机启动sudo gitlab-ctl start/stop
[root@localhost config]# gitlab-ctl stop
ok: down: alertmanager: 0s, normally up
ok: down: gitaly: 0s, normally up
ok: down: gitlab-exporter: 0s, normally up
ok: down: gitlab-workhorse: 0s, normally up
ok: down: grafana: 1s, normally up
ok: down: logrotate: 0s, normally up
ok: down: nginx: 0s, normally up
ok: down: node-exporter: 0s, normally up
ok: down: postgres-exporter: 0s, normally up
ok: down: postgresql: 0s, normally up
ok: down: prometheus: 0s, normally up
ok: down: puma: 0s, normally up
ok: down: redis: 0s, normally up
ok: down: redis-exporter: 1s, normally up
ok: down: sidekiq: 0s, normally up
六、Gitlab域名修改(一般是开始装的时候少步骤了)
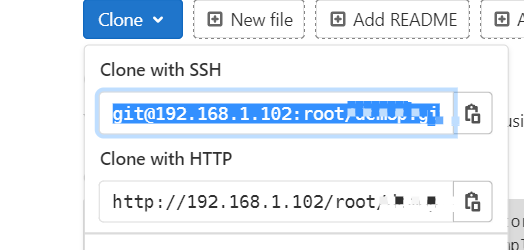
之前显示为 git@gitlab.example.com:root/
[root@localhost config]# pwd
/opt/gitlab/embedded/service/gitlab-rails/config
[root@localhost config]# vi gitlab.yml
七、Gitlab第一次提交代码(Push an existing Git repository)
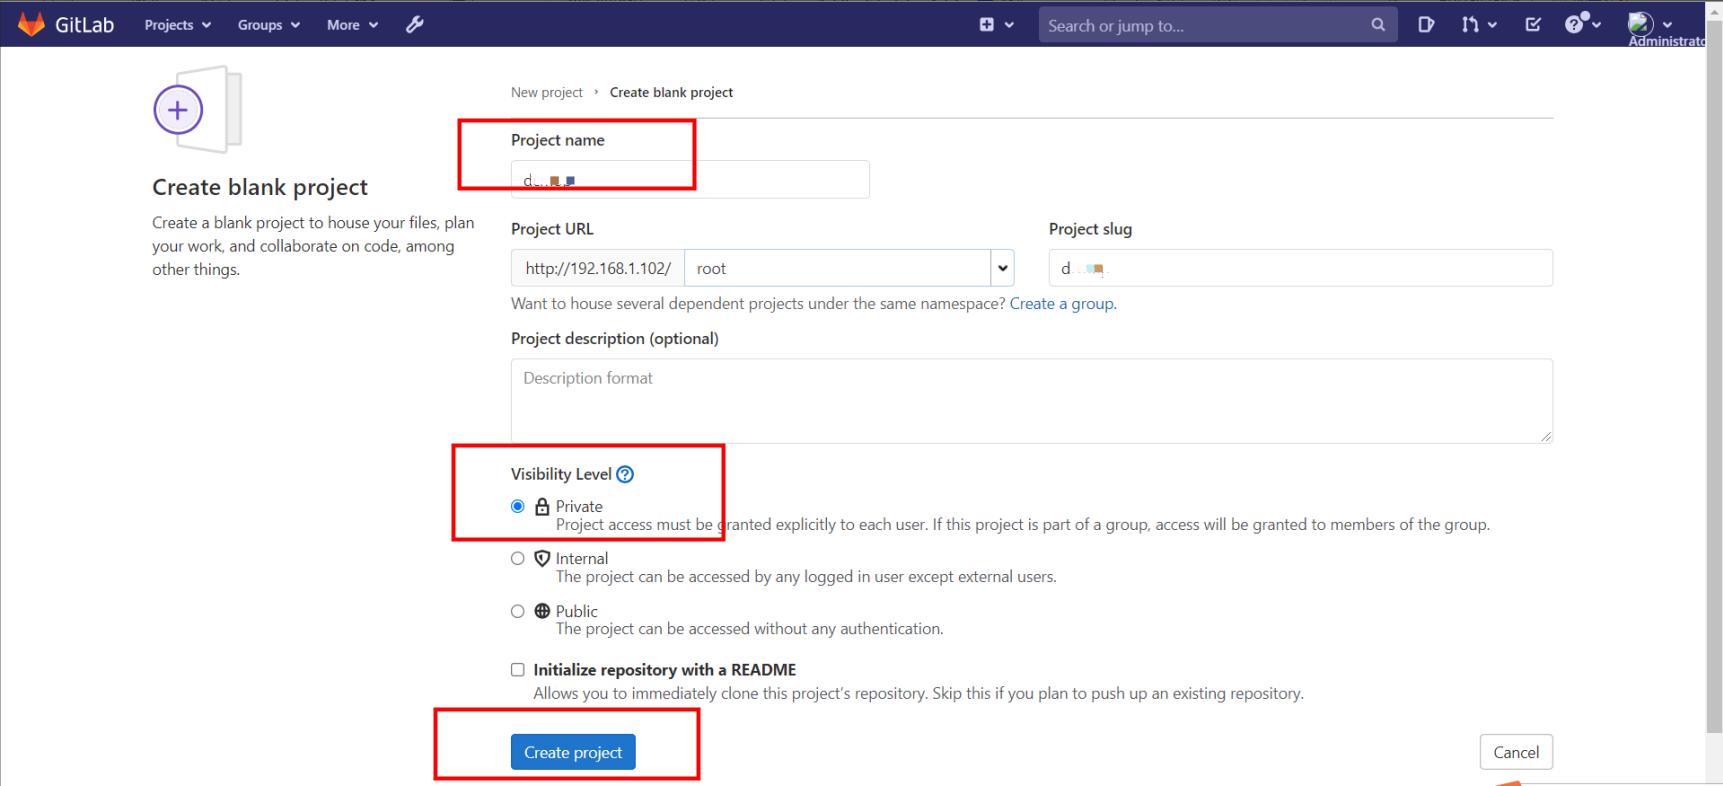
1.先创建一个git项目
2.找到本地文件

3.git bash 操作

git config --global user.name "root"
git config --global user.email "passwd"
cd existing_repo
git remote rename origin old-origin
git remote add origin http://192.168.1.102/gitlab-instance-26545b7f/Monitoring.git
git push -u origin --all
git push -u origin --tags
推送现有文件夹
cd existing_folder
git init
git remote add origin http://192.168.1.102/root/text.git
git add .
git commit -m "Initial commit"
git push -u origin master
We only live once, and time just goes by.
