Springboot项目搭建及踩坑
1. 创建项目
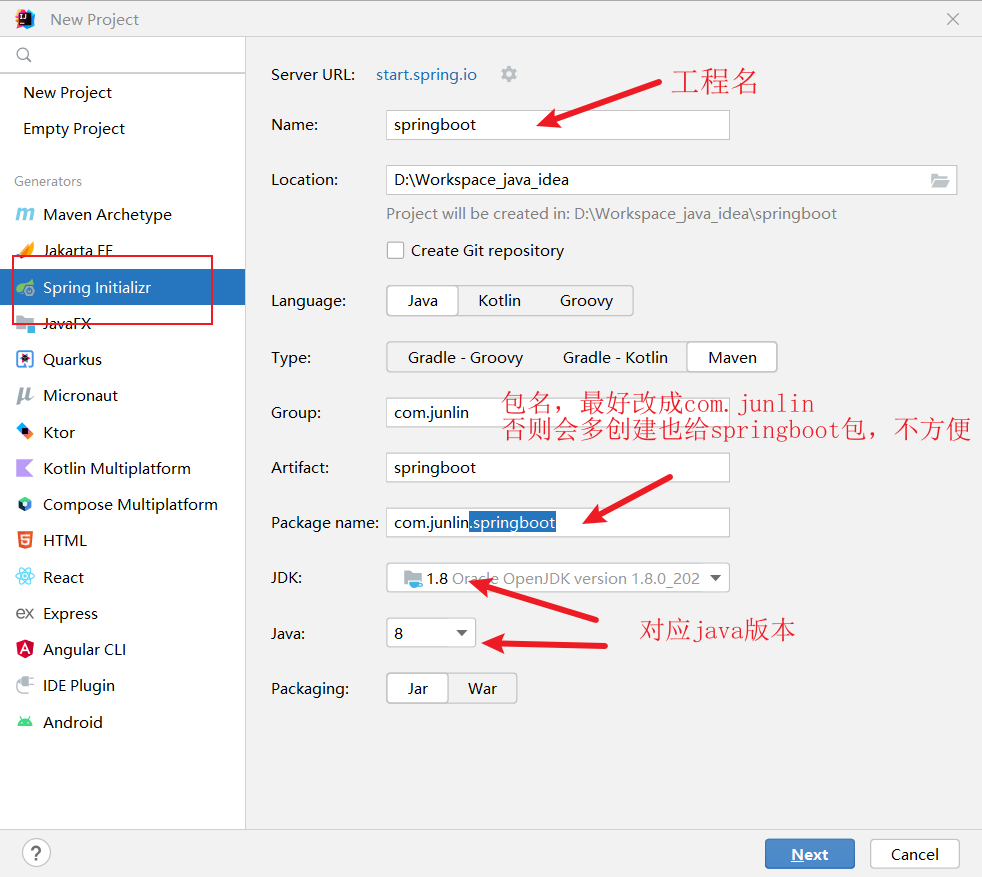
注意:加载start.spring.io 网址与网络有关,如果网速比较慢的话将无法加载成功,可以考虑换成阿里(比较旧):https://start.aliyun.com
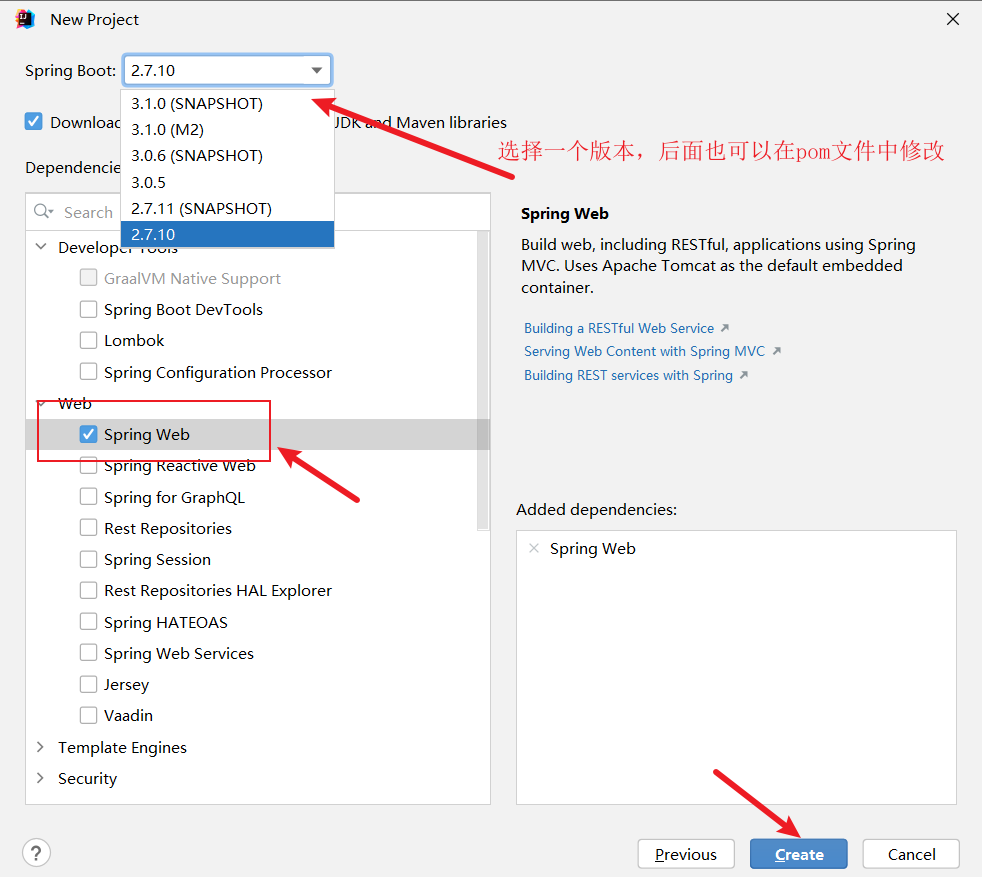
注意:springboot版本如果3.0以上的,将不支持jdk1.8
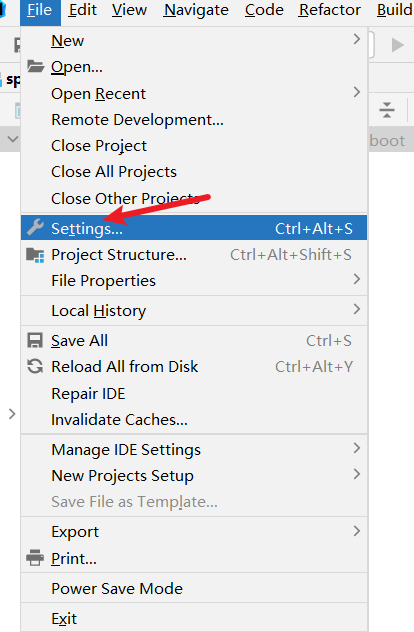
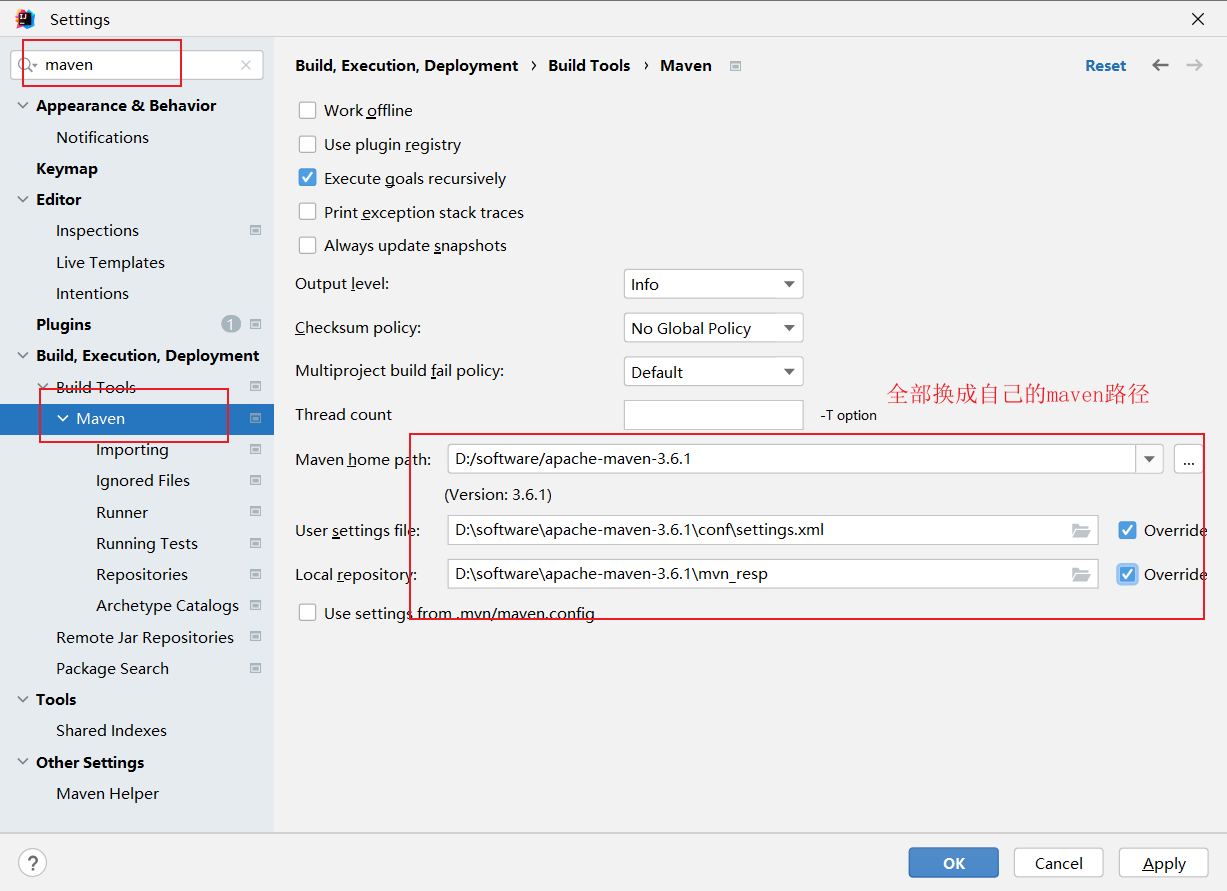
如果是新建project的话一定要记得将项目的maven路径设置为本地的maven路径,否则后面加载依赖会非常慢:
如果遇到打开pom.xml文件后会飘红且项目目录都是灰色(表示为普通目录):
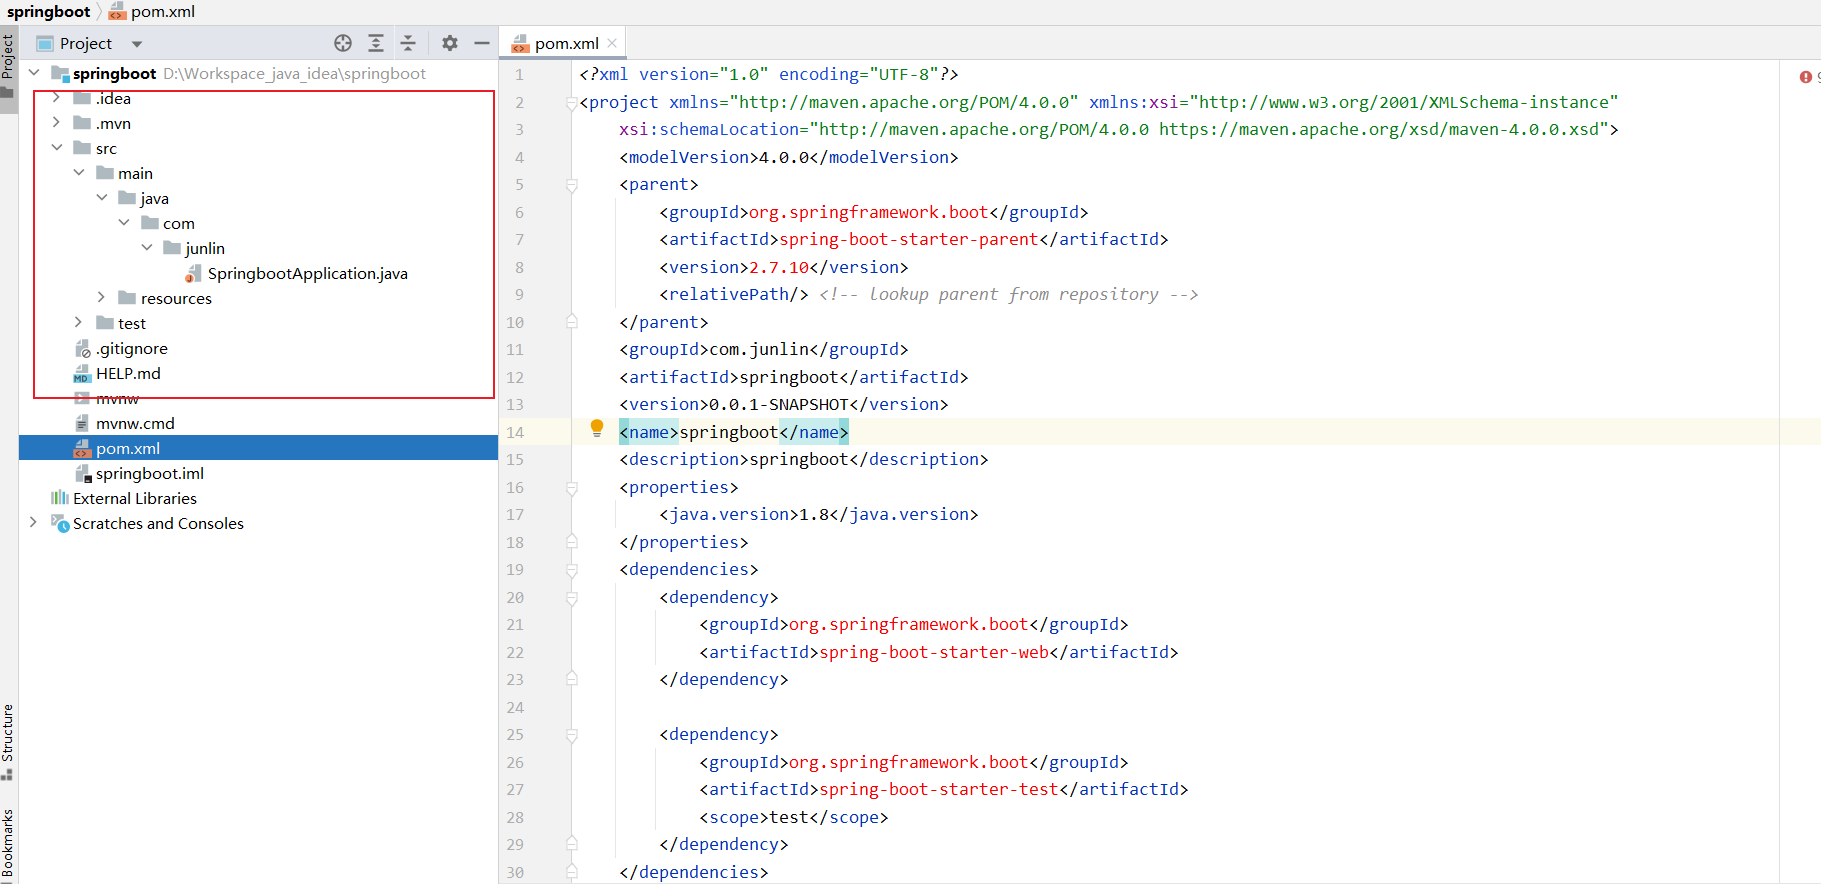
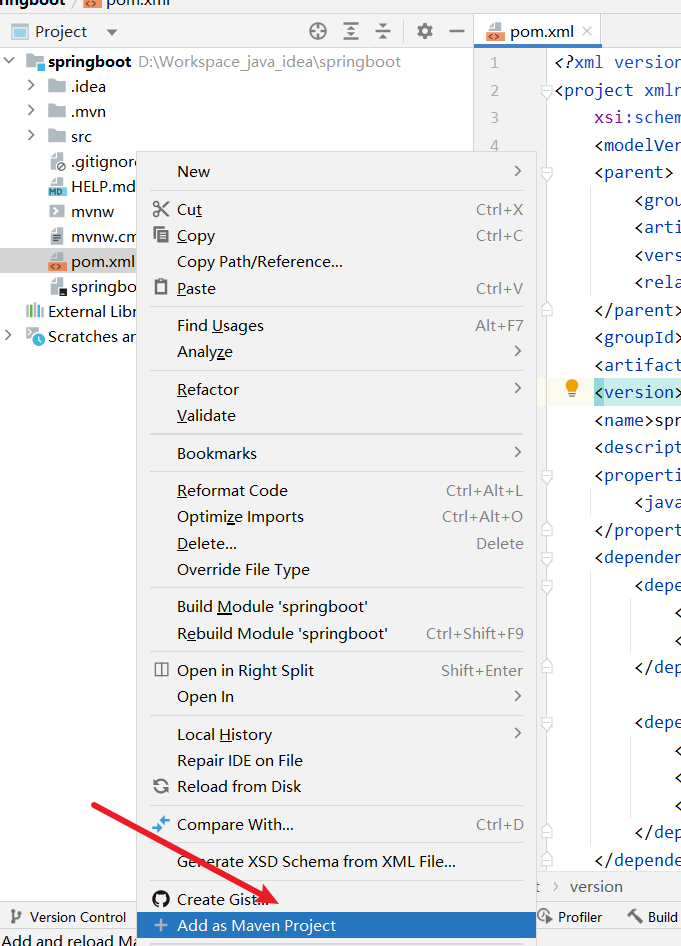
右击pom.xml文件选择 Add As Maven Project,重新加载,中间可能会卡,等一会儿就好了
2.运行测试
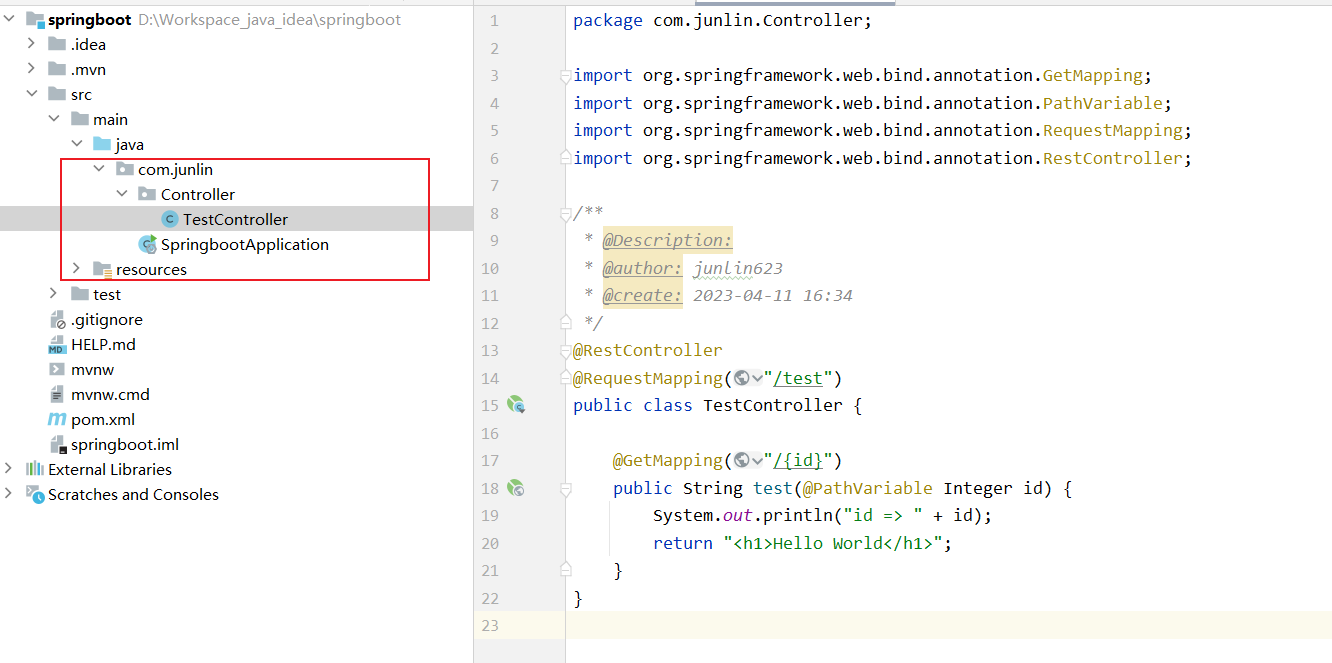
新建一个controller
// TestController.java
package com.junlin.Controller;

import org.springframework.web.bind.annotation.GetMapping;
import org.springframework.web.bind.annotation.PathVariable;
import org.springframework.web.bind.annotation.RequestMapping;
import org.springframework.web.bind.annotation.RestController;

/**
 * @Description:
 * @author: junlin623
 * @create: 2023-04-11 16:34
 */
@RestController
@RequestMapping("/test")
public class TestController {

    @GetMapping("/{id}")
    public String test(@PathVariable Integer id) {
        System.out.println("id => " + id);
        return "<h1>Hello World</h1>";
    }
}
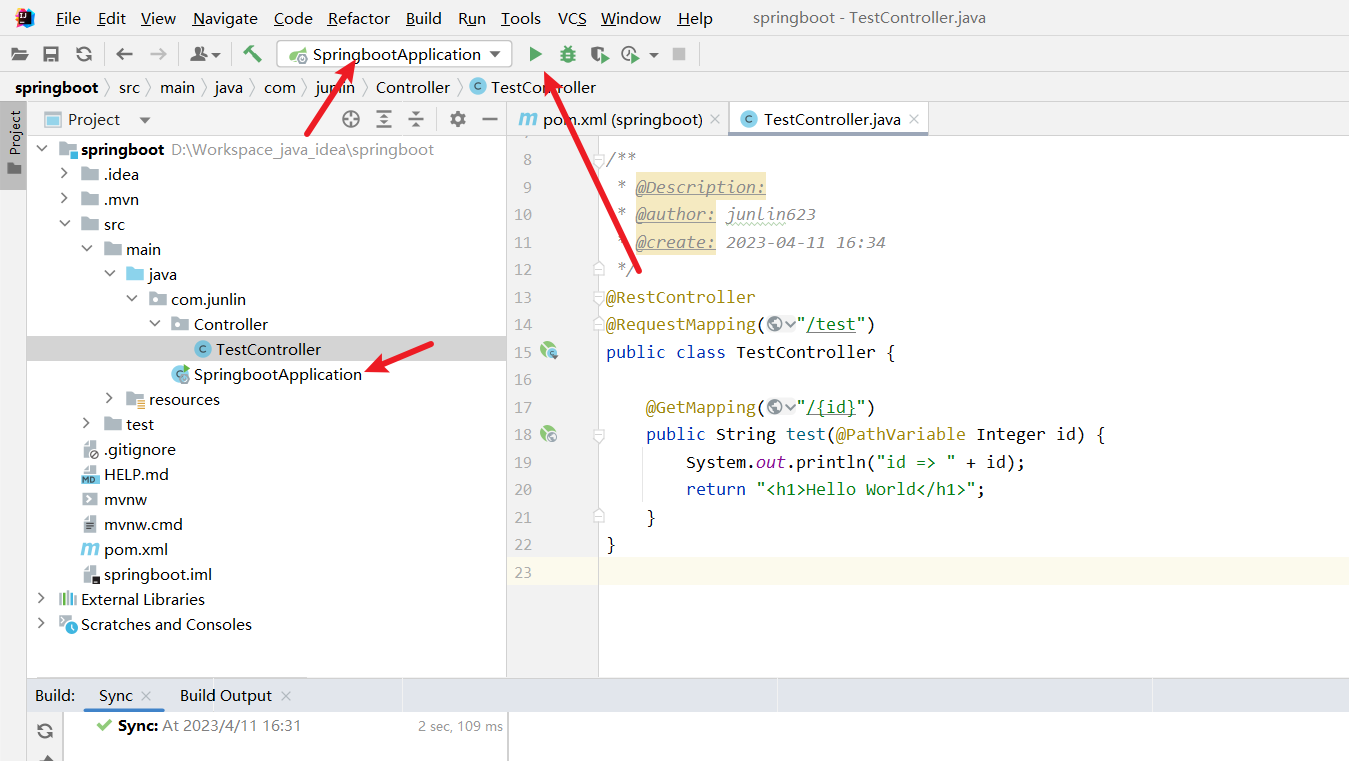
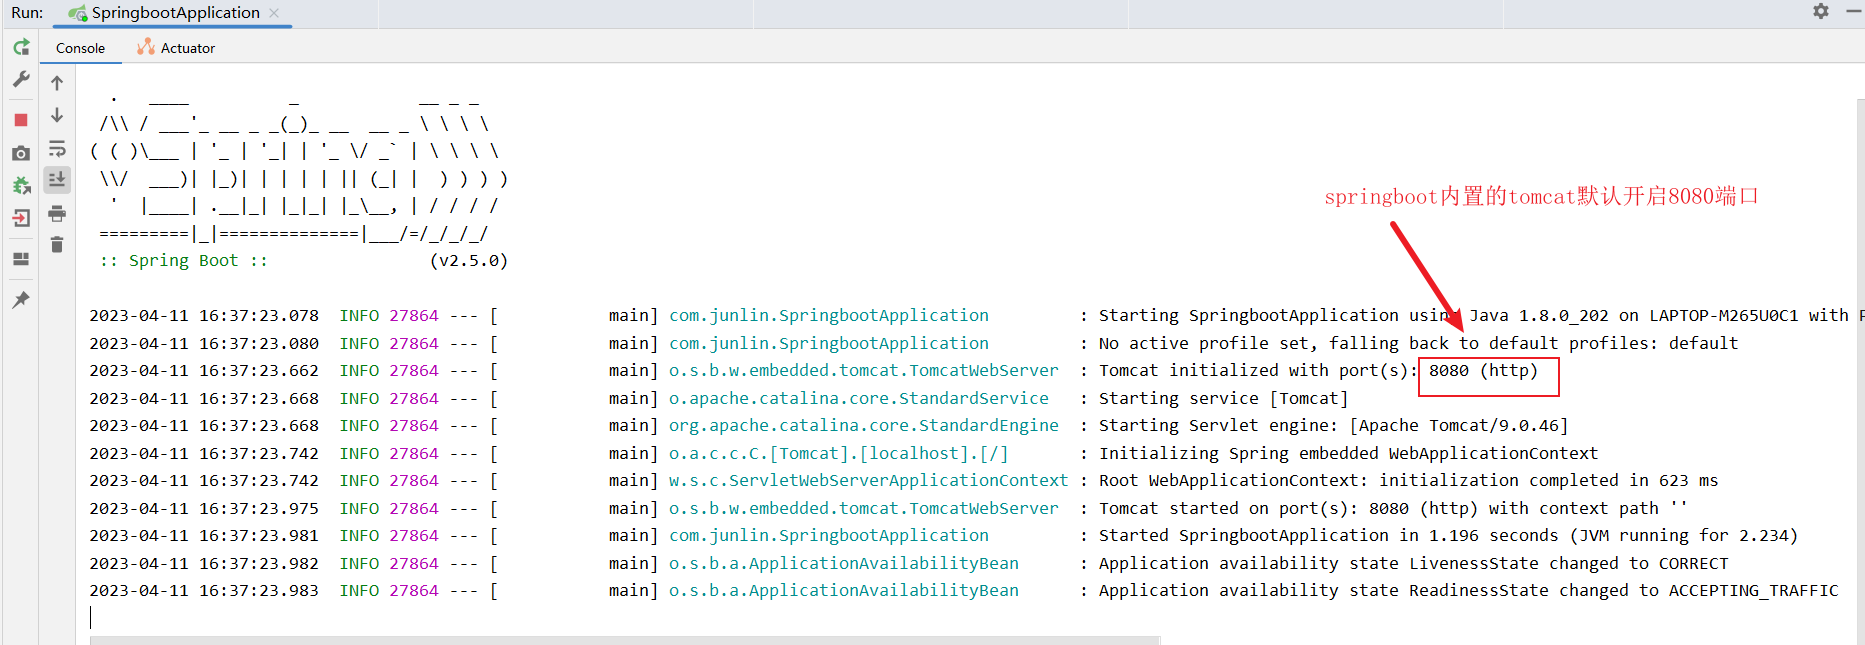
直接运行:
又可能会报下图所示的错误(原因就是jdk版本和我创建项目时选择的springboot版本不适配),解决方法就是到pom.xml文件中修改相应的springboot的版本,修改完记得刷新一下maven::

访问 http://localhost:8080/test/1/
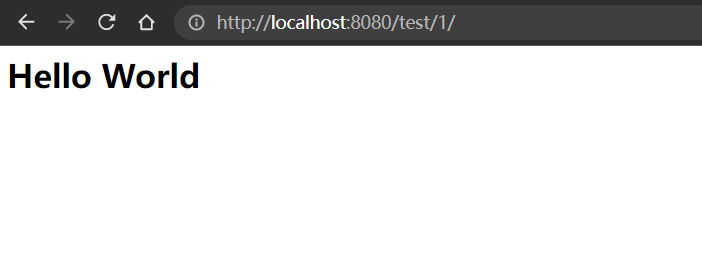
成功啦~~~
你只管出发,旅途自有风景~~

 浙公网安备 33010602011771号