vue + element ui 项目添加自定义图标
下载图标的SVG文件
iconfont
下载SVG文件完成后转到项目
icomoon
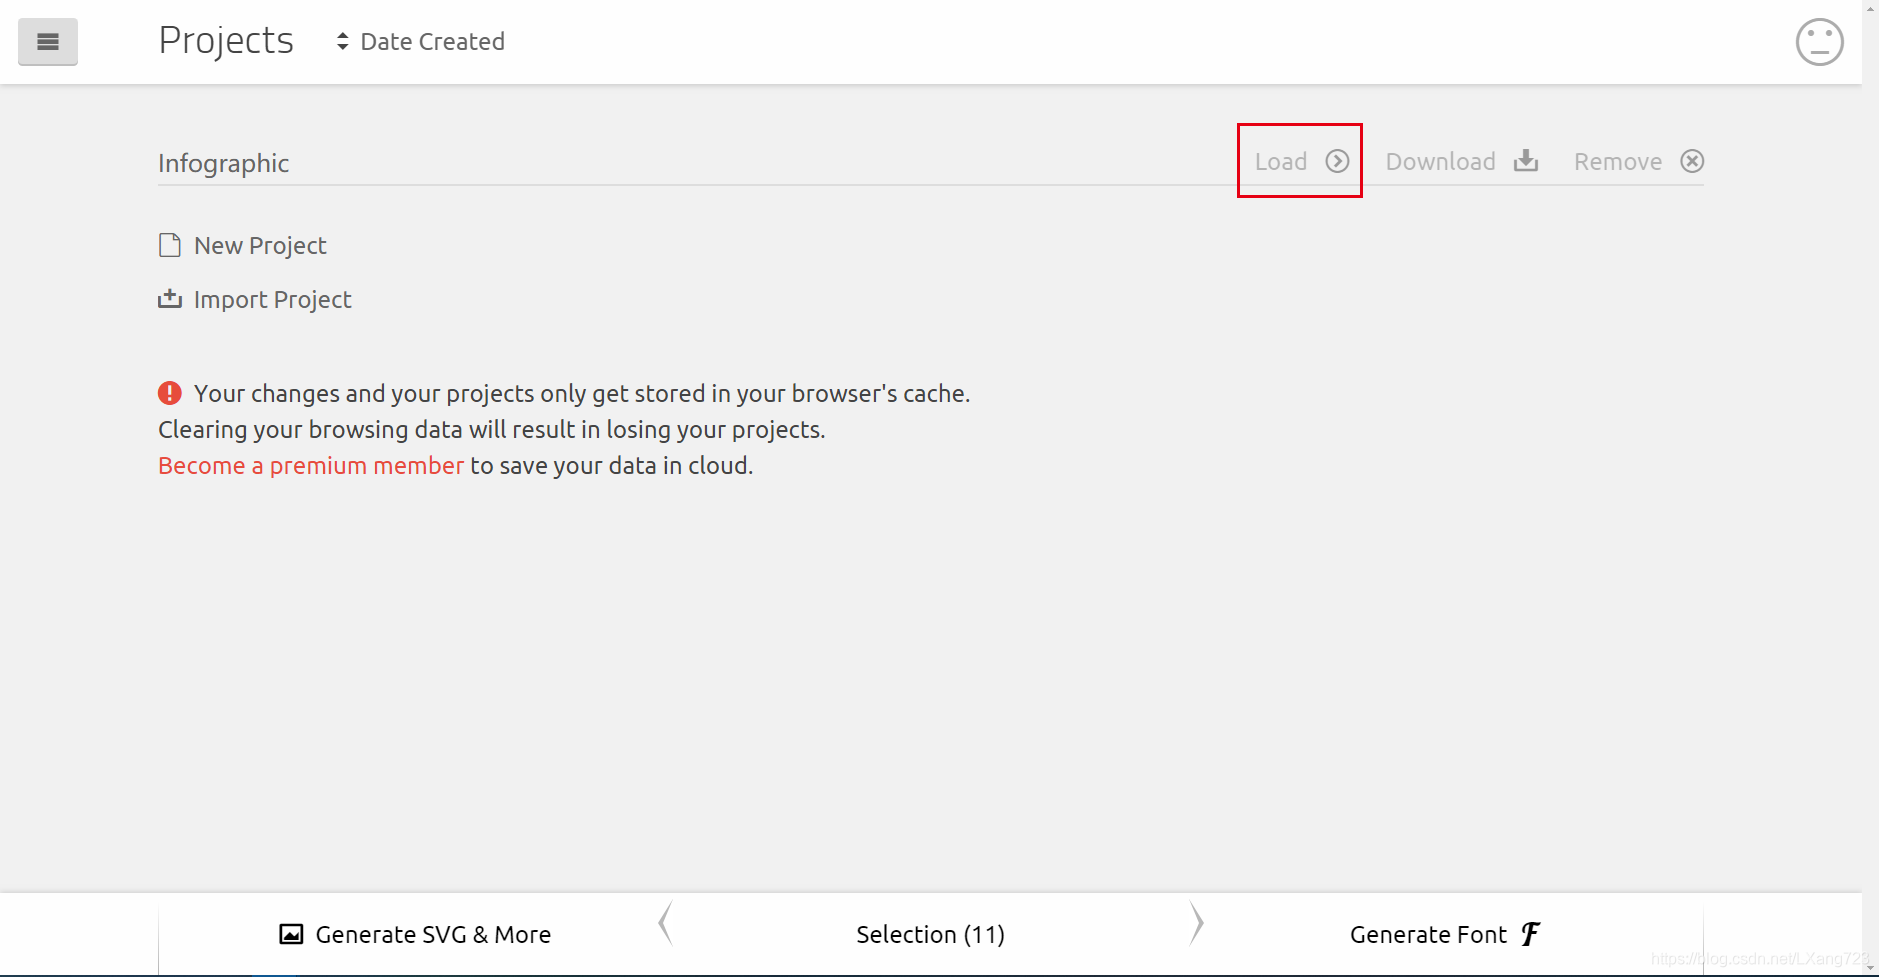
Projects
注册完成后可以新建项目,点击Load进入项目。
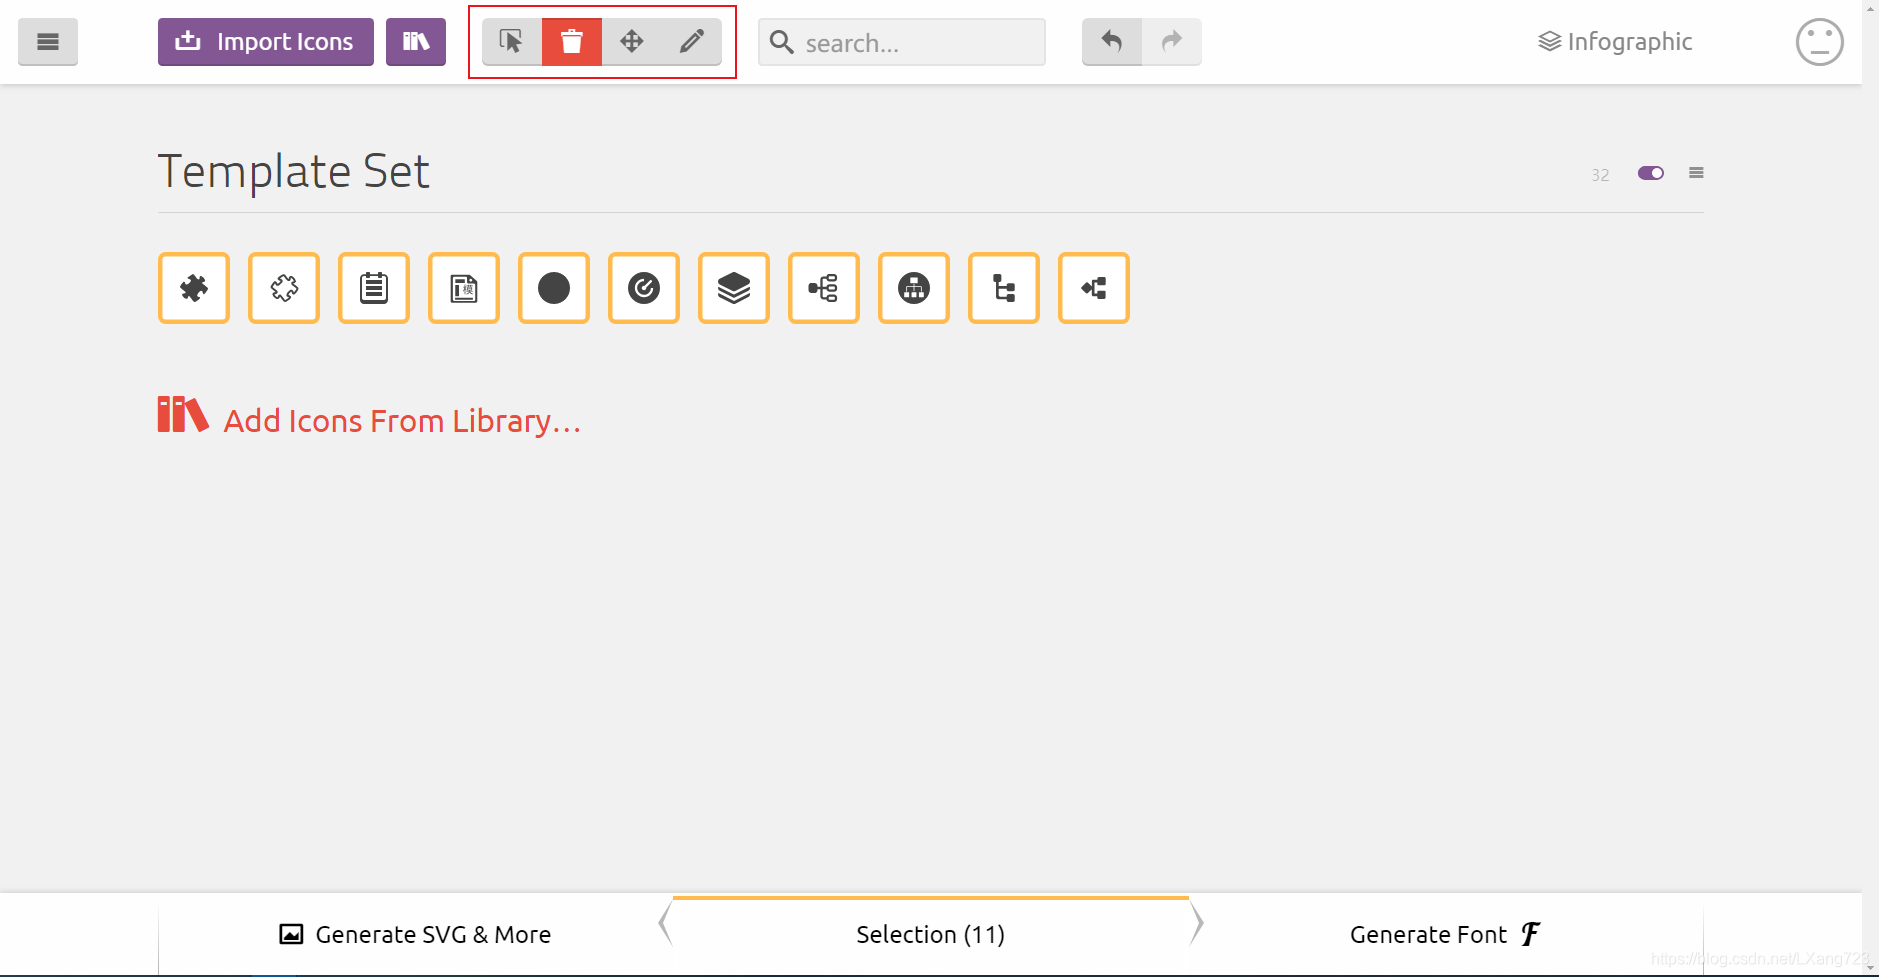
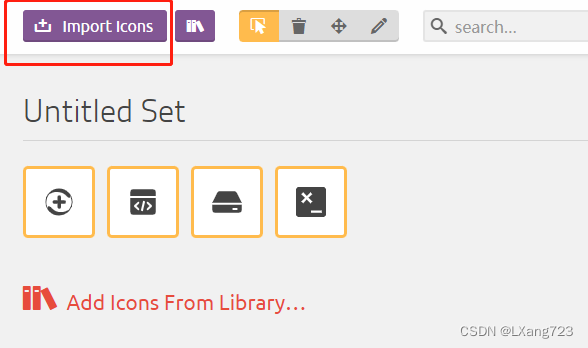
Selection
点击上方紫色导入图标按钮,选择要导入的SVG文件即可。
红框内的按钮可以选择、删除、拖拽排序、编辑。
选择完成后点击右下角的 生成字体(Generate Font) 跳转到下载页面。
Download
可以自定义图标的名称。
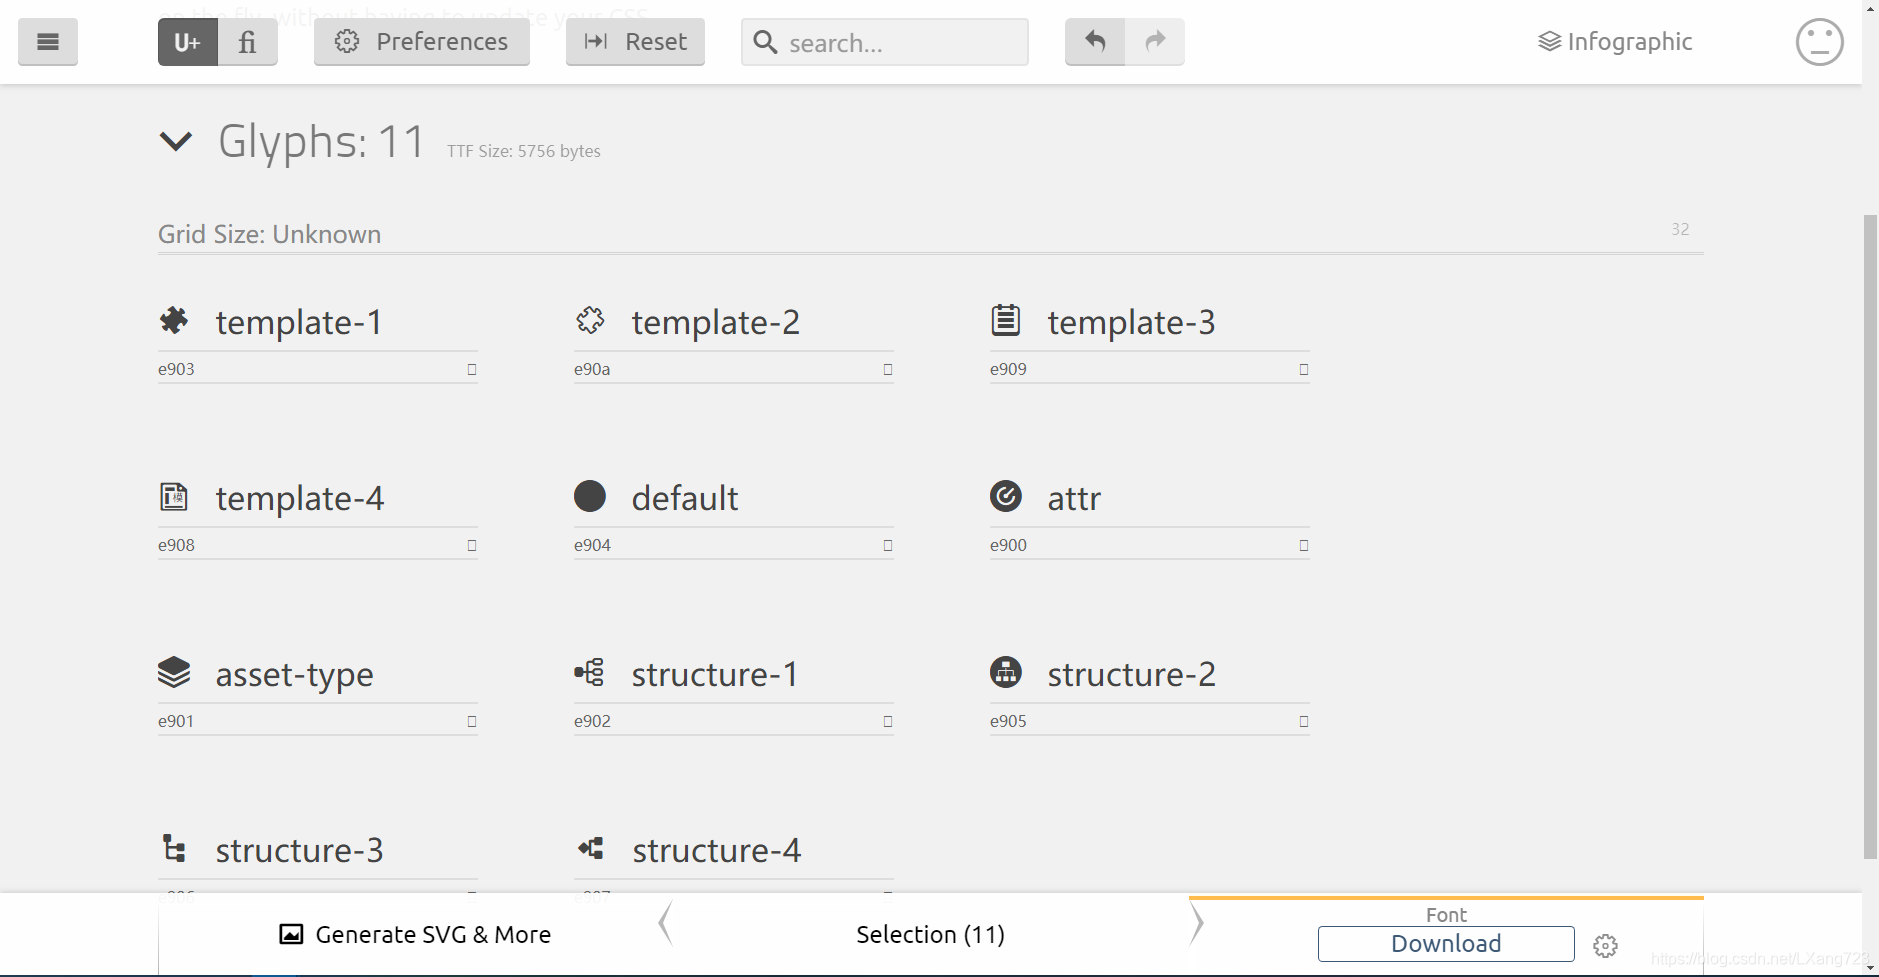
Preferences
点击上方的 首选项 (Preferences )按钮可以对生成的文件做配置。

最后点击右下角的字体下载按钮下载Zip文件。
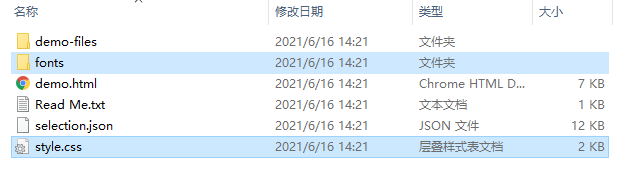
文件
文件解压后如下:
使用
将字体文件夹(fonts)和样式表(styles.css)放到 assets 中

在要使用自定义字体的地方导入 css
import '@/assets/customfont/template/style.css'
在需要的地方添加图标即可
<span class="icon-template-1"></span>
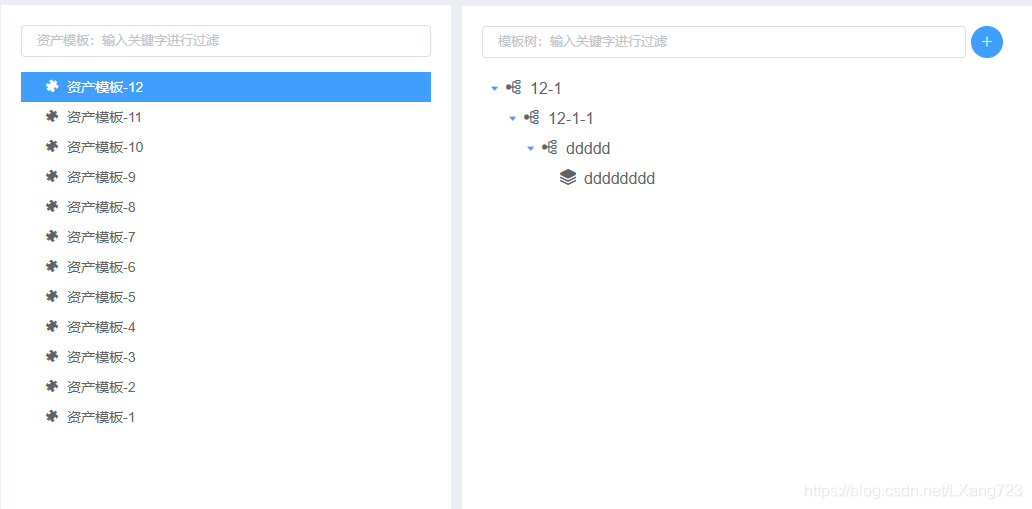
我做的功能是在el-tree中,根据节点类型去展示相应的图标
Html
<el-tree
  class="filter-tree"
  :data="assetTemplateTreeData"
  empty-text="请先在该模板中添加节点"
  :props="{
        value: 'id',             // ID字段名
        label: 'name',         // 显示名称
        children: 'children'    // 子级字段名
      }"
  default-expand-all
  highlight-current
  node-key="id"
  :filter-node-method="filterNode"
  :expand-on-click-node="true"
  @node-click="handleNodeClick"
  ref="assetTemplateTree"
>
  <span class="custom-tree-node" slot-scope="{ node, data}">
    <span>
      <span :class="nodeClass(data)"></span>
      <span>{{ node.label }}</span>
    </span>
    <span>
      <el-button type="text" class="tree-item-button" icon="el-icon-plus" @click="() => addChildTreeNode(data)">
      </el-button>
        <el-button type="text" class="tree-item-button" icon="el-icon-edit-outline" @click="() => editTreeNode(data)">
      </el-button>
        <el-button type="text" class="tree-item-button" icon="el-icon-delete" @click="() => delTreeNode(data)">
      </el-button>
    </span>
  </span>
</el-tree>
成果图(我知道不是很好看)
导入图标
使用已生成的字体

Talk is cheap. Show me the code.
本文作者:柒月廿三
本文链接:https://www.cnblogs.com/july23/p/17203616.html
版权声明:本作品采用知识共享署名-非商业性使用-禁止演绎 2.5 中国大陆许可协议进行许可。


【推荐】国内首个AI IDE,深度理解中文开发场景,立即下载体验Trae
【推荐】编程新体验,更懂你的AI,立即体验豆包MarsCode编程助手
【推荐】抖音旗下AI助手豆包,你的智能百科全书,全免费不限次数
【推荐】轻量又高性能的 SSH 工具 IShell:AI 加持,快人一步