附加题2 :git 简单练习
目的:
- 练习git 基本操作
- 理解版本管理
Task 1:在码云上新建一个项目,项目命名 『Helloworld』 ,设置为公开访问。
- step 0: 在你计算机安装git。参照互联网教程《git的安装与配置》。 注意:教程是以bitbucket为例的,请大家类比切换为 【码云】。
- step 1: 在D盘新建一个目录SE,将码云上的项目 clone 到该路径下.
$ git clone http://git.oschina.net/你的帐号/HelloWorld.git
- step 2: 在D:/SE/Helloworld 下,新建一个源代码,比如Hello.c 或者其他任何你熟悉的语言(Java、C++ 、Python、shell等)。
#incude "stdio.h"

void main()
{
     printf("Hello World!");
}
Task 2:学习git 命令,包括 add 、commit、remote、push 等。
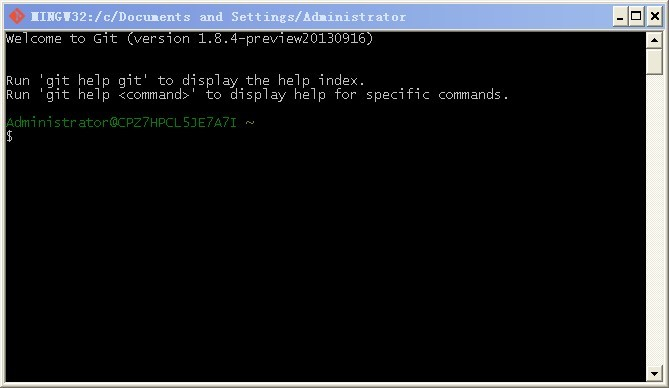
- step 3: 运行git ,在下面命令行窗口,

切换到源代码所在的目录,执行以下git 命令. 注意: 美元符号是提示符,你的本地电脑可能是其他提示符。
$ git add .                                        // 注意: add 后面的点 " . " , 表示 添加当前路径下 所有文件。
$ git commit -m "my first commit"
$ git remote add origin https://git.oschina.net/你的用户名/Helloworld.git         // 建立远端仓库的别名,只要建一次,后面直接用 origin(也可任意名称)代替
                                                                               //   https://git.oschina.net/你的用户名/Helloworld.git 表示 码云中仓库url
                                                                               //   可以直接复制过来)
$ git push origin               // 将本地commit 推送到远端
- step 4 : 在本地IDE修改源代码,如添加注释:作者、时间的 信息,重复 step 3 ,目的是:理解两次提交后,不同版本在码云是如何被管理的。
/****************************************************************/
/*  Author: ****                                                */
/*  Date: 2017-9-10   21:30                                   */
/*  Others:  ****                                              */
/****************************************************************/
#incude "stdio.h"

void main()
{
     printf("Hello World!");   // output : "Hello World!"
}
- step 5: 再次执行提交,并push到远端仓库(类似step3)
$ git add .                                        // 注意: add 后面的点 " . " , 表示 添加当前路径下 所有文件。
$ git commit -m "my second commit"     // 第二次提交 commit
$ git push origin               // 将本地commit 推送到远端
- step 6 : 登录码云 或 github ,对比两次提交(commit)的差异


 浙公网安备 33010602011771号