
MQTT服务-Mosquitto简单安装及TLS双向认证配置
一. 安装配置Mosquitto
1. yum安装Mosquitto
yum install epel-release -y
yum search mosquitto
yum install mosquitto-devel  mosquitto -y
2. 配置 Mosquitto
egrep -v '^#|^$' /etc/mosquitto/mosquitto.conf
pid_file /var/run/mosquitto.pid
port 1883 #默认连接端口
persistence true #持久化
persistence_location /var/lib/mosquitto/ #创建对应目录
log_dest  file /var/log/mosquitto/mosquitto.log #创建对应目录
log_type all #打印所有日志,便于排错
3. 启动 Mosquitto
systemctl start mosquitto
systemctl enable mosquitto
systemctl status mosquitto
4、安装MQTT客户端测试工具mqttfx
下载地址:http://mqttfx.bceapp.com/
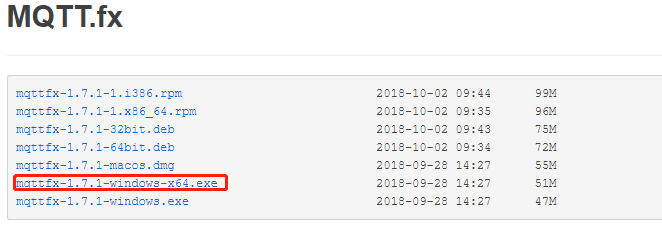
下载安装完成,打开软件进行测试
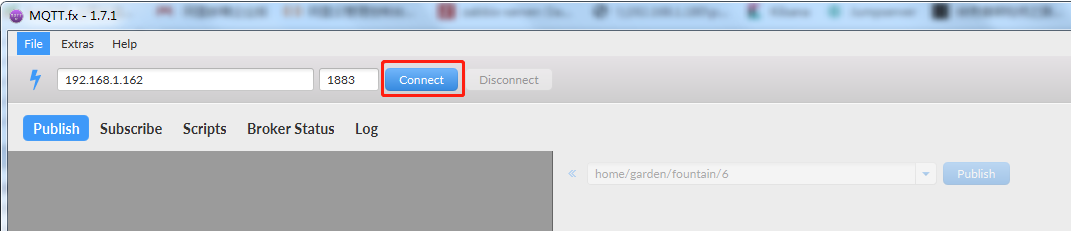
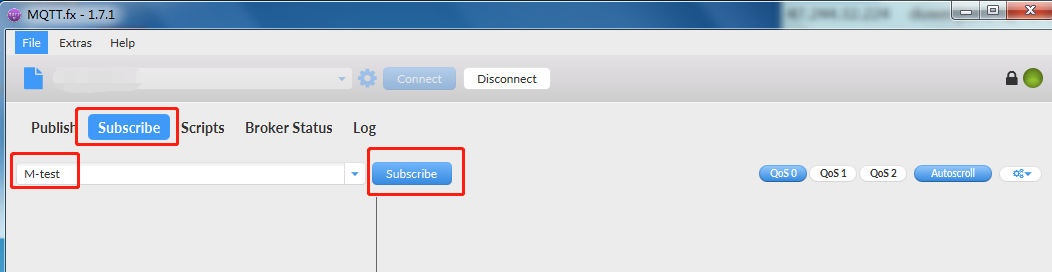
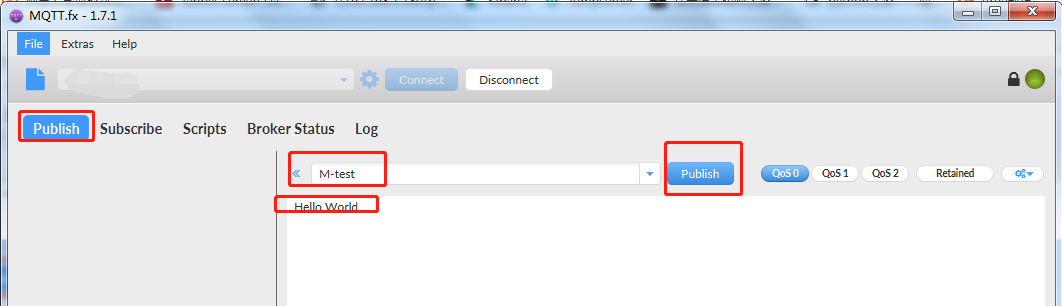
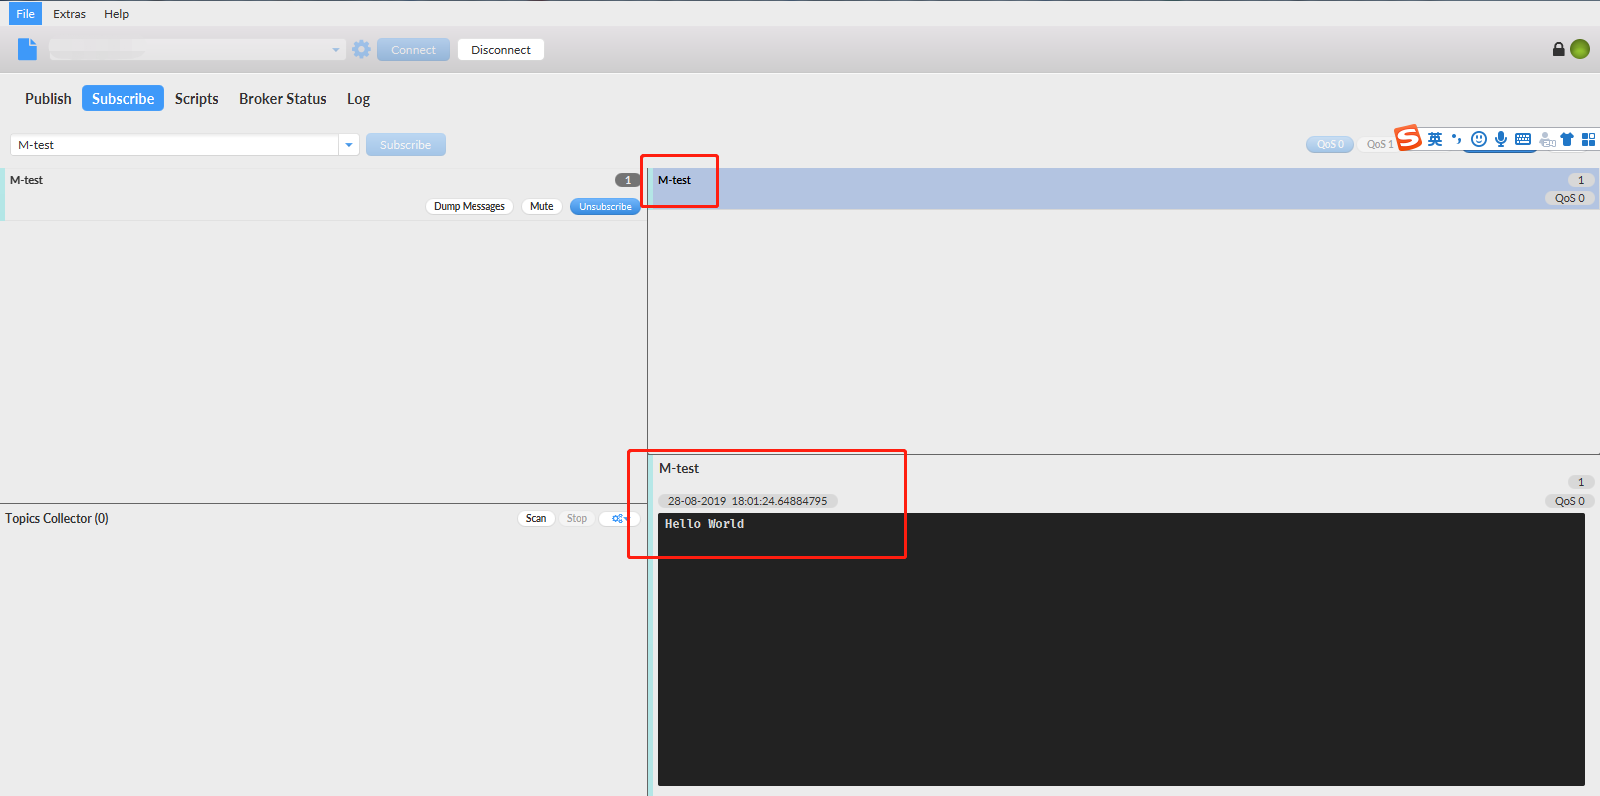
出现以上现象说明配置成功!
二. 配置Mosquitto的TLS双向认证
1. 生成证书文件
采用Openssl作为TLS的实现
mkdir /etc/mosquitto/Myca && cd /etc/mosquitto/Myca
1.1 产生CA的key和证书文件
1) 生成ca的密钥文件
[root@prepare Myca]# openssl genrsa -des3 -out ca.key 2048
Generating RSA private key, 2048 bit long modulus
..........................+++
.........................................................................+++
e is 65537 (0x10001)
Enter pass phrase for ca.key:
Verifying - Enter pass phrase for ca.key:
说明:这里需要输入密码,该命令将为CA产生一个名字为“ca.key”的key文件。
2) 生成ca证书
[root@prepare Myca]# openssl req -new -x509 -days 3650 -key ca.key -out ca.crt
Enter pass phrase for ca.key:
You are about to be asked to enter information that will be incorporated
into your certificate request.
What you are about to enter is what is called a Distinguished Name or a DN.
There are quite a few fields but you can leave some blank
For some fields there will be a default value,
If you enter '.', the field will be left blank.
-----
Country Name (2 letter code) [XX]:cn
State or Province Name (full name) []:bj
Locality Name (eg, city) [Default City]:bj
Organization Name (eg, company) [Default Company Ltd]:test
Organizational Unit Name (eg, section) []:test
Common Name (eg, your name or your server's hostname) []:0.0.0.0
Email Address []:test@163.com
说明:ca.crt就是CA自己给自己签名的证书文件。该命令中选项“-x509”表示该条命令将产生自签名的证书,一般都是测试的时候采用。
1.2 生成server端证书
1)生成server的私钥
[root@prepare Myca]# openssl genrsa -out server.key 2048
Generating RSA private key, 2048 bit long modulus
...........................+++
.................+++
e is 65537 (0x10001)
说明:该命令将产生一个不加密的RSA私钥,其中参数“2048”表示私钥的长度,这里产生的私钥文件“server.key”将在下一步使用,同时在mosquitto程序的配置文件中也需要使用。
如果需要为产生的RSA私钥加密,则需加上选项“-des3”,对私钥文件加密之后,后续使用该密钥的时候都要求输入密码。产生加密RSA私钥文件的命令如下:
openssl genrsa -des3 -out server.key 2048
如果为RSA私钥文件加密了,则一定要记好密码,后面产生csr文件时以及后续使用该私钥文件都会用到该密码。
2)生成server端请求文件(.csr)
[root@prepare Myca]# openssl req -new -out server.csr -key server.key
You are about to be asked to enter information that will be incorporated
into your certificate request.
What you are about to enter is what is called a Distinguished Name or a DN.
There are quite a few fields but you can leave some blank
For some fields there will be a default value,
If you enter '.', the field will be left blank.
-----
Country Name (2 letter code) [XX]:cn
State or Province Name (full name) []:bj
Locality Name (eg, city) [Default City]:bj
Organization Name (eg, company) [Default Company Ltd]:test
Organizational Unit Name (eg, section) []:test
Common Name (eg, your name or your server's hostname) []:192.168.1.162
Email Address []:test@qq.com

Please enter the following 'extra' attributes
to be sent with your certificate request
A challenge password []:
An optional company name []:
说明:该命令将使用上一步产生的“server.key”文件为server产生一个签发证书所需要的请求文件:server.csr,使用该文件向CA发送请求才会得到CA签发的证书。这里没有设置密码。
坑点:这里Common Name为服务器ip地址
3)生成服务端的证书
[root@prepare Myca]# openssl x509 -req -in server.csr -CA ca.crt -CAkey ca.key -CAcreateserial -out server.crt -days 3650
Signature ok
subject=/C=cn/ST=bj/L=bj/O=test/OU=test/CN=192.168.1.162/emailAddress=test@qq.com
Getting CA Private Key
Enter pass phrase for ca.key:
说明:该命令将使用CA的密钥文件ca.key,CA的证书文件ca.crt和上一步为mosquitto server产生证书请求文件server.csr文件这三个文件向CA请求产生一个证书文件,证书文件的名字为:server.crt。
该命令中的36500可以修改为自己定义的时间值。这里需要输入创建ca.key时设置的密码。
1.3 生成client端证书
过程和生成server端证书类似,这里就不一一说明了
1)生成client的私钥
[root@prepare Myca]# openssl genrsa -out client.key 2048
Generating RSA private key, 2048 bit long modulus
........................................................................................+++
.............+++
e is 65537 (0x10001)
2)生成client端请求文件(.csr)
[root@prepare Myca]# openssl req -new -out client.csr -key client.key
You are about to be asked to enter information that will be incorporated
into your certificate request.
What you are about to enter is what is called a Distinguished Name or a DN.
There are quite a few fields but you can leave some blank
For some fields there will be a default value,
If you enter '.', the field will be left blank.
-----
Country Name (2 letter code) [XX]:cn
State or Province Name (full name) []:bj
Locality Name (eg, city) [Default City]:bj
Organization Name (eg, company) [Default Company Ltd]:test
Organizational Unit Name (eg, section) []:test
Common Name (eg, your name or your server's hostname) []:192.168.1.162
Email Address []:test@qq.com

Please enter the following 'extra' attributes
to be sent with your certificate request
A challenge password []:
An optional company name []:
说明Common Name 为服务器ip
3)生成client端的证书
[root@prepare Myca]# openssl x509 -req -in client.csr -CA ca.crt -CAkey ca.key -CAcreateserial -out client.crt -days 3650
Signature ok
subject=/C=cn/ST=bj/L=bj/O=test/OU=test/CN=192.168.1.162/emailAddress=test@qq.com
Getting CA Private Key
Enter pass phrase for ca.key:
总结避坑:Common Name 项可填写 主机名,域名或IP 三选一;自签名的CA证书的Common Name要与server证书和client证书的Common Name不同;server和client的Common Name依然是服务器本身的IP:192.168.1.162。
2. 修改mosquitto配置文件
2.1 修改后配置文件
[root@prepare ~]# egrep -v '^#|^$' /etc/mosquitto/mosquitto.conf
pid_file /var/run/mosquitto.pid
port 1883
persistence true
persistence_location /var/lib/mosquitto/
log_dest  file /var/log/mosquitto/mosquitto.log
log_type all
include_dir /etc/mosquitto/conf.d
listener  8883  #tls端口
cafile /etc/mosquitto/Myca/ca.crt
certfile /etc/mosquitto/Myca/server.crt
keyfile /etc/mosquitto/Myca/server.key
allow_anonymous false    #不允许匿名用户
require_certificate true #必须提供证书以保证数据安全性
use_identity_as_username true  # 若require_certificate值为true,use_identity_as_username也必须为true
2.2 重启mosquitto
systemctl restart mosquitto
3. 双向认证测试
3.1 生成mosquitto连接用户名和密码
创建admin用户名和密码命令如下:
mosquitto_passwd -c /etc/mosquitto/pwfile.example admin
提示连续两次输入密码、创建成功。命令解释: -c 创建一个用户、/etc/mosquitto/pwfile.example 是将用户创建到 pwfile.example  文件中、admin 是用户名。

创建mosquitto用户,命令如下:
mosquitto_passwd /etc/mosquitto/pwfile.example mosquitto
同样连续会提示连续输入两次密码。注意第二次创建用户时不用加 -c 如果加 -c 会把第一次创建的用户覆盖。
至此两个用户创建成功,此时如果查看 pwfile.example 文件会发现其中多了两个用户。
3.2 linux命令行测试
sub端命令:
[root@prepare ~]# mosquitto_sub  -t 'room02/sensors' -h 192.168.1.162 -p 8883 -u admin -P 123456 --tls-version tlsv1.2 --cafile /etc/mosquitto/Myca/ca.crt --cert /etc/mosquitto/Myca/client.crt --key /etc/mosquitto/Myca/client.key
pub端命令:
[root@prepare ~]# mosquitto_pub  -t 'room02/sensors' -m '我的消息' --cafile /etc/mosquitto/Myca/ca.crt --cert /etc/mosquitto/Myca/client.crt --key /etc/mosquitto/Myca/client.key -h 192.168.1.162 -p 8883 -u admin -P 123456 --tls-version tlsv1.2
结果:

出现以上结果说明配只成功!
也可以用工具MQTTFX或者python代码demo来对TLS双向认证进行验证!
