

基于tomcat集群做session共享
前端代理服务器nginx:192.168.223.136
tomcat服务器:采用的一台多实例192.168.223.146:8081,192.168.223.146:8082(如何构建多实例tomcat,请参考前面的文章)
首先查看下tomcat的webapps目录架构:
[root@wadeson tomcat-instance]# pwd
/usr/local/tomcat-instance
[root@wadeson tomcat-instance]# ll
总用量 24
-rwxr-xr-x. 1 root root 165 8月 9 15:31 start-tomcat1.sh
-rwxr-xr-x. 1 root root 165 8月 9 16:18 start-tomcat2.sh
-rwxr-xr-x. 1 root root 165 8月 9 15:38 stop-tomcat1.sh
-rwxr-xr-x. 1 root root 165 8月 9 16:18 stop-tomcat2.sh
drwxr-xr-x. 7 root root 4096 8月 9 15:45 tomcat1
drwxr-xr-x. 7 root root 4096 8月 9 16:12 tomcat2
[root@wadeson tomcat-instance]# cd tomcat1/webapps/
[root@wadeson webapps]# tree .
.
├── myapp
│ └── test.jsp
└── ROOT
├── classes
├── index.jsp
├── lib
├── META-INF
└── WEB-INF
由于安装的tomcat是8.5版本的,所以查看下官方文档:https://tomcat.apache.org/tomcat-8.5-doc/cluster-howto.html
构建tomcat集群只需要如下几步:
1、添加集群组件信息(在host或者engine组件下添加进去就行)
  <Cluster className="org.apache.catalina.ha.tcp.SimpleTcpCluster"
                 channelSendOptions="8">

          <Manager className="org.apache.catalina.ha.session.DeltaManager"
                   expireSessionsOnShutdown="false"
                   notifyListenersOnReplication="true"/>

          <Channel className="org.apache.catalina.tribes.group.GroupChannel">
            <Membership className="org.apache.catalina.tribes.membership.McastService"
                        address="228.0.0.4"
                        port="45564"
                        frequency="500"
                        dropTime="3000"/>
            <Receiver className="org.apache.catalina.tribes.transport.nio.NioReceiver"
                      address="auto"
                      port="4000"
                      autoBind="100"
                      selectorTimeout="5000"
                      maxThreads="6"/>

            <Sender className="org.apache.catalina.tribes.transport.ReplicationTransmitter">
              <Transport className="org.apache.catalina.tribes.transport.nio.PooledParallelSender"/>
            </Sender>
            <Interceptor className="org.apache.catalina.tribes.group.interceptors.TcpFailureDetector"/>
            <Interceptor className="org.apache.catalina.tribes.group.interceptors.MessageDispatchInterceptor"/>
          </Channel>

          <Valve className="org.apache.catalina.ha.tcp.ReplicationValve"
                 filter=""/>
          <Valve className="org.apache.catalina.ha.session.JvmRouteBinderValve"/>

          <Deployer className="org.apache.catalina.ha.deploy.FarmWarDeployer"
                    tempDir="/tmp/war-temp/"
                    deployDir="/tmp/war-deploy/"
                    watchDir="/tmp/war-listen/"
                    watchEnabled="false"/>

          <ClusterListener className="org.apache.catalina.ha.session.ClusterSessionListener"/>
        </Cluster>
以上是直接摘自官网,需要稍微做下修改address="auto",address="228.0.0.4"
2、需要在各自的应用程序目录下面为web.xml添加一行<distributable/>元素
- Make sure your
web.xmlhas the<distributable/>element
现在直接贴自己的配置tomcat1:
<Host name="localhost" appBase="/usr/local/tomcat-instance/tomcat1/webapps" unpackWARs="true" autoDeploy="true">
<Context path="" docBase="ROOT" reloadable="true"/>
<Valve className="org.apache.catalina.valves.AccessLogValve" directory="/usr/local/tomcat-instance/tomcat1/logs"
prefix="localhost_access_log" suffix=".txt"
pattern="%h %l %u %t "%r" %s %b" />
<Cluster className="org.apache.catalina.ha.tcp.SimpleTcpCluster" channelSendOptions="8">
<Manager className="org.apache.catalina.ha.session.DeltaManager"
expireSessionsOnShutdown="false"
notifyListenersOnReplication="true"/>
<Channel className="org.apache.catalina.tribes.group.GroupChannel">
<Membership className="org.apache.catalina.tribes.membership.McastService"
address="228.0.0.4"
port="45564"
frequency="500"
dropTime="3000"/>
<Receiver className="org.apache.catalina.tribes.transport.nio.NioReceiver"
address="192.168.223.146" 由于是一台主机上的两个tomcat实例,所以这里的cluster添加的内容都一样
port="4000"
autoBind="100"
selectorTimeout="5000"
maxThreads="6"/>
<Sender className="org.apache.catalina.tribes.transport.ReplicationTransmitter">
<Transport className="org.apache.catalina.tribes.transport.nio.PooledParallelSender"/>
</Sender>
<Interceptor className="org.apache.catalina.tribes.group.interceptors.TcpFailureDetector"/>
<Interceptor className="org.apache.catalina.tribes.group.interceptors.MessageDispatchInterceptor"/>
</Channel>
<Valve className="org.apache.catalina.ha.tcp.ReplicationValve"
filter=""/>
<Valve className="org.apache.catalina.ha.session.JvmRouteBinderValve"/>
<Deployer className="org.apache.catalina.ha.deploy.FarmWarDeployer"
tempDir="/tmp/war-temp/"
deployDir="/tmp/war-deploy/"
watchDir="/tmp/war-listen/"
watchEnabled="false"/>
<ClusterListener className="org.apache.catalina.ha.session.ClusterSessionListener"/>
</Cluster>
</Host>
然后在应用程序ROOT下面的WEB-INF的下面添加自己的web.xml:
[root@wadeson tomcat-instance]# ll tomcat1/webapps/ROOT/WEB-INF/web.xml
-rw-------. 1 root root 168271 8月 10 16:50 tomcat1/webapps/ROOT/WEB-INF/web.xml
<distributable/> 这就是需要添加的一行内容
</web-app>
于是配置tomcat1实例完成,tomcat2的配置和tomcat1一致(由于是同一主机的不同实例)
于是进行访问:

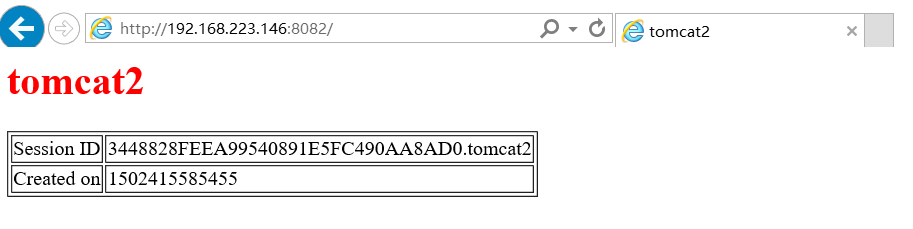
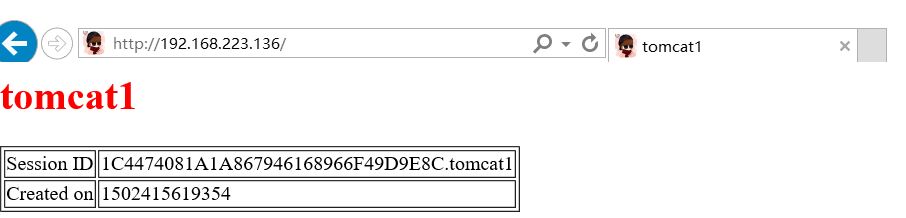
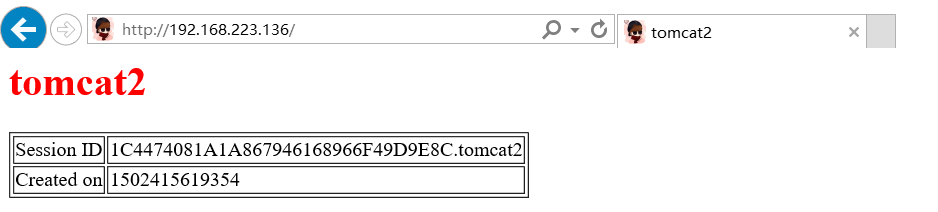
可以看见session的id值两者相同,只是后面的tomcat不一致,于是session共享的功能就达成了,然后配置nginx进行代理转发:
upstream backserver {
server 192.168.223.146:8081 weight=1;
server 192.168.223.146:8082 weight=1;
}
server {
listen 80;
server_name 192.168.223.136;
location / {
root html;
index index.html index.htm;
proxy_pass http://backserver/;
}
测试效果:

 浙公网安备 33010602011771号