springcloud-05Eureka05-集群版
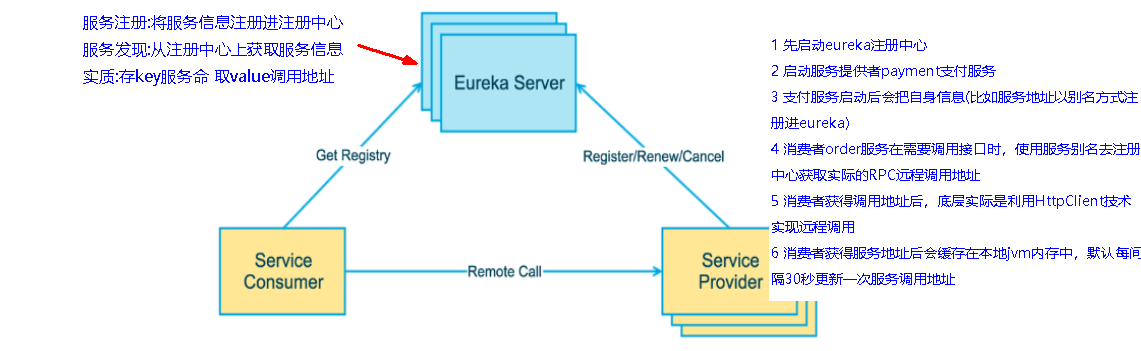
一、原理
二、环境构建
2.1 参考eureka7001新建模块eureka7002
https://www.cnblogs.com/jsit-dj-it/p/15594663.html
2.2 copy eureka7001的pom文件
<dependencies>
	<!--eureka-server-->
	<dependency>
		<groupId>org.springframework.cloud</groupId>
		<artifactId>spring-cloud-starter-netflix-eureka-server</artifactId>
	</dependency>
	<!-- 引入自己定义的api通用包,可以使用Payment支付Entity -->
	<dependency>
		<groupId>edu.dj.springcloud</groupId>
		<artifactId>cloud-api-common</artifactId>
		<version>1.0-SNAPSHOT</version>
	</dependency>
	<!--boot web actuator-->
	<dependency>
		<groupId>org.springframework.boot</groupId>
		<artifactId>spring-boot-starter-web</artifactId>
	</dependency>
	<dependency>
		<groupId>org.springframework.boot</groupId>
		<artifactId>spring-boot-starter-actuator</artifactId>
	</dependency>
	<!--一般通用配置-->
	<dependency>
		<groupId>org.springframework.boot</groupId>
		<artifactId>spring-boot-devtools</artifactId>
		<scope>runtime</scope>
		<optional>true</optional>
	</dependency>
	<dependency>
		<groupId>org.projectlombok</groupId>
		<artifactId>lombok</artifactId>
	</dependency>
	<dependency>
		<groupId>org.springframework.boot</groupId>
		<artifactId>spring-boot-starter-test</artifactId>
		<scope>test</scope>
	</dependency>
	<dependency>
		<groupId>junit</groupId>
		<artifactId>junit</artifactId>
	</dependency>
</dependencies>
2.3 修改配置文件映射hosts文件
- 找到hosts文件,
所在目录路径:C:\Windows\System32\drivers\etc

- 添加内容
127.0.0.1       eureka7001.com
127.0.0.1       eureka7002.com
127.0.0.1       eureka7003.com
2.4 改yml
7001和7002互相注册
修改原eureka7001的yml为
server:
  port: 7001


eureka:
  instance:
    hostname: eureka7001.com #eureka服务端的实例名称
  client:
    register-with-eureka: false     #false表示不向注册中心注册自己。
    fetch-registry: false     #false表示自己端就是注册中心,我的职责就是维护服务实例,并不需要去检索服务
    service-url:
      defaultZone: http://eureka7002.com:7002/eureka/
修改原eureka7002的yml为
server:
  port: 7002


eureka:
  instance:
    hostname: eureka7002.com #eureka服务端的实例名称
  client:
    register-with-eureka: false     #false表示不向注册中心注册自己。
    fetch-registry: false     #false表示自己端就是注册中心,我的职责就是维护服务实例,并不需要去检索服务
    service-url:
      defaultZone: http://eureka7001.com:7001/eureka/
2.5 主启动
@SpringBootApplication
@EnableEurekaServer
public class EurekaMain7002 {
    public static void main(String[] args) {
        SpringApplication.run(EnableEurekaServer.class, args);
    }
}
2.6 测试
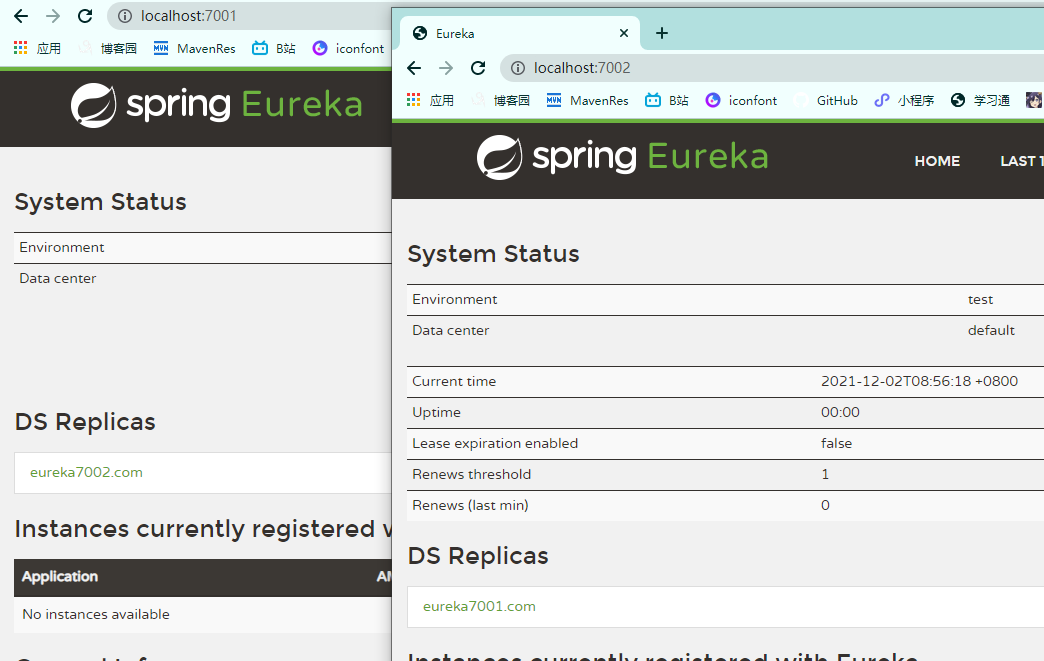
三、payment支付模块微服务发布到2台Eureka集群
修改对应模块的yml
server:
  port: 8001

spring:
  application:
    name: cloud-payment-service
  datasource:
    type: com.alibaba.druid.pool.DruidDataSource
    driver-class-name: com.mysql.cj.jdbc.Driver
    url: jdbc:mysql://localhost:3306/db2019?serverTimezone=GMT&useSSL=false
    username: root
    password: 123456

mybatis:
  mapper-locations: classpath:mapper/*.xml
  type-aliases-package: edu.dj.springcloud.entities

# Eureka相关配置
eureka:
  client:
    # 表示是否将自己注册到EurekaServer,默认为true
    register-with-eureka: true
    # 是否从EurekaServer抓取已有的注册信息,默认为true。单节点无所谓,集群必须设置为true才能配合ribbon使用负载均衡
    fetch-registry: true
    service-url:
#      defaultZone: http://localhost:7001/eureka        # 单机版
      defaultZone: http://eureka7001.com:7001/eureka,http://eureka7002.com:7002/eureka  # 集群版
四、order订单模块微服务发布到Eureka集群上
server:
  port: 81

spring:
  application:
    name: cloud-order-service

eureka:
  client:
    #表示是否将自己注册进EurekaServer默认为true。
    register-with-eureka: true
    #是否从EurekaServer抓取已有的注册信息,默认为true。单节点无所谓,集群必须设置为true才能配合ribbon使用负载均衡
    fetchRegistry: true
    service-url:
#      defaultZone: http://localhost:7001/eureka       # 单机版
      defaultZone: http://eureka7001.com:7001/eureka,http://eureka7002.com:7002/eureka  # 集群版
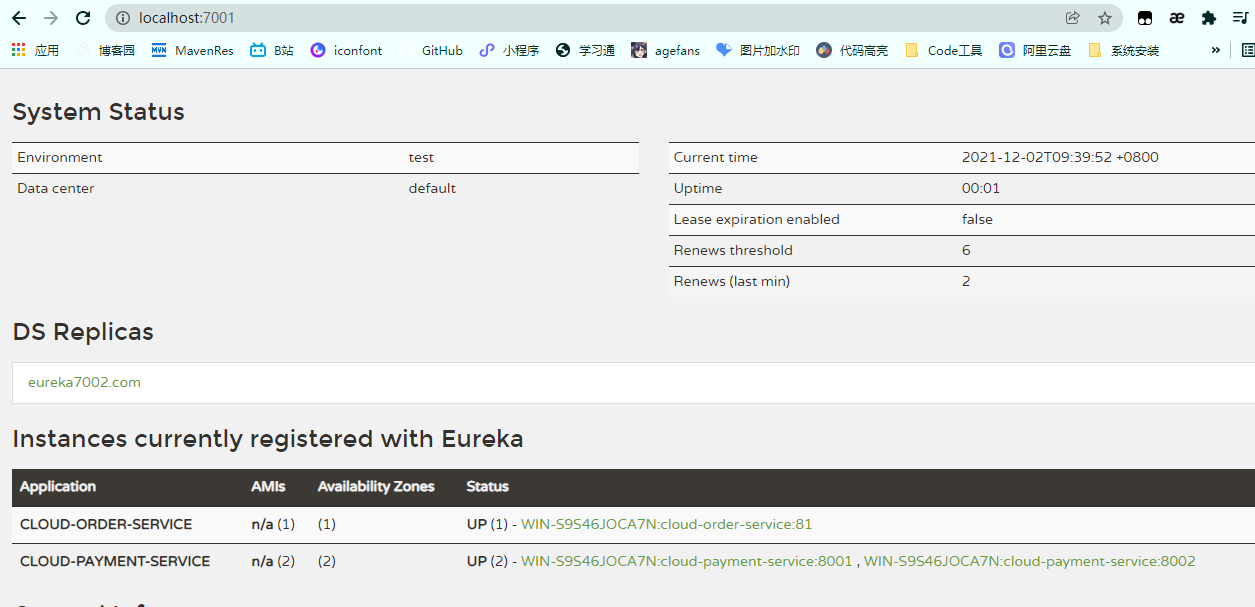
五、测试
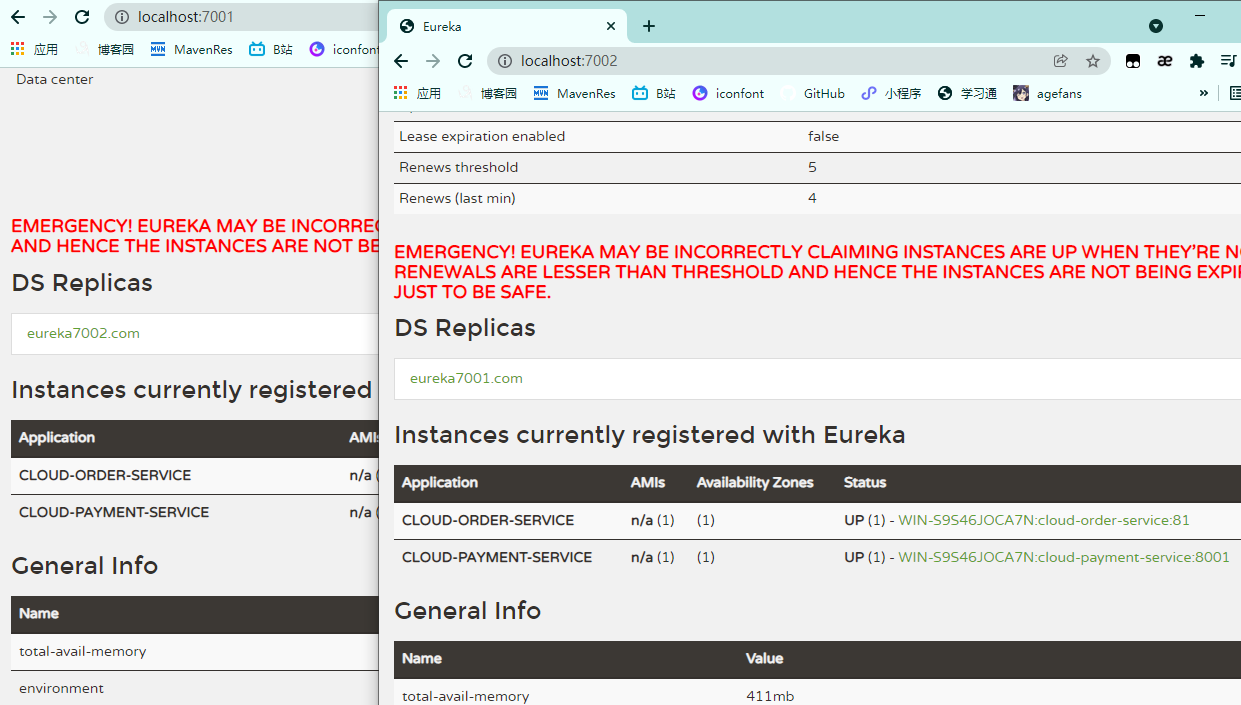
六、支付服务提供者集群构建
6.1 建子模块
参考:https://www.cnblogs.com/jsit-dj-it/p/15561300.html
支付模块新建payment8002
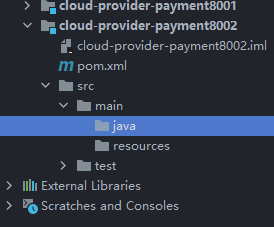
6.2 改pom,copy payment8001的
6.3 改yml,copy payment8001的,
记得改port端口号
6.4 业务,copy payment8001的,
6.5 主启动,copy payment8001的,
6.6 修改controller
payment8001
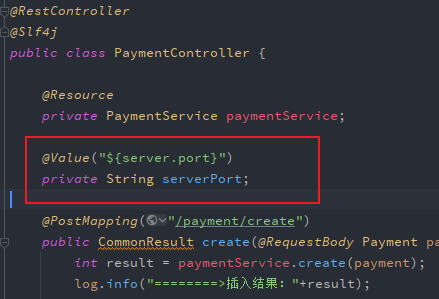
@RestController
@Slf4j
public class PaymentController {
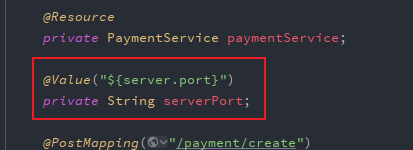
@Resource
private PaymentService paymentService;
@Value("${server.port}")
private String serverPort;
@PostMapping("/payment/create")
public CommonResult create(@RequestBody Payment payment){
int result = paymentService.create(payment);
log.info("========>插入结果:"+result);
if (result > 0){
return new CommonResult(200,"插入成功,serverPort:"+serverPort, result);
}else {
return new CommonResult(444,"插入数据库失败",null);
}
}
@GetMapping("/payment/get/{id}")
public CommonResult getPaymentById(@PathVariable("id") Long id){
Payment payment = paymentService.getPaymentById(id);
log.info("========>查询结果:"+payment+"wewewefdsfsddfsfs");
if (payment != null){
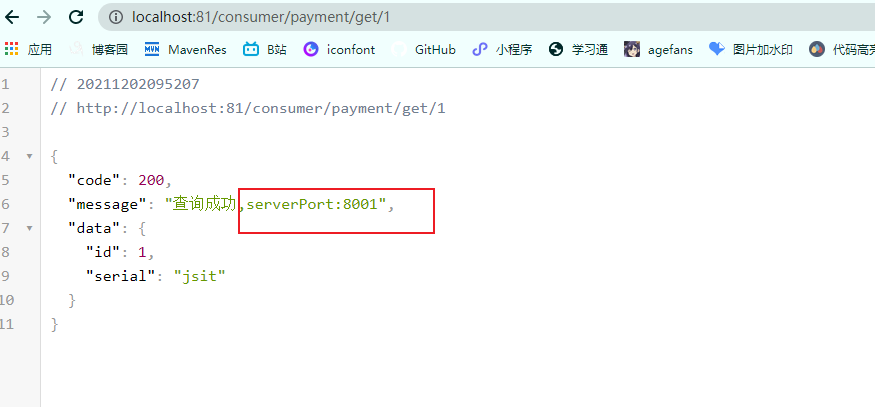
return new CommonResult(200,"查询成功,serverPort:"+serverPort, payment);
}else {
return new CommonResult(444,"无记录,查询"+id,null);
}
}
}
payment8002
@RestController
@Slf4j
public class PaymentController {

    @Resource
    private PaymentService paymentService;

    @Value("${server.port}")
    private String serverPort;

    @PostMapping("/payment/create")
    public CommonResult create(@RequestBody Payment payment){
        int result = paymentService.create(payment);
        log.info("========>插入结果:"+result);

        if (result > 0){
            return new CommonResult(200,"插入成功,serverPort:"+serverPort,result);
        }else {
            return new CommonResult(444,"插入数据库失败",null);
        }
    }

    @GetMapping("/payment/get/{id}")
    public CommonResult getPaymentById(@PathVariable("id") Long id){
        Payment payment = paymentService.getPaymentById(id);
        log.info("========>查询结果:"+payment+"wewewefdsfsddfsfs");

        if (payment != null){
            return new CommonResult(200,"查询成功,serverPort:"+serverPort,payment);
        }else {
            return new CommonResult(444,"无记录,查询"+id,null);
        }
    }
}
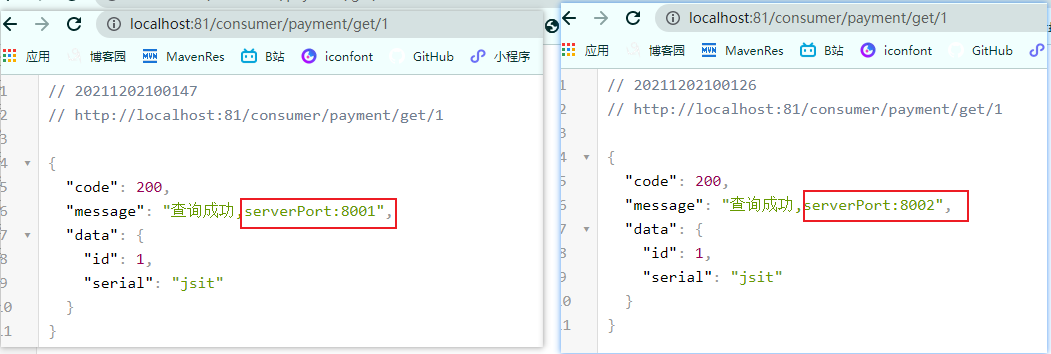
6.7测试

七、负载均衡
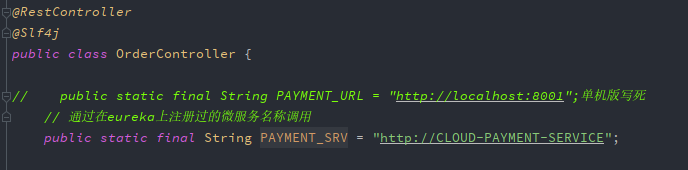
7.1 订单服务访问地址不能写死
7.2 使用@LoadBalanced注解赋予RestTemplate负载均衡的能力
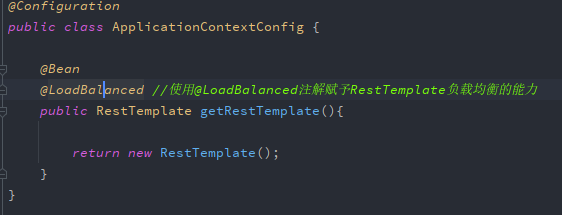
@Configuration
public class ApplicationContextConfig {

    @Bean
    @LoadBalanced //使用@LoadBalanced注解赋予RestTemplate负载均衡的能力
    public RestTemplate getRestTemplate(){

        return new RestTemplate();
    }
}
八、测试
轮询,使用不同的服务端