基于XMPP的即时通信系统的建立(五)— openfire
现决定使用Openfire作为服务端,Openfire采用Java开发,基于XMPP的实时开源协作服务器。单台可支持上万并发用户。
Openfire体系结构
Openfire体系由其提供的服务器端、客户端以及相应的开发库组成。

Openfire
通常我们所说的Openfire就是指Openfire服务端,现在已经更新到3.10.3版本,该服务器实现了绝大部分的XMPP协议。
除此之外,还有大量的Openfire插件可供使用。
Spark
Spark是一个使用java开发的实时协作客户端,通过简单的配置和注册即可使用。
Smack
Smack is a client library. You can use it to log into an XMPP domain and make use of the functionality it provides. Typically, Smack is used to implement an instant messaging client。
Tinder
Tinder is a low-level XMPP library. It provides Java implementations of basic XMPP entities, such as Stanzas (called 'Packet' in XMPP), JIDs and Components (which typically implement part of the functionality of an XMPP server). Although in theory, Tinder could be used to implement client functionality, it currently is primarily used on the server-side. Both Whack and Openfire (an XMPP server implementation) use Tinder-defined entities. Smack does not use Tinder at all.
Whack
Whack is Java library that is used to implement external components. Whack allows a Component (as defined in Tinder) to run as a stand-alone process. Whack allows you to connect this process to an XMPP domain. This way, you can extend the functionality provided by that domain without modifying the implementation of the server software.
服务端搭建
安装数据库
1. 安装客户端
rmp –ivh MySQL-client-5.6.21-1.linux_glibc2.5.x86_64.rpm
(注)如果提示冲突,需要运行yum –y remove ${APP}卸载冲突软件
2. 安装服务端
rmp –ivh MySQL-server-5.6.21-1.linux_glibc2.5.x86_64.rpm
3. 数据库配置
3.1设置本地登录账号
mysql –u root -p
set password for root@localhost=password('jiyq');
如果主机名其他,例如jiyq,需要将localhost改为jiyq
set password for root@jiyq=password('jiyq');
3.2切换数据库
use mysql;
3.3设置网络连接账户
Grant all privileges on *.* to 'root'@'%' identified by 'jiyq' with grant option;
3.4 更新账户权限
FLUSH PRIVILEGES;
3.5 打开防火墙3306端口
iptables -A INPUT -p tcp --dport 3306 -j ACCEPT
iptables -A OUTPUT -p tcp --sport 3306 -j ACCEPT
service iptables save
3.7 创建数据库
create database openfire
3.8 运行建表语句
在openfire数据库下,运行/opt/openfire/resources/database/openfire_mysql.sql
安装服务端
1. 解压openfire_3_10_3.zip到/opt目录下
2. 启动openfire
/opt/openfire/bin
./openfire start
3. 访问配置页面
http://192.168.189.131:9090/setup/index.jsp
4. 配置语言

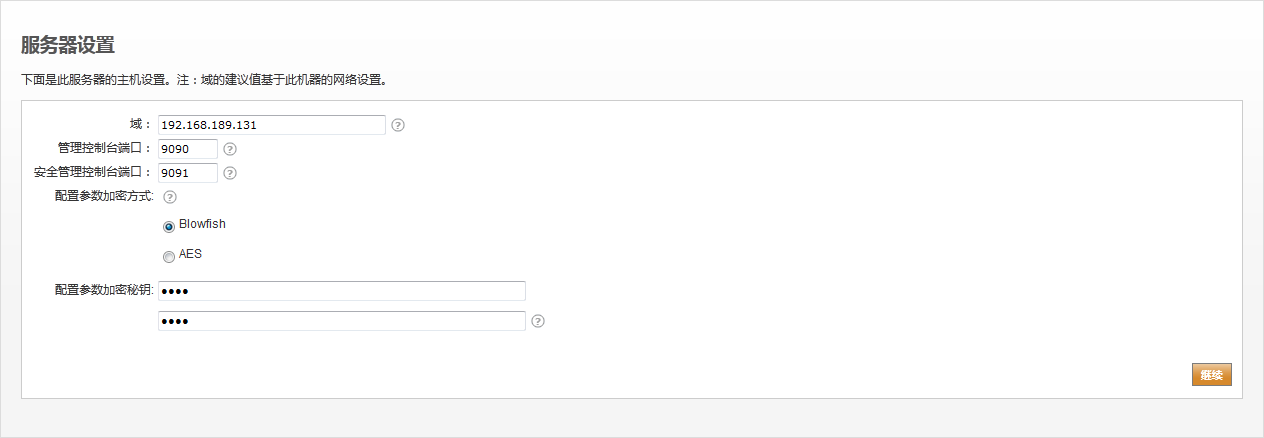
5. 服务器设置
6. 数据库设置

7. 数据库设置-标准连接

8. 特性设置

9. 管理员账户

8. 安装完成

客户端搭建
这里使用Spark作为PC端的客户端。
1. 安装Spark
这里采用spark_2_7_3_online.exe版本
2. 注册用户

3. 登录客户端


【推荐】国内首个AI IDE,深度理解中文开发场景,立即下载体验Trae
【推荐】编程新体验,更懂你的AI,立即体验豆包MarsCode编程助手
【推荐】抖音旗下AI助手豆包,你的智能百科全书,全免费不限次数
【推荐】轻量又高性能的 SSH 工具 IShell:AI 加持,快人一步
· 如何编写易于单元测试的代码
· 10年+ .NET Coder 心语,封装的思维:从隐藏、稳定开始理解其本质意义
· .NET Core 中如何实现缓存的预热?
· 从 HTTP 原因短语缺失研究 HTTP/2 和 HTTP/3 的设计差异
· AI与.NET技术实操系列:向量存储与相似性搜索在 .NET 中的实现
· 地球OL攻略 —— 某应届生求职总结
· 周边上新:园子的第一款马克杯温暖上架
· Open-Sora 2.0 重磅开源!
· .NET周刊【3月第1期 2025-03-02】
· [AI/GPT/综述] AI Agent的设计模式综述