Cesium之双屏联动实现
1. 概述
双屏联动是常见的一种地图开发需求,主要用于同时查看两个地图,进行对比查看,还有一种类似的需求叫“卷帘门”(map split)
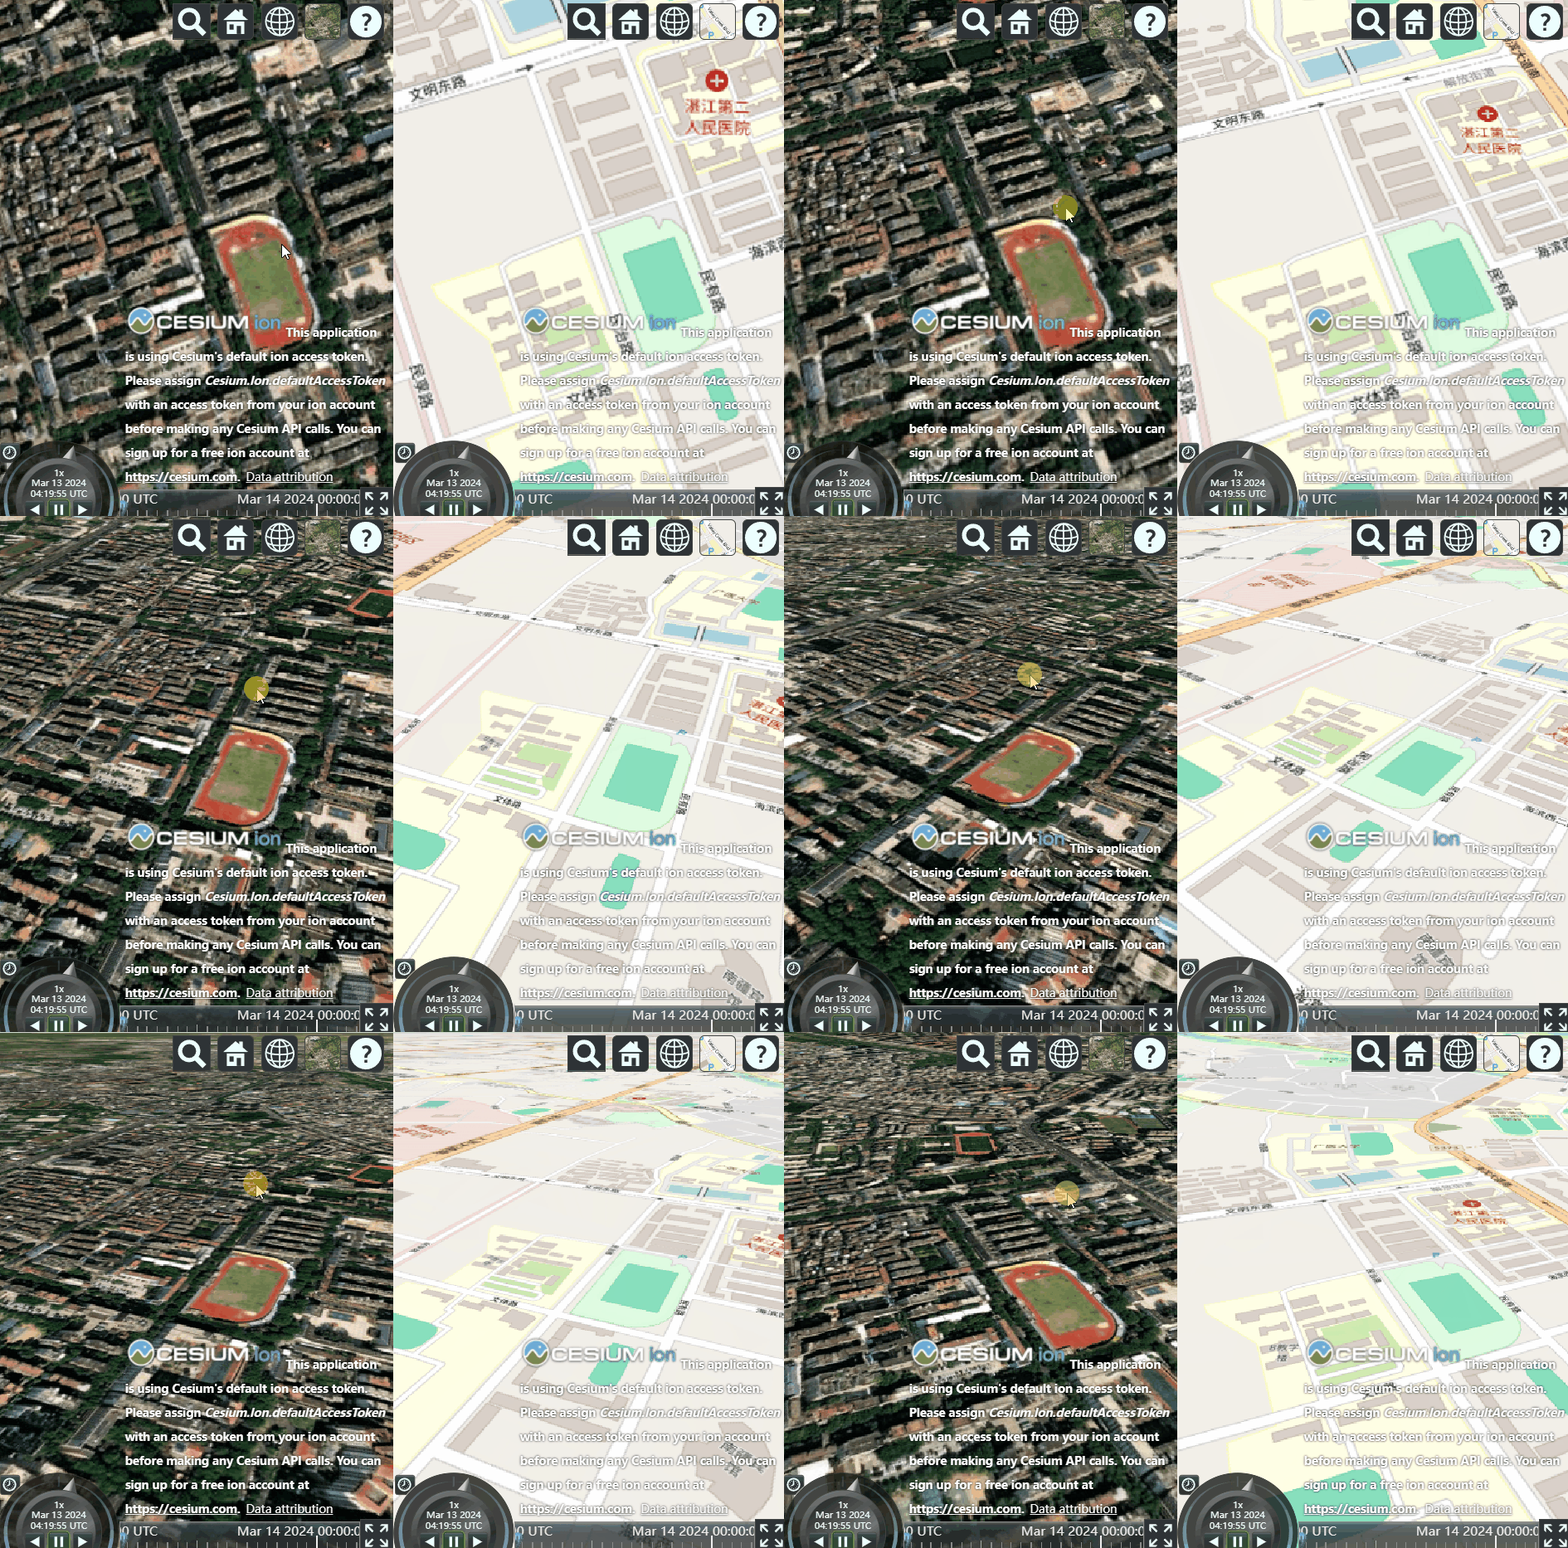
双屏联动效果如下:

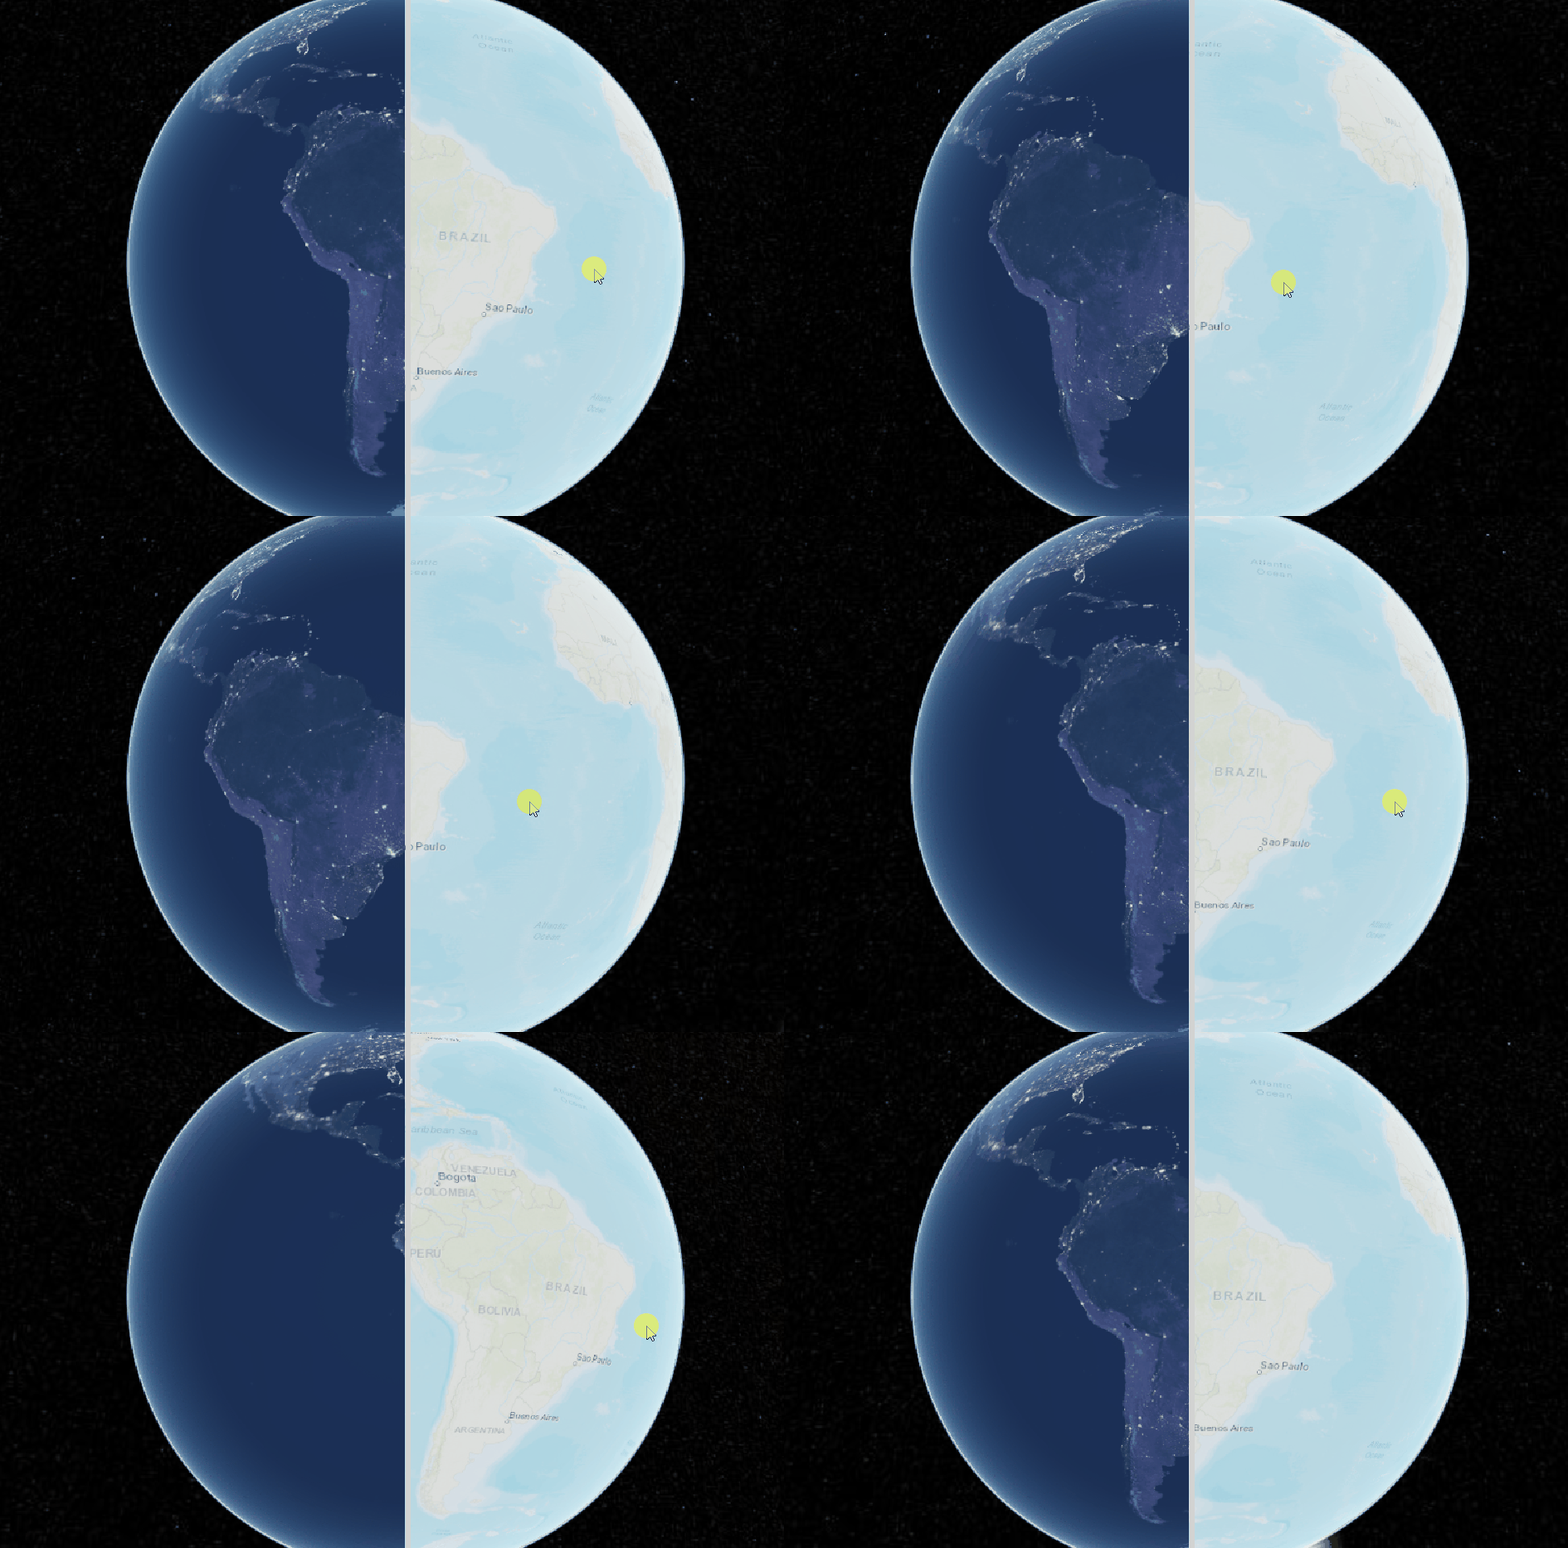
卷帘门的效果如下:

其中,卷帘门在Cesium官网中有实现示例:[Imagery Layers Split - Cesium Sandcastle](https://sandcastle.cesium.com/?src=Imagery Layers Split.html&label=All)
这篇文章主要记录的是双屏联动
2. 双屏联动实现
2.1 方式一:同步相机参数
这个思路是:将变化的一侧地图的camera参数实时同步到不变化的一侧,使之跟随变化,实现双屏联动
以下是一个实现的基础代码
const syncView = () => {

    // 获取另一个viewer的相机视角数据
    const {
        positionWC,
        heading,
        pitch,
        roll,
        up,
        _direction
    } = viewer2.scene.camera;

    // 设置视角
    viewer1.camera.setView({
        destination: positionWC,
        orientation: {
            heading: heading,
            pitch: pitch,
            roll: roll,
            up: up,
            direction: _direction
        }
    });

};

//camera监听函数
viewer2.scene.postRender.addEventListener(syncView);
上面的基础代码并不完善,但是思路清晰,就是将变化的一侧地图的camera参数实时同步到不变化的一侧。注意,这里是每一帧之前同步相机参数,这样是比较平滑的,虽然性能消耗可能会大一些,有部分文章博客写的是相机变化时才同步参数,代码类似viewer2.camera.changed.addEventListener(syncView),这种方式并不推荐,画面渲染时卡顿的,并不平滑
下面是完整的实现代码,供参考:
<!DOCTYPE html>
<html lang="en">

<head>
  <meta charset="utf-8">
  <!-- Include the CesiumJS JavaScript and CSS files -->
  <script src="https://cesium.com/downloads/cesiumjs/releases/1.114/Build/Cesium/Cesium.js"></script>
  <link href="https://cesium.com/downloads/cesiumjs/releases/1.114/Build/Cesium/Widgets/widgets.css" rel="stylesheet">
  <style>
    #cesiumContainer {
      width: 50vw;
      height: 100vh;
      position: absolute;
      top: 0;
      left: 0;
    }

    #rightContainer {
      width: 50vw;
      height: 100vh;
      position: absolute;
      top: 0;
      right: 0;
    }
  </style>
</head>

<body>
  <div id="cesiumContainer"></div>
  <div id="rightContainer"></div>
  <script type="module">
    // Your access token can be found at: https://ion.cesium.com/tokens.
    // Replace `your_access_token` with your Cesium ion access token.

    // Cesium.Ion.defaultAccessToken = 'your_access_token';

    // Initialize the Cesium Viewer in the HTML element with the `cesiumContainer` ID.
    const viewer = new Cesium.Viewer('cesiumContainer');
    const rightViewer = new Cesium.Viewer('rightContainer');
    // viewer.scene.camera = rightViewer.scene.camera;

    const syncView = (viewer1, viewer2) => {

      return function() {

        // 获取另一个viewer的相机视角数据
        const {
          positionWC,
          heading,
          pitch,
          roll,
          up,
          _direction
        } = viewer1.scene.camera;

        // 设置视角
        viewer2.camera.setView({
          destination: positionWC,
          orientation: {
            heading: heading,
            pitch: pitch,
            roll: roll,
            up: up,
            direction: _direction
          }
        });
      }
    };

    //camera监听函数
    viewer.scene.postRender.addEventListener(syncView(viewer, rightViewer));
    rightViewer.scene.postRender.addEventListener(syncView(rightViewer, viewer));
  </script>
  </div>
</body>

</html>
这看起来复杂了点,实现下过如下图,下面这个实现方式就更简单

2.2 方式二:共享Camera
这个思路就是:两个地图使用同一个相机,所以不管是哪一个地图变化,相机都会自然而然地变化
基础代码就是:
viewer1.scene.camera = viewer2.scene.camera;
下面是完整的实现代码,供参考:
<!DOCTYPE html>
<html lang="en">

<head>
  <meta charset="utf-8">
  <!-- Include the CesiumJS JavaScript and CSS files -->
  <script src="https://cesium.com/downloads/cesiumjs/releases/1.114/Build/Cesium/Cesium.js"></script>
  <link href="https://cesium.com/downloads/cesiumjs/releases/1.114/Build/Cesium/Widgets/widgets.css" rel="stylesheet">
  <style>
    #cesiumContainer {
      width: 50vw;
      height: 100vh;
      position: absolute;
      top: 0;
      left: 0;
    }

    #rightContainer {
      width: 50vw;
      height: 100vh;
      position: absolute;
      top: 0;
      right: 0;
    }
  </style>
</head>

<body>
  <div id="cesiumContainer"></div>
  <div id="rightContainer"></div>
  <script type="module">
    // Your access token can be found at: https://ion.cesium.com/tokens.
    // Replace `your_access_token` with your Cesium ion access token.

    // Cesium.Ion.defaultAccessToken = 'your_access_token';

    // Initialize the Cesium Viewer in the HTML element with the `cesiumContainer` ID.
    const viewer = new Cesium.Viewer('cesiumContainer');
    const rightViewer = new Cesium.Viewer('rightContainer');
    viewer.scene.camera = rightViewer.scene.camera;
  </script>
  </div>
</body>

</html>


 Cesium实现双屏联动

