基于Hexo的GitHub Pages个人博客搭建
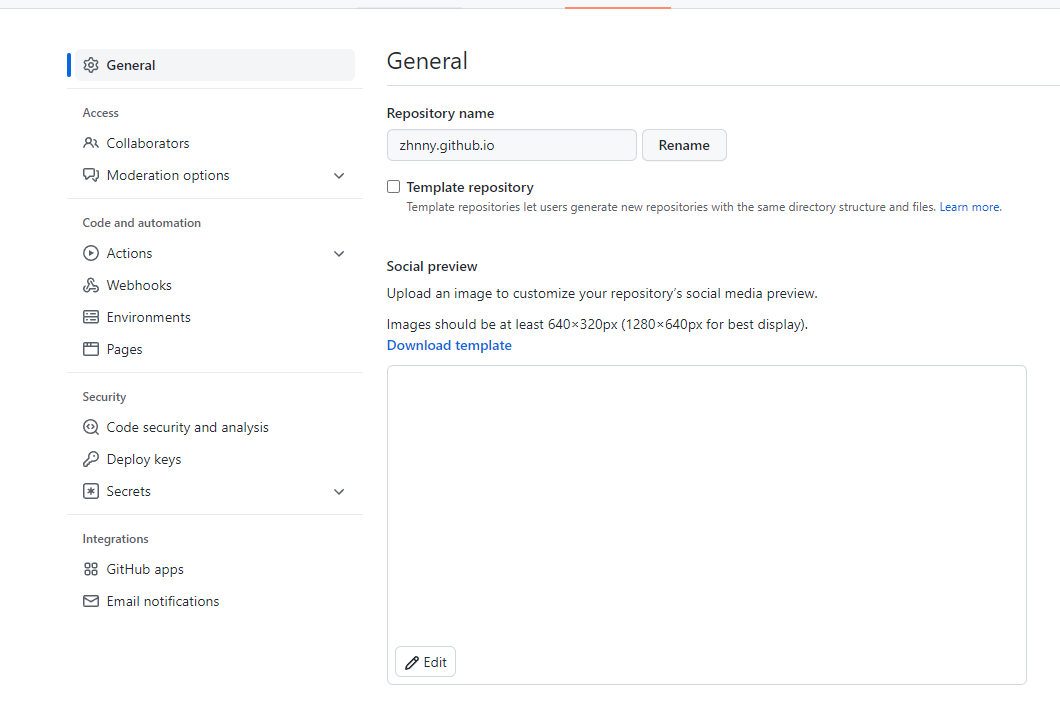
1.创建一个个人主页仓库
仓库命名最好为github账户名.github.io,这样可以通过https://github账户名.github.io访问

2.安装Hexo
此处采用局部安装:
# npm install hexo
3.初始化Hexo
创建一个新的文件夹:
# mkdir blog
初始化Hexo
# npx hexo init blog/
进入文件夹并安装Hexo相关组件
# cd blog/
# npm install
4.测试本地Hexo服务
在本地运行Hexo
# npx hexo server
浏览器访问http://localhost:4000,出现以下界面即为启动成功:

5.部署到GitHub
安装Git部署工具:
# npm install hexo-deployer-git --save
修改 _config.yml文件末尾的 Deployment 部分,修改成如下:
deploy:
  type: git
  repository: git@github.com:用户名/用户名.github.io.git
  branch: master
使用以下命令进行部署:
# npx hexo deploy
6.在GitHub设置Page
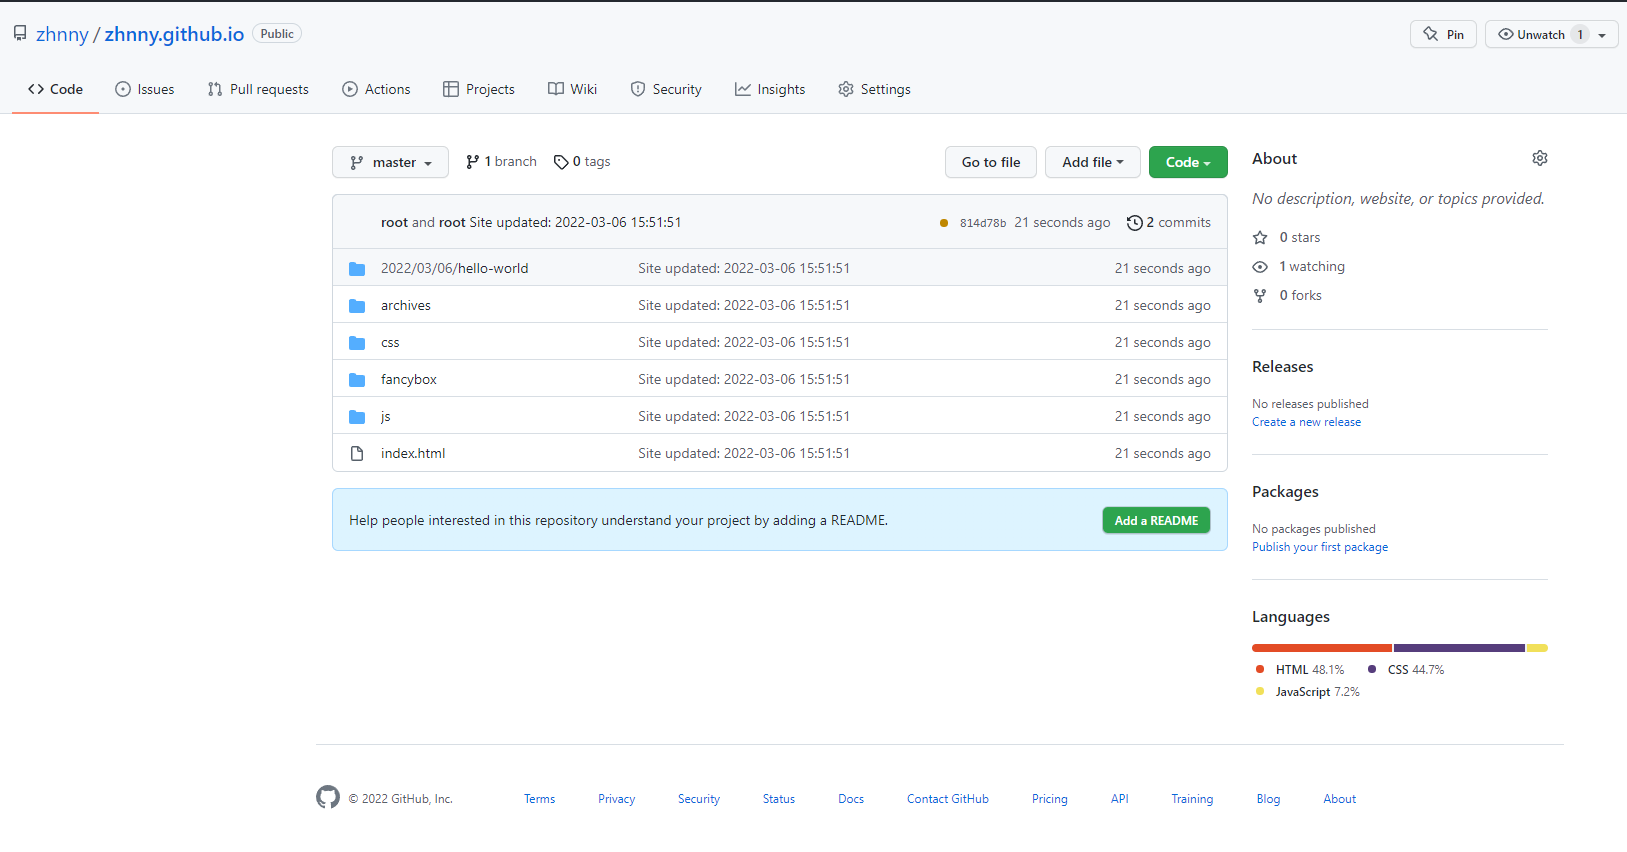
打开刚才创建的仓库可以看到已经添加了一些文件:

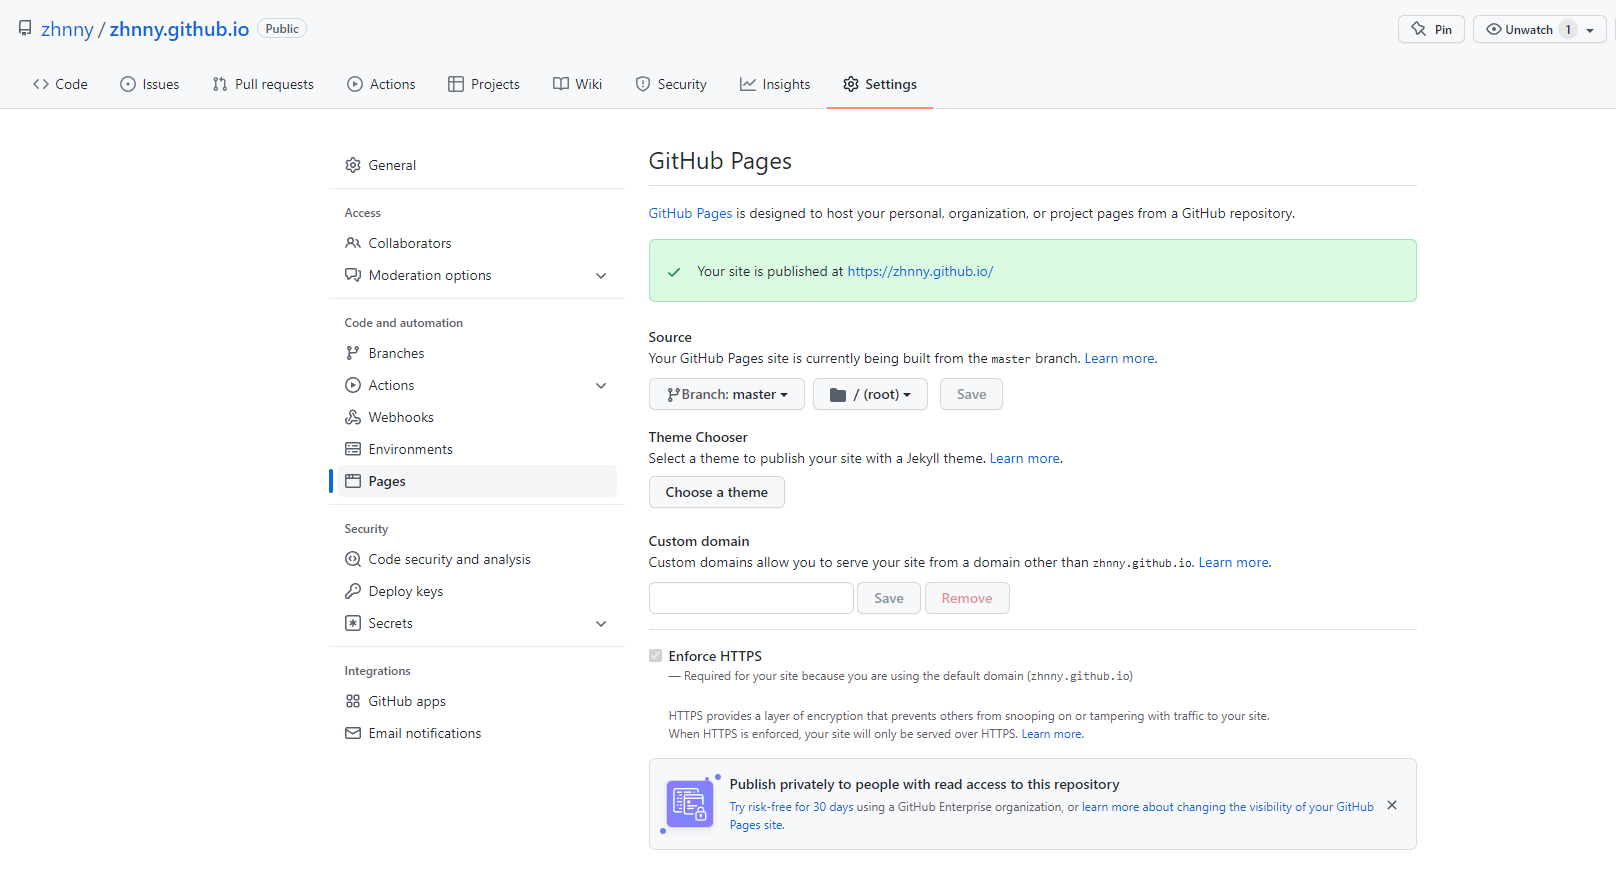
在Settings里的Pages选项中将source设置为master(笔者在推送后GitHub已经自动设置为GitHub Pages):

最后在浏览器里访问https://github账户名.github.io,出现如下结果即为部署成功:

7.信息修改(可选)
修改 _config.yml文件中的一些信息,包括网站信息、作者信息等
8.安装主题(可选)
笔者使用的是Next主题:
# git clone https://github.com/iissnan/hexo-theme-next themes/next
修改 _config.yml文件中的theme信息:
theme: next
9.安装插件(可选)
9.1.本地搜索插件
添加本地搜索插件:
# npm install hexo-generator-searchdb --save
编辑 站点配置文件(网站的_config.yml),新增以下内容到任意位置:
search:
  path: search.xml
  field: post
  format: html
  limit: 10000
编辑 主题配置文件(主题的_config.yml),启用本地搜索功能:
# Local search
local_search:
  enable: true
9.2.MathJax数学公式
编辑 主题配置文件主题的_config.yml), 将 mathjax 下的 enable 设定为 true 即可。 cdn 用于指定 MathJax 的脚本地址,默认是 MathJax 官方提供的 CDN 地址
# MathJax Support
mathjax:
  enable: true
  cdn: //cdn.mathjax.org/mathjax/latest/MathJax.js?config=TeX-AMS-MML_HTMLorMML
9.3.字数统计与阅读时间
安装统计插件:
# npm install hexo-wordcount --save
在主题配置_config.yml里修改:
# Post wordcount display settings
# Dependencies: https://github.com/willin/hexo-wordcount
post_wordcount:
  item_text: true
  wordcount: true
  min2read: true
  totalcount: true
  separated_meta: true
10.修改主题样式(可选)
修改theme下对于主题下的 _config.yml文件中的一些信息以定制样式


 基于Hexo的GitHub Pages个人博客搭建,使用NEXT主题
