
ArcGIS for Android 实现地图基本操作
地图基本操作
1.前期项目准备
1.1. 创建新工程
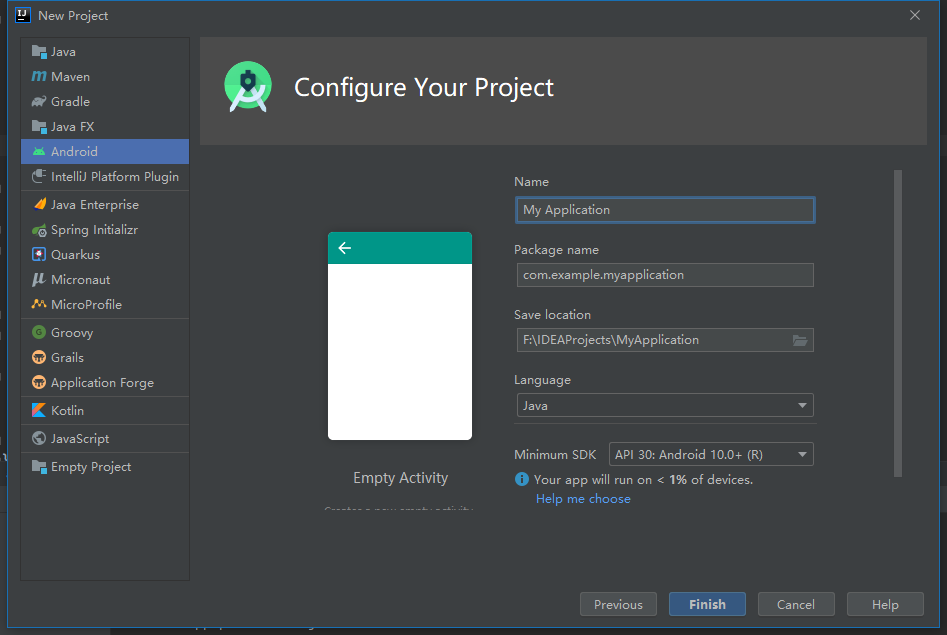
- 新建一个空活动项目
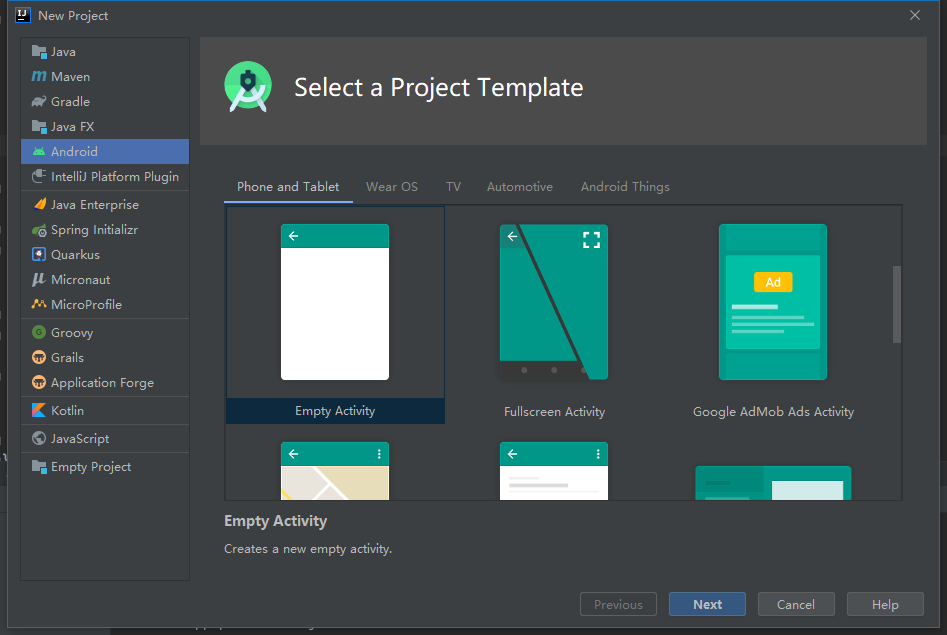
- 选择语言、平台,修改命名等
1.2. 添加ArcGIS SDK
-
build.gradle (Project: <project name>)添加maven { url 'https://esri.jfrog.io/artifactory/arcgis' } -
build.gradle (Module: <module name>)添加implementation 'com.esri.arcgisruntime:arcgis-android:100.10.0' -
Gradle更新:Sync Project with Gradle Files -
AndroidManifest.xml添加//网络权限 <uses-permission android:name="android.permission.INTERNET" /> //use a MapView (2D) require at least OpenGL ES 2.x: <uses-feature android:glEsVersion="0x00020000" android:required="true" /> -
在
appdbuild.gradle(Module:app)的android部分指定Java版本compileOptions { sourceCompatibility JavaVersion.VERSION_1_8 targetCompatibility JavaVersion.VERSION_1_8 }
1.3. 添加MapView地图控件
-
修改
activity_main.xml,替换TextView<com.esri.arcgisruntime.mapping.view.MapView android:id="@+id/mapView" android:layout_height="fill_parent" android:layout_width="fill_parent" tools:ignore="MissingConstraints"> </com.esri.arcgisruntime.mapping.view.MapView>
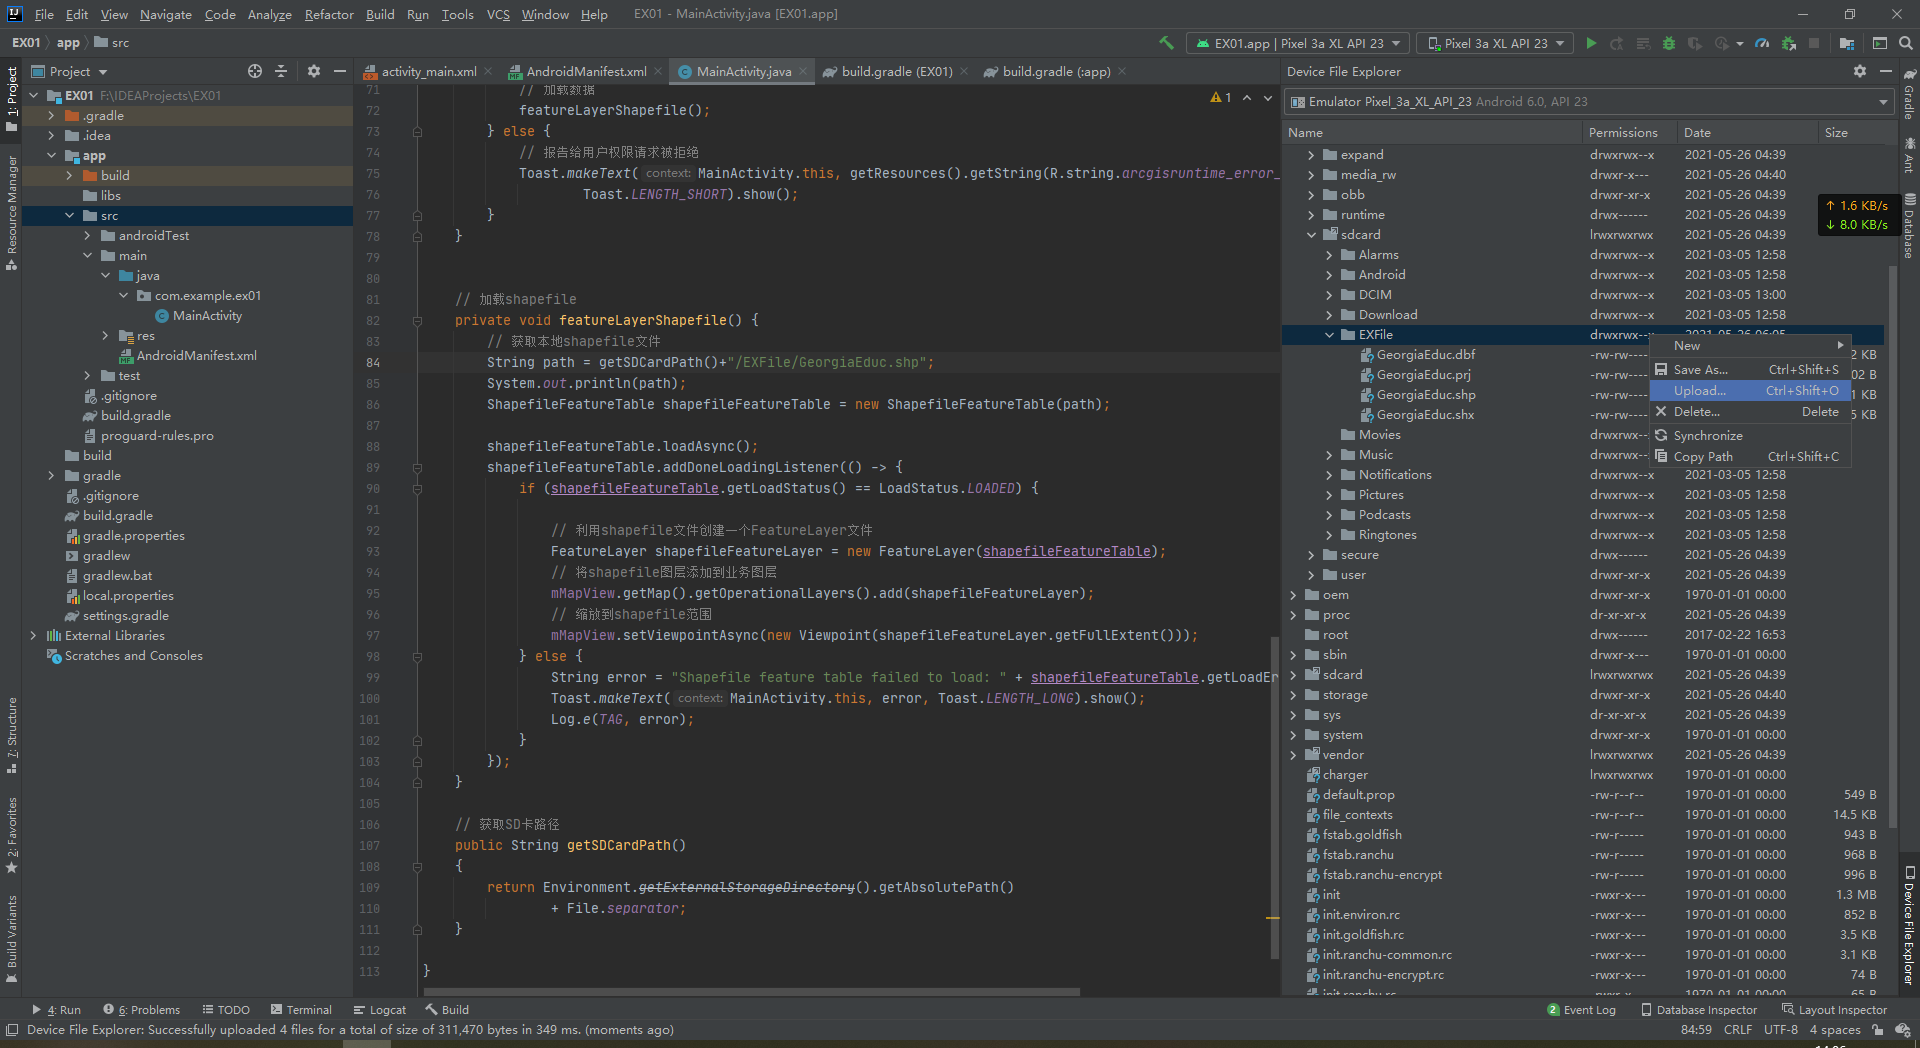
1.4 数据准备
在IDEA中点击菜单中的view、tool windows、device file explorer,打开如下视图,找到mnt下的sdcard,这个就是我们的手机常用的存储位置。

在sdcard中新建文件夹,并upload地图文件,此处上传shape file、TPK、MMPK文件
2.添加界面操作
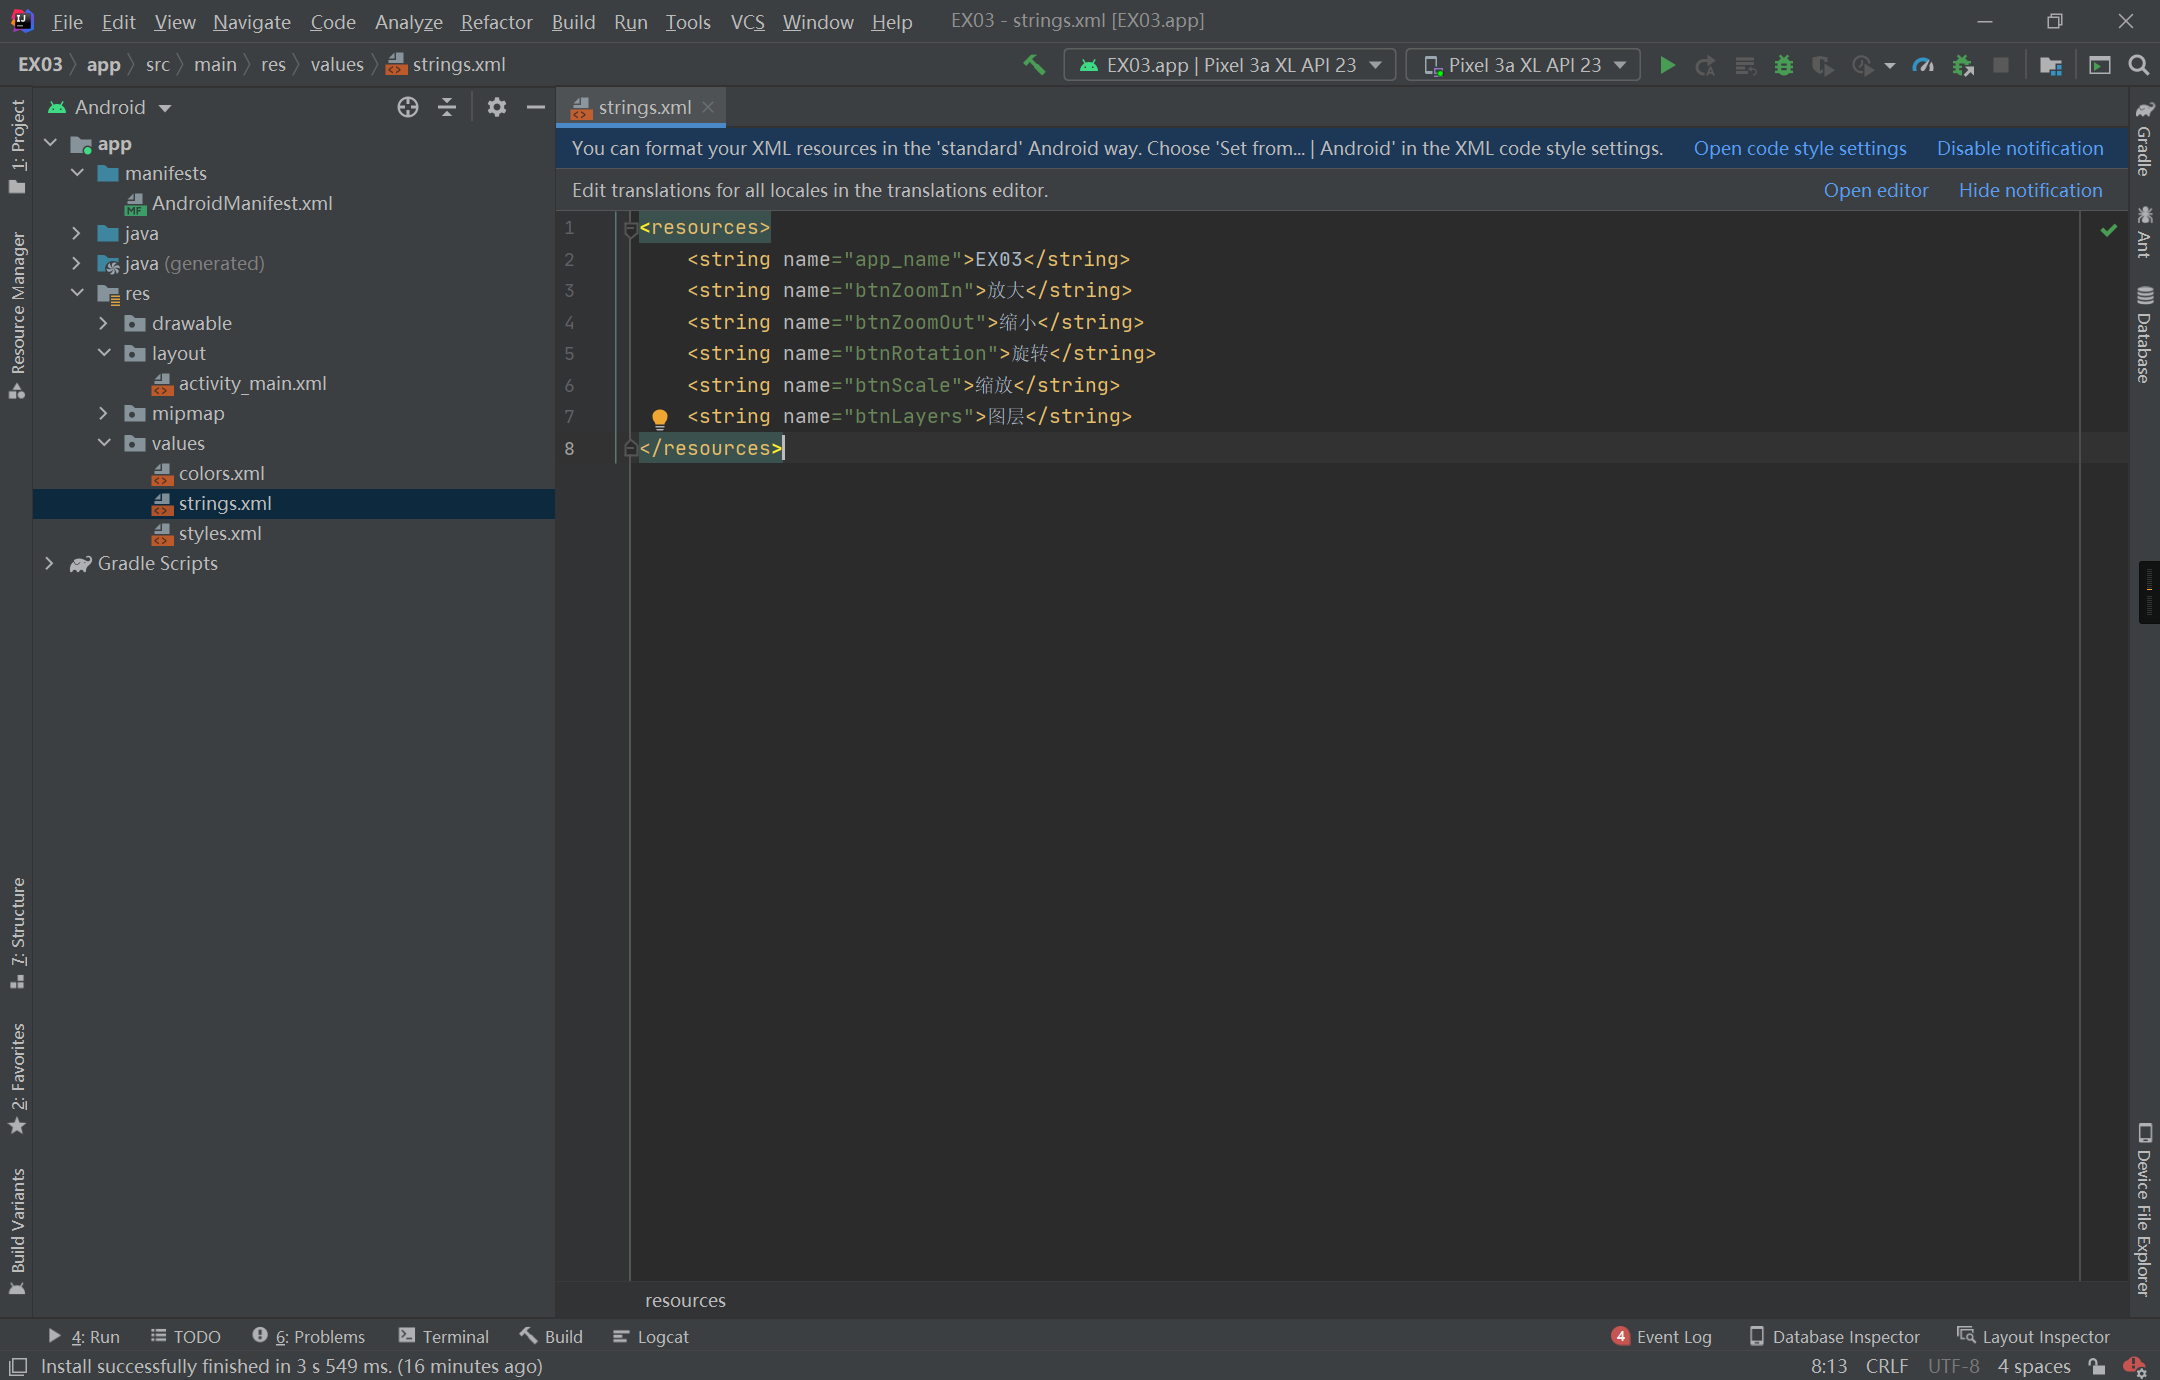
2.1 定义文本
在strings.xml中完成文本的定义(规范化做法,其实也不是必须这样,这样可便于日后维护,比如更换界面语言)
<resources>
    <string name="app_name">EX03</string>
    <string name="btnZoomIn">放大</string>
    <string name="btnZoomOut">缩小</string>
    <string name="btnRotation">旋转</string>
    <string name="btnScale">缩放</string>
    <string name="btnLayers">图层</string>
</resources>
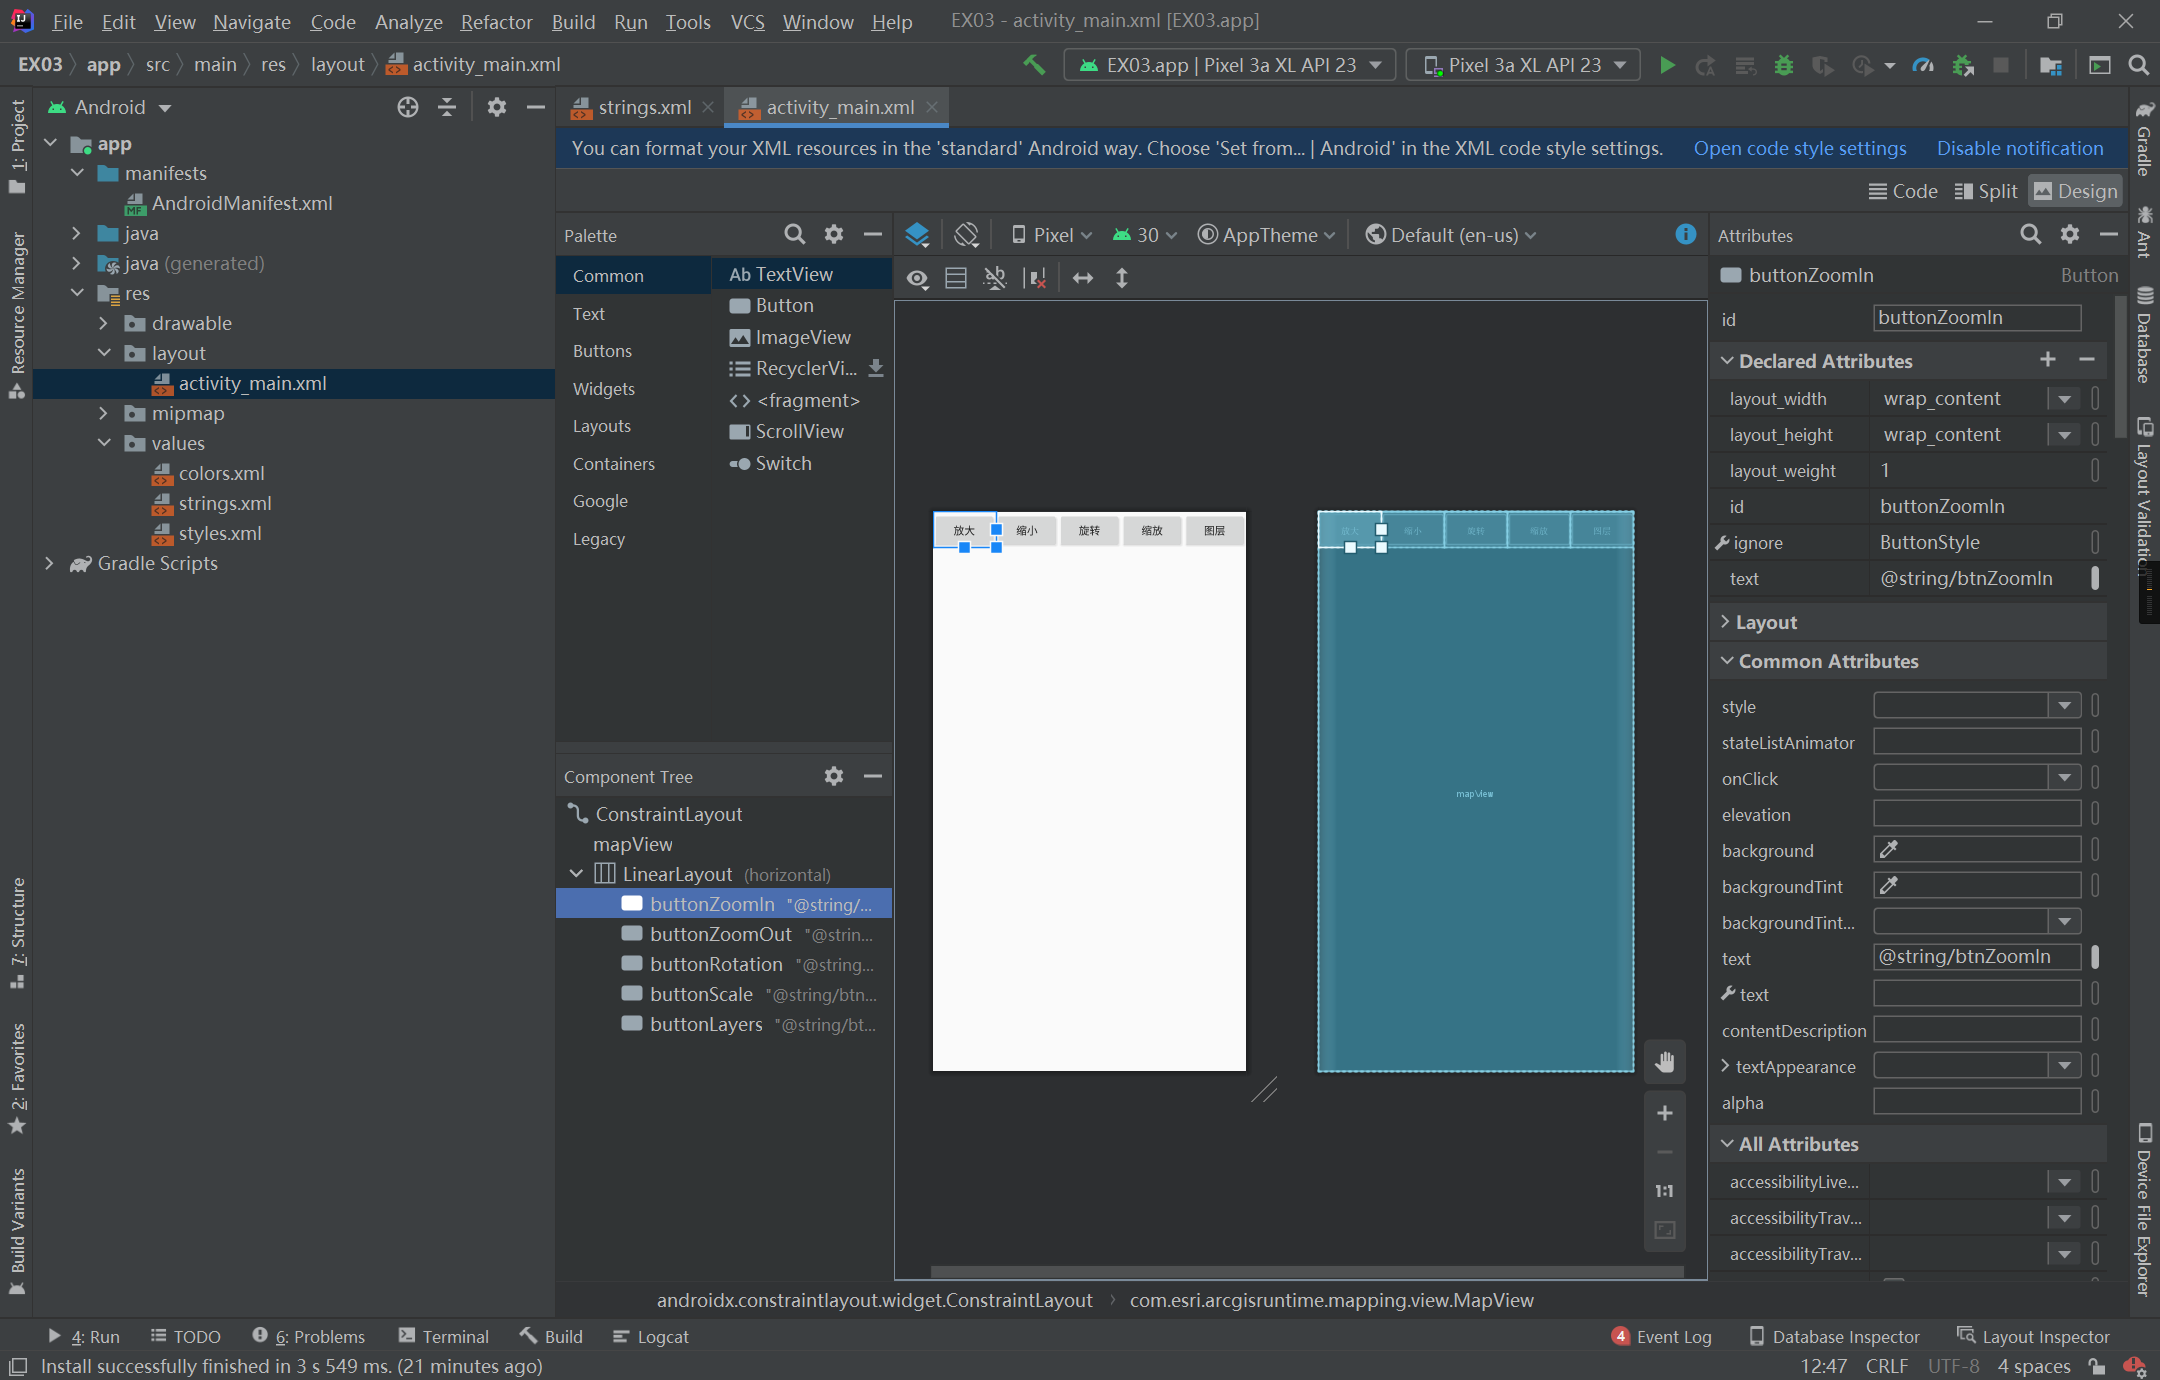
2.2 设计界面
打开activity_main.xml,可切换设计界面和代码界面进行设计。此处先在mapView中添加一个LinearLayout horizontal,再在LinearLayout horizontal中添加button,并修改属性。
xml文件如下:
    <LinearLayout
            android:orientation="horizontal"
            android:layout_width="match_parent"
            android:layout_height="match_parent">
        <Button
                android:text="@string/btnZoomIn"
                android:layout_width="wrap_content"
                android:layout_height="wrap_content" android:layout_weight="1" tools:ignore="ButtonStyle"
                android:id="@+id/buttonZoomIn"/>
        <Button
                android:text="@string/btnZoomOut"
                android:layout_width="wrap_content"
                android:layout_height="wrap_content" android:id="@+id/buttonZoomOut" android:layout_weight="1"
                tools:ignore="ButtonStyle"/>
        <Button
                android:text="@string/btnRotation"
                android:layout_width="wrap_content"
                android:layout_height="wrap_content" android:id="@+id/buttonRotation" android:layout_weight="1"
                tools:ignore="ButtonStyle"/>
        <Button
                android:text="@string/btnScale"
                android:layout_width="wrap_content"
                android:layout_height="wrap_content" android:id="@+id/buttonScale" android:layout_weight="1"
                tools:ignore="ButtonStyle"/>
        <Button
                android:text="@string/btnLayers"
                android:layout_width="wrap_content"
                android:layout_height="wrap_content" android:id="@+id/buttonLayers" android:layout_weight="1"
                tools:ignore="ButtonStyle"/>
    </LinearLayout>
3. 添加方法支持
3.1 加载在线地图
-
添加
private MapView mMapView; -
引用
import com.esri.arcgisruntime.mapping.view.MapView; (IDE可能会自动导入) -
在
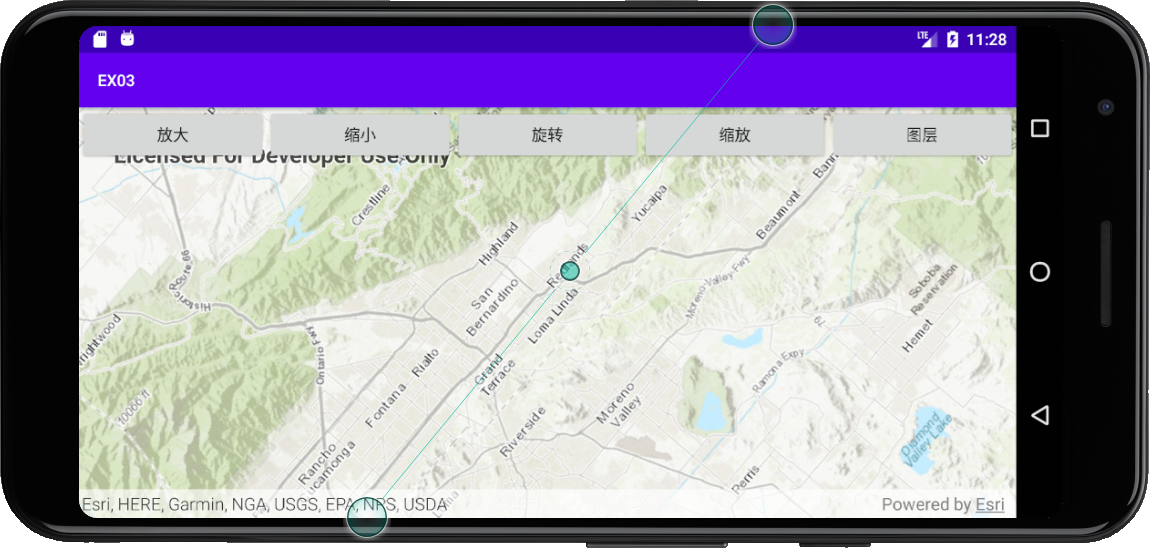
onCreate事件中设置地图super.onCreate(savedInstanceState); setContentView(R.layout.activity_main); mMapView=findViewById(R.id.mapView); ArcGISMap map =new ArcGISMap(Basemap.Type.TOPOGRAPHIC,34.056295,-117.195800,16); mMapView.setMap(map); -
重载
onPause、onResume与onDestroy事件@Override protected void onPause() { mMapView.pause(); super.onPause(); } @Override protected void onResume() { super.onResume(); mMapView.resume(); } @Override protected void onDestroy() { mMapView.dispose(); super.onDestroy(); }
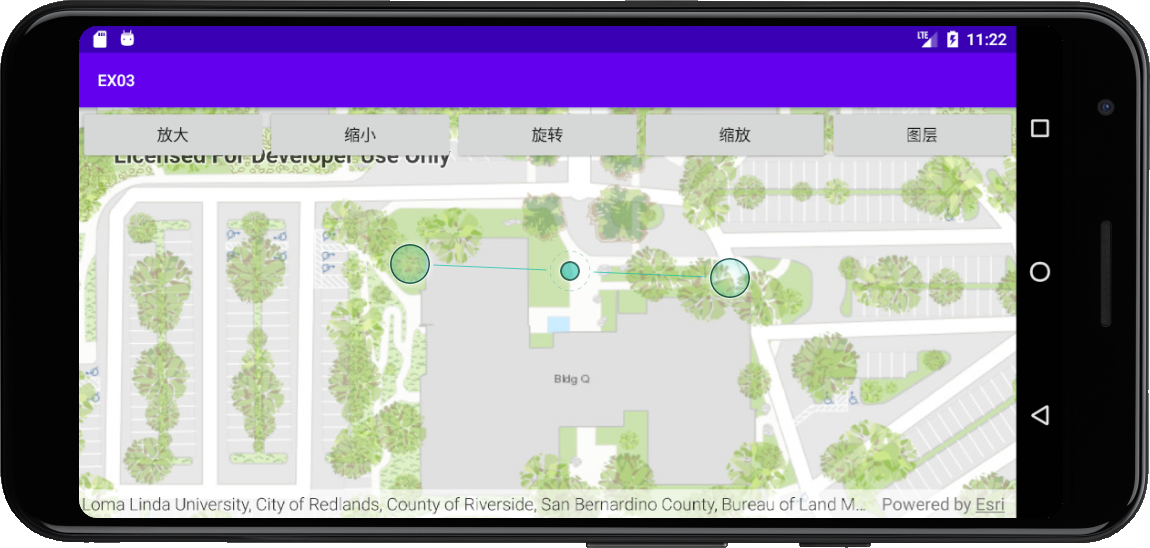
3.2 完善放大方法
-
添加函数
protected void registerButtonClick() -
在
protected void registerButtonClick()中添加代码Button buttonZoomIn=(Button)findViewById(R.id.buttonZoomIn); buttonZoomIn.setOnClickListener(new View.OnClickListener() { @Override public void onClick(View v) { mMapView.setViewpointScaleAsync(mMapView.getMapScale()*0.5); } }); -
在
onCreate函数中添加registerButtonClick()调用
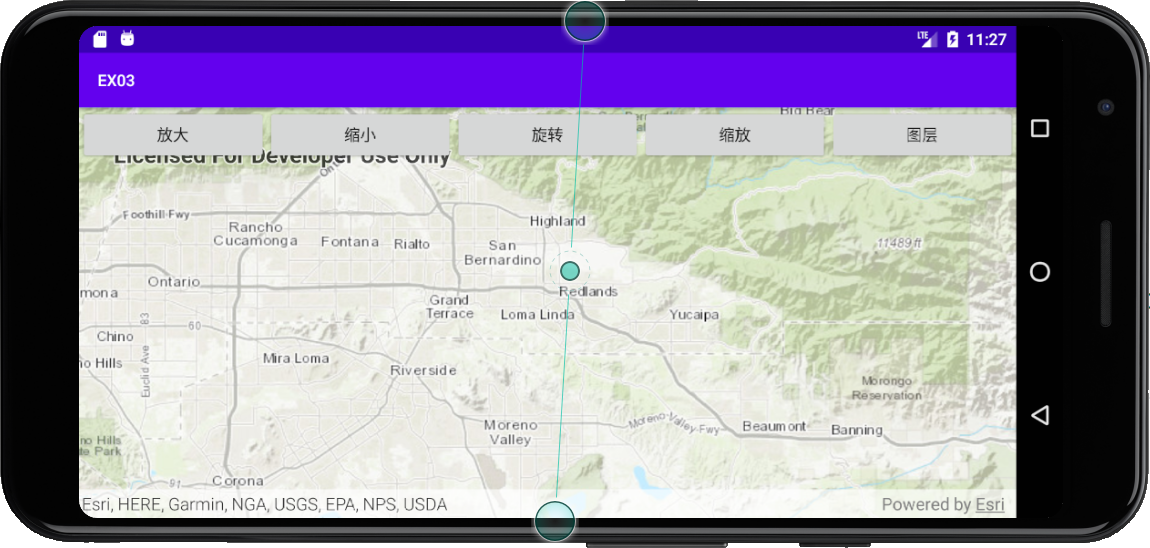
3.3 完善缩小方法
-
在
protected void registerButtonClick()中添加代码Button buttonZoomOut=(Button)findViewById(R.id.buttonZoomOut); buttonZoomOut.setOnClickListener(new View.OnClickListener() { @Override public void onClick(View v) { mMapView.setViewpointScaleAsync(mMapView.getMapScale()*2.0); } });
3.4 完善旋转方法
-
在
protected void registerButtonClick()中添加代码Button buttonRotation=(Button)findViewById(R.id.buttonRotation); buttonRotation.setOnClickListener(new View.OnClickListener() { @Override public void onClick(View v) { mMapView.setViewpointRotationAsync(mMapView.getMapRotation()+10.0); } });
3.5 完善图层管理方法
-
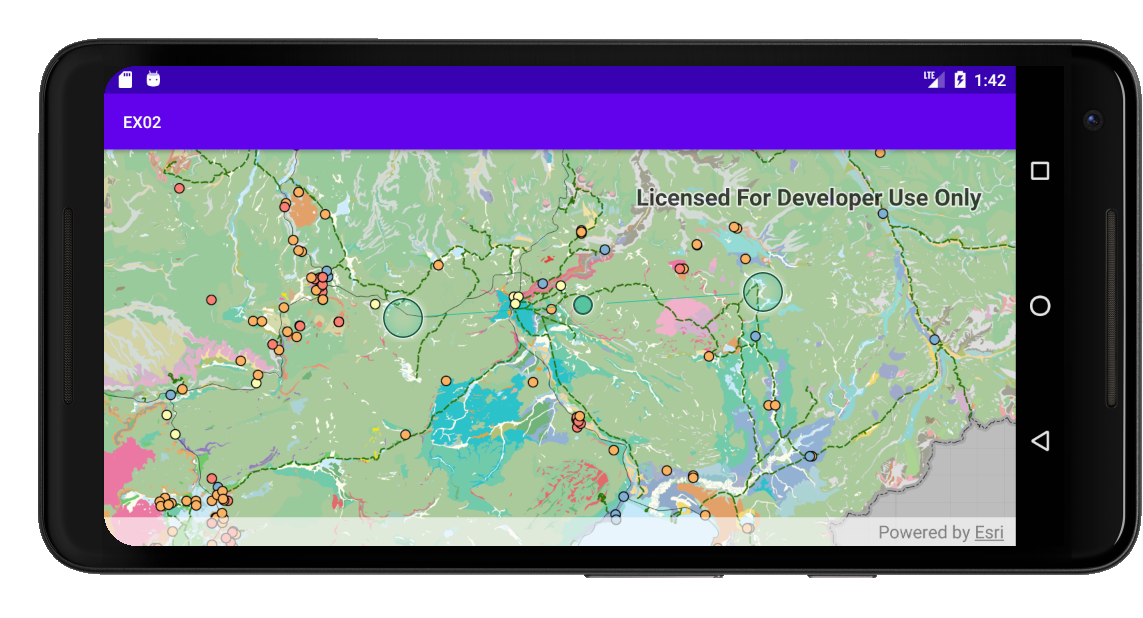
由于上述在线加载的地图没有多图层,此处加载离线多图层地图
-
添加变量
private static final String TAG =MainActivity.class.getSimpleName(); private MobileMapPackage mobileMapPackage; private final String MMPKPath= Environment.getExternalStorageDirectory() +"/EXFile/Yellowstone.mmpk"; -
添加引用
package com.example.ex02; import android.Manifest; import android.content.pm.PackageManager; import android.os.Environment; import android.util.Log; import android.widget.Toast; import androidx.annotation.NonNull; import androidx.appcompat.app.AppCompatActivity; import android.os.Bundle; import androidx.core.app.ActivityCompat; import androidx.core.content.ContextCompat; import com.esri.arcgisruntime.data.TileCache; import com.esri.arcgisruntime.layers.ArcGISTiledLayer; import com.esri.arcgisruntime.loadable.LoadStatus; import com.esri.arcgisruntime.mapping.ArcGISMap; import com.esri.arcgisruntime.mapping.Basemap; import com.esri.arcgisruntime.mapping.MobileMapPackage; import com.esri.arcgisruntime.mapping.view.MapView; -
设置权限请求
private void requestPermission() { String[] reqPermission=new String[]{Manifest.permission.READ_EXTERNAL_STORAGE}; int reqCode=2; if (ContextCompat.checkSelfPermission(MainActivity.this,reqPermission[0])== PackageManager.PERMISSION_GRANTED){ loadMMPK(MMPKPath); }else { ActivityCompat.requestPermissions(MainActivity.this,reqPermission,reqCode); } } @Override public void onRequestPermissionsResult(int requestCode, @NonNull @org.jetbrains.annotations.NotNull String[] permissions, @NonNull @org.jetbrains.annotations.NotNull int[] grantResults) { super.onRequestPermissionsResult(requestCode, permissions, grantResults); if (grantResults.length>0&&grantResults[0]==PackageManager.PERMISSION_GRANTED){ loadMMPK(MMPKPath); }else { Toast.makeText(MainActivity.this,"permission denied!",Toast.LENGTH_SHORT); } } -
添加方法支持
private boolean loadMMPK(String path){ try { mobileMapPackage = new MobileMapPackage(path); mobileMapPackage.loadAsync(); mobileMapPackage.addDoneLoadingListener(()->{ if (mobileMapPackage.getLoadStatus()== LoadStatus.LOADED && !mobileMapPackage.getMaps().isEmpty()){ mapView.setMap(mobileMapPackage.getMaps().get(0)); }else { String error ="Error loading mobile map package : " + mobileMapPackage.getLoadError().getMessage(); Toast.makeText(this,error,Toast.LENGTH_SHORT); } }); return true; }catch (Exception e){ return false; } } -
在
onCreate中添加requestPermission()调用
-
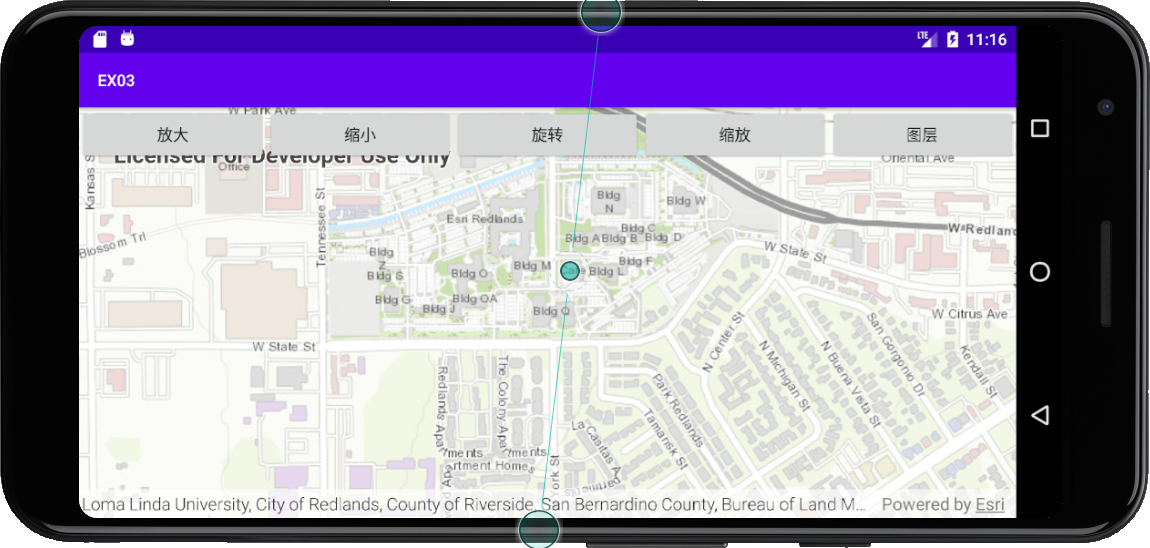
-
运行测试
点击运行后,Android模拟器中将打开生成的App
-
在
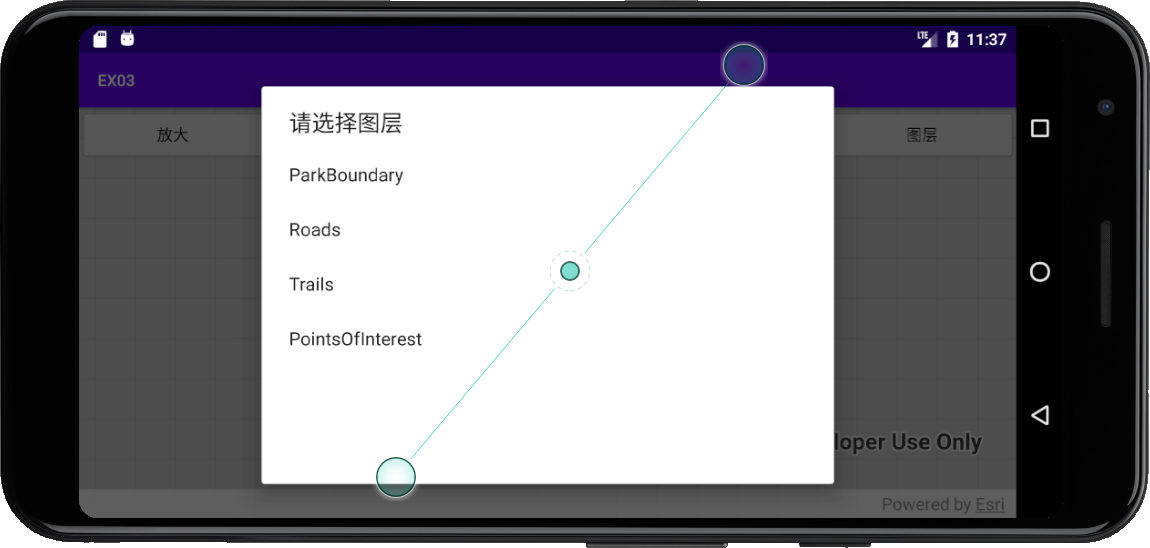
protected void registerButtonClick()中添加代码Button buttonLayers=(Button)findViewById(R.id.buttonLayers); buttonLayers.setOnClickListener(new View.OnClickListener() { @Override public void onClick(View v) { int size=mMapView.getMap().getOperationalLayers().size(); final String[] names=new String[size]; for (int i=0;i<size;i++){ names[i]=mMapView.getMap().getOperationalLayers().get(i).getName(); } AlertDialog alertDialog=new AlertDialog.Builder(MainActivity.this) .setTitle("请选择图层") .setItems(names, new DialogInterface.OnClickListener() { @Override public void onClick(DialogInterface dialog, int which) { //设置图层操作代码,此处只是简单的移除图层 mMapView.getMap().getOperationalLayers().remove(which); } }) .show(); } });
3.6 完善比例尺方法
-
在
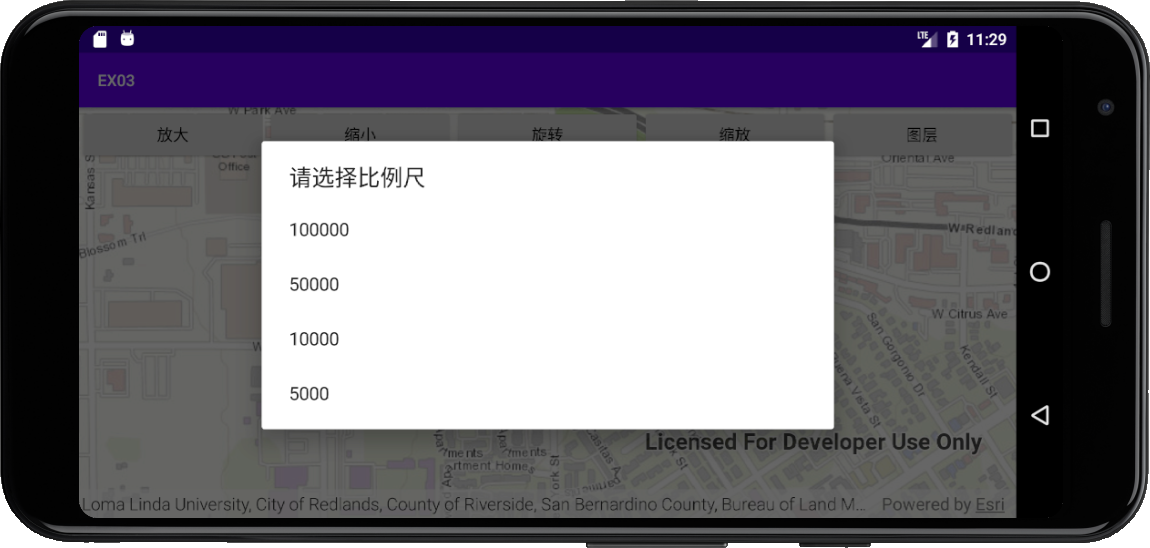
protected void registerButtonClick()中添加代码Button buttonScale=(Button)findViewById(R.id.buttonScale); buttonScale.setOnClickListener(new View.OnClickListener() { @Override public void onClick(View v) { final String[] scale=new String[]{"100000","50000","10000","5000"}; final int[] scales=new int[] {100000,50000,10000,5000}; AlertDialog alertDialog=new AlertDialog.Builder(MainActivity.this) .setTitle("请选择比例尺") .setItems(scale, new DialogInterface.OnClickListener() { @Override public void onClick(DialogInterface dialog, int which) { mMapView.setViewpointScaleAsync(scales[which]); } }) .show(); } });

 浙公网安备 33010602011771号