How to install the NVIDIA drivers on Ubuntu 18.04 Bionic Beaver Linux
Objective
The objective is to install the NVIDIA drivers on Ubuntu 18.04 Bionic Beaver Linux. This article will discuss three methods of Nvidia driver installation in the following order:- Automatic Install using standard Ubuntu Repository
- Automatic Install using PPA repository to install Nvidia Beta drivers
- Manual Install using the Official nvidia.com driver
Operating System and Software Versions
- Operating System: - Ubuntu 18.04 Bionic Beaver Linux
Requirements
Privileged access to your Ubuntu 18.04 Bionic Beaver installation will be required.
Difficulty
EASY - MEDIUM
Conventions
- # - requires given linux commands to be executed with root privileges either directly as a root user or by use of
sudo command - $ - requires given linux commands to be executed as a regular non-privileged user
sudo commandAutomatic Install using standard Ubuntu Repository
The first method is the easiest to perform and in most cases it is the recommended approach. First, detect the model of your nvidia graphic card and the recommended driver. To do so execute: $ ubuntu-drivers devices
== /sys/devices/pci0000:00/0000:00:01.0/0000:01:00.0 ==
modalias : pci:v000010DEd00001180sv00001458sd0000353Cbc03sc00i00
vendor : NVIDIA Corporation
model : GK104 [GeForce GTX 680]
driver : nvidia-304 - distro non-free
driver : nvidia-340 - distro non-free
driver : nvidia-384 - distro non-free recommended
driver : xserver-xorg-video-nouveau - distro free builtin
== cpu-microcode.py ==
driver : intel-microcode - distro free
From the above output we can conclude that the current system has NVIDIA GeForce GTX 680graphic card installed and the recommend driver to install is nvidia-384. If you agree with the recommendation feel free to use ubuntu-drivers command again to install all recommended drivers:$ sudo ubuntu-drivers autoinstall
Alternatively, install desired driver selectively using the apt command. For example:$ sudo apt install nvidia-340
Once the installation is concluded, reboot your system and you are done.
Automatic Install using PPA repository to install Nvidia Beta drivers
Using graphics-drivers PPA repository allows us to install bleeding edge Nvidia beta drivers at the risk of unstable system. To proceed first add the ppa:graphics-drivers/ppa repository into your system:$ sudo add-apt-repository ppa:graphics-drivers/ppa
$ sudo apt update
Next, identify your graphic card model and recommended driver:$ ubuntu-drivers devices
== /sys/devices/pci0000:00/0000:00:01.0/0000:01:00.0 ==
modalias : pci:v000010DEd00001180sv00001458sd0000353Cbc03sc00i00
vendor : NVIDIA Corporation
model : GK104 [GeForce GTX 680]
driver : nvidia-340 - third-party free
driver : nvidia-390 - third-party free recommended
driver : nvidia-387 - third-party free
driver : nvidia-304 - distro non-free
driver : nvidia-384 - third-party free
driver : xserver-xorg-video-nouveau - distro free builtin
== cpu-microcode.py ==
driver : intel-microcode - distro free
Same as with the above standard Ubuntu repository example, either install all recommended drivers automatically:$ sudo ubuntu-drivers autoinstall
or selectively using the apt command. Example:$ sudo apt install nvidia-390
Once done, reboot your system.


Manual Install using the Official Nvidia.com driver
Identify your NVIDIA VGA card
The below commands will allow you to identify your Nvidia card model:$ lshw -numeric -C display
or
$ lspci -vnn | grep VGA
Download the Official Nvidia Driver
Using your web browser navigate to the official Nvidia website and download an appropriate driver for your Nvidia graphic card. Save the file into your home directory. Example:$ ls
NVIDIA-Linux-x86_64-384.111.bin
Install Prerequisites
The following prerequisites are required to compile and install Nvidia driver:$ sudo dpkg --add-architecture i386
$ sudo apt update
$ sudo apt install build-essential libc6:i386
Disable Nouveau Nvidia driver
Next step is to disable the default nouveau Nvidia driver. Follow this guide on how to disable the default Nouveau Nvidia driver. Make sure you reboot your system before you proceed to the next step.
Stop Desktop Manager
In order to install new Nvidia driver we need to stop the current display server. The easiest way to do this is to change into runlevel 3 using the telinit command. After executing the following linux command the display server will stop, therefore make sure you save all your current work ( if any ) before you proceed:$ sudo telinit 3
Hit CTRL+ALT+F1 and login with your username and password to open a new TTY1 session.
Install Nvidia Driver
To start installation of Nvidia driver execute the following linux command and follow the wizard:$ bash NVIDIA-Linux-x86_64-384.111.bin
- Accept License
- The distribution-provided pre-install script failed! Are you sure you want to continue? -> CONTINUE INSTALLATION
- Would you like to run the nvidia-xconfig utility? -> YES
The Nvidia driver is now installed. Reboot your system:$ sudo reboot
Configure NVIDIA X Server Settings
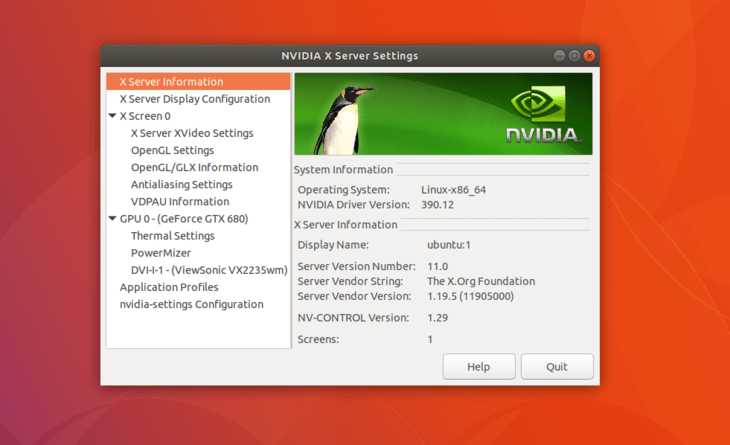
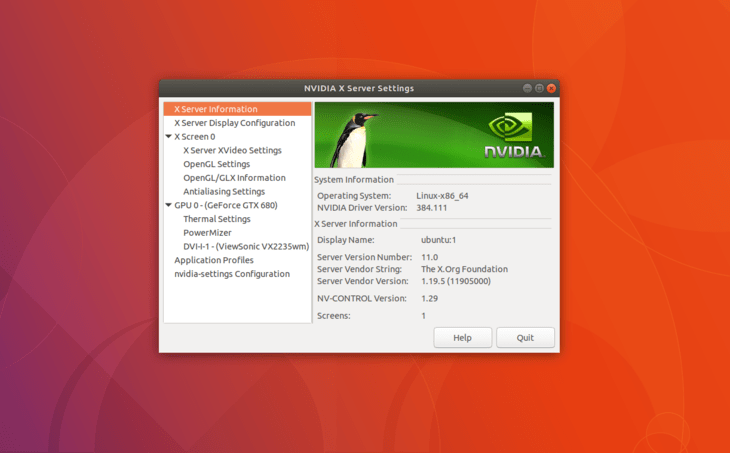
After reboot your should be able to start NVIDIA X Server Settings app from the Activities menu.


Appendix
Error message:WARNING: Unable to find suitable destination to install 32-bit compatibility libraries
Depending on your needs, this can be safely ignored. However, if you wish to install steam game platform this issue cannot be ignored. To resolve execute:$ sudo dpkg --add-architecture i386
$ sudo apt update
$ sudo apt install libc6:i386
and re-run the nvidia driver installation.
欢迎转载,转载请保留页面地址。帮助到你的请点个推荐。

