Magisk+Xposed+Root switch+Pokémon GO
If you follow Android Police, there's a good chance you've got a rooted device, whether it be an easy-to-root Nexus or something like a Galaxy that takes more effort to do so. It's also very possible that you play Pokémon GO, which can probably be considered the fad of the year. For those of you who fall into both of those categories, you're probably frustrated that with the latest version (0.37), you'll now be forbidden from playing the game on your phone, just because some no-gooders used GPS spoofing and/or Xposed modules to get ahead. Even RootCloak doesn't work. Not to worry though, as there's a fairly simple way to circumvent this block.
Magisk is a mod developed by XDA user topjohnwu, who is also responsible for the systemless Xposed flashable zip. Essentially, Magisk (which is short for Magic Mask) "aims to overcome these difficulties [of systemless mods] and create a universal interface for everyone to develop and use systemless mods."
Magisk first gained some popularity when it was discovered that it could enable Android Pay on rooted devices, due to its ability to go around the SafetyNet API. Since Pokémon GO also uses the SafetyNet API, several users have found out that Magisk works for it as well.
The installation of Magisk will also enable Android Pay.
Prerequisites
To use Magisk, you'll need a device with an unlocked bootloader that is running Android 5.0+. topjohnwu recommends that your device be restored to a stock system and boot. If you can't do that, you must fully remove any form of root access and Xposed. You will need a custom recovery. For this guide, I'll be using a Moto X Pure Edition on Android 6.0 Marshmallow that has been rooted with SuperSU v2.78 and has TWRP 3.0.2-2 to demonstrate how to unroot and get rid of Xposed.
The Steps
Depending on where you sourced your root and Xposed methods from, your steps may be slightly different. If you're on a custom ROM, even unrooting may not do the trick. If you don't have Xposed, skip #2.
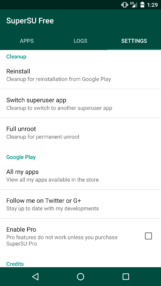
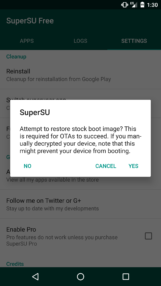
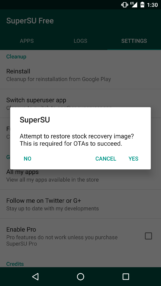
- To unroot, open SuperSU, go to the Settings tab, navigate down to the Cleanup section, and choose "Full unroot." A bunch of prompts will pop up; do restore the stock boot image, but don'trestore the stock recovery image. Your device will then reboot, and when it finishes, root access will be gone. NOTE: If you're unencrypted and restore the stock boot image, you may think that your device is bootlooping, but it is actually re-encrypting (thanks, Max).
left: SuperSU's Settings panel. middle left: click YES. middle right: click NO. right: after reboot, SuperSU is gone.
- To get rid of Xposed, go to the official Xposed download site's uninstaller/ section, then choose the one you need. Since the Moto X Pure runs a 64-bit processor, the Snapdragon 808, I picked "xposed-uninstaller-20150831-arm64.zip." There are also options for arm and x86 architectures.
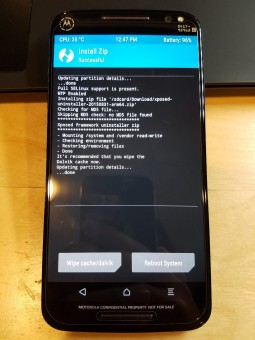
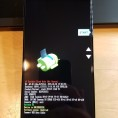
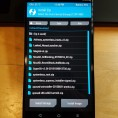
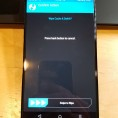
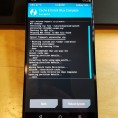
- To flash this uninstaller, you must enter your custom recovery. For the Moto X PE (it'll differ for every device, Google how to enter recovery), power off the device, then hold the volume down button and power button together to enter the bootloader. From there, use the volume buttons to scroll to "Recovery," and press power to boot you into whichever custom recovery you have installed. In your custom recovery, hit "Install," navigate to your Download folder, and flash the uninstaller. After that, click "Wipe cache/dalvik," then "Reboot system." It'll take a while for the apps to finish optimizing.
1: fastboot. 2: scroll to recovery. 3: hit Install, select the uninstaller .zip. 4: swipe to confirm flash. 5: clear cache/dalvik. 6: swipe to wipe. 7: reboot system. 8: optimizing apps
- Now, head over to Magisk's XDA thread and download Magisk (this link to Magisk v6 will initiate the download).
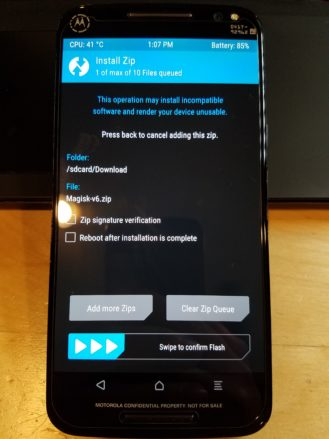
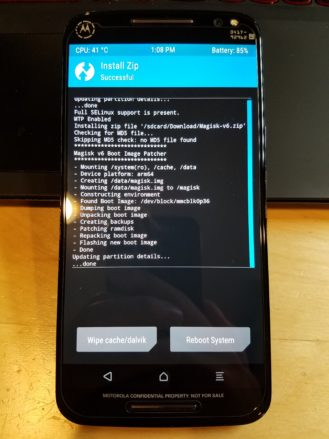
- Flash Magisk-v6.zip (or the most current version) on your device in recovery. After that, reboot.
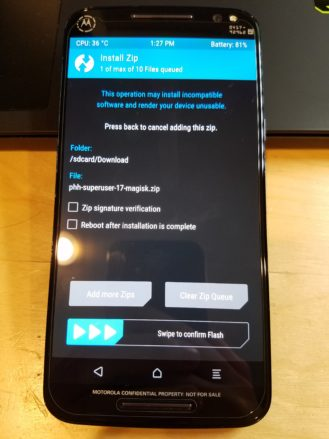
- Now, you'll have to re-root; however, you can't use a normal method. You'll have to download a special Magisk version of phh's SuperUser 17 (link will initiate download). Flash this through your custom recovery just like you did with the Xposed uninstaller and Magisk. After that, install phh SuperUser from the Play Store.
- Install Magisk Manager v1.2 here (link will initiate the download).
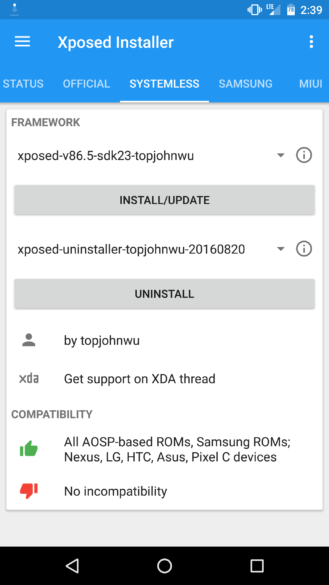
- *OPTIONAL* If you want Xposed, you must download a systemless version (which is also by topjohnwu). To do this, download the Material Design Xposed Installer (excellent app, by the way) and install the systemless version (v86.5) from the Systemless tab. Grant Xposed Superuser access and allow the phone to install Xposed automatically. When the phone reboots, you'll have to wait for a few minutes for apps to optimize.
- Xposed zip is universal across all architectures, so arm/arm64/x86 devices should all download the same zip.
SDK 21: Android 5.0 | SDK 22: Android 5.1 | SDK 23: Android 6.0
"alt" version is only for some specific Samsung devices. If you don't know what this is, just use the regular version.
Latest version (v86.3) uses Magisk Interface (reliable + support 5.0+)
(v86.2) uses SuperSU's su.d (not reliable + Marshmallow only)
(v85.7) uses boot patch (reliable, but Marshmallow only)
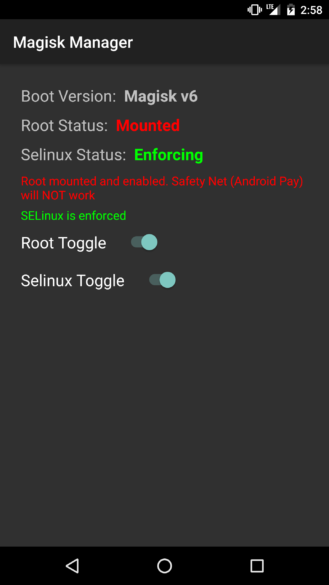
You're finished! To play Pokémon GO, simply head to Magisk Manager and turn off root with the Root Toggle. When you're done playing and want root access back, just re-enable it.
欢迎转载,转载请保留页面地址。帮助到你的请点个推荐。






 浙公网安备 33010602011771号