gradle 多模块项目
目录

开始
- 新建项目文件 blogs
使用gradle init 命令初始化项目生成一个gradle 应用
此时包含一个APP单应用 - eclipse 导入gradle项目
- 新建文件夹 project-admin ,project-api
- 重新导入blogs项目,生成多模块项目
- 修改settings.gradle
/*
 * This file was generated by the Gradle 'init' task.
 *
 * The settings file is used to specify which projects to include in your build.
 *
 * Detailed information about configuring a multi-project build in Gradle can be found
 * in the user manual at https://docs.gradle.org/7.4.1/userguide/multi_project_builds.html
 */

rootProject.name = 'blogs'
include('app')
include 'project-admin'
include 'project-api'
- 在project-admin 子项目里新建build.gradle
plugins {
	id 'java'
	id 'org.springframework.boot' version '3.0.6'
	id 'io.spring.dependency-management' version '1.1.0'
}

group = 'com.lily'
version = '0.0.1-SNAPSHOT'
sourceCompatibility = '17'

repositories {
	mavenCentral()
}

dependencies {
	implementation 'org.springframework.boot:spring-boot-starter-data-jdbc'
	implementation 'org.springframework.boot:spring-boot-starter-web'
	implementation 'org.mybatis.spring.boot:mybatis-spring-boot-starter:3.0.0'
	runtimeOnly 'com.mysql:mysql-connector-j'
	testImplementation 'org.springframework.boot:spring-boot-starter-test'
}

tasks.named('test') {
	useJUnitPlatform()
}
- 新建settings.gradle
rootProject.name = 'project-admin'
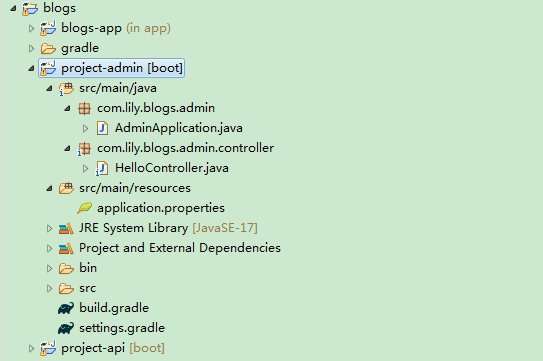
- project-admin 右键new ,source Folder ,src/main/java; src/main/resources

- 新建packge com.lily.blogs.admin
新建class AdminApplication
package com.lily.blogs.admin;

import org.springframework.boot.SpringApplication;
import org.springframework.boot.autoconfigure.SpringBootApplication;


@SpringBootApplication
public class AdminApplication {
	public static void main(String[] args) {
		SpringApplication.run(AdminApplication.class, args);
	}
}
新建包 com.lily.blogs.admin.controller
new HelloController
package com.lily.blogs.admin.controller;

import org.springframework.web.bind.annotation.RequestMapping;
import org.springframework.web.bind.annotation.RestController;
@RestController
public class HelloController {
	@RequestMapping("/admin/hello")
    public Object hello() {
        return "Hello admins!";
    }
}
- 在 src/main/resources 新建application.properties
server.port = 8081

spring.datasource.url=jdbc:mysql://localhost:3306/mango?serverTimezone=UTC&useUnicode=true&characterEncoding=utf-8&useSSL=true
spring.datasource.username=root
spring.datasource.password=root
spring.datasource.driver-class-name=com.mysql.cj.jdbc.Driver
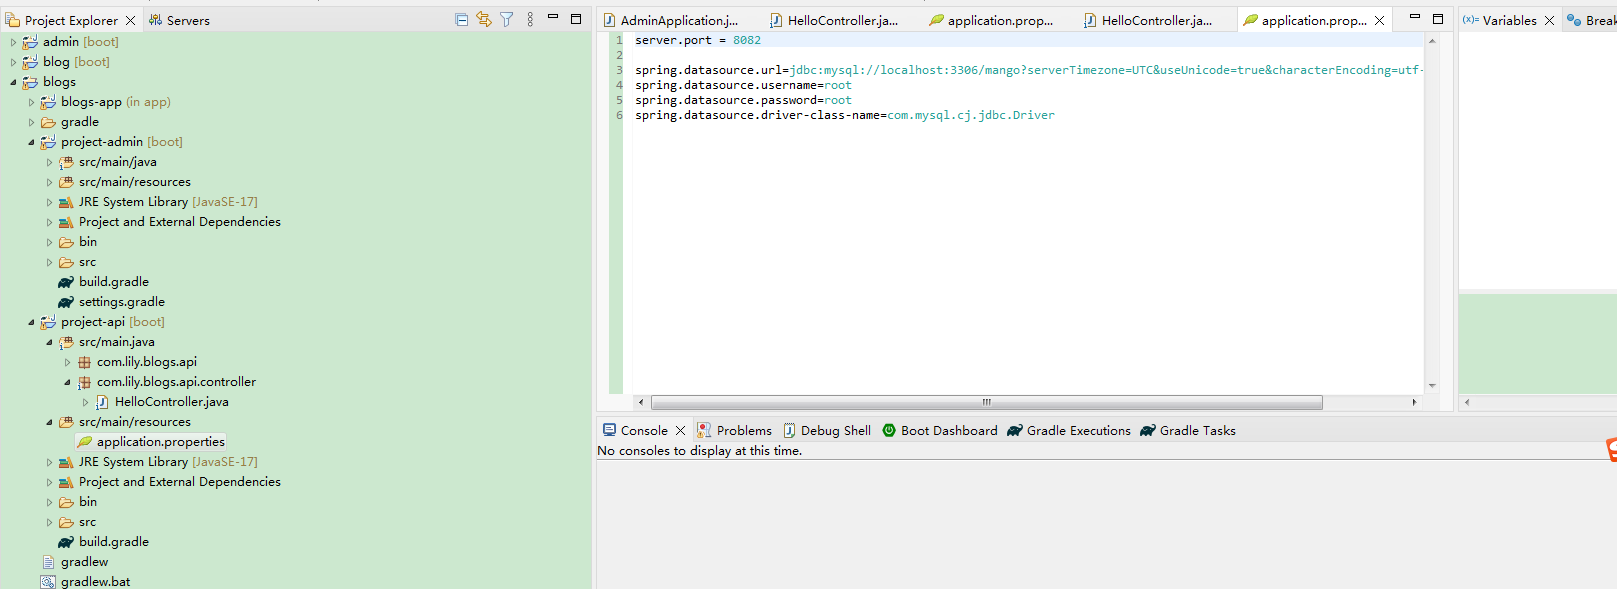
- project-api模块
HelloController.java
package com.lily.blogs.api.controller;

import org.springframework.web.bind.annotation.RequestMapping;
import org.springframework.web.bind.annotation.RestController;

@RestController
public class HelloController {
	@RequestMapping("/api/hello")
    public Object hello() {
        return "Hello api!";
    }
}
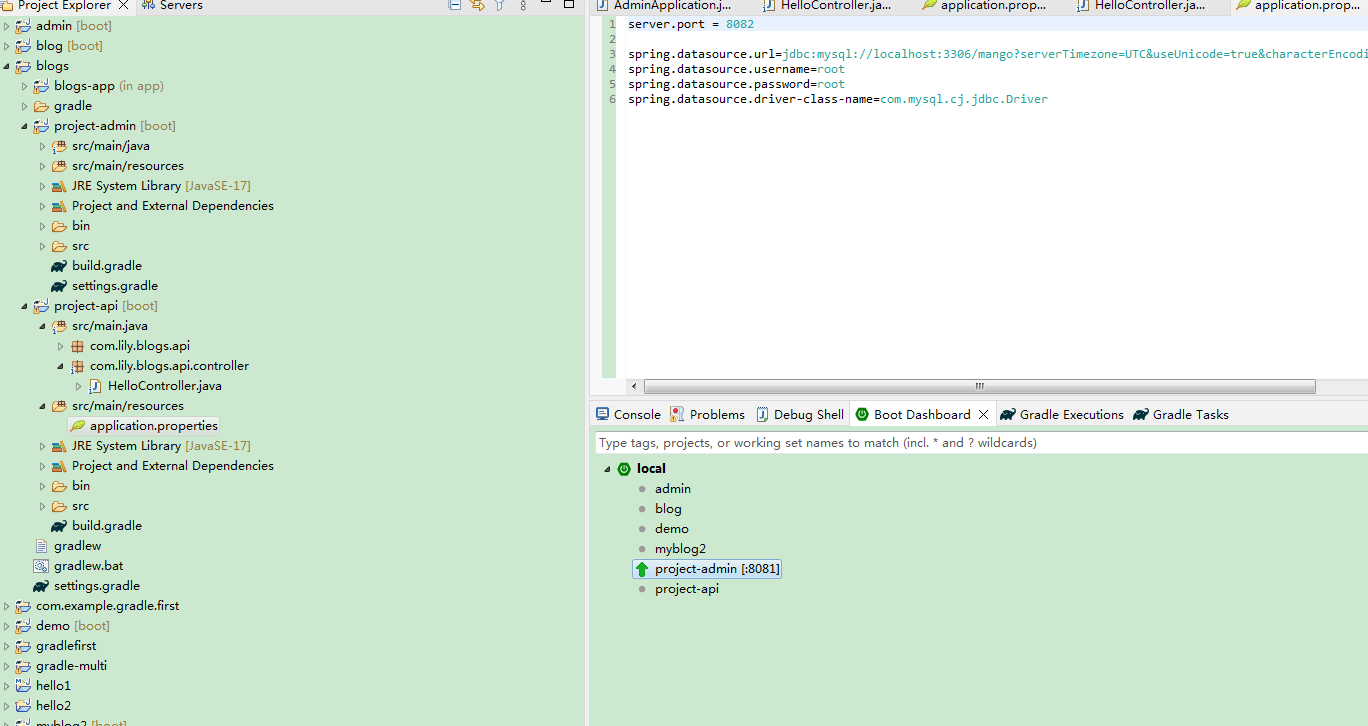
- 设置端口号运行

- 访问
http://localhost:8081/admin/hello
访问
http://localhost:8082/api/hello
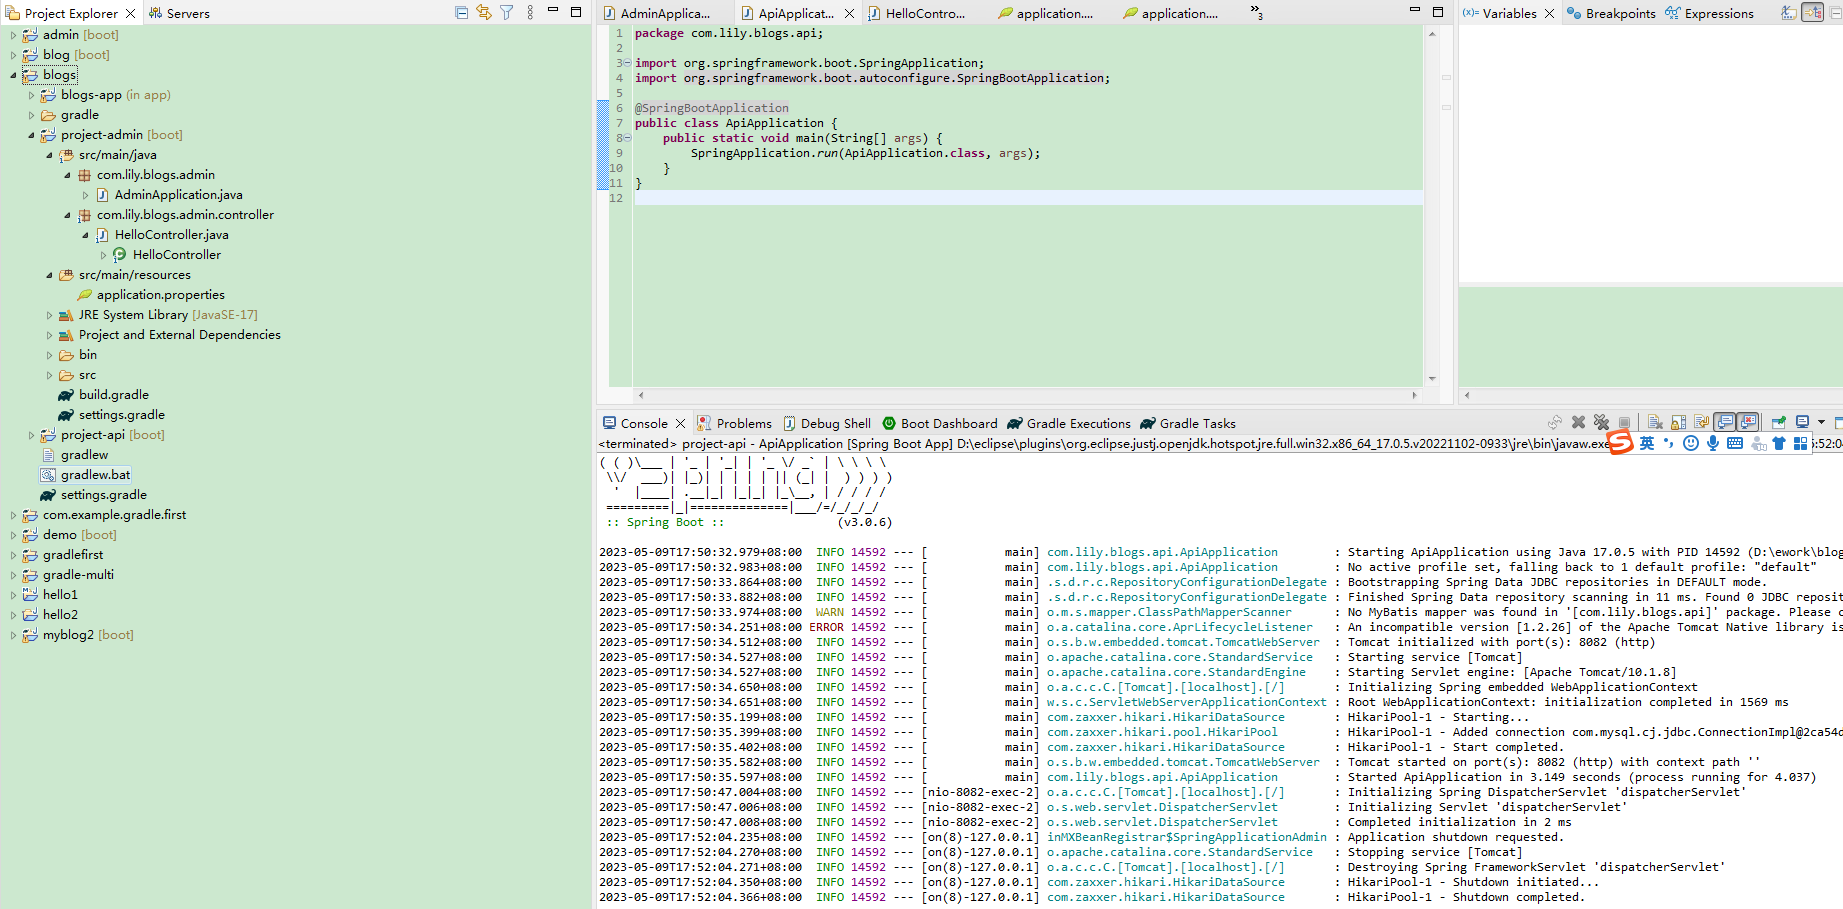
- AdminApplication.java运行(Run As)springboot App

- 新建springboot项目示例
File new project
选择SpringBoot->Spring Starter Project


 浙公网安备 33010602011771号