
k8s 1.20.5(补充)
1.根据前面1.15.0补充
2.初始化操作
selinux swap firewall关闭防火墙
swapoff -a 禁用交换空间
vim /etc/sysctl.d/k8s.conf
net.bridge.bridge-nf-call-ip6tables = 1
net.bridge.bridge-nf-call-iptables = 1
net.ipv4.ip_forward = 1
modprobe br_netfilter
sysctl -p /etc/sysctl.d/k8s.conf 配置生效
3.yum源配置
cat <<EOF > /etc/yum.repos.d/kubernetes.repo
[kubernetes]
name=Kubernetes
baseurl=https://mirrors.aliyun.com/kubernetes/yum/repos/kubernetes-el7-x86_64/
enabled=1
gpgcheck=0
repo_gpgcheck=1
gpgkey=https://mirrors.aliyun.com/kubernetes/yum/doc/yum-key.gpg
https://mirrors.aliyun.com/kubernetes/yum/doc/rpm-package-key.gpg
EOF
4.安装管理命令由于安装镜像根据官方更新的定,所以安装时不一定是1.15版本的工具
yum install -y kubelet kubeadm kubectl --disableexcludes=kubernetes
指定版本
curl -LO https://dl.k8s.io/release/v1.21.0/bin/linux/amd64/kubectl
只需更改v1.21.0此处的版本位置
也可以直接
yum install -y kubelet-1.20.0-0 kubeadm-1.20.0-0 kubectl-1.20.0-0
5.启动服务
systemctl enable kubelet && systemctl start kubelet3
6.下载操作
kubeadm config images list 列出版本需求的软件
kubeadm config print init-defaults > kubeadm.conf
vim kubeadm.conf
imageRepository: registry.cn-hangzhou.aliyuncs.com/google_containers 阿里云镜像
kubeadm config images pull --config kubeadm.conf 批量下载
7.批量更改tag 删除镜像
#!/bin/bash
v=(
kube-apiserver:v1.20.5
kube-controller-manager:v1.20.5
kube-scheduler:v1.20.5
kube-proxy:v1.20.5
pause:3.2
etcd:3.4.13-0
coredns:1.7.0
)
for i in ${v[@]} ;
do
docker pull registry.cn-hangzhou.aliyuncs.com/google_containers/$i
docker tag registry.cn-hangzhou.aliyuncs.com/google_containers/$i k8s.gcr.io/$i
docker rmi registry.cn-hangzhou.aliyuncs.com/google_containers/$i
done
8.安装服务
kubeadm init --kubernetes-version=v1.20.5 --pod-network-cidr=107.16.0.0/16 --apiserver-advertise-address=192.168.182.100 安装服务
9.成功后操作
mkdir -p $HOME/.kube
sudo cp -i /etc/kubernetes/admin.conf $HOME/.kube/config
sudo chown $(id -u):$(id -g) $HOME/.kube/config
Alternatively, if you are the root user, you can
run:
export KUBECONFIG=/etc/kubernetes/admin.conf
You should now deploy a pod network to the
cluster.
Run "kubectl apply -f [podnetwork].yaml" with
one of the options listed at:
https://kubernetes.io/docs/concepts/cluster-administration/addons/
Then you can join any number of worker nodes
by running the following on each as root:
kubeadm join 192.168.182.100:6443 --token
2r6868.0tgkbwuhgfcny57h \
--discovery-token-ca-cert-hash
sha256:48487c419b7ca45bcf6b46cb0aafeb6bac4d69593a4ab97d35f9c1a5d02ea329
10.部署网络
kubectl apply -f https://raw.githubusercontent.com/coreos/flannel/master/Documentation/kube-flannel.yml 部署flannel网络
echo 1 > /proc/sys/net/ipv4/ip_forward
echo 1 > /proc/sys/net/bridge/bridge-nf-call-iptables
kubectl apply -f https://raw.githubusercontent.com/coreos/flannel/master/Documentation/k8s-manifests/kube-flannel-rbac.yml 部署node节点后操作 就会变成ready
11.部署node节点
kubeadm join 192.168.182.100 :6443 --token
2r6868.0tgkbwuhgfcny57h \
--discovery-token-ca-cert-hash
sha256:48487c419b7ca45bcf6b46cb0aafeb6bac4d69593a4ab97d35f9c1a5d02ea329
12.部署dashbord界面管理
wget https://raw.githubusercontent.com/kubernetes/dashboard/v2.0.0-beta8/aio/deploy/recommended.yaml
更改 vim recommended.yaml
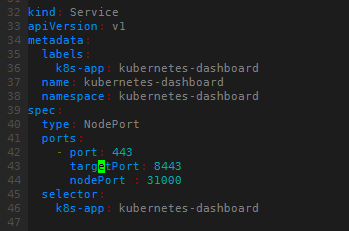
kubectl apply -f recommended.yaml 生效
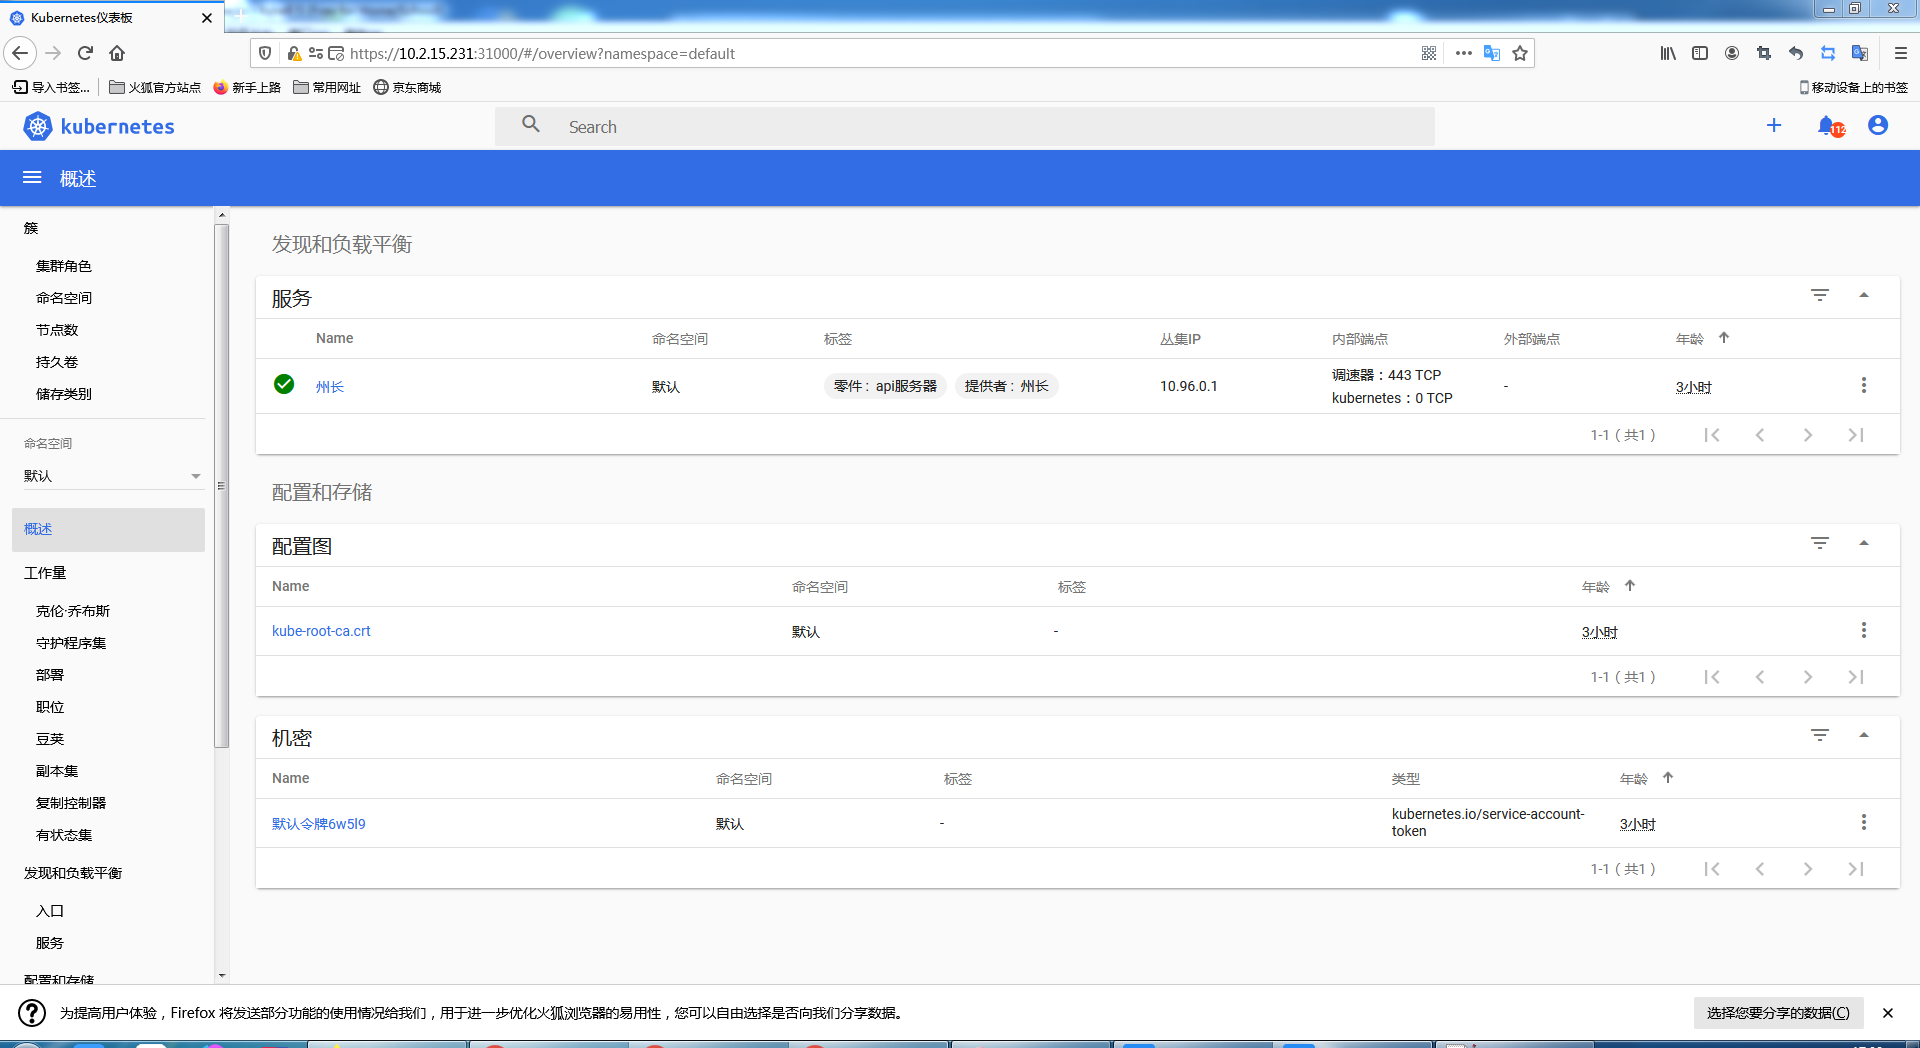
13.访问界面
kubectl -n kube-system describe $(kubectl -n kube-system get secret -n kube-system -o name | grep namespace) | grep token 查看token
kubectl get svc --all-namespaces 查看映射的端口

浏览器访问
https://10.2.15.231:31000
14.基础命令
kubectl completion bash >/etc/bash_completion.d/kubectl 命令自动补全
kubectl get pods --all-namespaces 查看所有节点
Basic Commands (Beginner):
create Create a resource from a file or from stdin.
expose 使用 replication controller, service, deployment 或者 pod 并暴露它作为一个 新的 Kubernetes
Service
run 在集群中运行一个指定的镜像
set 为 objects 设置一个指定的特征
Basic Commands (Intermediate):
explain 查看资源的文档
get 显示一个或更多 resources
edit 在服务器上编辑一个资源
delete Delete resources by filenames, stdin, resources and names, or by resources and label selector
Deploy Commands:
rollout Manage the rollout of a resource
scale Set a new size for a Deployment, ReplicaSet or Replication Controller
autoscale 自动调整一个 Deployment, ReplicaSet, 或者 ReplicationController 的副本数量
Cluster Management Commands:
certificate 修改 certificate 资源.
cluster-info 显示集群信息
top Display Resource (CPU/Memory/Storage) usage.
cordon 标记 node 为 unschedulable
uncordon 标记 node 为 schedulable
drain Drain node in preparation for maintenance
taint 更新一个或者多个 node 上的 taints
Troubleshooting and Debugging Commands:
describe 显示一个指定 resource 或者 group 的 resources 详情
logs 输出容器在 pod 中的日志
attach Attach 到一个运行中的 container
exec 在一个 container 中执行一个命令
port-forward Forward one or more local ports to a pod
proxy 运行一个 proxy 到 Kubernetes API server
cp 复制 files 和 directories 到 containers 和从容器中复制 files 和 directories.
auth Inspect authorization
debug Create debugging sessions for troubleshooting workloads and nodes
Advanced Commands:
diff Diff live version against would-be applied version
apply 通过文件名或标准输入流(stdin)对资源进行配置
patch Update field(s) of a resource
replace 通过 filename 或者 stdin替换一个资源
wait Experimental: Wait for a specific condition on one or many resources.
kustomize Build a kustomization target from a directory or a remote url.
Settings Commands:
label 更新在这个资源上的 labels
annotate 更新一个资源的注解
completion Output shell completion code for the specified shell (bash or zsh)
Other Commands:
api-resources Print the supported API resources on the server
api-versions Print the supported API versions on the server, in the form of "group/version"
config 修改 kubeconfig 文件
plugin Provides utilities for interacting with plugins.
version 输出 client 和 server 的版本信息
命令居多还在学习中。。。
15.部署pod节点持续更新
根据官方提供的测试yaml
https://kubernetes.io/docs/tasks/run-application/run-stateless-application-deployment/
apiVersion: apps/v1
kind: Deployment
metadata:
name: nginx-deployment
spec:
selector:
matchLabels:
app: nginx
replicas: 2 # tells deployment to run 2 pods matching the template
template:
metadata:
labels:
app: nginx
spec:
containers:
- name: nginx
image: nginx:1.14.2
ports:
- containerPort: 80
执行
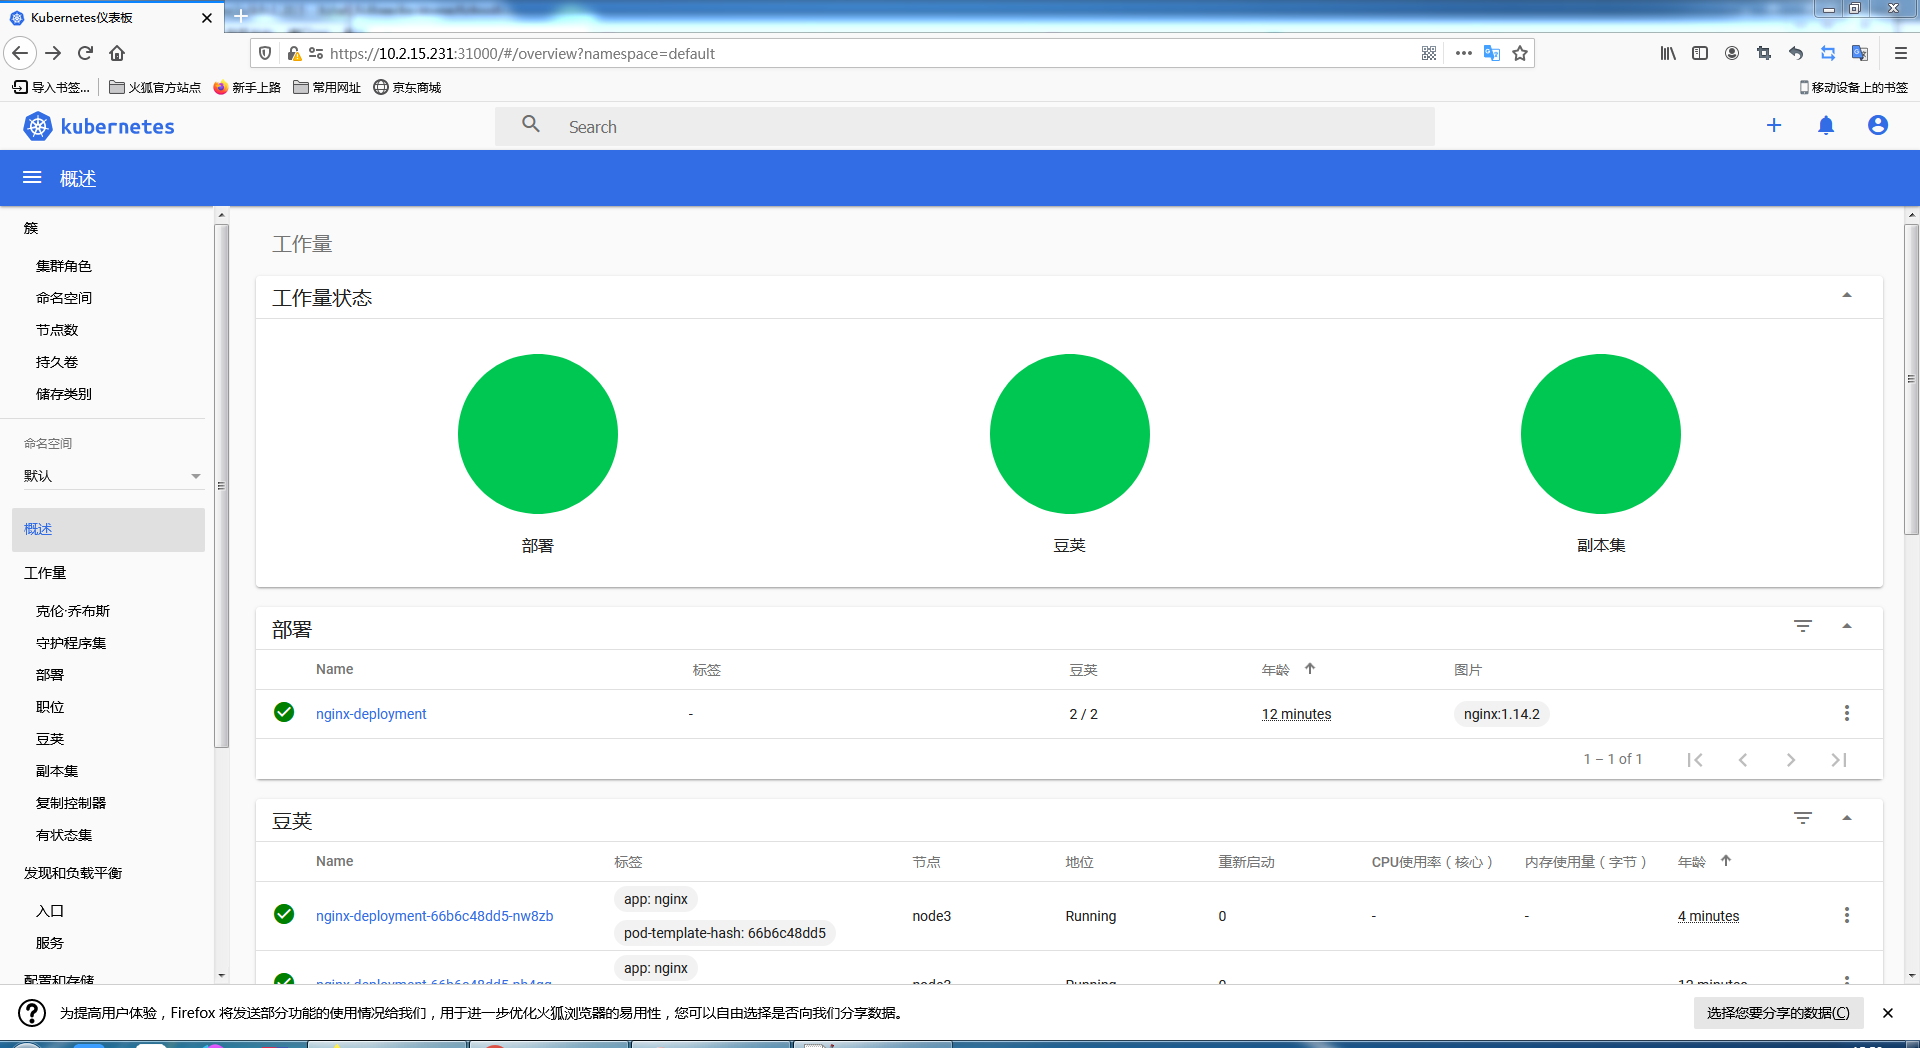
kubectl apply -f nginx.yaml
注意:有个问题默认master节点不能部署pod,在更改或者建立pod时,执行 kubectl taint nodes node3 node-role.kubernetes.io/master=:NoSchedule 开启允许maste节点部署pod
不允许调度 :kubectl taint nodes master1 node-role.kubernetes.io/master=:NoSchedule
界面展示
16.无状态程序和有状态程序
k8s运行程序存在无状态程序和有状态程序,可以理解为程序再运行过程中是否产生数据,且此数据必须保留。
所以在运行无状态程序时不考虑数据交互问题,运行有状态程序需要数据交互。类似于docker的-d选项。只不过此处需要写一个yaml文件来映射目录到实体机

 浙公网安备 33010602011771号