UITableView简单使用
在iOS开发中UITableView可以说是使用最广泛的控件,我们平时使用的软件中到处都可以看到它的影子,类似于微信、QQ、新浪微博等软件基本上随处都是UITableView。当然它的广泛使用自然离不开它强大的功能;
1首先我们在类别里添加UITableView这个控件和数据源
@interface ViewController ()<UITableViewDataSource,UITableViewDelegate>
@property (nonatomic,strong)UITableView * tableView;
@property (nonatomic,strong)NSMutableArray * dataSouce;
@end
2UITableView控件有两个代理我们要遵守这两个代理
@interface ViewController ()<UITableViewDataSource,UITableViewDelegate>
3我们在viewDidLoad中创建tableView和请求数据
- (void)viewDidLoad {
[super viewDidLoad];
// Do any additional setup after loading the view, typically from a nib.
[self creatTableView];
[self requestData];
}
- (void)creatTableView
{
self.tableView = [[UITableView alloc] initWithFrame:CGRectMake(0, 0, kScreenWidth, kScreenHeight) style:UITableViewStylePlain];
self.tableView.dataSource = self;
self.tableView.delegate = self;
[self.view addSubview:self.tableView];
}
- (void)requestData
{
self.dataSouce = [[NSMutableArray alloc] init];
for (int i=0; i<15; i++) {
NSString * strData = [NSString stringWithFormat:@"我是逗比%d",i];
[self.dataSouce addObject:strData];
}
[self.tableView reloadData];
}
4最后是实现UITableView的代理方法
#pragma mark - UITableView代理方法
- (NSInteger)numberOfSectionsInTableView:(UITableView *)tableView
{
//返回组数
return 1;
}
- (NSInteger)tableView:(UITableView *)tableView numberOfRowsInSection:(NSInteger)section
{
//返回组里的cell个数
return self.dataSouce.count;
}
- (UITableViewCell*)tableView:(UITableView *)tableView cellForRowAtIndexPath:(NSIndexPath *)indexPath
{
static NSString * identifier = @"cell";
UITableViewCell *cell = [tableView dequeueReusableCellWithIdentifier:identifier];
if (!cell) {
cell = [[UITableViewCell alloc] initWithStyle:UITableViewCellStyleDefault reuseIdentifier:identifier];
}
cell.textLabel.text = [self.dataSouce objectAtIndex:indexPath.row];
cell.textLabel.textColor = [UIColor redColor];
return cell;
}
运行效果如图:

二:接下来我们在上面程序的基础上继续深化学习,对cell的定制
1 在.h文件加两个属性,一个放图片 一个放文字,代码如下:
@interface MyTableViewCell : UITableViewCell
@property (nonatomic,strong)UIImageView * iconView;
@property (nonatomic,strong)UILabel * nameLabel;
@end
2实现iconView和nameLable的懒加载方法
重写- (instancetype)initWithStyle:(UITableViewCellStyle)style reuseIdentifier:(NSString *)reuseIdentifier这个方法
把iconView和nameLabel加到自身的contentView上
- (instancetype)initWithStyle:(UITableViewCellStyle)style reuseIdentifier:(NSString *)reuseIdentifier
{
if (self = [super initWithStyle:style reuseIdentifier:reuseIdentifier]) {
self.iconView.frame = CGRectMake(10, 10, 50, 50) ;
[self.iconView.layer setCornerRadius:25];
[self.iconView.layer setMasksToBounds:YES];
[self.contentView addSubview:self.iconView];
self.nameLabel.frame = CGRectMake(70, 15, 120, 40);
[self.contentView addSubview:self.nameLabel];
}
return self;
}
- (UILabel *)nameLabel
{
if (_nameLabel == nil) {
_nameLabel = [[UILabel alloc] init];
_nameLabel.textAlignment = NSTextAlignmentLeft;
_nameLabel.font = [UIFont systemFontOfSize:14];
}
return _nameLabel;
}
- (UIImageView *)iconView
{
if (_iconView == nil) {
_iconView = [[UIImageView alloc] init];
[_iconView.layer setBorderColor:[UIColor lightGrayColor].CGColor];
[_iconView.layer setBorderWidth:1.2];
}
return _iconView;
}
3 在ViewController.m里导入MyTableView.h 然后添加一个代理代码如下
- (CGFloat)tableView:(UITableView *)tableView heightForRowAtIndexPath:(NSIndexPath *)indexPath
{
return 75; //返回行高
}
//修改过的代码如下
- (UITableViewCell*)tableView:(UITableView *)tableView cellForRowAtIndexPath:(NSIndexPath *)indexPath
{
MyTableViewCell * cell = [tableView dequeueReusableCellWithIdentifier:@"cell"];
if (!cell) {
cell = [[MyTableViewCell alloc] initWithStyle:UITableViewCellStyleDefault reuseIdentifier:@"cell"];
}
cell.iconView.image = [UIImage imageNamed:@"jianbo"];
cell.nameLabel.text = [self.dataSouce objectAtIndex:indexPath.row];
return cell;
}
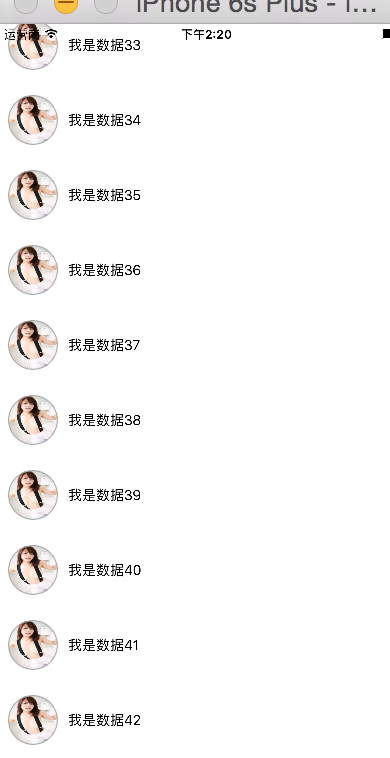
运行效果如下
这一次就写这么多吧

 浙公网安备 33010602011771号