软件工程日报六——TextView和button
今天继续学习安卓stduio的知识——TextView和button
TextView是安卓stduio中十分重要的一个控件,它可以在安卓应用上显示文字
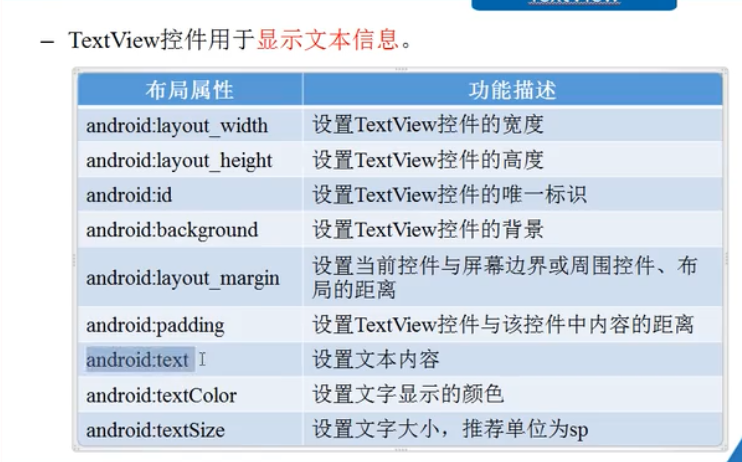
通过网络我找到了TextView的相关用法如下:

经过代码操作效果如下
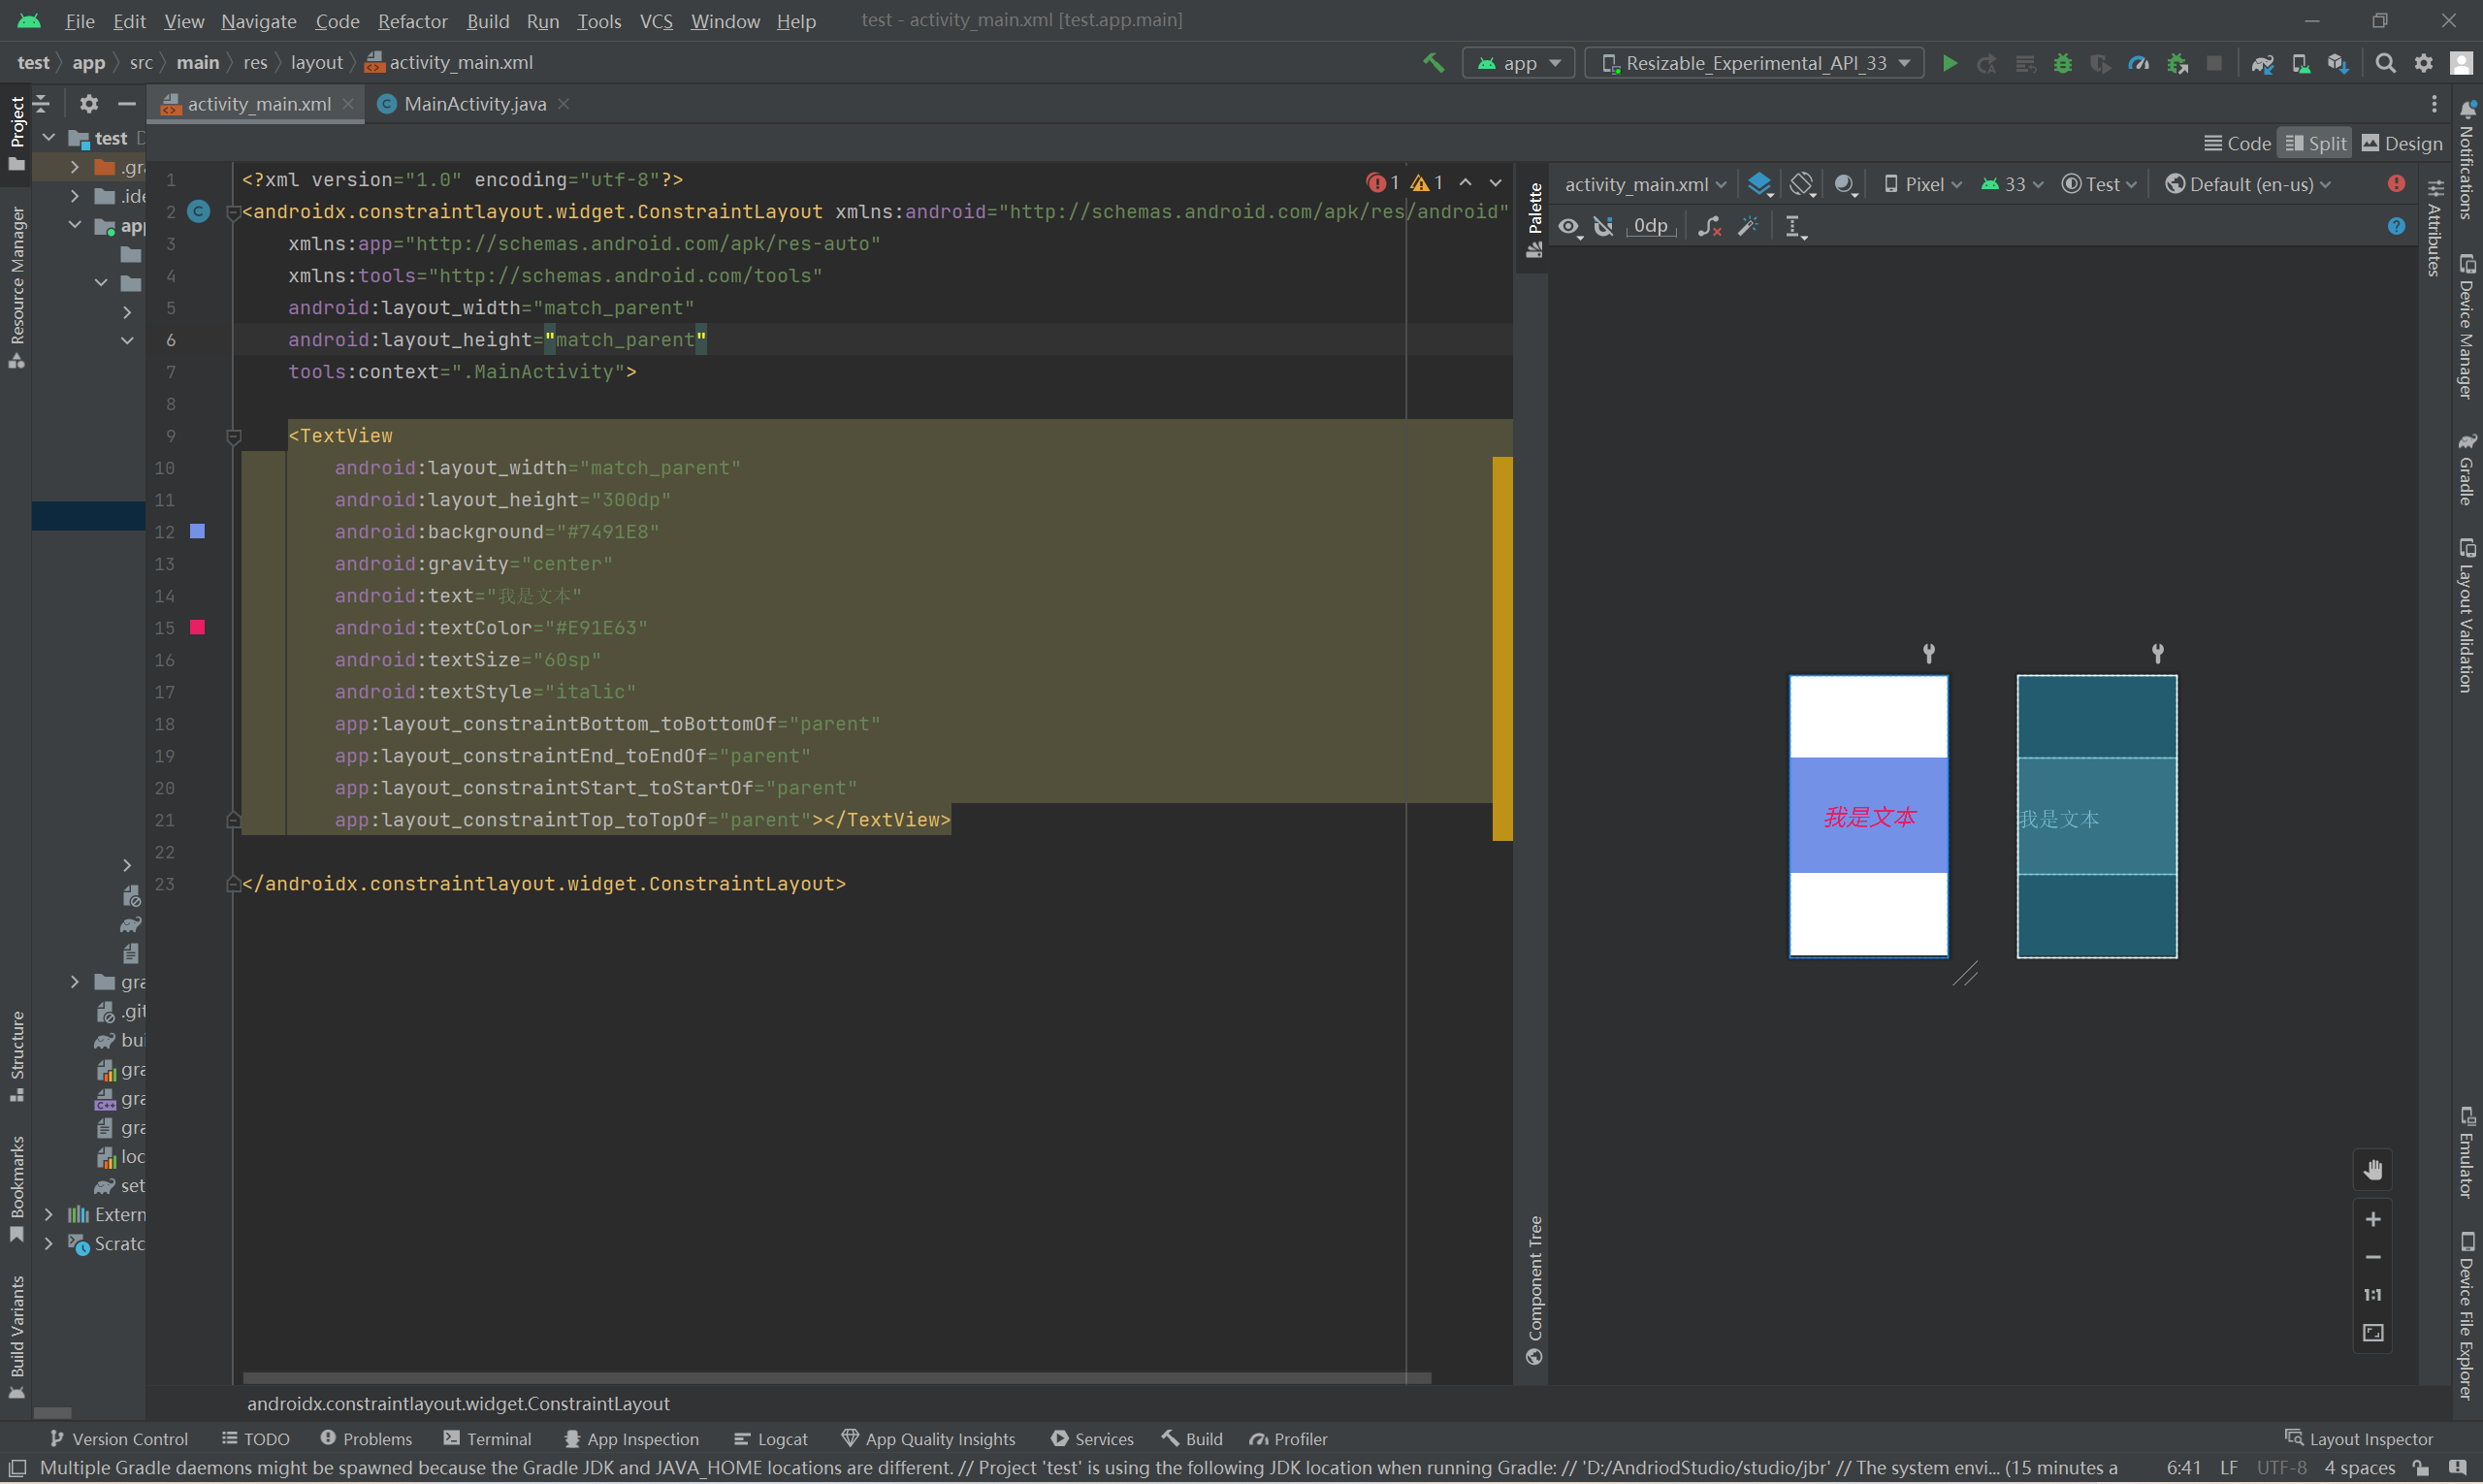
源码如下
<?xml version="1.0" encoding="utf-8"?>
<androidx.constraintlayout.widget.ConstraintLayout xmlns:android="http://schemas.android.com/apk/res/android"
    xmlns:app="http://schemas.android.com/apk/res-auto"
    xmlns:tools="http://schemas.android.com/tools"
    android:layout_width="match_parent"
    android:layout_height="match_parent"
    tools:context=".MainActivity">

    <TextView
        android:layout_width="match_parent"//控制宽度,math_parent表示适配文字
        android:layout_height="300dp"//控制高度
        android:background="#7491E8"//背景颜色
        android:gravity="center"//控制文字位置
        android:text="我是文本"//文本信息
        android:textColor="#E91E63"//文本颜色
        android:textSize="60sp"//文本的大小
        android:textStyle="italic"//文本的形式
        app:layout_constraintBottom_toBottomOf="parent"
        app:layout_constraintEnd_toEndOf="parent"
        app:layout_constraintStart_toStartOf="parent"
        app:layout_constraintTop_toTopOf="parent"></TextView>

</androidx.constraintlayout.widget.ConstraintLayout>
button控件表示按钮,既可以显示文本,又可以显示图片,允许用户通过点击来执行操作,被点击时可以触发一个事件
button一共有三种实现形式(主要使用以下两种)
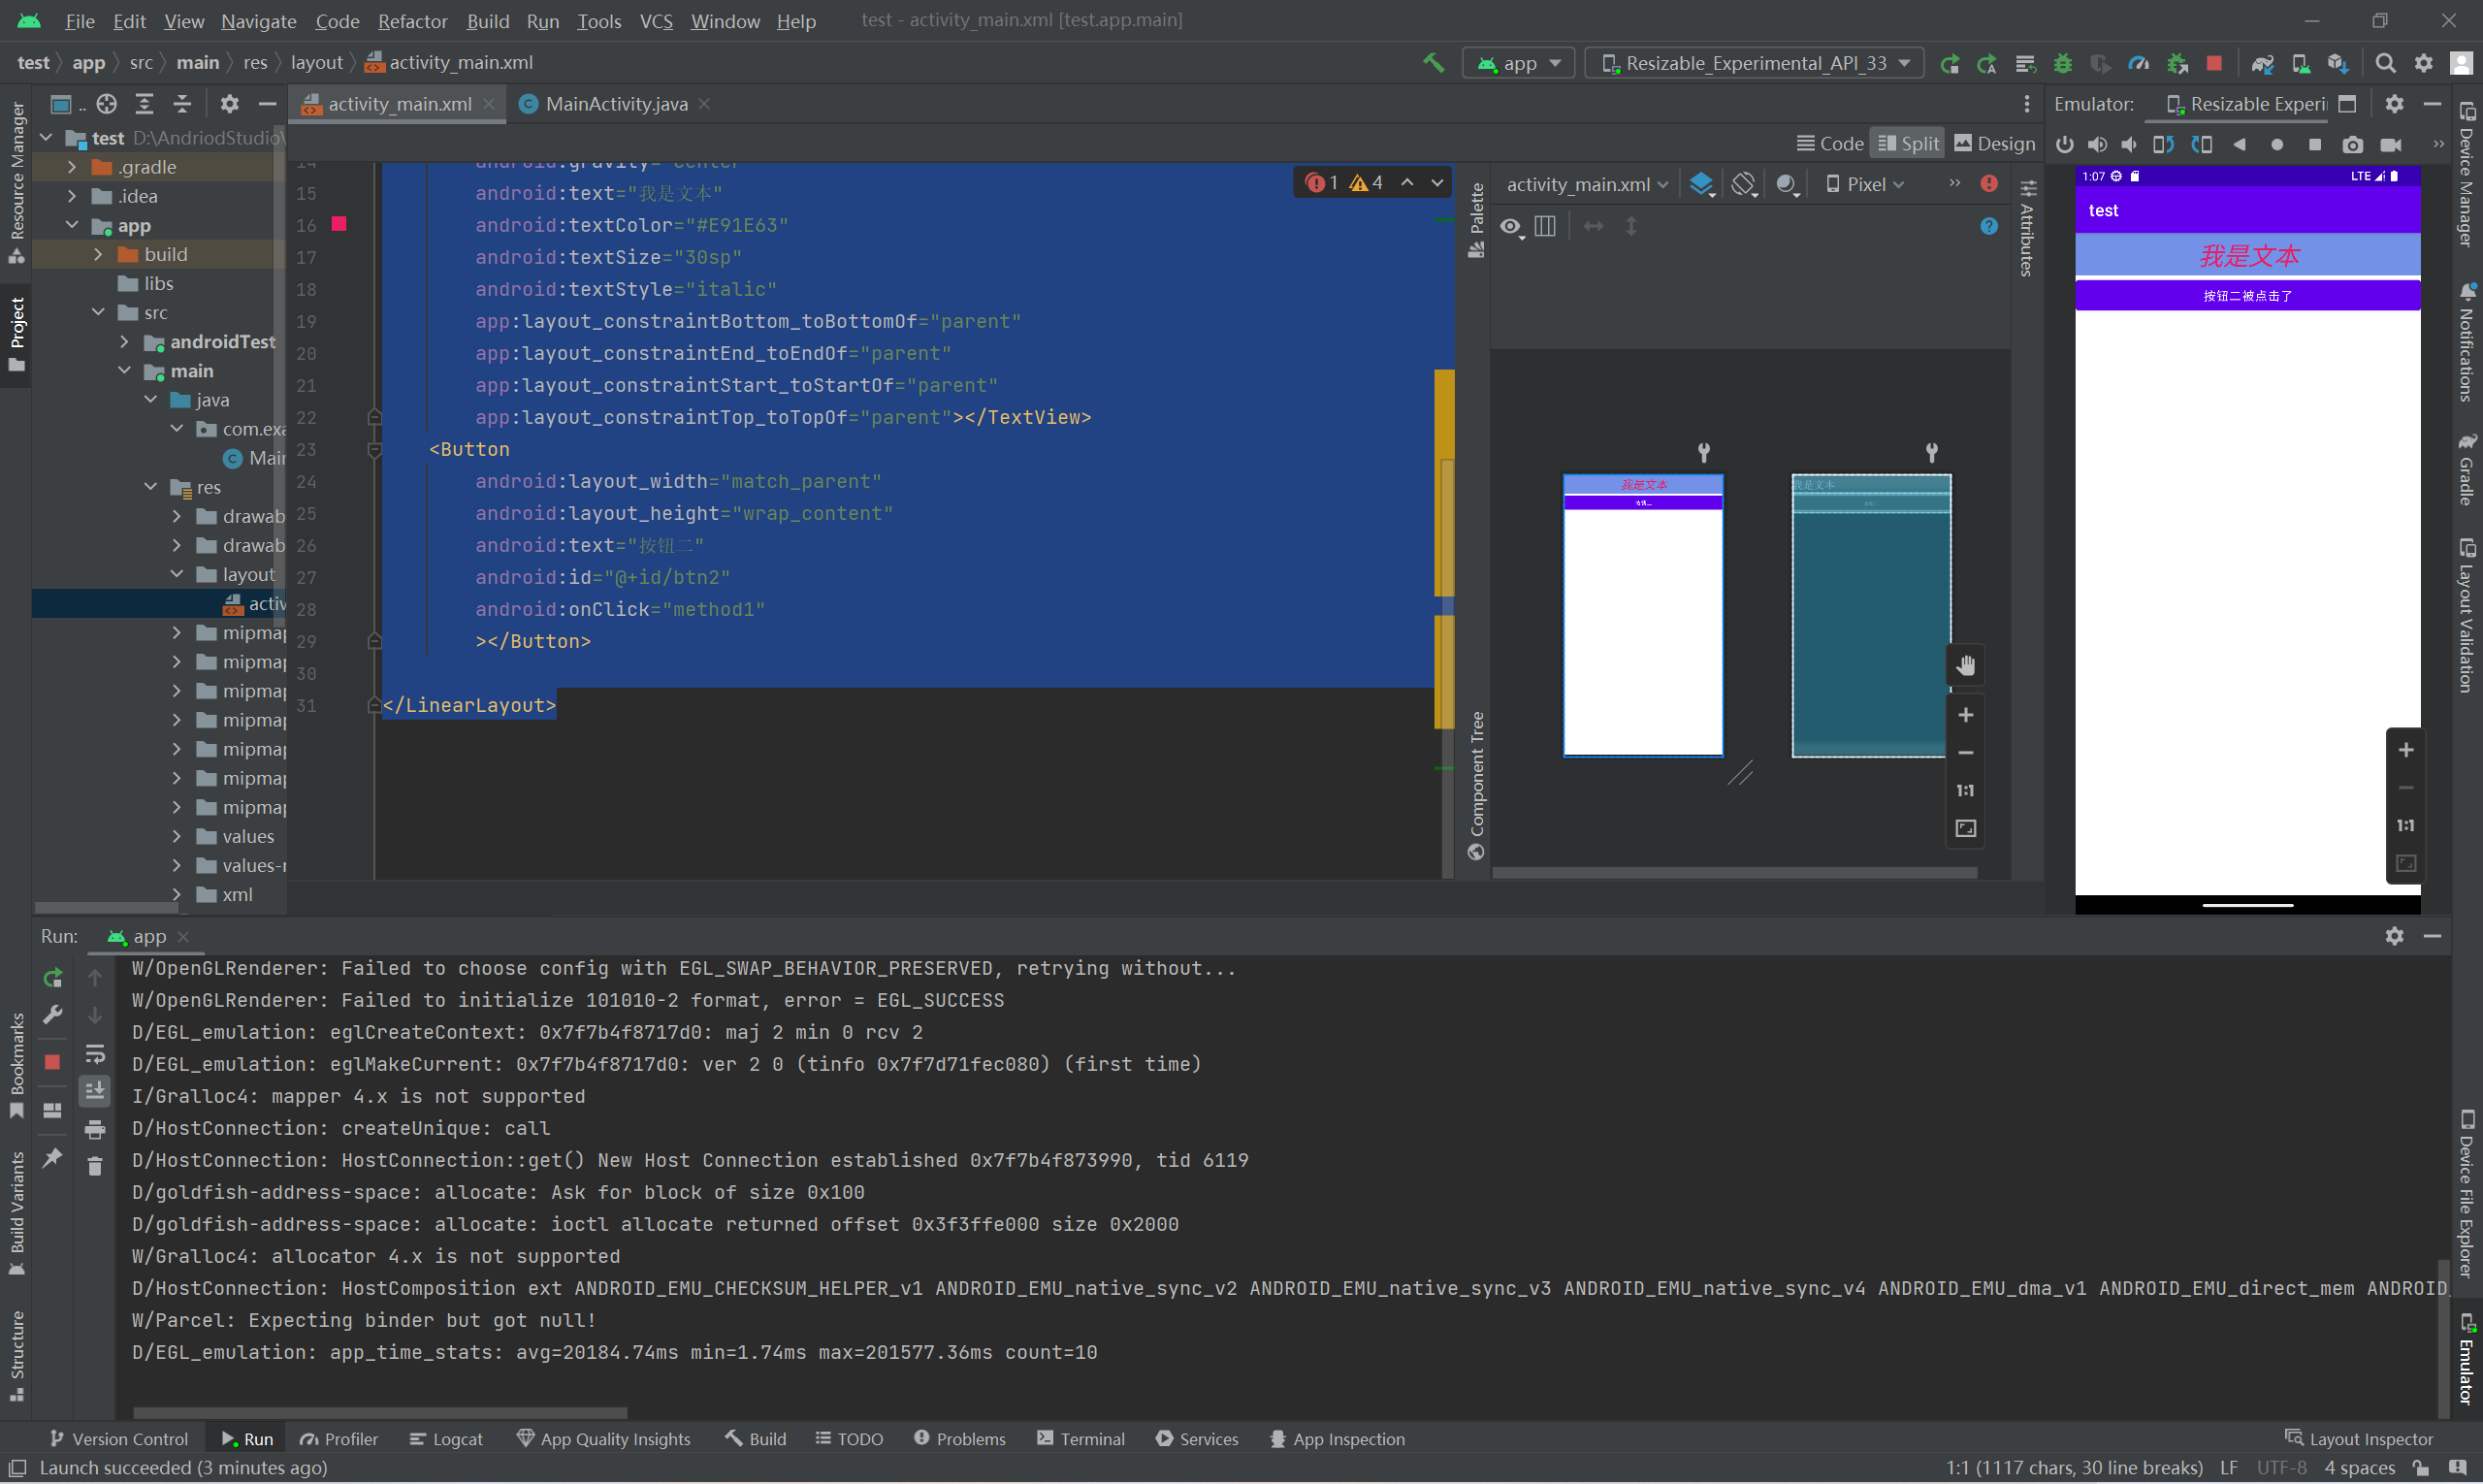
一、在activity_main.xml文件里面源码如下,对button控件进行点击定义和命名
 <TextView
        android:layout_width="match_parent"
        android:layout_height="50dp"
        android:background="#7491E8"
        android:gravity="center"
        android:text="我是文本"
        android:textColor="#E91E63"
        android:textSize="30sp"
        android:textStyle="italic"
        app:layout_constraintBottom_toBottomOf="parent"
        app:layout_constraintEnd_toEndOf="parent"
        app:layout_constraintStart_toStartOf="parent"
        app:layout_constraintTop_toTopOf="parent"></TextView>
    <Button
        android:layout_width="match_parent"
        android:layout_height="wrap_content"
        android:text="按钮一"
        android:id="@+id/btn1"
        android:onClick="method1"
        ></Button>
在MainActivity文件里面写方法
package com.example.test;

import androidx.appcompat.app.AppCompatActivity;

import android.os.Bundle;
import android.view.View;
import android.widget.Button;

public class MainActivity extends AppCompatActivity {
 Button btn1=null;
    @Override
    protected void onCreate(Bundle savedInstanceState) {
        super.onCreate(savedInstanceState);
        setContentView(R.layout.activity_main);
        btn1=findViewById(R.id.btn1);
    }
    public void method1(View view)
    {
     btn1.setText("按钮1被点击");
    }

}
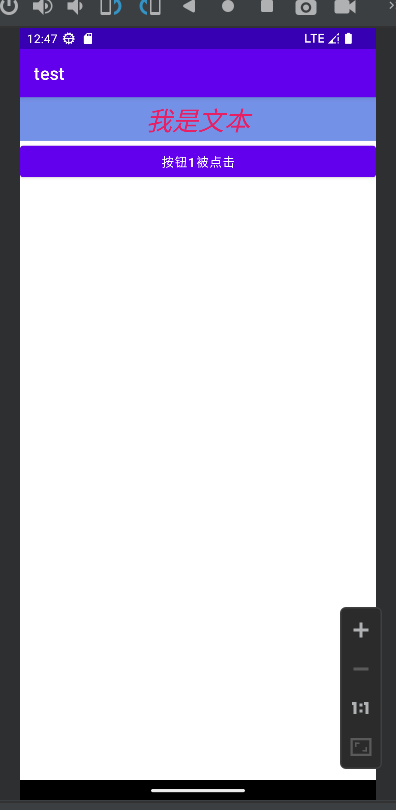
运行结果如下
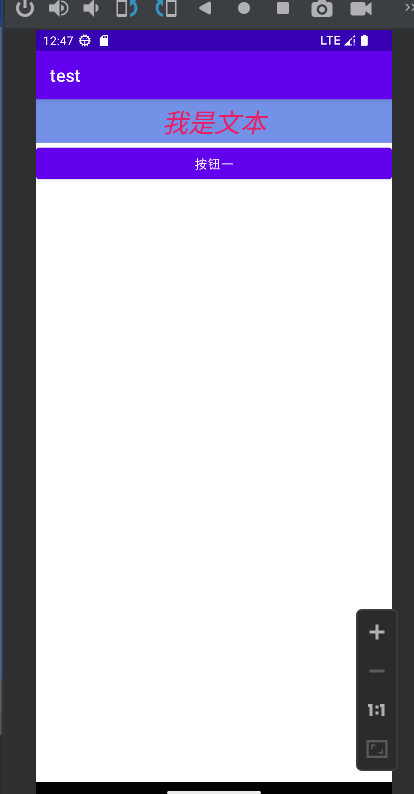
二、
匿名内部类
activity_main.xml文件
<?xml version="1.0" encoding="utf-8"?>
<LinearLayout xmlns:android="http://schemas.android.com/apk/res/android"
    xmlns:app="http://schemas.android.com/apk/res-auto"
    xmlns:tools="http://schemas.android.com/tools"
    android:layout_width="match_parent"
    android:layout_height="match_parent"
    android:orientation="vertical"
    tools:context=".MainActivity">

    <TextView
        android:layout_width="match_parent"
        android:layout_height="50dp"
        android:background="#7491E8"
        android:gravity="center"
        android:text="我是文本"
        android:textColor="#E91E63"
        android:textSize="30sp"
        android:textStyle="italic"
        app:layout_constraintBottom_toBottomOf="parent"
        app:layout_constraintEnd_toEndOf="parent"
        app:layout_constraintStart_toStartOf="parent"
        app:layout_constraintTop_toTopOf="parent"></TextView>
    <Button
        android:layout_width="match_parent"
        android:layout_height="wrap_content"
        android:text="按钮二"
        android:id="@+id/btn2"

        ></Button>

</LinearLayout>
activityMain
package com.example.test;

import androidx.appcompat.app.AppCompatActivity;

import android.os.Bundle;
import android.view.View;
import android.widget.Button;
/*
按钮触发事件的实现方法
一、通过按钮的onclick指定点击事件出发的方法名称,方法在activity进行定义
二、通过匿名内部类的方法实现
 */
public class MainActivity extends AppCompatActivity {

    private Button btn2=null;
    @Override
    protected void onCreate(Bundle savedInstanceState) {
        super.onCreate(savedInstanceState);
        setContentView(R.layout.activity_main);
        btn2=findViewById(R.id.btn2);
        btn2.setOnClickListener(new View.OnClickListener() {
            @Override
            public void onClick(View v) {
                btn2.setText("按钮二被点击了");
            }
        });
    }
}
运行结果
