[Kubeflow] 01 - Kubeflow on GCP
在了解本地运行的需求之前,还是先了解下,在GCP这种原生的方式下是如何运作的。
代码以及相关资源
Ref: https://github.com/kubeflow/examples/tree/master/github_issue_summarization
GCP操作演示
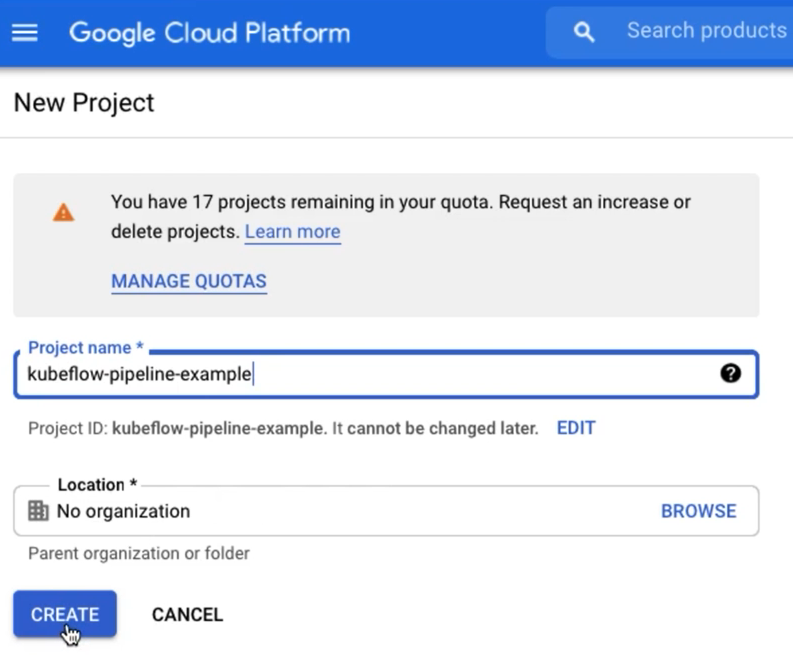
1. Create a project.
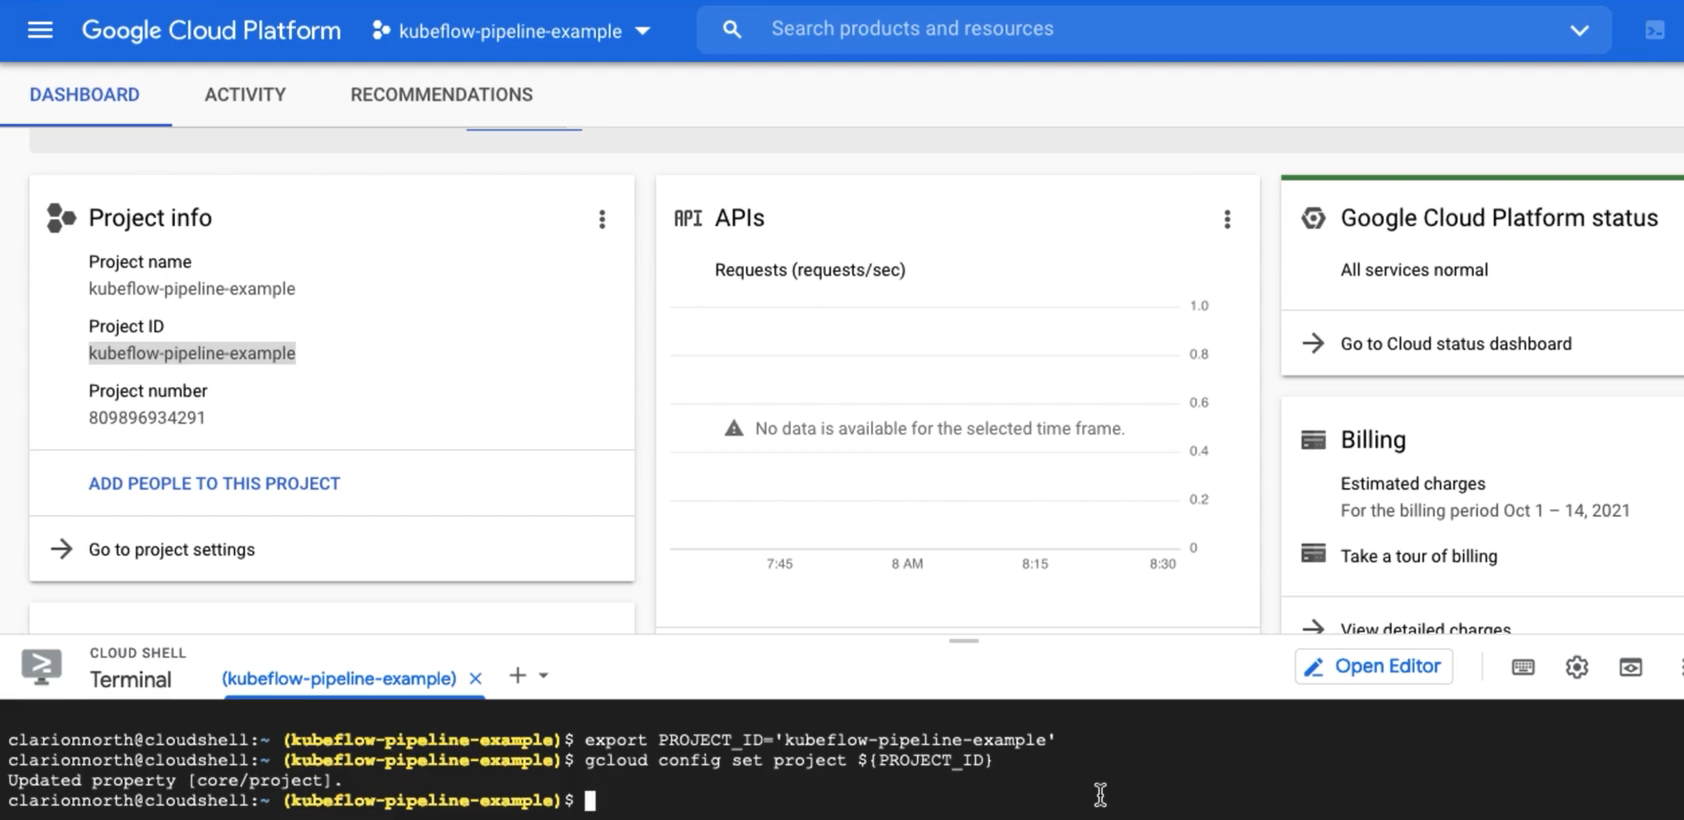
2. Click the top right, and enable the terminal. Configure it by two shell commands as follows.
3. Kubeflow Pipelines - GitHub Issue Summarization
Ref: Kubeflow Pipelines - GitHub Issue Summarization
Ref: https://codelabs.developers.google.com/codelabs/cloud-kubeflow-pipelines-gis#1

4. Pipelines --> NEW INSTANCE --> Configure "Kubeflow Pipelines" --> Required APIs (Enable it)
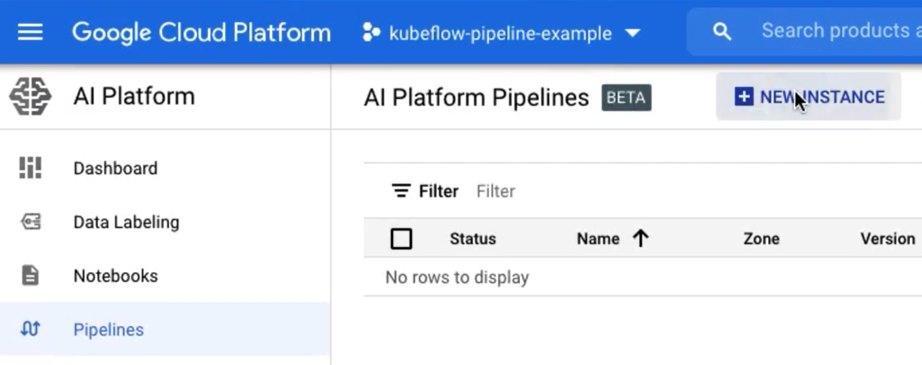
保持默认配置,点击DEPLOY按钮。
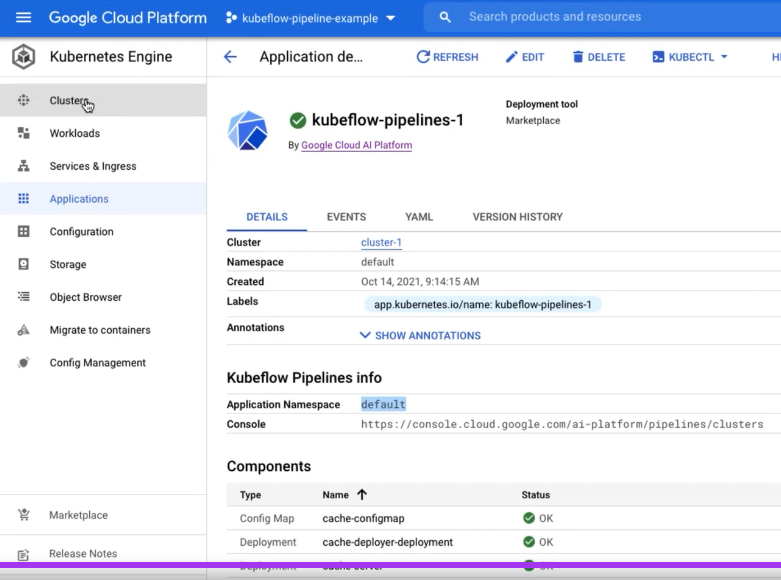
再点击Clusters,可查看详情。这首先是个 K8S cluster。

5. Set Up GKE Cluster

可以看到新建的 cluster,然后进一步配置如下 by Set up kubectl to use your new GKE cluster's credentials.

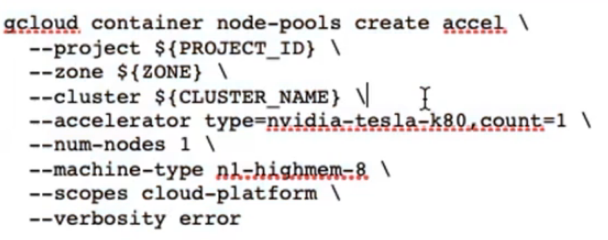
6. Add a GPU node pool to the cluster
kubectl apply -f https://raw.githubusercontent.com/GoogleCloudPlatform/container-engine-accelerators/master/nvidia-driver-installer/cos/daemonset-preloaded.yaml
kubectl create clusterrolebinding sa-admin --clusterrole=cluster-admin --serviceaccount=kubeflow:pipeline-runner
第三个命令截图中如下。如果GPU数量不够,那就是申请更多即可。
7. Run the sample code.
pip3 install -U kfp
curl -O https://raw.githubusercontent.com/amygdala/kubeflow-examples/ghsumm/github_issue_summarization/pipelines/example_pipelines/gh_summ_hosted_kfp.py
python3 gh_summ_hosted_kfp.py
生成了一个 gh_summ_hosted_kfp.py.tar.gz 文件。
8. Deploy
点击右上角按钮(如下图)

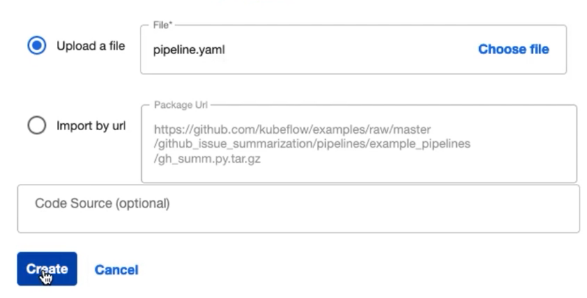
Upload a file, but not "Import by URL",之后便能看到 “流程图”。
9. Create one Experiment
Ref: Run a pipeline from the Pipelines dashboard
可见:先建立“流程”,再创建“实验”。
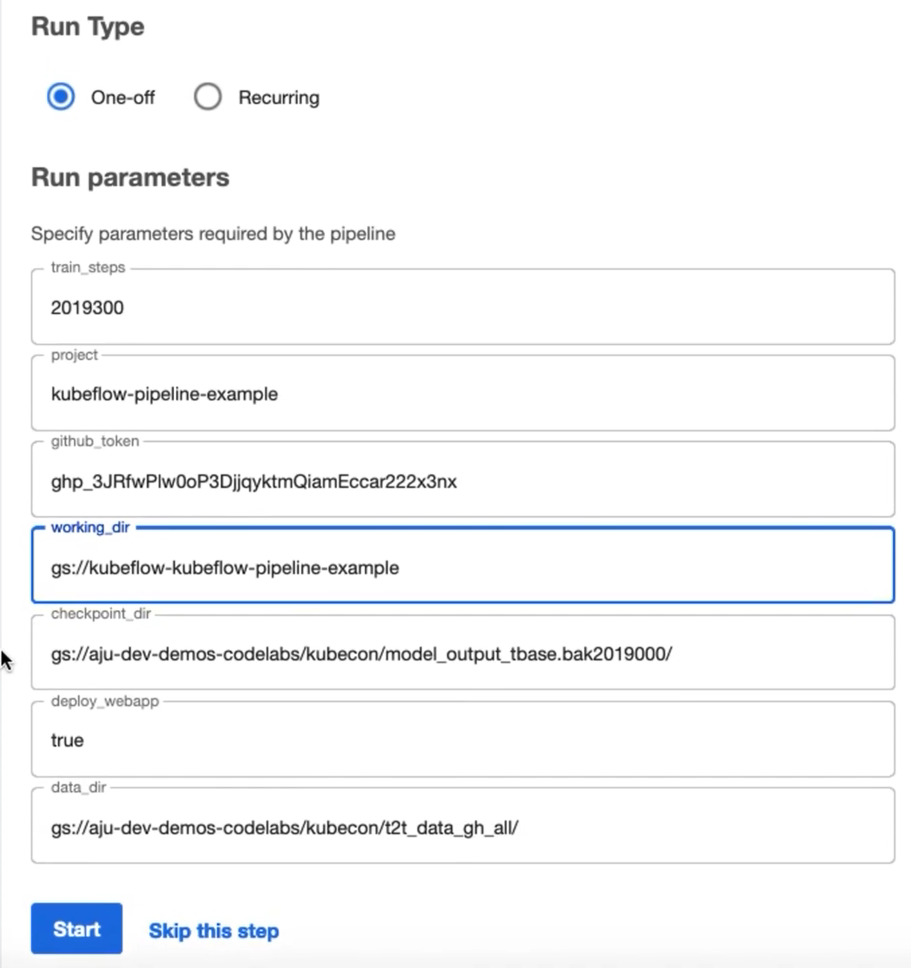
(1) 获得并填写 Project Name
$ gcloud config get-value project
(2) 填写 Github Token
(3) 设置 BUCKET_NAME
export BUCKET_NAME=kubeflow-${PROJECT_ID}
echo "gs://${BUCKET_NAME}/kubecon"
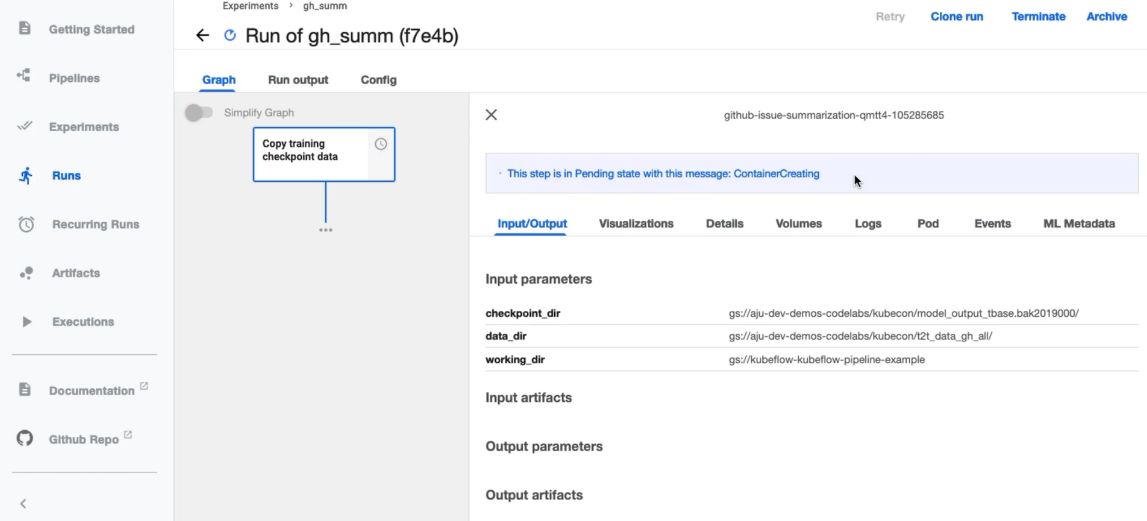
10. Run the Experiment
11. Teardown
Ref: examples/github_issue_summarization/05_teardown.md
gcloud --project=${PROJECT} compute disks delete --zone=${ZONE} ${PD_DISK_NAME}
12 GCP Notebook
Ref: https://www.udemy.com/course/kubeflow-fundamentals/learn/lecture/29031100#overview
略。
13 Kubeflow on Amazon EKS
End.


 浙公网安备 33010602011771号