iOS代码组件化(利用CocoaPods创建私有库)
一、远程索引库
什么是远程索引库?
每创建一个组件都会带有一个 xxx.podspec 的索引文件。专门用来存放这些索引文件的库就叫做索引库。我们需要将这些索引文件上传到远程索引库才能保证其他的同事能够拿来用。
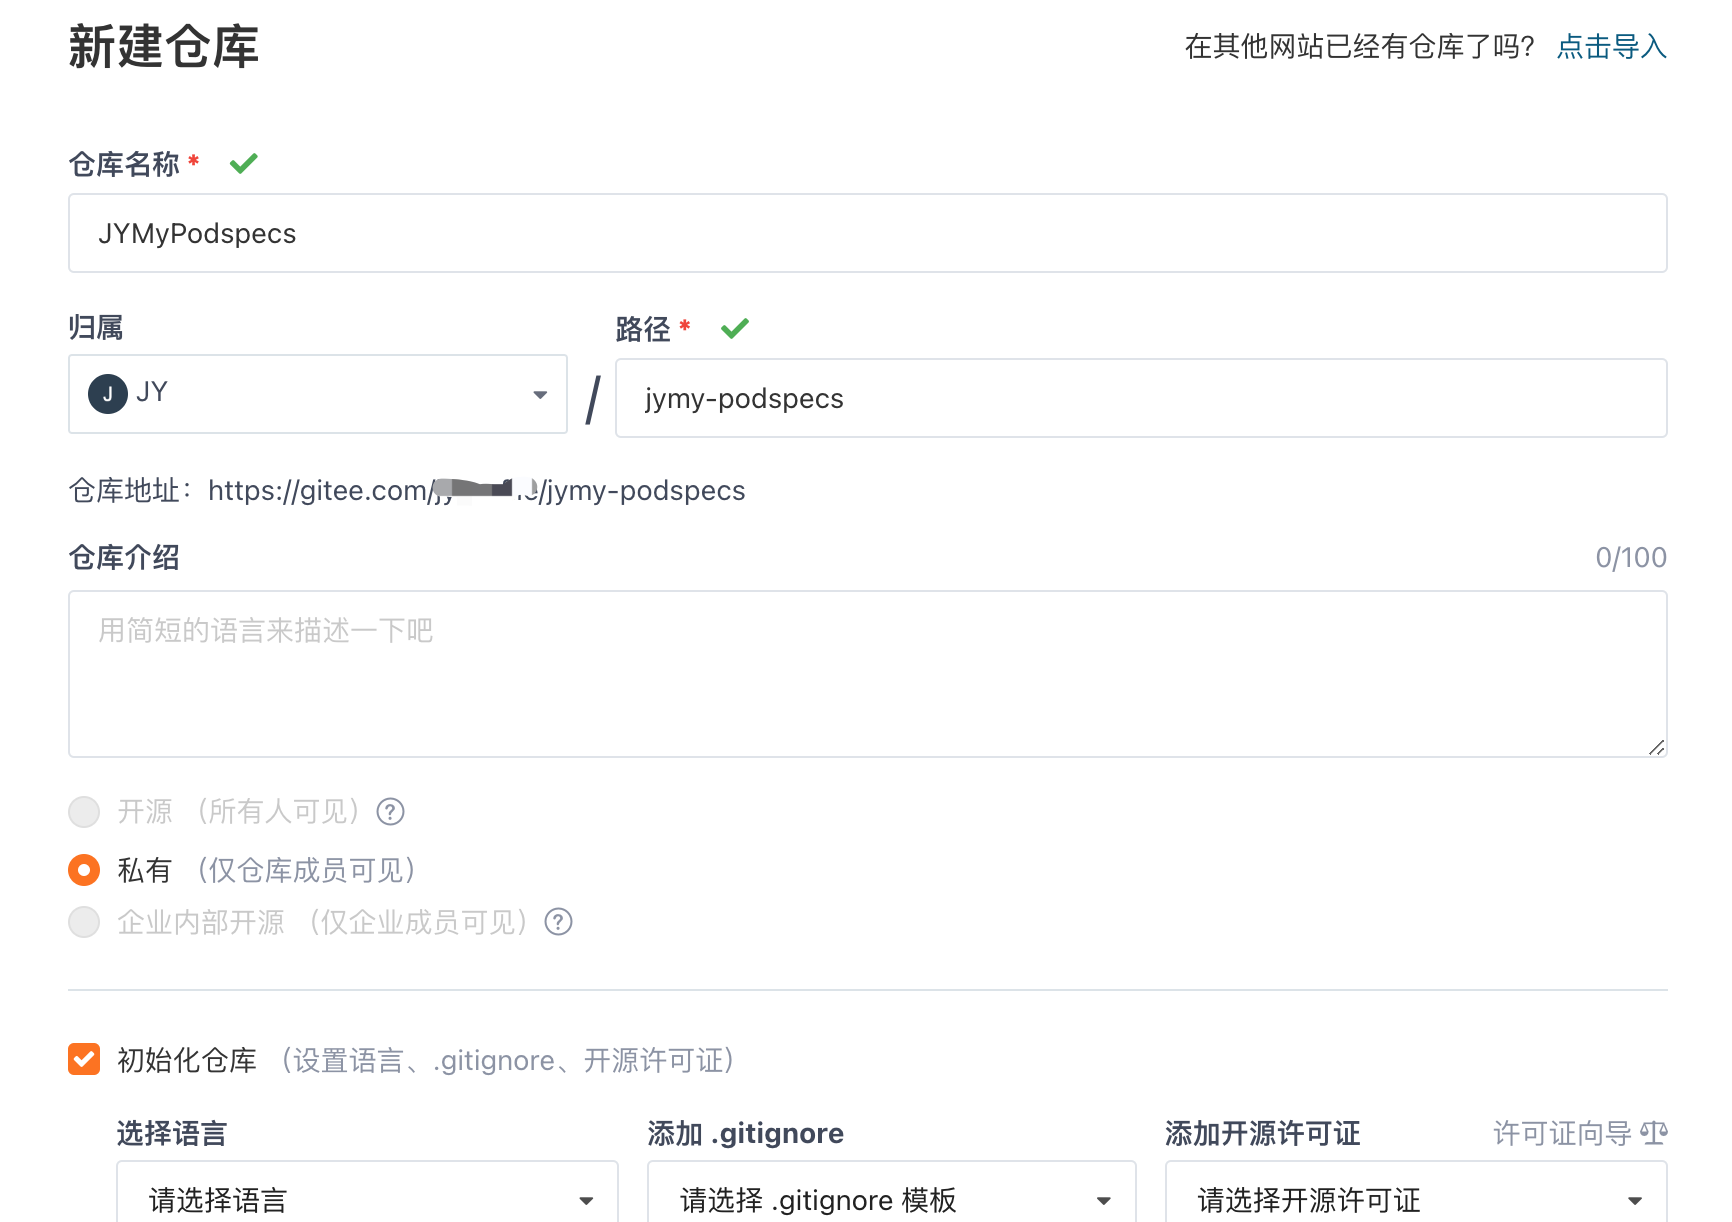
创建远程索引库( 注:这里是在码云上创建了一个private的名字叫JYMyPodspecs),自己公司的项目创建private的私有索引库即可,私有索引的步骤和pubic的操作方式一样。
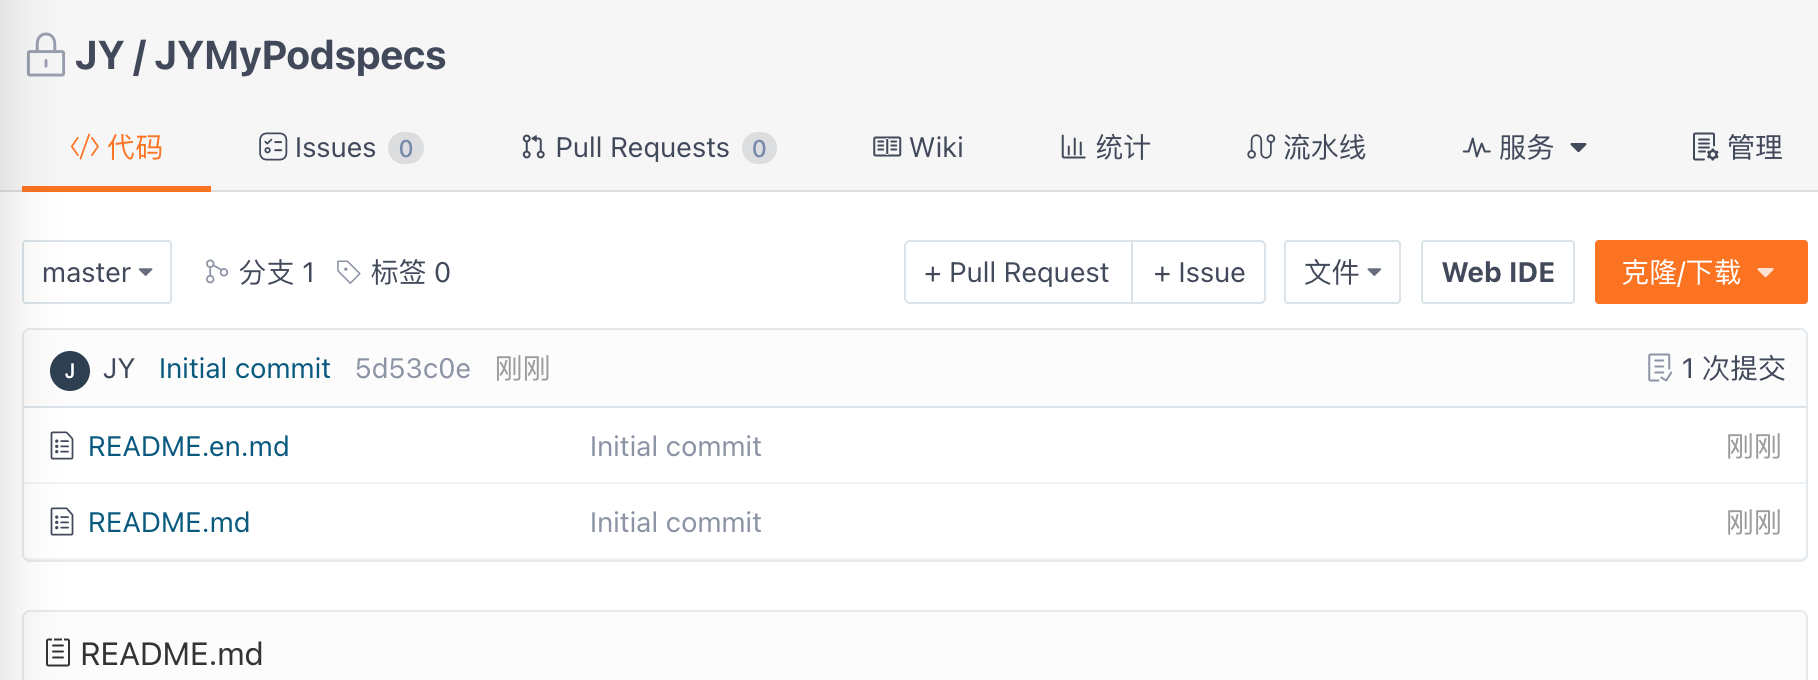
远程索引库已经创建成功,可以看到远程索引库的地址
二、本地索引库 (本地索引库就是用来存放本地索引文件的库)
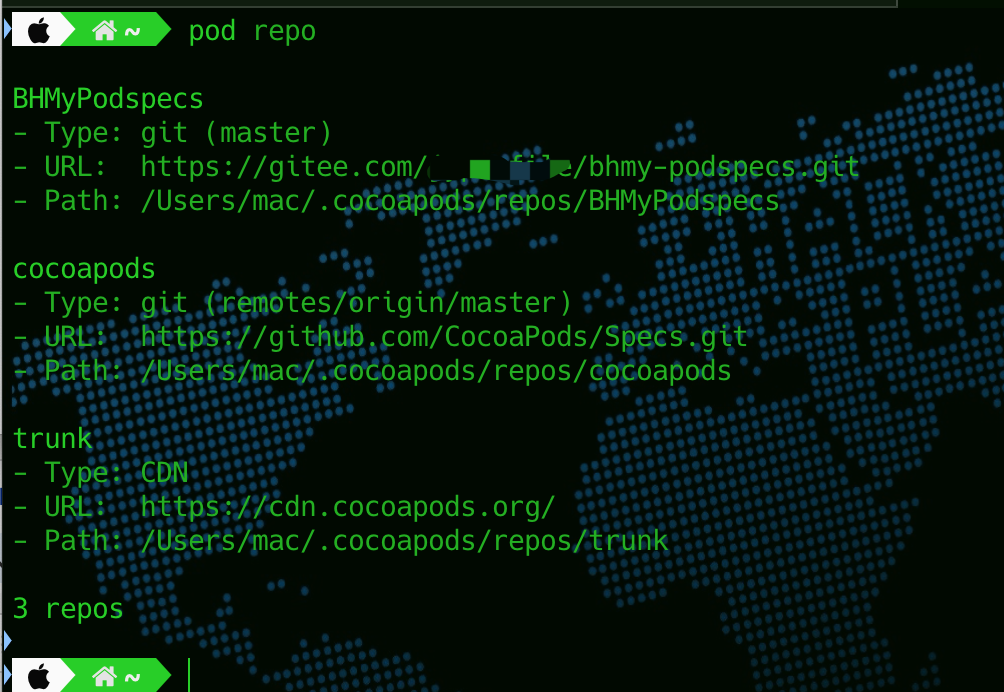
1>. 打开终端 pod repo 查看一下当前有哪些本地索引库(如果你之前没有创建过,应该只有一个master)
2>.通过pod repo add <本地索引库的名字> <远程索引库的地址> ,创建本地索引库并和远程索引库做关联(注:本地索引库的名字建议和远程索引库起的名字一样)

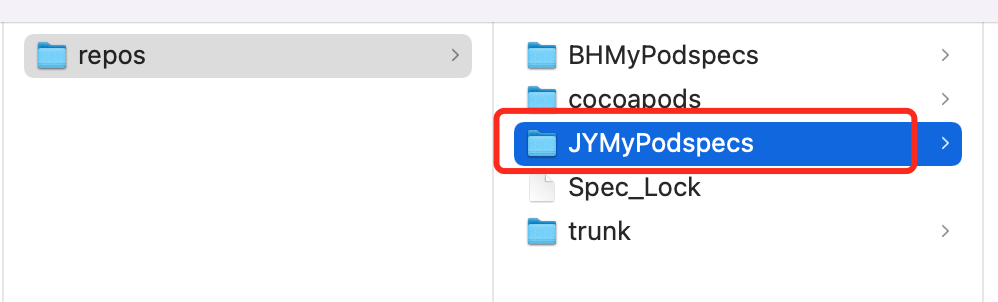
3>.通过下面的方式可以查看本地索引库的物理地址,要先打开Mac的隐藏文件,终端输入命令为
#隐藏文件
#不显示
defaults write com.apple.finder AppleShowAllFiles -boolean false ; killall Finder

#显示
defaults write com.apple.finder AppleShowAllFiles -boolean true ; killall Finder
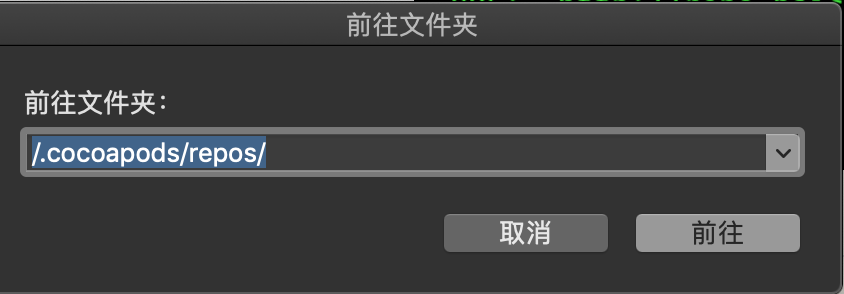
然后通过finder文件->前往文件夹 /.cocoapods/repos/
三、远程代码库 (代码实际存放的远程仓库)
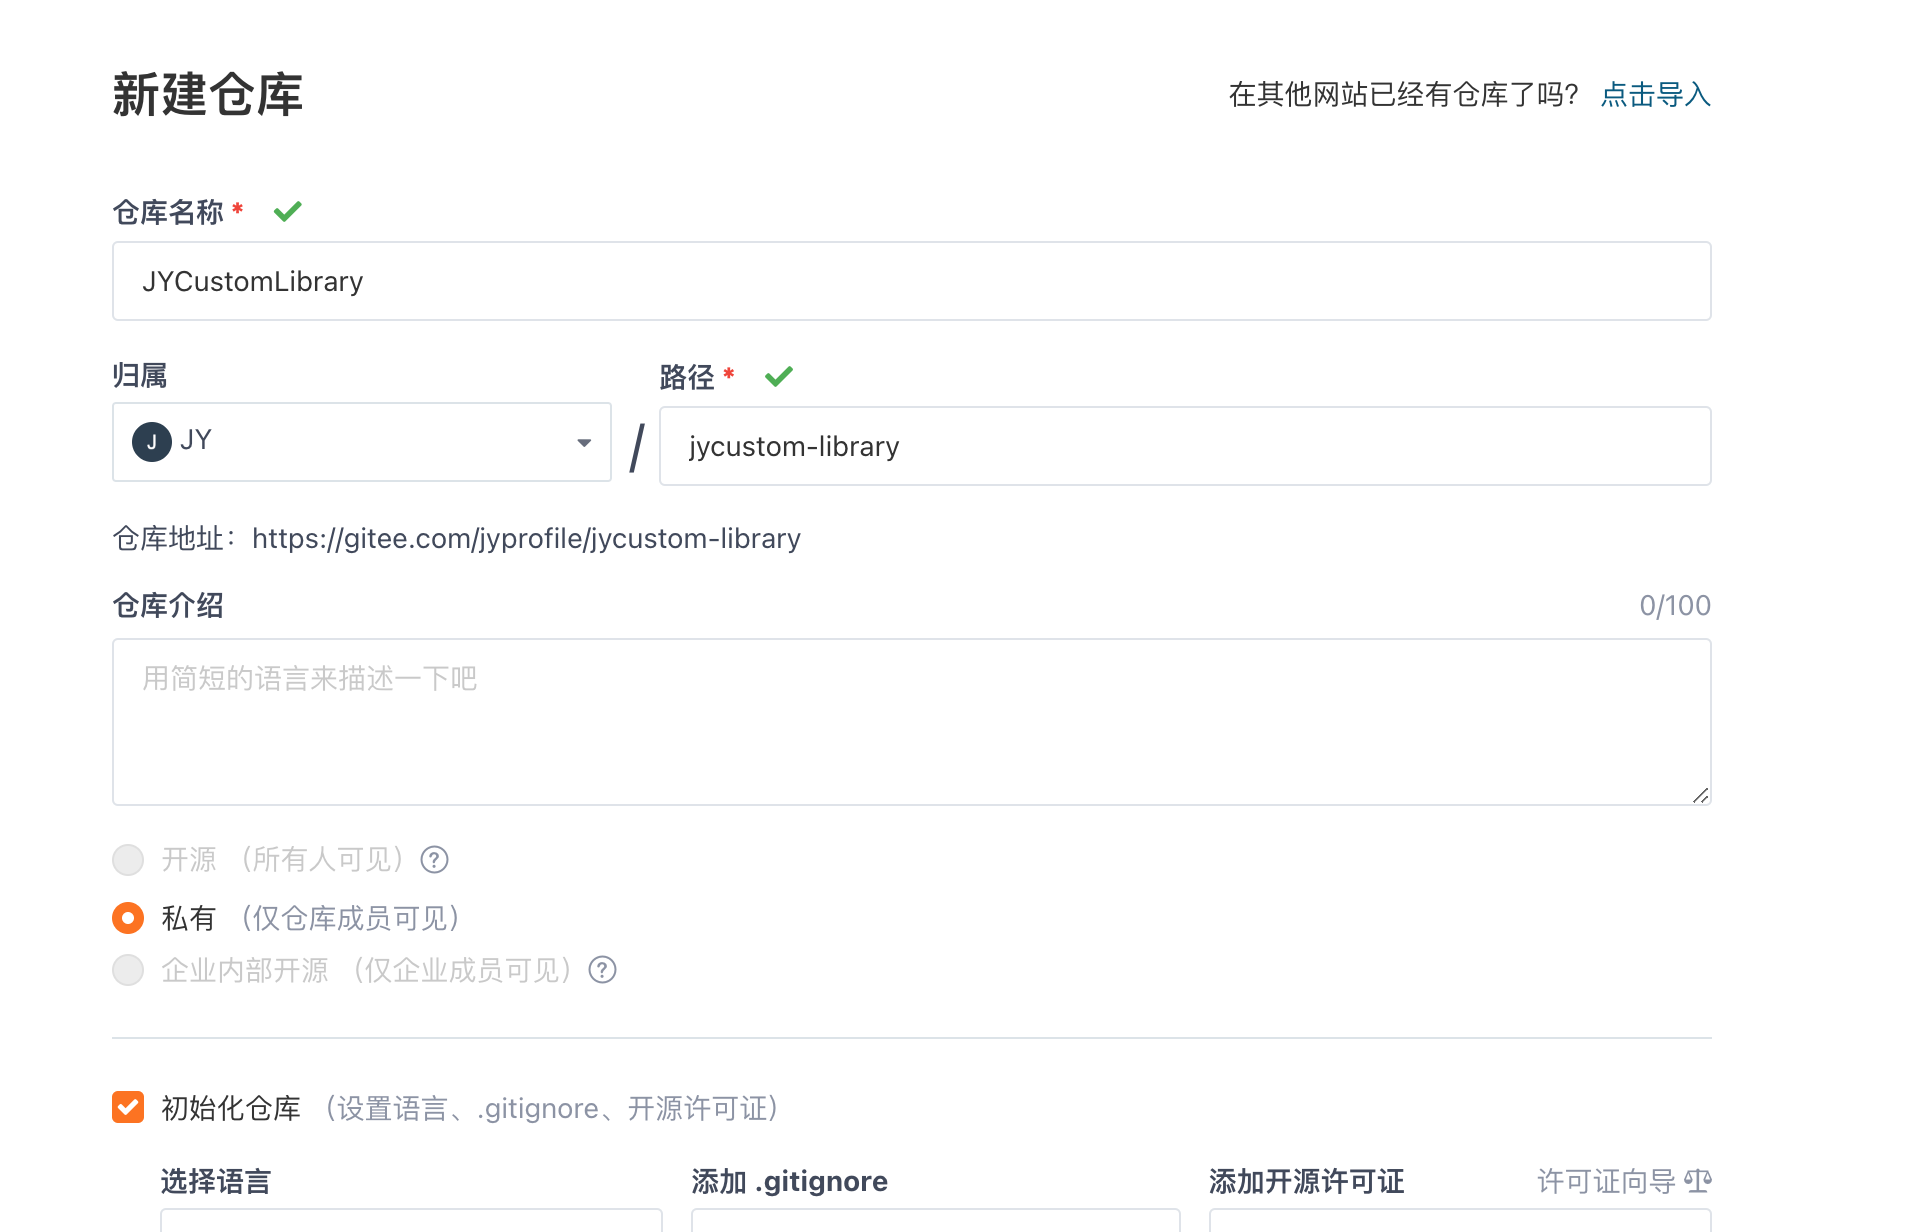
创建远程代码仓库(和创建远程索引库的方式一样),创建一个JYCustomLibrary的远程代码库,用来存放JYCustomLibrary组件的代码。同样获取到JYCustomLibrary组件的远程代码库地址。

四、本地代码库
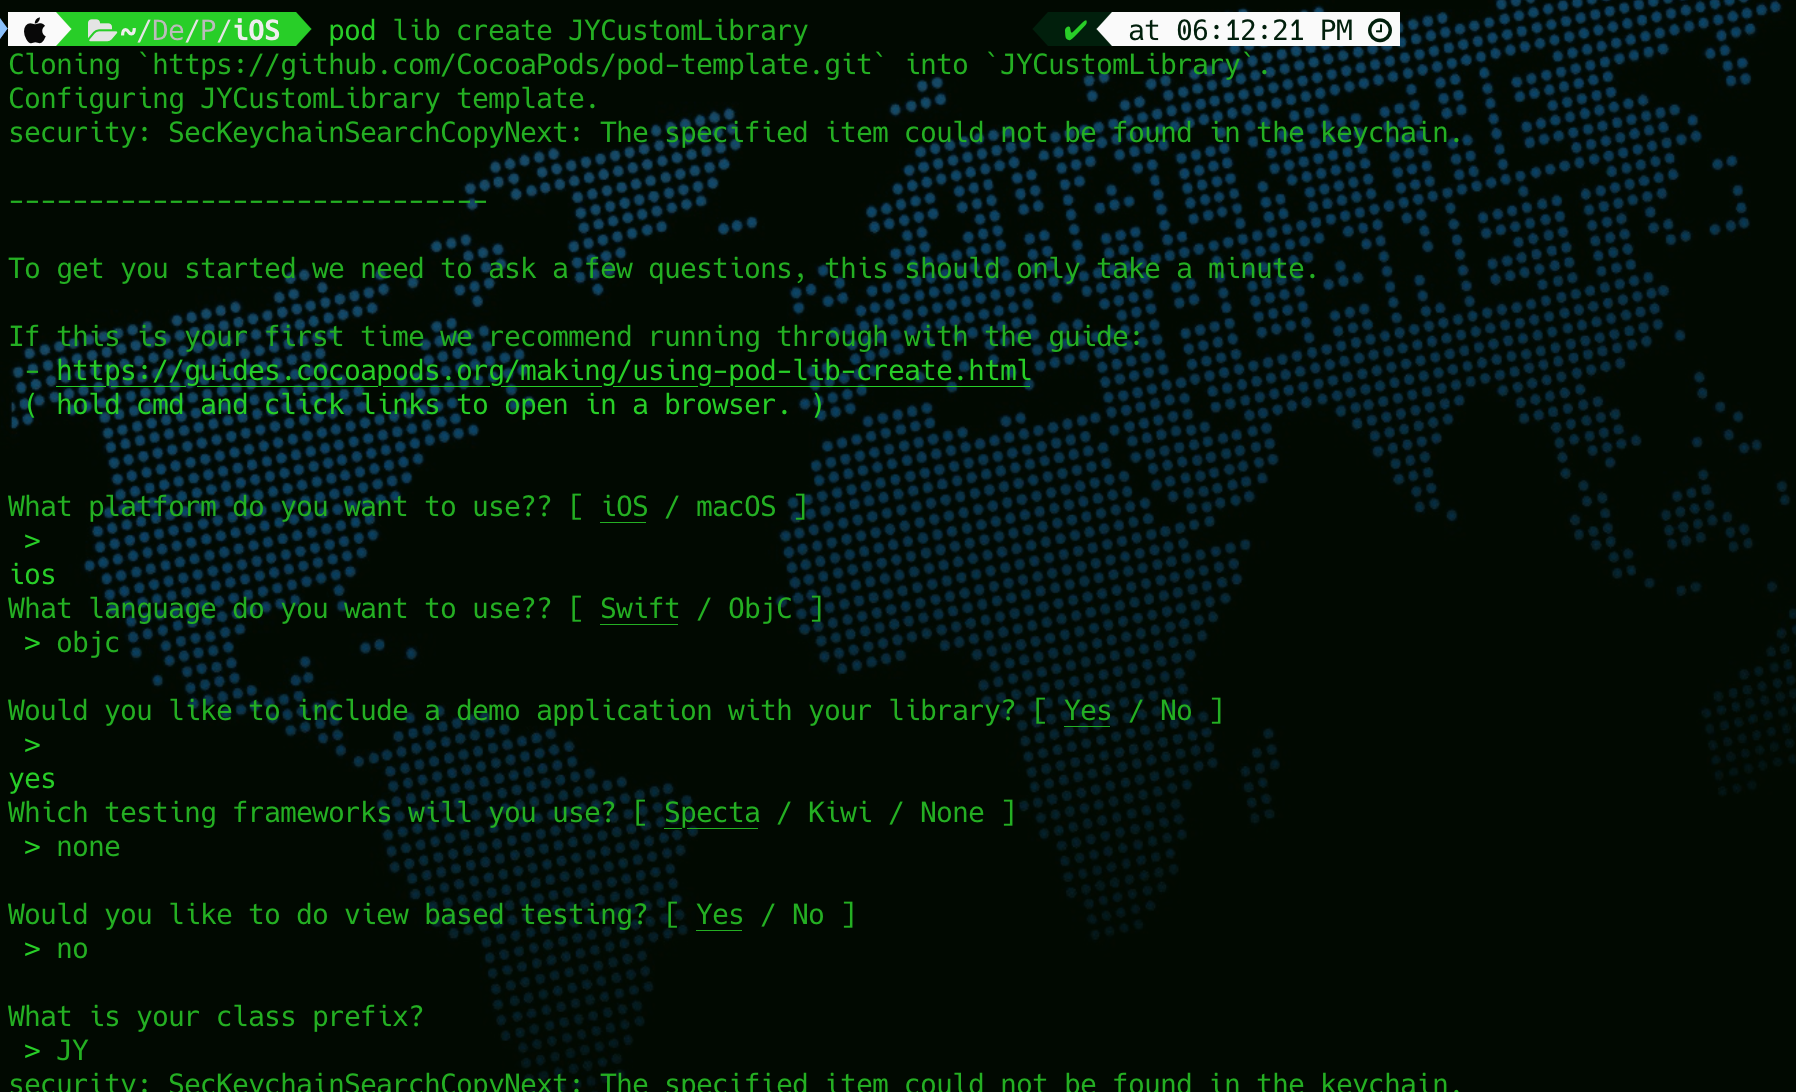
1>.创建JYCustomLibrary组件的远程代码库以后,创建本地代码库 cd 到工程要创建的地方 pod lib create <组件名> 创建本地代码组件模版库,组建名可以和远程代码库一致(根据自身需求对下面的提示信息做选择就好)
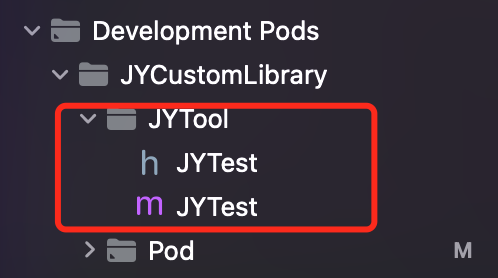
2>.编译运行通过看下效果。在Xcode彻底删除ReplaceMe.m文件,接着把自己封装好的组件化代码的文件夹拖入到组件JYCustomLibrary的classes路径下。

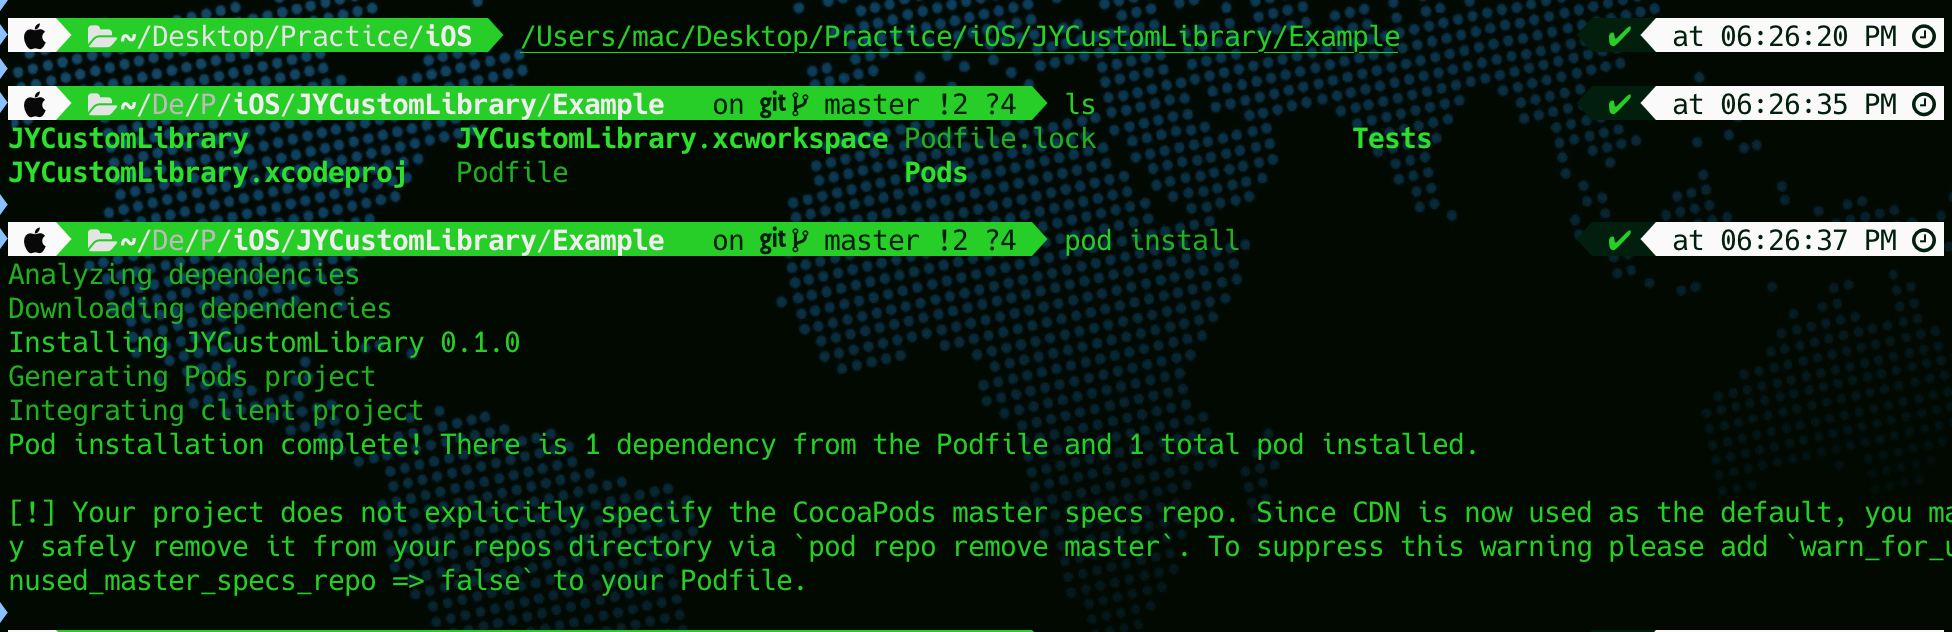
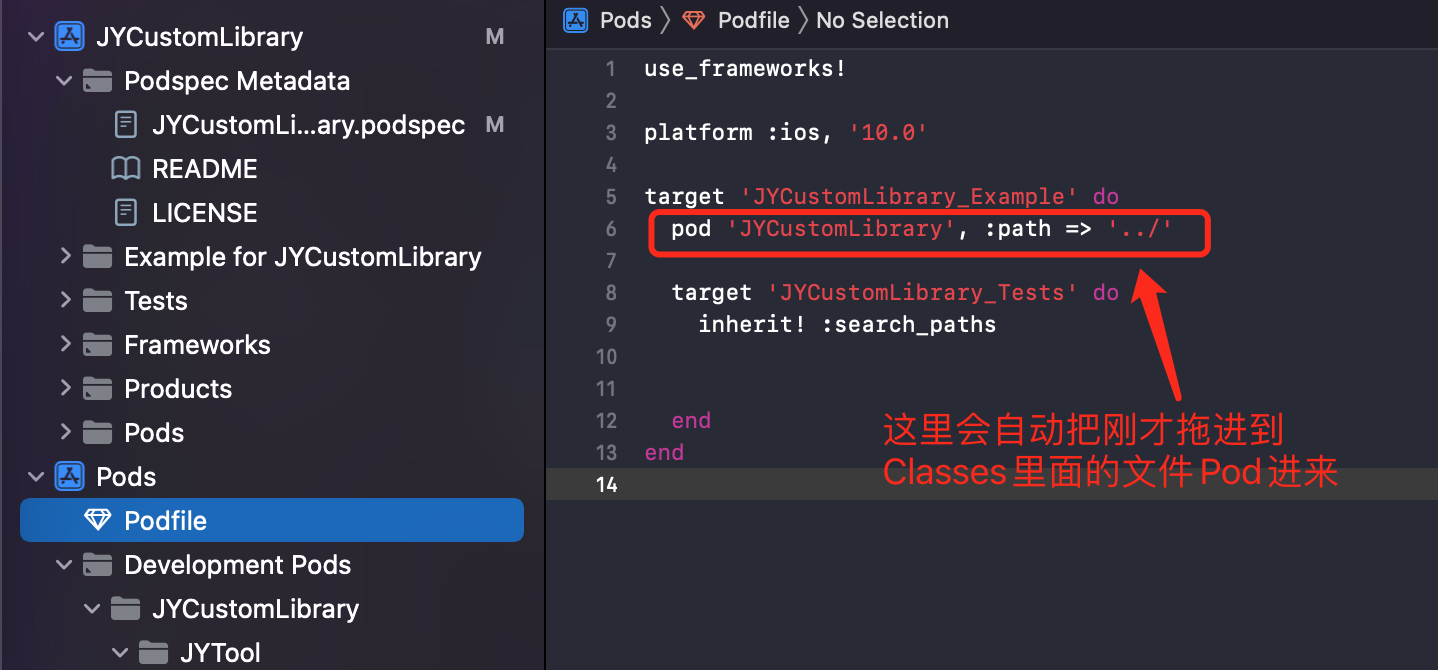
3>.接着cd到Example下进行pod install (把刚才拖入到classes里的文件夹pod进来,这里会通过podfile里面默认的设置,自动把classes里的文件pod过去)
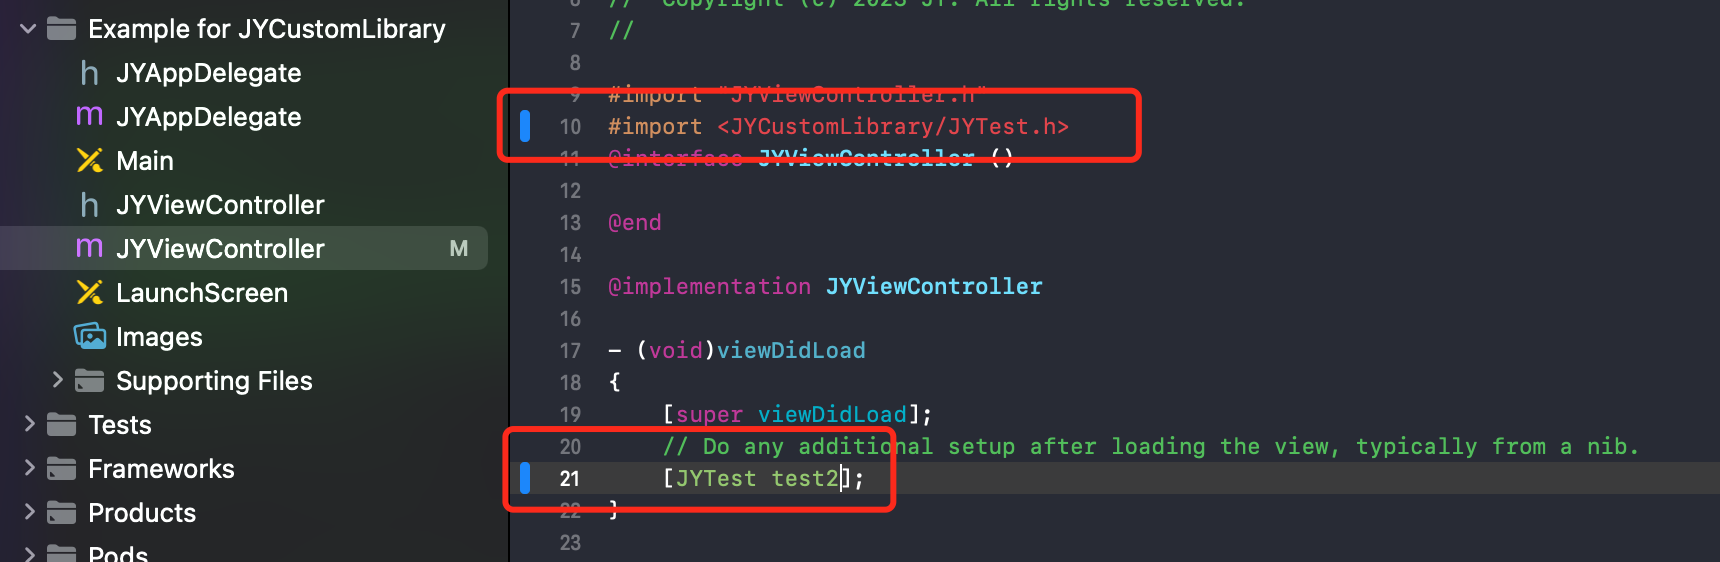
测试及校验
接下来我们需要测试我们开发的库,不然提交后检查会出现很多问题。
具体步骤:
(1)cd 到Example文件下,然后pod install下,更新Example项的pod。

4>. 编译组件看是否报错,编译通过后需要修改podspecs索引文件,一般需要修改下面几个问题。
a. 修改版本号

b. 修改项目的简单概述和详细描述

c. 修改homepage和source地址

d. 添加依赖库
修改JYCustomLibrary.podspec:
#
# Be sure to run `pod lib lint JYCustomLibrary.podspec' to ensure this is a
# valid spec before submitting.
#
# Any lines starting with a # are optional, but their use is encouraged
# To learn more about a Podspec see https://guides.cocoapods.org/syntax/podspec.html
#

Pod::Spec.new do |s|
  s.name             = 'JYCustomLibrary' #名称
  s.version          = '0.1.0' #版本号
  s.summary          = 'A short description of JYCustomLibrary.' #简单的描述

# This description is used to generate tags and improve search results.
#   * Think: What does it do? Why did you write it? What is the focus?
#   * Try to keep it short, snappy and to the point.
#   * Write the description between the DESC delimiters below.
#   * Finally, don't worry about the indent, CocoaPods strips it!

  s.description      = <<-DESC #详细的描述
TODO: Add long description of the pod here.
                       DESC

  s.homepage         =  'https://gitee.com/jyprofile/jycustom-library' #可以填代码仓库的地址
  # s.screenshots     = 'www.example.com/screenshots_1', 'www.example.com/screenshots_2'
  s.license          = { :type => 'MIT', :file => 'LICENSE' }
  s.author           = { 'JY' => 'ypf201410@163.com' }
  s.source           = { :git => 'https://gitee.com/jyprofile/jycustom-library.git', :tag => s.version.to_s } #代码仓库的地址
  # s.social_media_url = 'https://twitter.com/<TWITTER_USERNAME>'

  s.ios.deployment_target = '10.0'

  # 这里是源文件的路径
  s.source_files = 'JYCustomLibrary/Classes/**/*'

  # 这里是资源文件的路径
  # s.resource_bundles = {
  #   'JYCustomLibrary' => ['JYCustomLibrary/Assets/*.png']
  # }

  # 这里是头文件的路径
  # s.public_header_files = 'Pod/Classes/**/*.h'

  # 如果导入了framework
  # s.frameworks = 'UIKit', 'MapKit'

  # 如果依赖了library(记得把lib前缀,以及.tbd去掉)
  # s.libraries  = 'sqlite3', 'resolv', 'c++', 'z'

  # 如果依赖了三方pod库
  # s.dependency 'AFNetworking', '~> 2.3'
  # s.dependency 'HandyJSON', '~> 5.0.2'
  # s.dependency 'TXLiteAVSDK_Professional', '~> 8.9.10382'
  # s.dependency 'SwiftyBeaver', '~> 1.9.3' # Log
  # s.dependency 'SwifterSwift/SwiftStdlib'

  # 如果需要修改pod中的target设置,写在这里
  # s.pod_target_xcconfig = { 'VALID_ARCHS' => 'x86_64 armv7 arm64', 'ENABLE_BITCODE' => 'NO' }
  #  s.user_target_xcconfig = { 'ENABLE_BITCODE' => 'NO' }
end
主要修改封装的资源路

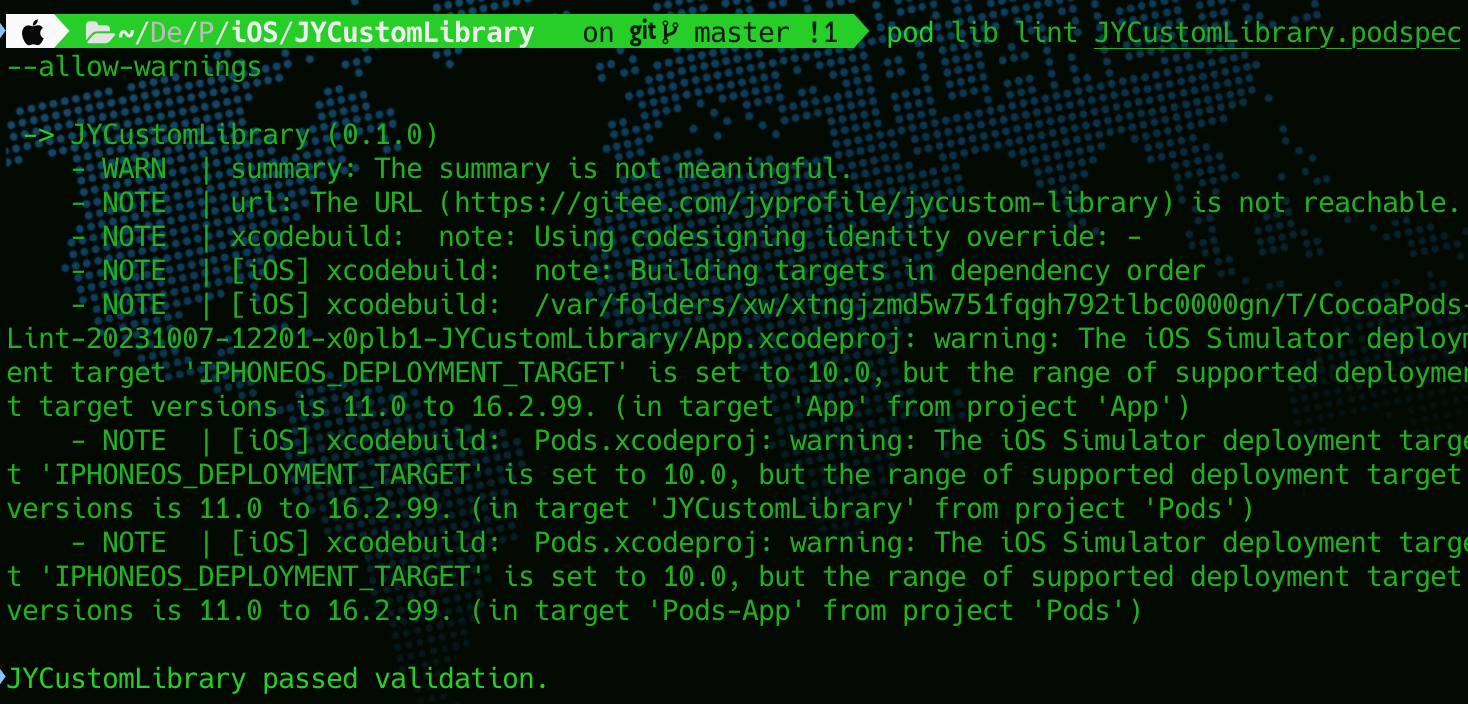
打开example中的项目,找到项目中的podspec文件,更改spec。然后验证本地podspec文件有效性
终端命令如下:
pod lib lint JYCustomLibrary.podspec --allow-warnings
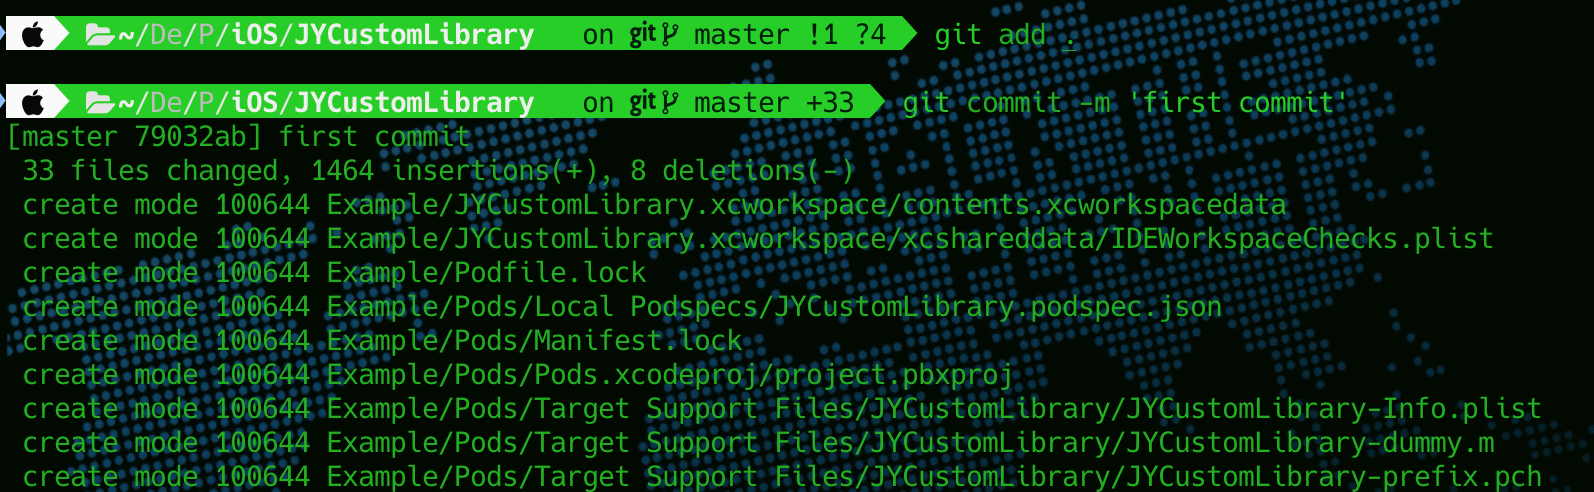
4>. 编译运行通过后,本地项目工程上传到远程仓库中,提交组件到远程代码库并打tag.
git add .
git commit -m “xxx”
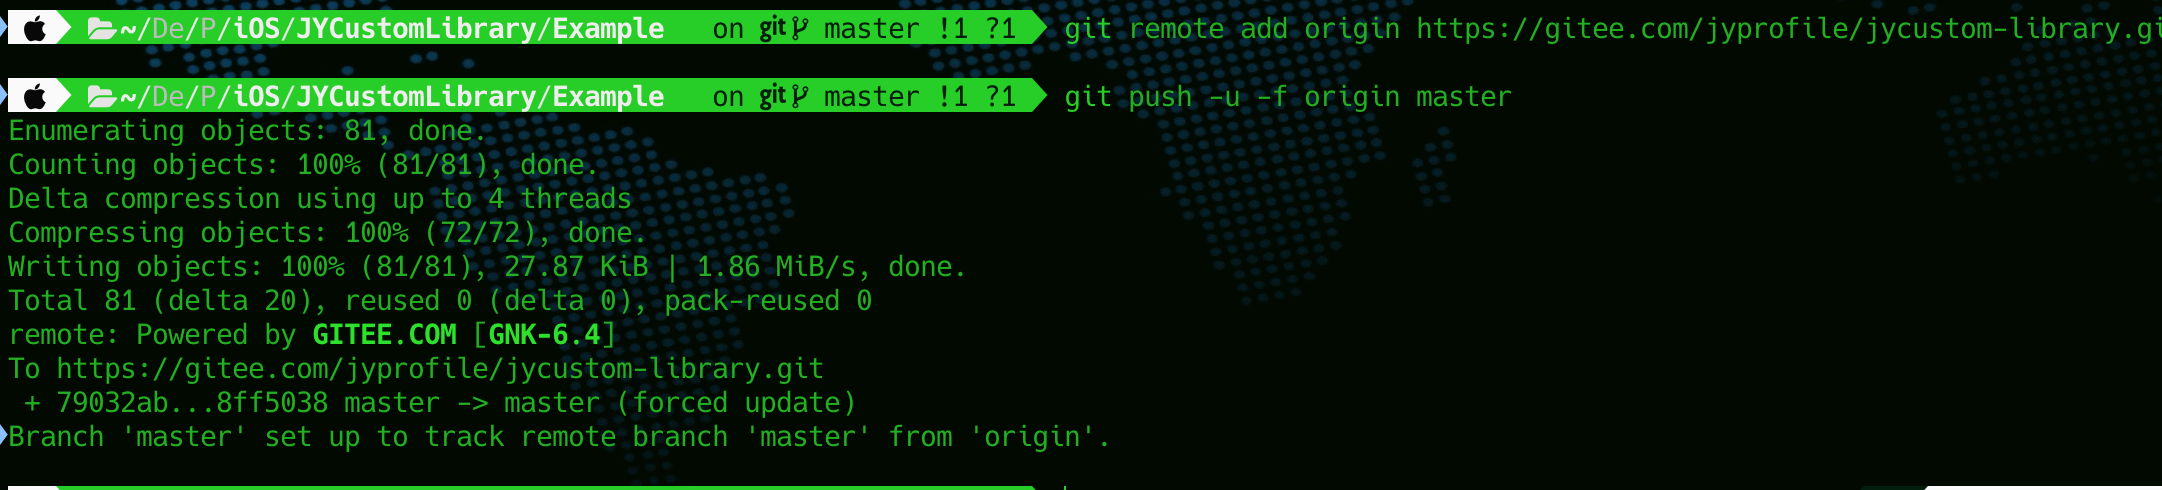
git remote add origin 远程代码仓库地址
git push origin master 或者 git push -u origin master(一般第一次提交用)或者 git push -u -f origin master (提交到远程仓库,这个命令中的 -f 是强制推送,因为远程仓库只有初始化的文件,所以强制推送上去就行了,不加-f 会报当前分支没有远程分支,强制推送可以覆盖master,这样就完成了第一次提交的步骤)
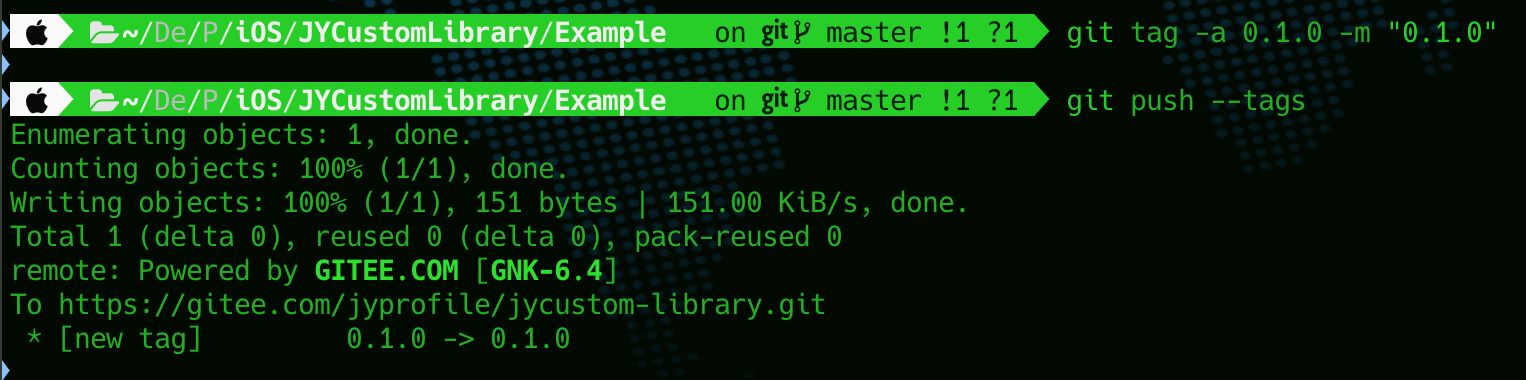
git tag 版本号/git tag -a 版本号 -m “version 版本号”(注:这里的版本号必须和podspec里写的版本号一致)
git tag 查看版本号是否提交成功
git push - -tags

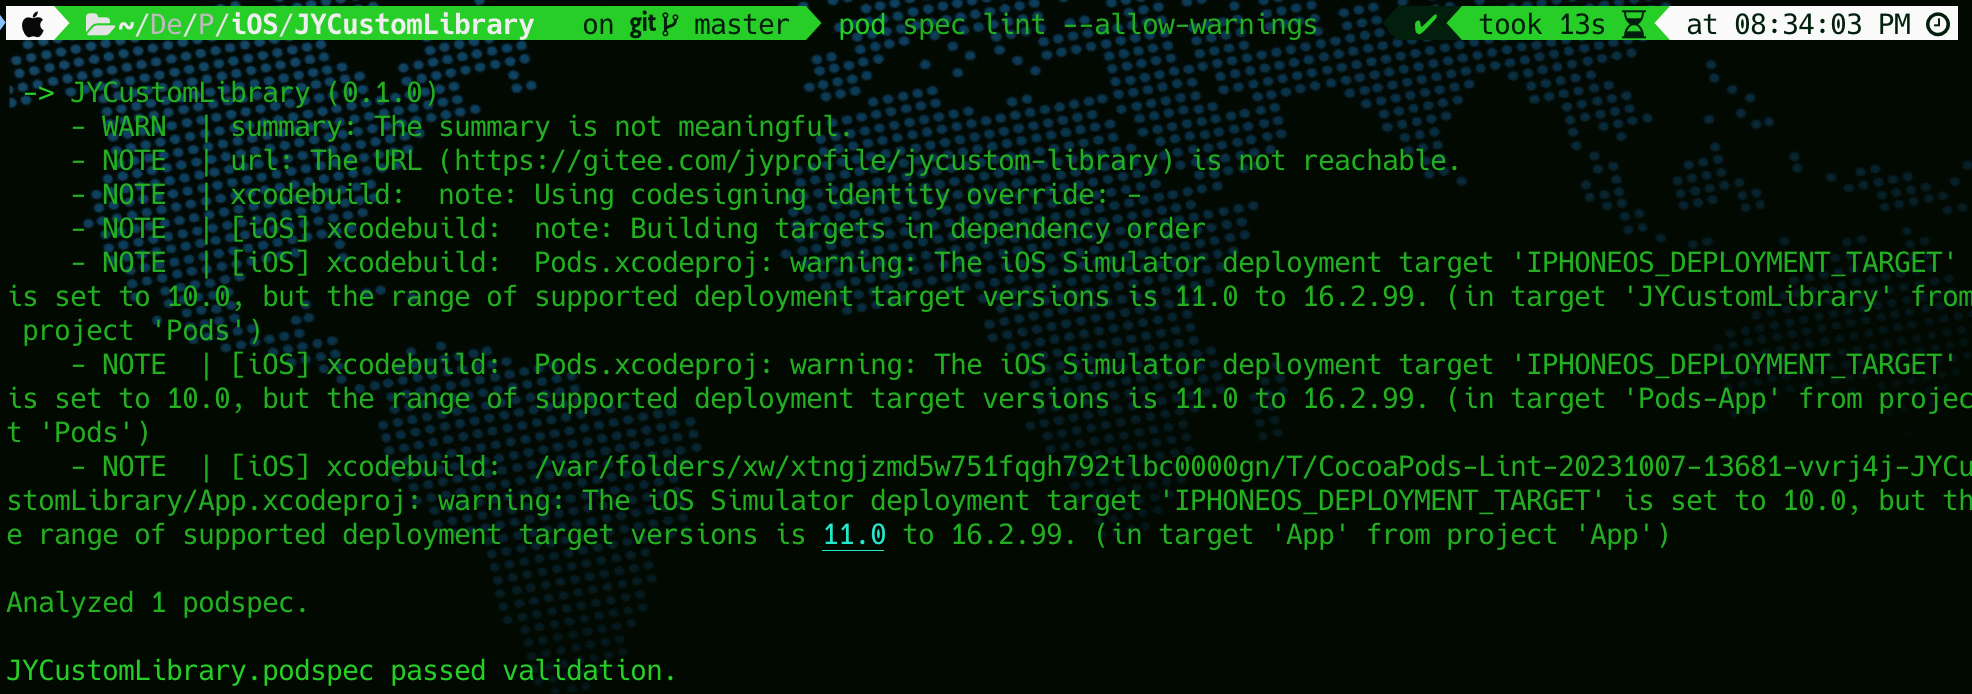
6>.cd 到Example 同级目录通过pod spec lint --allow-warnings 命令验证podspec索引文件(注:pod lib lint是检索本地索引文件,pod spec lint 是本地和远程库同时检索)
成功示例:
7>.验证通过后,pod repo push <本地索引库> <索引文件名> --allow-warnings 提交索引文件到远程索引库。
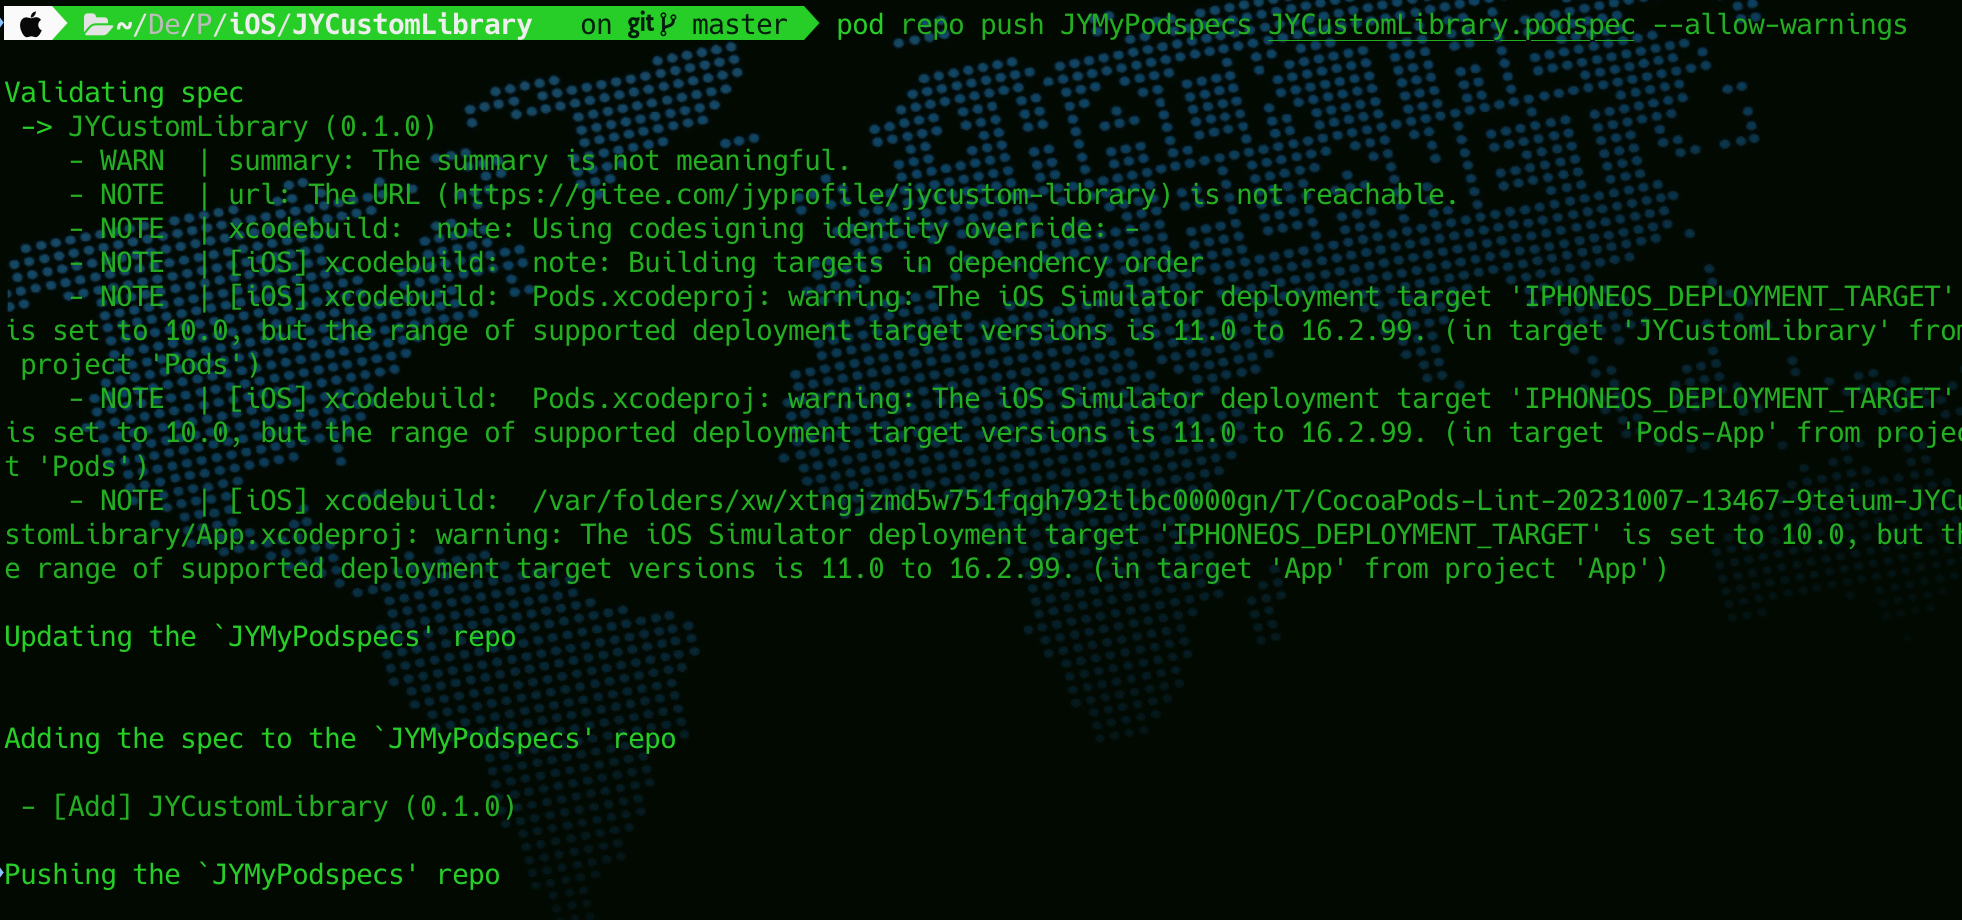
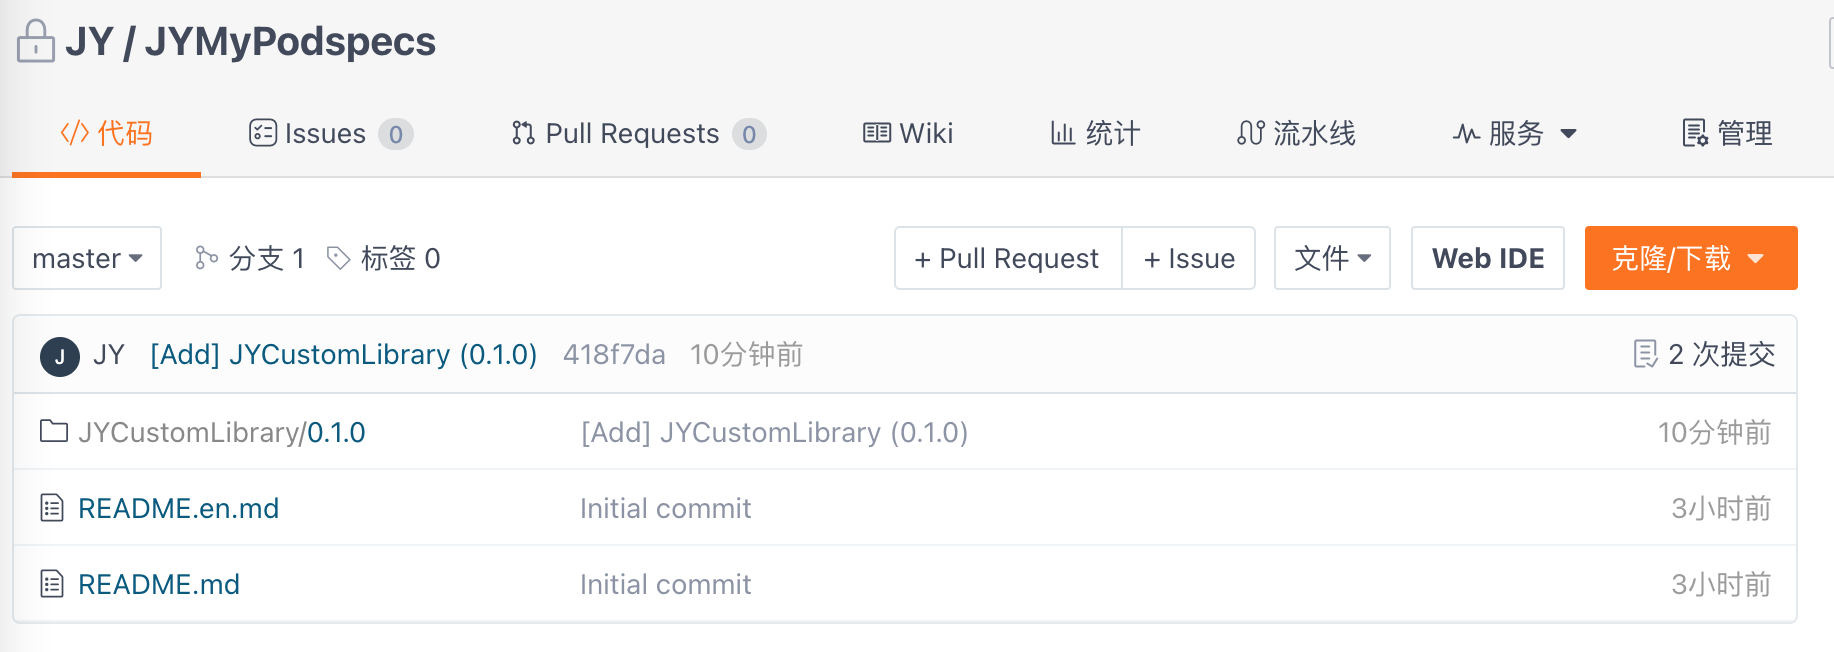
本地也可以查看已成功

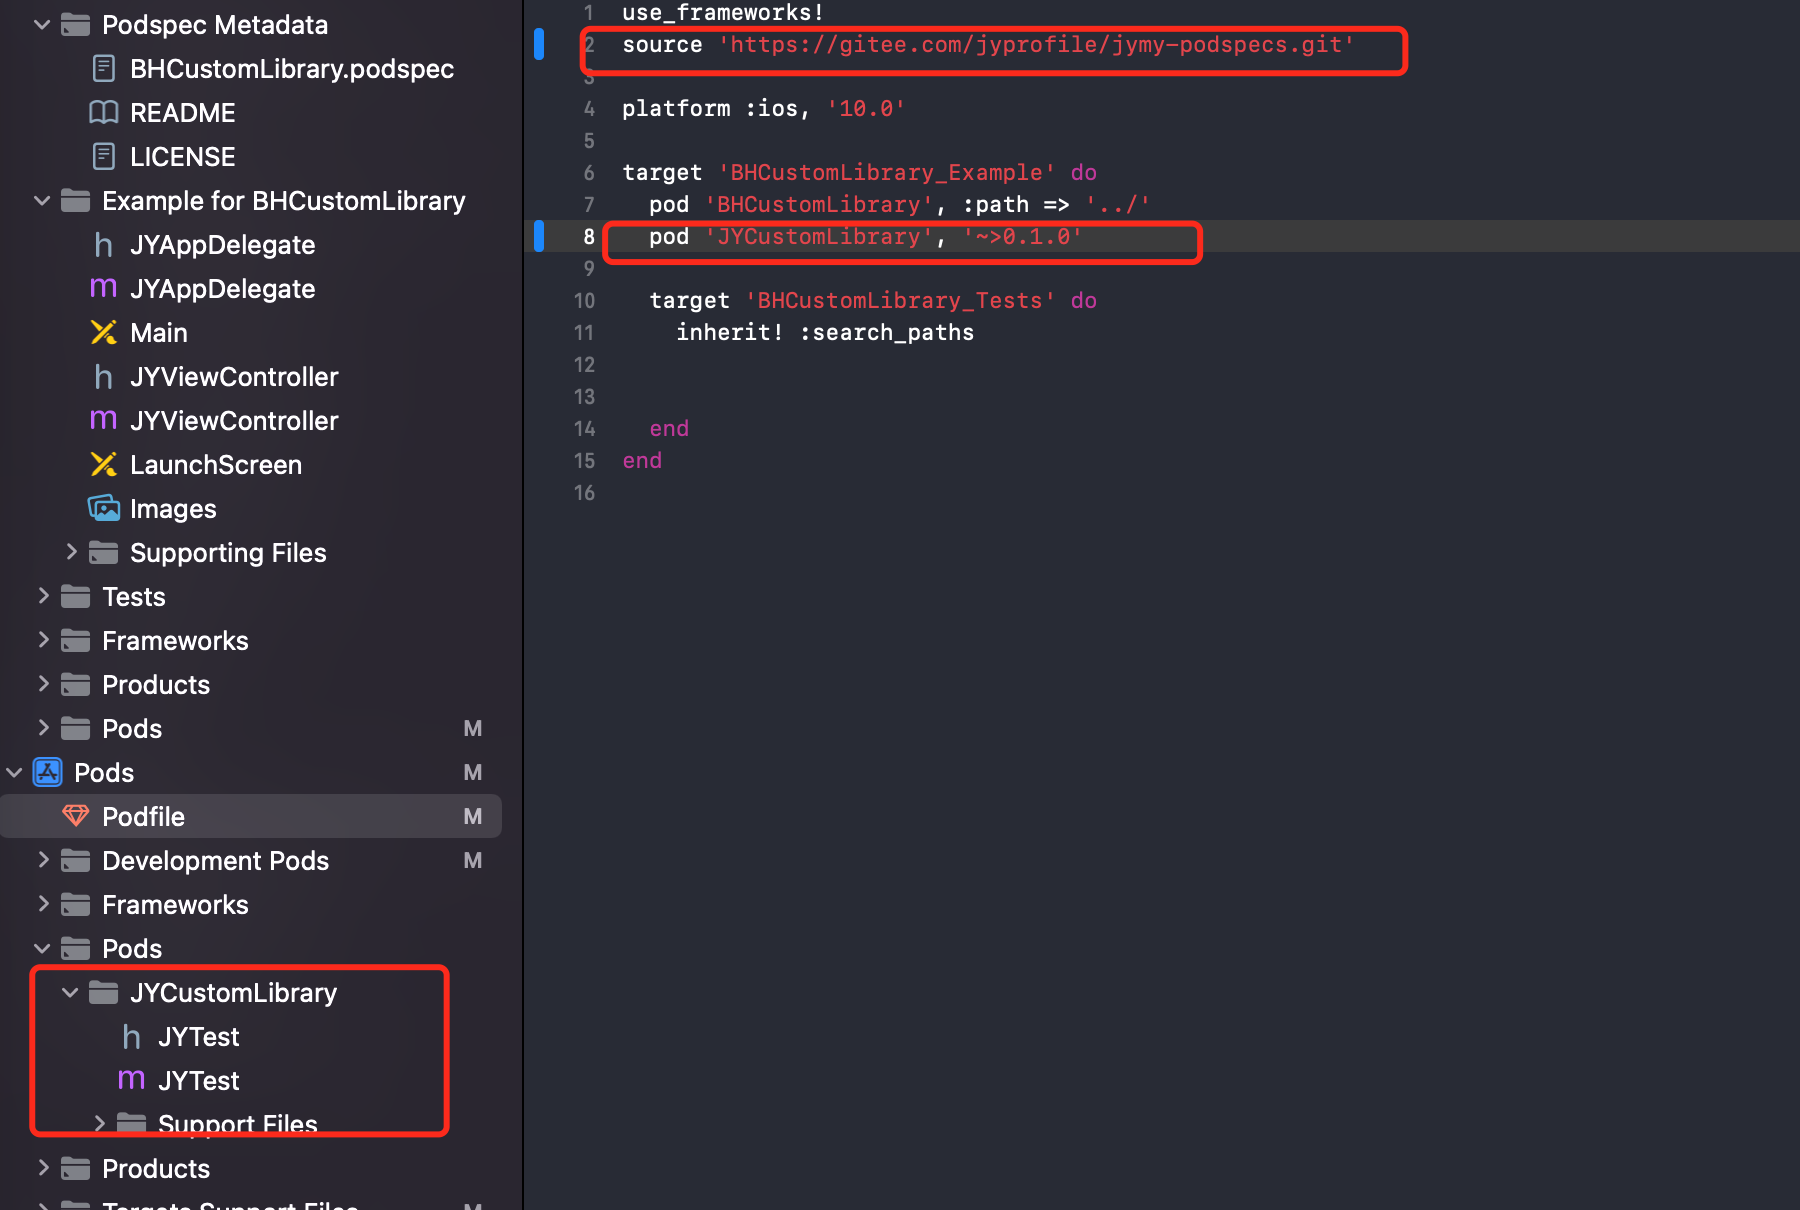
使用自己创建的私有pod库, 在demo中测试如下:
私有仓库的调试:
修改私有库的内容。在Example中调试使用的时候,
执行:
pod install
更新本地私有仓库:
pod repo update <私有仓库>
上传cocoapods
1、注册
如果没有注册trunk,需要注册
pod trunk register Email 'username' --verbose
使用如下命令查看自己的信息
pod trunk me
2、验证描述文件
pod spec lint <名字>.podspec
3、用trunk推送podspec文件
pod trunk push <名字>.podspec

 浙公网安备 33010602011771号