SpringBoot之整合Quartz调度框架-基于Spring Boot2.0.2版本
1.项目基础
项目是基于Spring Boot2.x版本的

2.添加依赖
        <!-- quartz依赖 -->
        <dependency>
            <groupId>org.springframework.boot</groupId>
            <artifactId>spring-boot-starter-quartz</artifactId>
        </dependency>
3.yml配置

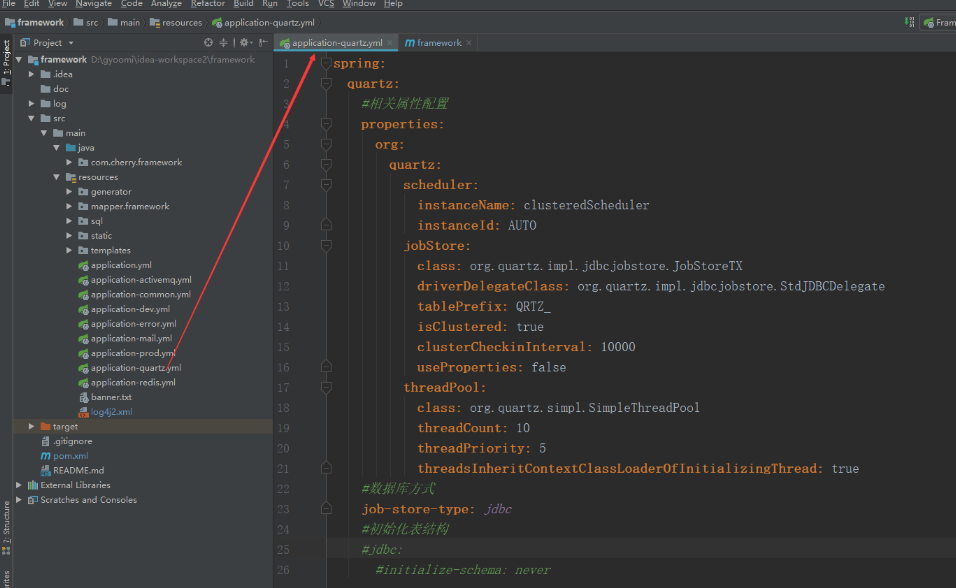
application-quartz.yml的配置内容如下
spring:
  quartz:
    #相关属性配置
    properties:
      org:
        quartz:
          scheduler:
            instanceName: clusteredScheduler
            instanceId: AUTO
          jobStore:
            class: org.quartz.impl.jdbcjobstore.JobStoreTX
            driverDelegateClass: org.quartz.impl.jdbcjobstore.StdJDBCDelegate
            tablePrefix: QRTZ_
            isClustered: true
            clusterCheckinInterval: 10000
            useProperties: false
          threadPool:
            class: org.quartz.simpl.SimpleThreadPool
            threadCount: 10
            threadPriority: 5
            threadsInheritContextClassLoaderOfInitializingThread: true
    #数据库方式
    job-store-type: jdbc
    #初始化表结构
    #jdbc:
      #initialize-schema: never
4.创建任务测试类
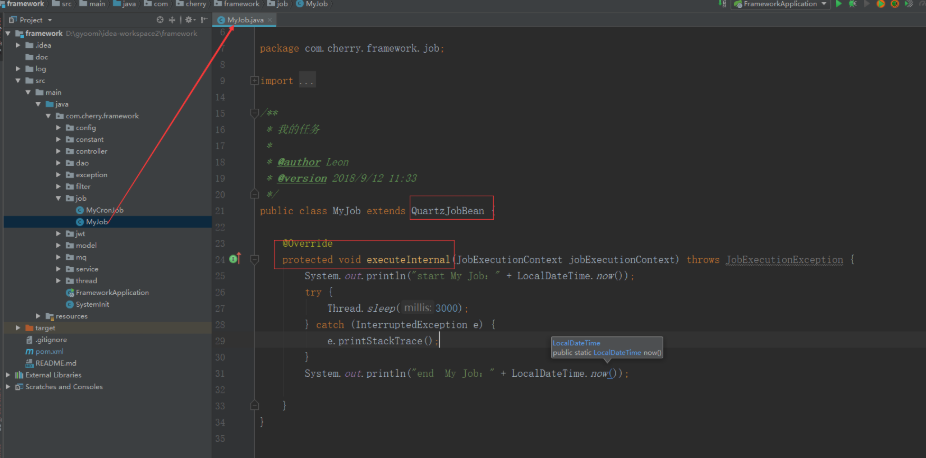
- 简单任务

代码如下:
public class MyJob extends QuartzJobBean {

    @Override
    protected void executeInternal(JobExecutionContext jobExecutionContext) throws JobExecutionException {
        System.out.println("start My Job:" + LocalDateTime.now());
        try {
            Thread.sleep(3000);
        } catch (InterruptedException e) {
            e.printStackTrace();
        }
        System.out.println("end  My Job:" + LocalDateTime.now());

    }
}
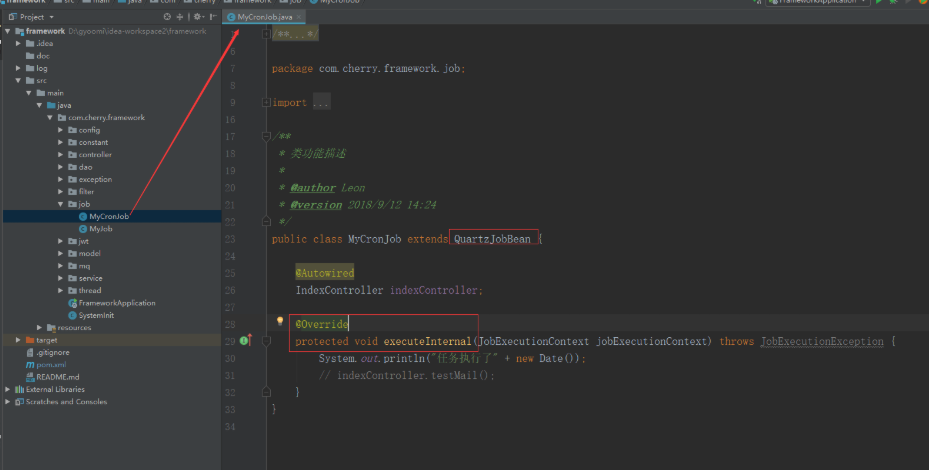
CRON任务

public class MyCronJob extends QuartzJobBean {

    @Autowired
    IndexController indexController;

    @Override
    protected void executeInternal(JobExecutionContext jobExecutionContext) throws JobExecutionException {
        System.out.println("任务执行了" + new Date());
        // indexController.testMail();
    }
}
5.Java配置(QuartzConfiguration)
@Configuration
public class QuartzConfiguration {

    // 使用jobDetail包装job
    @Bean
    public JobDetail myJobDetail() {
        return JobBuilder.newJob(MyJob.class).withIdentity("myJob").storeDurably().build();
    }

    // 把jobDetail注册到trigger上去
    @Bean
    public Trigger myJobTrigger() {
        SimpleScheduleBuilder scheduleBuilder = SimpleScheduleBuilder.simpleSchedule()
                .withIntervalInSeconds(15).repeatForever();

        return TriggerBuilder.newTrigger()
                .forJob(myJobDetail())
                .withIdentity("myJobTrigger")
                .withSchedule(scheduleBuilder)
                .build();
    }

    // 使用jobDetail包装job
    @Bean
    public JobDetail myCronJobDetail() {
        return JobBuilder.newJob(MyCronJob.class).withIdentity("myCronJob").storeDurably().build();
    }

    // 把jobDetail注册到Cron表达式的trigger上去
    @Bean
    public Trigger CronJobTrigger() {
        CronScheduleBuilder cronScheduleBuilder = CronScheduleBuilder.cronSchedule("0/10 * * * * ?");

        return TriggerBuilder.newTrigger()
                .forJob(myCronJobDetail())
                .withIdentity("myCronJobTrigger")
                .withSchedule(cronScheduleBuilder)
                .build();
    }
}
其实上面的配置就等价于在传统的xml中配置bean是一样的。
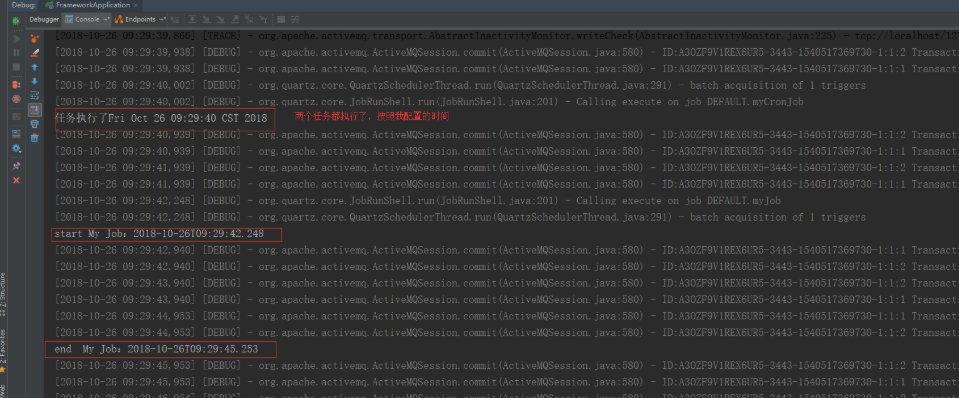
6.启动测试

至此,SpringBoot集成Quartz的完毕。
四、总结
- Spring Boot集成quartz还是比较简单的。
- 其实还有更高级的用法,就是前台动态创建和控制定时任务,后面有时间再完善。大家先把这种最简单的基本用法熟练掌握。


