Librepilot-Windows编译环境的搭建
1、安装Msys2
下载Msys2,下载地址 https://msys2.github.io,注意根据笔记本的型号选择32bit或64bit。
2、添加LibrePilot MinGW库
在 /etc/pacman.conf文件的尾部添加如下代码,可以手动添加,添加后保存即可。
[librepilot-mingw]
SigLevel = Optional TrustAll
Server = http://download.librepilot.org/repo/mingw
echo "[librepilot-mingw]" >> /etc/pacman.conf
echo "SigLevel = Optional TrustAll" >> /etc/pacman.conf
echo "Server = http://download.librepilot.org/repo/mingw" >> /etc/pacman.conf
3、安装所需的模块
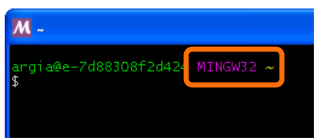
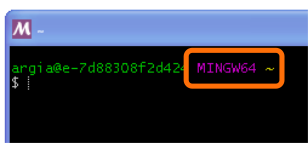
注意此步骤不在Msys2中进行,而是根据你的电脑机型选择32bit的MinGW-w64 Win32 Shell或者64bit的MinGW-w64 Win64 Shell进行操作。
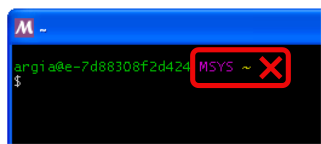
For 32 bit:
pacman -Sy
pacman -S --needed git unzip tar
pacman -S --needed mingw-w64-i686-toolchain
pacman -S --needed mingw-w64-i686-ccache
pacman -S --needed mingw-w64-i686-ntldd
pacman -S --needed mingw-w64-i686-qt5
pacman -S --needed mingw-w64-i686-SDL
pacman -S --needed mingw-w64-i686-mesa
pacman -S --needed mingw-w64-i686-openssl
pacman -S --needed mingw-w64-i686-gdal-minimal
pacman -S --needed mingw-w64-i686-OpenSceneGraph
pacman -S --needed mingw-w64-i686-osgearth
pacman -S --needed mingw-w64-i686-graphite2
pacman -S --needed mingw-w64-i686-nghttp2
pacman -S --needed mingw-w64-i686-gst-plugins-base
pacman -S --needed mingw-w64-i686-gst-plugins-good
pacman -S --needed mingw-w64-i686-gst-plugins-bad
pacman -S --needed mingw-w64-i686-gst-plugins-ugly
pacman -S --needed mingw-w64-i686-gst-libav
推荐安装的debug包:
pacman -S --needed mingw-w64-i686-OpenSceneGraph-debug
pacman -S --needed mingw-w64-i686-osgearth-debug
For 64 bit:
pacman -Sy
pacman -S --needed git unzip tar
pacman -S --needed mingw-w64-x86_64-toolchain
pacman -S --needed mingw-w64-x86_64-ccache
pacman -S --needed mingw-w64-x86_64-ntldd
pacman -S --needed mingw-w64-x86_64-qt5
pacman -S --needed mingw-w64-x86_64-SDL
pacman -S --needed mingw-w64-x86_64-mesa
pacman -S --needed mingw-w64-x86_64-openssl
pacman -S --needed mingw-w64-x86_64-gdal-minimal
pacman -S --needed mingw-w64-x86_64-OpenSceneGraph
pacman -S --needed mingw-w64-x86_64-osgearth
pacman -S --needed mingw-w64-x86_64-gst-plugins-base
pacman -S --needed mingw-w64-x86_64-gst-plugins-good
pacman -S --needed mingw-w64-x86_64-gst-plugins-bad
pacman -S --needed mingw-w64-x86_64-gst-plugins-ugly
pacman -S --needed mingw-w64-x86_64-gst-libav
推荐安装的debug包:
pacman -S --needed mingw-w64-x86_64-OpenSceneGraph-debug
pacman -S --needed mingw-w64-x86_64-osgearth-debug
4、获取Librepilot源代码
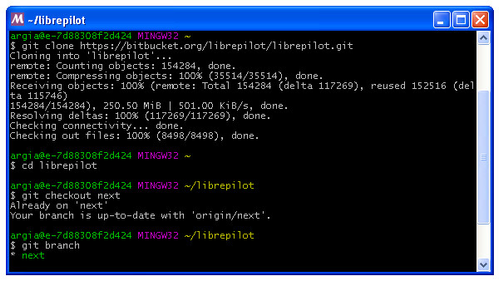
注意此步骤依然不在Msys2中进行,而是根据你的电脑机型选择32bit的MinGW-w64 Win32 Shell或者64bit的MinGW-w64 Win64 Shell进行操作。
命令如下:
cd ~
git clone https://bitbucket.org/librepilot/librepilot.git
获取完成后,在安装路径文件夹下应该有一个home文件夹,里面是用户,进入后应该有一个librepilot文件夹,该文件夹下即为获取的源代码,可以通过sourceInsight查看源码。
5、安装toolchain
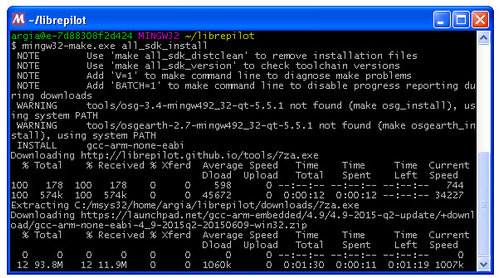
通过cd librepilot切换到该文件夹下,在该文件夹下安装toolchain。
cd librepilot
mingw32-make all_sdk_install
一个安装如下的7个toolchain,注:该过程有可能出现error,是因为网络传输数据出现校验不通过的情况,需反复执行mingw32-make all_sdk_install命令,直到完全没有错误为止,此过程中保存网络通畅。
|
Tool
|
Approx. size
|
Used for
|
|---|---|---|
| Arm compiler | ~94Mb |
firmware build |
| Nsis | ~2,1Mb | Windows installer |
| Mesa | ~13Mb | OpenGL software driver |
| ccache | ~350Kb | Build faster |
| gtest | ~1,1Mb | |
| uncrustify | ~250Kb | Format code |
| doxygen | ~4Mb | Documentation |
6、对LibrePilot软件进行编译
注意此步骤依然不在Msys2中进行,而是根据你的电脑机型选择32bit的MinGW-w64 Win32 Shell或者64bit的MinGW-w64 Win64 Shell进行操作。
命令如下:
mingw32-make package
注意:此过程比较缓慢,编译时间较长,需要耐心等待。
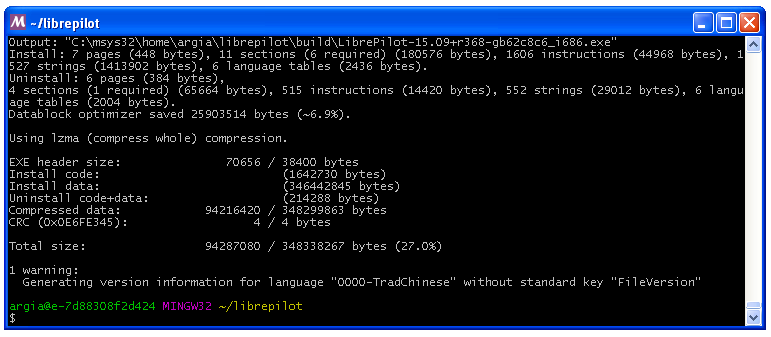
编译完成后,在~/librepilot/build/路径下应该出现一个地面站软件安装包,如下:
7、恭喜完成编译 !
到这一步就应该恭喜你了,完成了全部的编译过程。编译package安装包的时间比较长,后期在修改源码的基础上只需对修改的模块进行编译,这样会比较节省时间。


