JS构建多端应用
JS构建多端应用
一,需求与介绍
1.1,介绍
1,Taro 是一套遵循 React 语法规范的 多端开发 解决方案。现如今市面上端的形态多种多样,Web、React-Native、微信小程序等各种端大行其道,当业务要求同时在不同的端都要求有所表现的时候,针对不同的端去编写多套代码的成本显然非常高,这时候只编写一套代码就能够适配到多端的能力就显得极为需要。
使用 Taro,我们可以只书写一套代码,再通过 Taro 的编译工具,将源代码分别编译出可以在不同端(微信/百度/支付宝/字节跳动小程序、H5、React-Native 等)运行的代码。
2,Taro UI 是一款基于 Taro 框架开发的多端 UI 组件库
1.2,需求
一套代码,多端使用,减少开发成本
二,搭建项目
第一步:全局安装Taro 开发工具 @tarojs/cli
1 npm/cnpm install -g @tarojs/cli
第二步:创建项目
1 taro init YingQi
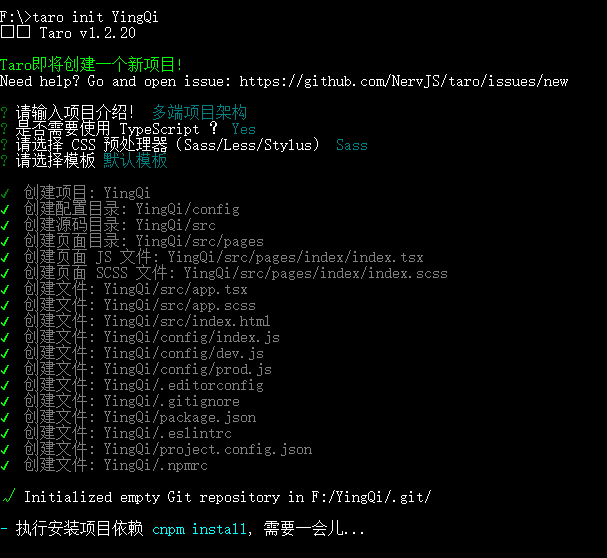
在创建完项目之后,Taro 会默认开始安装项目所需要的依赖,安装使用的工具按照 yarn>cnpm>npm 顺序进行检测。如果安装失败,可以使用如下命令安装
1 npm/cnpm install
第三步:运行项目
以运行H5为例,输入如下命令
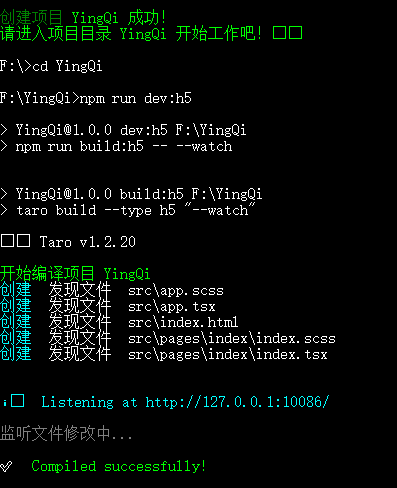
如果看到如下界面,表示运行成功
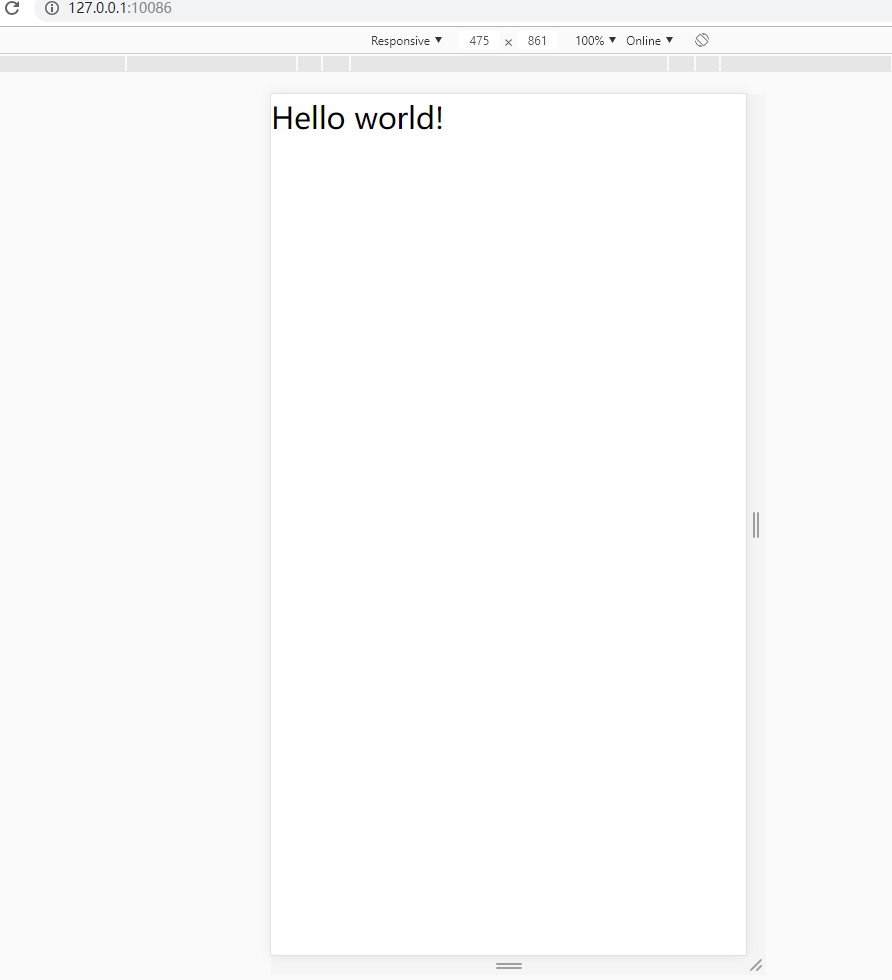
1.H5
H5预览项目
1 # npm script
2 $ npm run dev:h5
3 # 仅限全局安装
4 $ taro build --type h5 --watch
5 # npx 用户也可以使用
6 $ npx taro build --type h5 --watch
H5打包项目
1 # npm script
2 $ npm run build:h5
3 # 仅限全局安装
4 $ taro build --type h5
5 # npx 用户也可以使用
6 $ npx taro build --type h5
2.微信小程序
微信小程序预览项目
1 # npm script
2 $ npm run dev:weapp
3 # 仅限全局安装
4 $ taro build --type weapp --watch
5 # npx 用户也可以使用
6 $ npx taro build --type weapp --watch
微信小程序打包项目
1 # npm script
2 $ npm run build:weapp
3 # 仅限全局安装
4 $ taro build --type weapp
5 # npx 用户也可以使用
6 $ npx taro build --type weapp
注意:去掉 --watch 将不会监听文件修改,并会对代码进行压缩打包
其他端的预览/打包项目与H5的类似,只需把H5替换为其他的即可,如下:
- 百度只能小程序:swan
- 支付宝小程序:alipay
- React-Native:rn
- 头条/字节跳动小程序:tt
三,配置项目架构
3.1,配置dva
第一步:安装所需的依赖
1 npm/cnpm install --save dva-loading dva-core redux-logger
第二步:配置dva入口
 1 import Taro from '@tarojs/taro';
 2 import { create } from 'dva-core';
 3 // import { createLogger } from 'redux-logger';
 4 import createLoading from 'dva-loading';
 5
 6 let app;
 7 let store;
 8 let dispatch;
 9
10 function createApp(opt) {
11   // redux日志
12   // opt.onAction = [createLogger()];
13   app = create(opt);
14   app.use(createLoading({}));
15
16   // 适配支付宝小程序
17   if (Taro.getEnv() === Taro.ENV_TYPE.ALIPAY) {
18     global = {};
19   }
20
21   //注册models
22   if (!global.registered) opt.models.forEach(model => app.model(model));
23   global.registered = true;
24   app.start();//启动
25
26   store = app._store;
27   app.getStore = () => store;
28
29   dispatch = store.dispatch;
30
31   app.dispatch = dispatch;
32   return app;
33 }
34
35 export default {
36   createApp,
37   getDispatch() {
38     return app.dispatch;
39   },
40 };
第三步:配置models文件-home
 1 import {STATUSSUCCESS} from '../utils/const';
 2 import {
 3     Home as namespace,
 4   } from '../utils/namespace';
 5 import {
 6   getSingleDataById,
 7 } from '../services/home';
 8
 9 export default {
10   namespace: namespace,//'home',
11   state: {
12     singleId:'',
13     tableName:'',
14   },
15   effects: {
16     *getSingleData(_, { call, put,select }) {
17       const { singleId, tableName } = yield select(state => state[namespace]);
18       console.log('singleId===',singleId)
19       const { status, data } = yield call(getSingleDataById, {
20         singleId,
21         tableName,
22       });
23       if (status ==STATUSSUCCESS) {
24         yield put({
25           type: 'save',
26           payload: {
27             banner: data.banner,
28             brands: data.brands,
29           },
30         });
31       }
32     },
33   },
34   reducers: {
35     save(state, { payload }) {
36       return { ...state, ...payload };
37     },
38   },
39 };
第四步:配置models的统一入口
1 import home from './home';
2
3 export default [ home];
第五步:引入到项目入口文件
1 import dva from './entries';
2 import models from './models';
第六步:在项目入口文件配置
 1 ...
 2
 3 import { Provider } from '@tarojs/redux';
 4
 5 ...
 6
 7 const dvaApp = dva.createApp({
 8   initialState: {},
 9   models: models,
10 });
11 const store = dvaApp.getStore();
12
13 ...
14
15  render() {
16     return (
17       <Provider store={store}>
18        ...
19       </Provider>
20     );
21   }
22
23 ...
3.2,配置服务请求
第一步:配置请求方式与返回状态
1 export const GET = 'GET';
2 export const POST = 'POST';
3 export const PUT = 'PUT';
4 export const PATCH = 'PATCH';
5 export const DELETE = 'DELETE';
6 export const UPDATE = 'UPDATE';
7
8 export const STATUSSUCCESS = 1;//成功返回状态
第二步:配置请求基础地址与日志是否打印
1 import Taro from '@tarojs/taro';
2 // 请求连接前缀
3 export const baseUrl = Taro.getEnv() === Taro.ENV_TYPE.WEB?'':'http://localhost:8880';//web端使用代理服务,小程序端使用服务前缀
4
5 // 开发环境输出日志信息
6 export const noConsole = (process.env.NODE_ENV === 'development');
第三步:封装request
 1 import Taro from '@tarojs/taro';
 2 import {STATUSSUCCESS} from './const';
 3 import { baseUrl, noConsole } from '../config';
 4
 5 function checkHttpStatus(response) {
 6
 7   if (!!noConsole) {
 8     console.log('response===',response)
 9   }
10   if (response.statusCode >= 200 && response.statusCode < 300) {
11     return response.data;
12   }
13   const error = new Error(response.statusText);
14   error.response = response;
15   error.code = response.status;
16   throw error;
17 }
18
19 function getResult(json) {
20   // const {dispatch} = store;
21   if (json.status ==STATUSSUCCESS) {
22     return json;
23   }
24   else {
25     const error = new Error(json.message || json.msg || '数据加载错误!');
26     error.code = json.code;
27     error.data = json;
28     throw error;
29   }
30 }
31
32 export default (url = '', options = {},) => {
33   let data;
34   let contentType;
35   data = options.data;
36   delete options.data;
37   contentType = options.contentType;
38   delete options.contentType;
39   const opts = {
40     url: baseUrl + url,
41     method: 'POST',
42     ...options
43   };
44   opts.header = {
45     ...opts.header,
46   };
47
48 // 请求连接前缀
49   if (opts.method === 'GET') {
50      url = url.split('?');
51      url = url[0] + '?' + QueryString.stringify(url[1] ? {...QueryString.parse(url[1]), ...data} : data);
52      opts.headers['Content-type'] = contentType ? contentType : 'application/x-www-form-urlencoded'; //
53
54   } else {
55     opts.header['Content-Type'] = contentType ? contentType : 'application/x-www-form-urlencoded'; //
56     opts.data = contentType === 'application/json' ? JSON.stringify(data) : serialize(data);
57   }
58   if (!!noConsole) {
59     console.log(
60       `${new Date().toLocaleString()}【 request  ${url} 】DATA=${JSON.stringify(
61         data
62       )}`
63     );
64   }
65   return Taro.request(opts)
66   .then(checkHttpStatus)
67   .then(getResult)
68   .catch(err => ({err}));
69 };
第四步:请求服务
1 import request from '../utils/request';
2 import {PUT, POST} from '../utils/const';
3
4 /*
5 ***获取单个登录数据***
6 */
7 export async function getSingleDataById(data) {
8   return request('/api/v1/yingqi/user/getSingleDataById', {data, method: PUT, contentType: 'application/json'});
9 }
3.3,配置UI组件
第一步:安装UI组件taro-ui
1 npm/cnpm install taro-ui --save
第二步:配置需要额外编译的源码模块
由于引用 `node_modules` 的模块,默认不会编译,所以需要额外给 H5 配置 `esnextModules`,在 taro 项目的 `config/index.js` 中新增如下配置项:
1 h5: {
2   esnextModules: ['taro-ui']
3 }
第三步:使用taro-ui
1 // page.js
2 import { AtButton } from 'taro-ui'
3 // 除了引入所需的组件,还需要手动引入组件样式
4 // app.js
5 import 'taro-ui/dist/style/index.scss' // 全局引入一次即可
1  <AtButton
2         onClick={this.handleChange.bind(this)}>
3         底部关闭幕帘
4       </AtButton>
3.4,配置iconfont图标
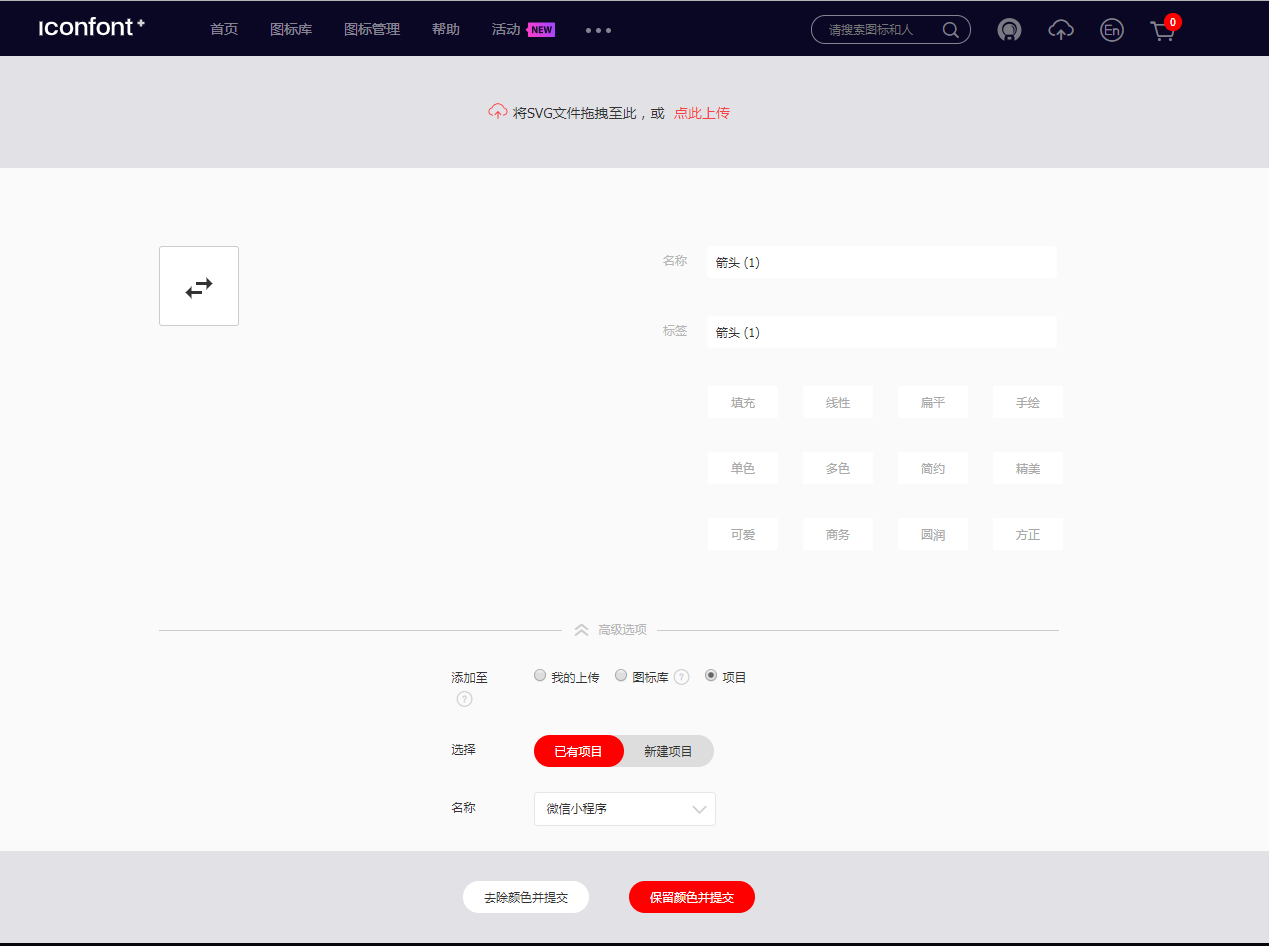
第一步:在iconfont上创建项目
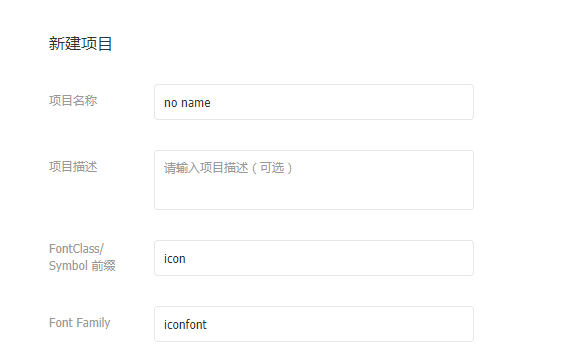
第二步:上传图标并生成代码
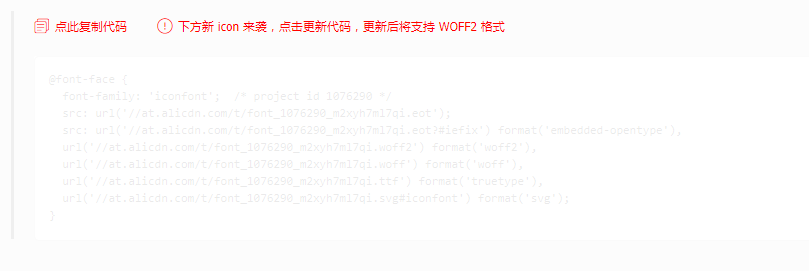
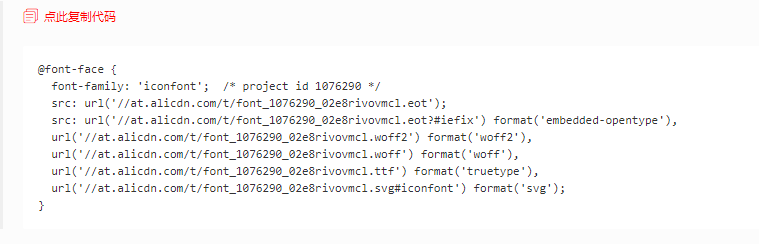
第三步:在项目中配置
 1 @font-face {
 2   font-family: 'iconfont';  /* project id 1076290 */
 3   src: url('http://at.alicdn.com/t/font_1076290_m2xyh7ml7qi.eot');
 4   src: url('http://at.alicdn.com/t/font_1076290_m2xyh7ml7qi.eot?#iefix') format('embedded-opentype'),
 5   url('http://at.alicdn.com/t/font_1076290_m2xyh7ml7qi.woff2') format('woff2'),
 6   url('http://at.alicdn.com/t/font_1076290_m2xyh7ml7qi.woff') format('woff'),
 7   url('http://at.alicdn.com/t/font_1076290_m2xyh7ml7qi.ttf') format('truetype'),
 8   url('http://at.alicdn.com/t/font_1076290_m2xyh7ml7qi.svg#iconfont') format('svg');
 9 }
10
11 .iconfont {
12   font-family: 'iconfont' !important;
13   font-size: 32px;
14   font-style: normal;
15   -webkit-font-smoothing: antialiased;
16   -moz-osx-font-smoothing: grayscale;
17 }
18
19 .icon-more:before {
20   content: '\e605';
21 }
第四步:使用
1 <View className="iconfont icon-more arrow" />
效果如下:

四,常见问题
1,问题:使用inconfont图标时,web端没有显示图标
解决办法:在每一行//at.alicdn.com/t/font_1076290_m2xyh7ml7qi.eot前加“https:”
2,问题:Taro发起请求参数无法识别content-type类型
原因:由于常用的axios/fetch请求参数的头部是headers,而taro的是header,如果继续使用headers会引发content-type设置失效,变成默认的类型。
解决办法:headers->header
1  opts.header = {
2     ...opts.header,
3   };
