centos7 通过yum源安装制定版本的mariadb数据库
一、准备工作
https://mariadb.org/mariadb/all-releases/
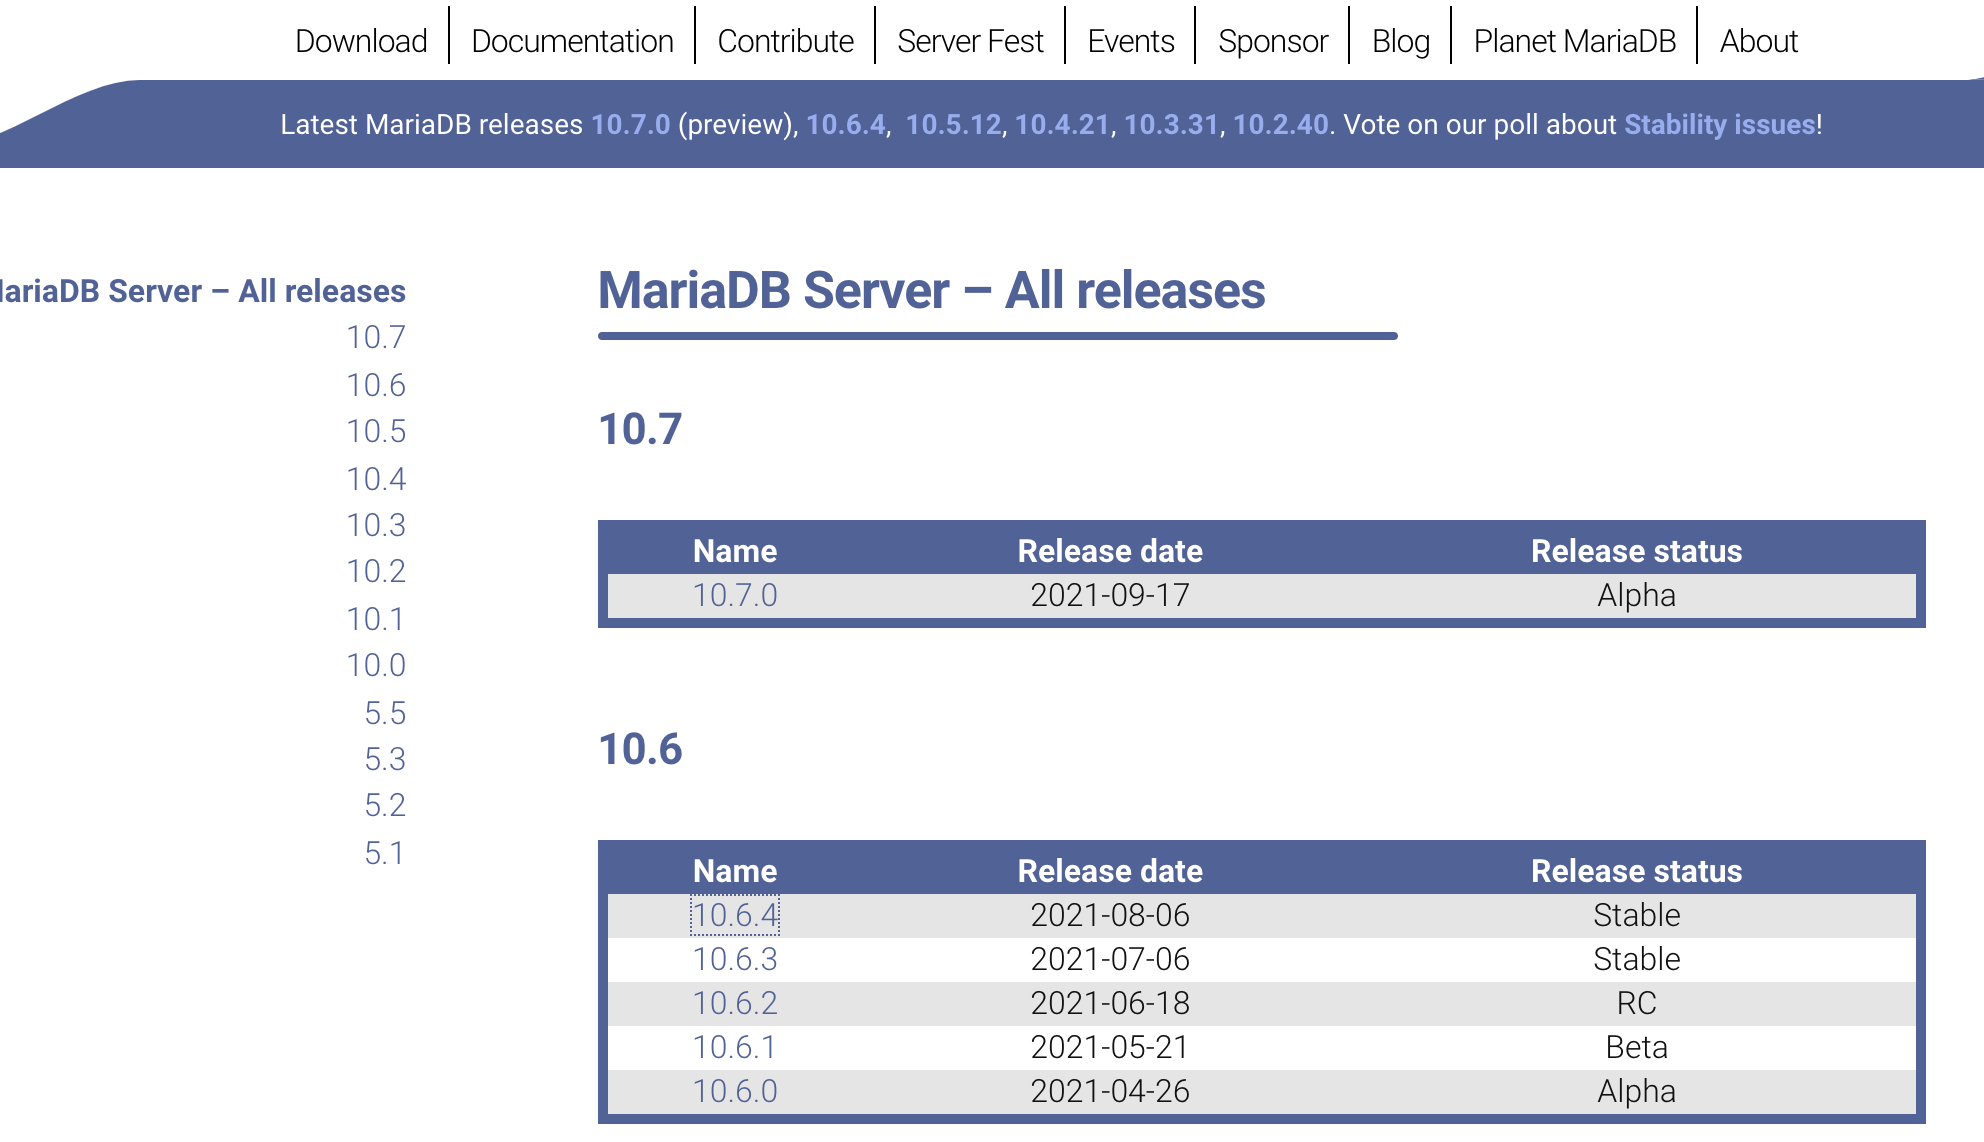
选择想要安装的版本,再选择MariaDB Respositories,复制yum源信息

二、先确认当前环境是否安装过数据库
[root@localhost ~]# rpm -q mariadb-server
package mariadb-server is not installed
三、重新配置yum仓库
# vim /etc/yum.repos.d/MariaDB.repo
将复制的yum源信息填写到MariaDB.repo
[mariadb]
name = MariaDB
baseurl = https://tw1.mirror.blendbyte.net/mariadb/yum/10.6/centos7-amd64
gpgkey=https://tw1.mirror.blendbyte.net/mariadb/yum/RPM-GPG-KEY-MariaDB
gpgcheck=1
查看已安装好的yum源仓库
[root@localhost yum.repos.d]# yum repolist
Loaded plugins: fastestmirror
Loading mirror speeds from cached hostfile
base                                                                                                                       | 3.6 kB  00:00:00
epel                                                                                                                       | 4.7 kB  00:00:00
extras                                                                                                                     | 2.9 kB  00:00:00
mariadb                                                                                                                    | 3.4 kB  00:00:00
updates                                                                                                                    | 2.9 kB  00:00:00
(1/2): mariadb/updateinfo                                                                                                  | 5.4 kB  00:00:01
(2/2): mariadb/primary_db                                                                                                  |  66 kB  00:00:01
repo id                                                repo name                                                                            status
base/7/x86_64                                          CentOS-7                                                                             10,072
epel/x86_64                                            Extra Packages for Enterprise Linux 7 - x86_64                                       13,674
extras/7/x86_64                                        CentOS-7                                                                                500
mariadb                                                MariaDB                                                                                  93
updates/7/x86_64                                       CentOS-7                                                                              2,943
repolist: 27,282
四、yum安装mariadb服务端
# yum install -y mariadb-server
[root@localhost yum.repos.d]# mariadb --version
mariadb  Ver 15.1 Distrib 10.6.4-MariaDB, for Linux (x86_64) using readline 5.1
五、安装后,运行安全加固(过程略)
由于版本缘故,没有/usr/bin/mysql_secure_installation,使用mariadb-secure-installation代替
[root@localhost conf]# /usr/bin/mariadb-secure-installation

NOTE: RUNNING ALL PARTS OF THIS SCRIPT IS RECOMMENDED FOR ALL MariaDB
      SERVERS IN PRODUCTION USE!  PLEASE READ EACH STEP CAREFULLY!

In order to log into MariaDB to secure it, we'll need the current
password for the root user. If you've just installed MariaDB, and
haven't set the root password yet, you should just press enter here.

Enter current password for root (enter for none):   //给root管理员设定密码,然后回车
OK, successfully used password, moving on...

Setting the root password or using the unix_socket ensures that nobody
can log into the MariaDB root user without the proper authorisation.

You already have your root account protected, so you can safely answer 'n'.

Switch to unix_socket authentication [Y/n] n
 ... skipping.

You already have your root account protected, so you can safely answer 'n'.

Change the root password? [Y/n] n
 ... skipping.

By default, a MariaDB installation has an anonymous user, allowing anyone
to log into MariaDB without having to have a user account created for
them.  This is intended only for testing, and to make the installation
go a bit smoother.  You should remove them before moving into a
production environment.

Remove anonymous users? [Y/n] y
 ... Success!

Normally, root should only be allowed to connect from 'localhost'.  This
ensures that someone cannot guess at the root password from the network.

Disallow root login remotely? [Y/n] n
 ... skipping.

By default, MariaDB comes with a database named 'test' that anyone can
access.  This is also intended only for testing, and should be removed
before moving into a production environment.

Remove test database and access to it? [Y/n] n
 ... skipping.

Reloading the privilege tables will ensure that all changes made so far
will take effect immediately.

Reload privilege tables now? [Y/n] y
 ... Success!

Cleaning up...

All done!  If you've completed all of the above steps, your MariaDB
installation should now be secure.

Thanks for using MariaDB!
六、注意事项
安装完MariaDB后,即使设置了密码,在终端root任然可以无密码登录,去修改mysql.user表的内容也不行。
后来找到原因,现在大概是说:mysql.user 表目前已不起作用了,真正的表是 mysql.global_priv 表,查询后我们发现root用户是unix_socker类型,这就解释了为啥总能直接登陆的问题。
select * from global_priv \G查询 ,root用户默认是unix_socker类型
而解决方法很简单,只要输入如下命令即可[亲测有效]
ALTER USER root@localhost IDENTIFIED VIA mysql_native_password USING PASSWORD("your_root_pass")
或者采用官方的处理方案【有时候不太灵,不知道是否是我安全加固时的选项问题】:
https://mariadb.com/kb/en/authentication-plugin-unix-socket/
[mariadb]
...
unix_socket=OFF

或者
[mariadb]
...
disable_unix_socket
你关注的人都在努力变的更好,你还在等什么呢。

 浙公网安备 33010602011771号