Zabbix5.0服务端部署
基础环境配置
[root@localhost ~]# systemctl disable --now firewalld
Removed symlink /etc/systemd/system/multi-user.target.wants/firewalld.service.
Removed symlink /etc/systemd/system/dbus-org.fedoraproject.FirewallD1.service.
[root@localhost ~]# sed -ri "/^SELINUX=/cSELINUX=disabled" /etc/selinux/config
[root@localhost ~]# setenforce 0
数据库安装
[root@localhost ~]# yum install -y mariadb-server mariadb
[root@localhost ~]# systemctl enable --now mariadb
Created symlink from /etc/systemd/system/multi-user.target.wants/mariadb.service to /usr/lib/systemd/system/mariadb.service.
[root@localhost ~]# mysql_secure_installation
......
Set root password? [Y/n] y
New password:
Re-enter new password:
Password updated successfully!
Reloading privilege tables..
 ... Success!
......
Remove anonymous users? [Y/n] y
 ... Success!
......
Disallow root login remotely? [Y/n] y
 ... Success!
......
Remove test database and access to it? [Y/n] y
 - Dropping test database...
 ... Success!
 - Removing privileges on test database...
 ... Success!
......
Reload privilege tables now? [Y/n] y
 ... Success!

Cleaning up...

All done!  If you've completed all of the above steps, your MariaDB
installation should now be secure.

Thanks for using MariaDB!


#给zabbix配置用户和数据库
[root@localhost ~]# mysql -uroot -p
Enter password:
Welcome to the MariaDB monitor.  Commands end with ; or \g.
Your MariaDB connection id is 10
Server version: 5.5.68-MariaDB MariaDB Server

Copyright (c) 2000, 2018, Oracle, MariaDB Corporation Ab and others.

Type 'help;' or '\h' for help. Type '\c' to clear the current input statement.

MariaDB [(none)]> create user zabbix@localhost identified by "123456";
Query OK, 0 rows affected (0.00 sec)

MariaDB [(none)]> create database zabbix character set utf8 collate utf8_bin;
Query OK, 1 row affected (0.00 sec)

MariaDB [(none)]> grant all privileges on zabbix.* to zabbix@localhost;
Query OK, 0 rows affected (0.00 sec)

MariaDB [(none)]> flush privileges;
Query OK, 0 rows affected (0.00 sec)

MariaDB [(none)]> \q
Bye
安装Zabbix 5.0监控平台
- 安装Zabbix Yum源仓库
[root@localhost ~]# wget https://mirrors.aliyun.com/zabbix/zabbix/5.0/rhel/7/x86_64/zabbix-release-5.0-1.el7.noarch.rpm
[root@localhost ~]# rpm -ivh zabbix-release-5.0-1.el7.noarch.rpm
[root@localhost ~]# yum clean all
- 安装Zabbix Server 与 Zabbix agent
#先安装mysql,再执行安装以下步骤,不然可能会导致自动依赖安装了mariadb-lib
[root@localhost ~]# yum -y install zabbix-server-mysql zabbix-agent
- 安装Zabbix frontend
[root@localhost ~]# vim /etc/yum.repos.d/zabbix.repo
......
[zabbix-frontend]
name=Zabbix Official Repository frontend - $basearch
baseurl=http://repo.zabbix.com/zabbix/5.0/rhel/7/$basearch/frontend
enabled=1     #将0修改为1,启用frontend
gpgcheck=1
gpgkey=file:///etc/pki/rpm-gpg/RPM-GPG-KEY-ZABBIX-A14FE591
......

[root@localhost ~]# yum -y install centos-release-scl
- 安装Zabbix前端包(web界面配置zabbix,可以安装apache/nginx)
[root@localhost ~]# yum -y install zabbix-web-mysql-scl zabbix-apache-conf-scl
或者
[root@localhost ~]# yum -y install zabbix-web-mysql-scl zabbix-nginx-conf-scl
- 导入Zabbix数据库结构和数据
[root@localhost ~]# zcat /usr/share/doc/zabbix-server-mysql-5.0.8/create.sql.gz | mysql -uzabbix -p123456 zabbix
- 修改配置Zabbix server
[root@localhost ~]# vim /etc/zabbix/zabbix_server.conf
......
DBUser=zabbix
......
DBPassword= 123456
......
- 修改时区
[root@localhost ~]# vim /etc/opt/rh/rh-php72/php-fpm.d/zabbix.conf
.......
php_value[date.timezone] = Asia/Shanghai      #将时区修改为Asia/Shanghai


#如果前面使用的 nginx 服务,再在该配置文件中添加 nginx 用户
.......
listen.acl_users = apache,nginx
.......
- 开启服务
[root@localhost ~]# systemctl start zabbix-server zabbix-agent  httpd rh-php72-php-fpm
[root@localhost ~]# systemctl enable zabbix-server zabbix-agent  httpd rh-php72-php-fpm


#如果使用的是 nginx 服务,使用下面的命令开启服务
[root@localhost ~]# systemctl restart zabbix-server zabbix-agent rh-nginx116-nginx rh-php72-php-fpm
[root@localhost ~]# systemctl restart zabbix-server zabbix-agent rh-nginx116-nginx rh-php72-php-fpm
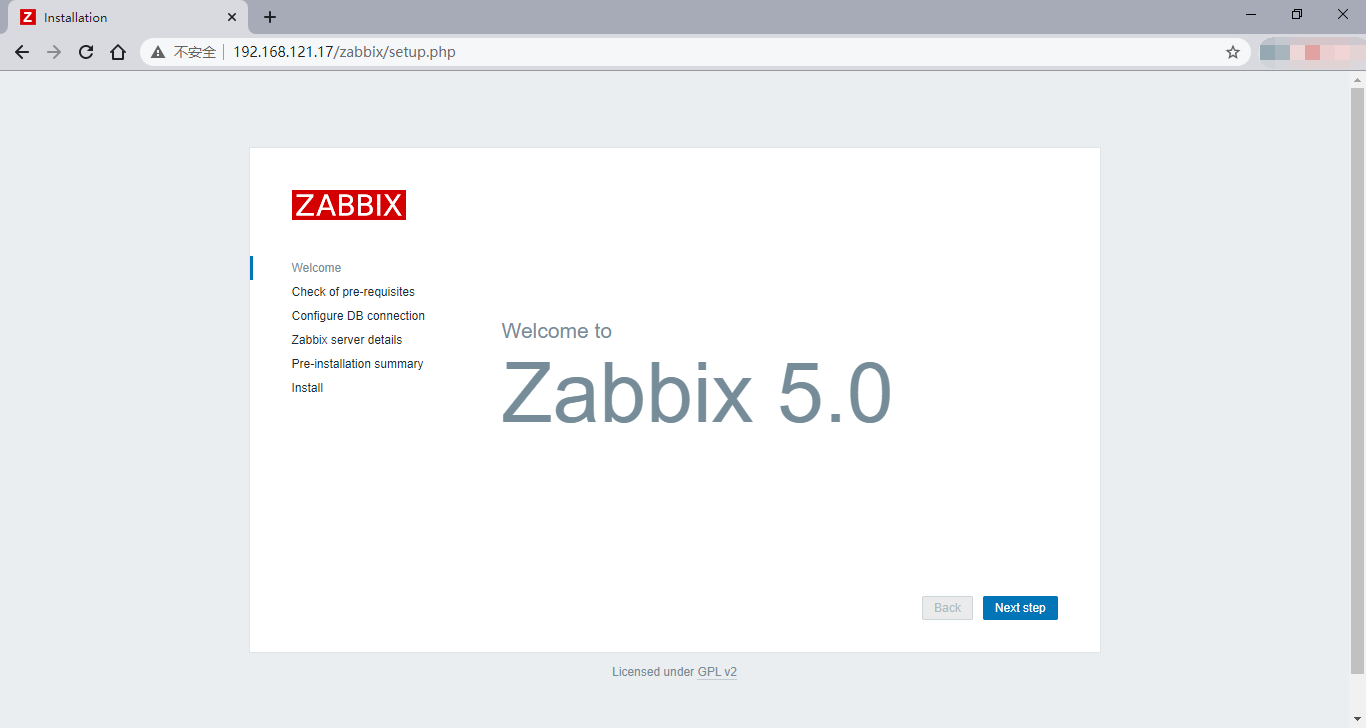
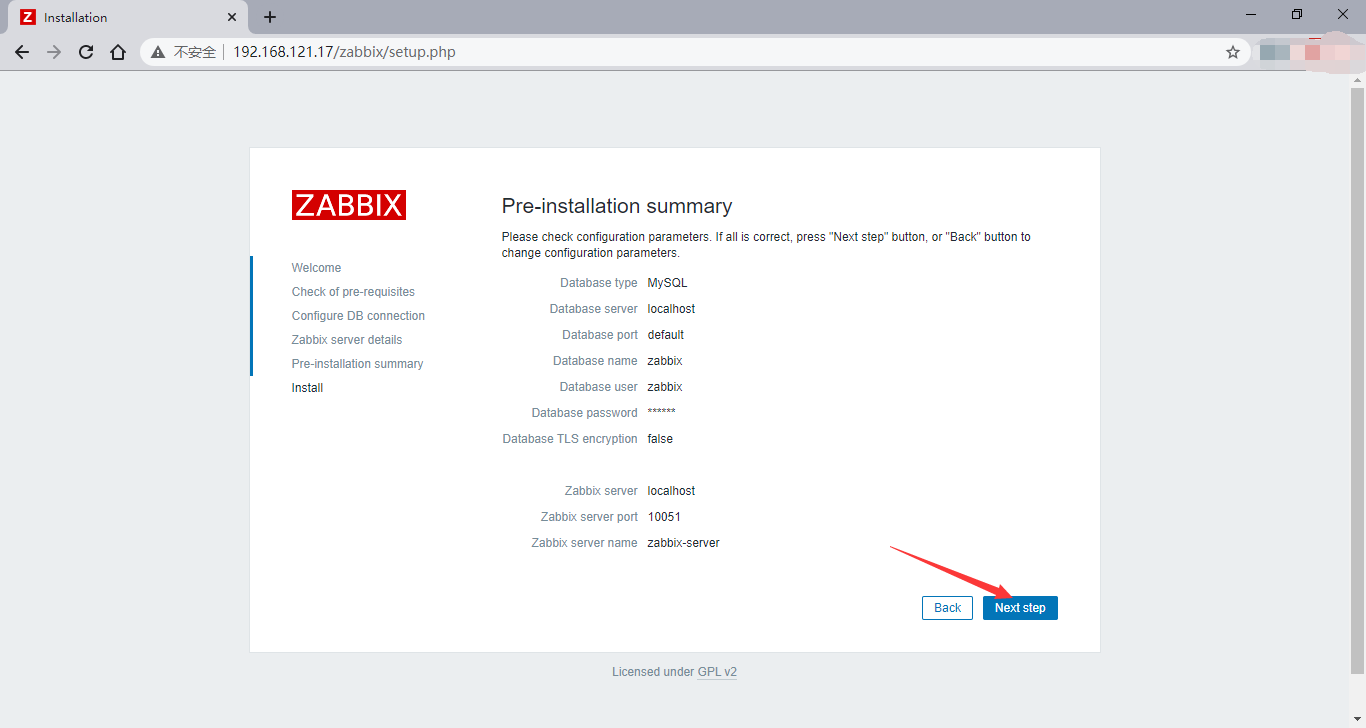
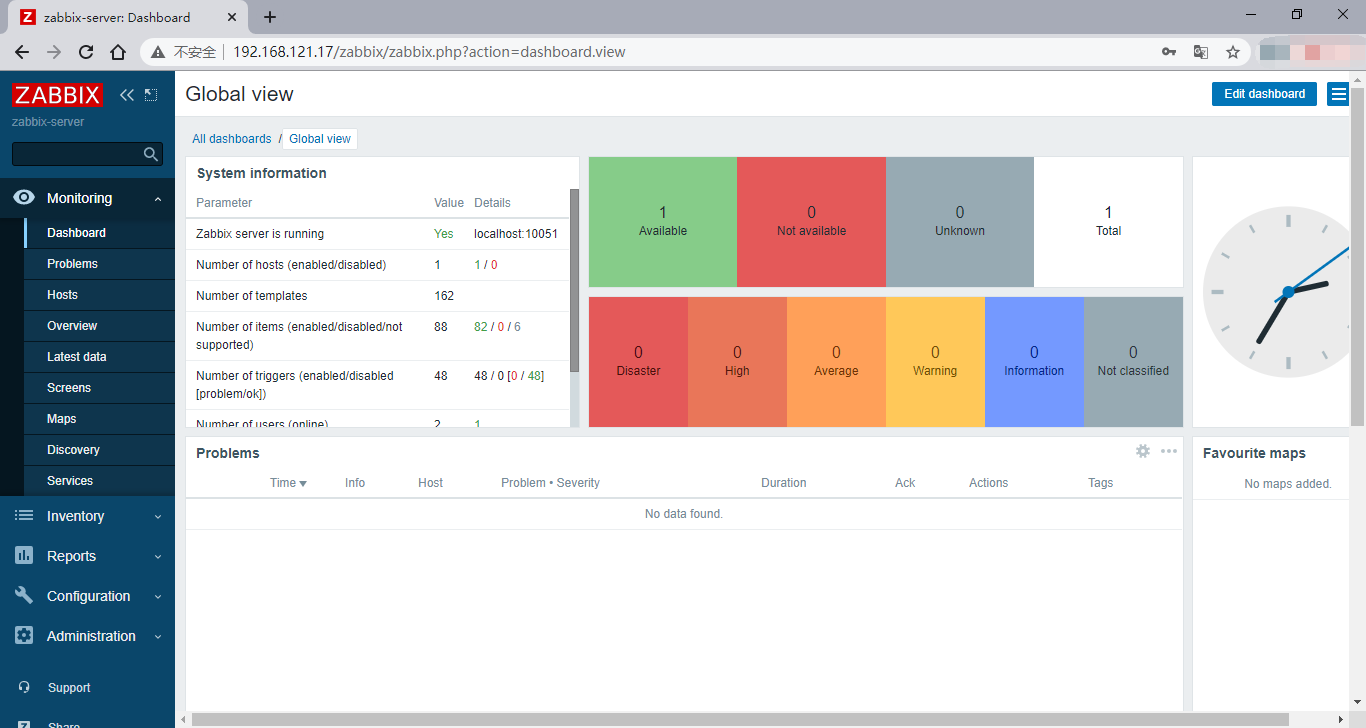
浏览器访问


 浙公网安备 33010602011771号