

day27 SPA路由实现及SASS讲解
路由分为前端路由和后端路由
前端路由 :
根据对应的路由地址来渲染不同的内容
前端的分类 :
页面路由 ( 一定会刷新)
-
是根据对应的地址访问不同的页面 (location.href , location.assign , location.replace)
hash路由 ( 不会刷新 )
-
是根据对应的hash地址来渲染不同的内容
-
location.hash可以获取对应的hash值 , 通过onhashchange事件来进行监听
history路由 ( 不会刷新 , 地址会改变 )
-
根据对应histrory页面的地址来渲染不同的内容 ( onpopstate事件来监听 )
-
通过replaceState和pushState来改变state值和页面的地址
-
通过history.back , history.go , history.forward 来触发onpopstate事件
后端路由 :
根据对应的路由地址访问对应的接口
SPA
是单页应用程序 ( single page application ),简单来说就是整个应用只有一个页面 , 那么页面调整就没有意义了也不需要刷新页面 , 所以SPA的路由实现主要是hash模式和history模式 。在vue和react中,SAP的应用主要采用的模式是hash和history,默认是hash模式,hash的监听能直接触发,而history的监听不能直接触发
Vue中的SPA路由

<!DOCTYPE html>
<html lang="en">
<head>
    <meta charset="UTF-8">
    <meta http-equiv="X-UA-Compatible" content="IE=edge">
    <meta name="viewport" content="width=device-width, initial-scale=1.0">
    <title>Document</title>
    <script src="./lib/vue.min.js"></script>
    <script src="./lib/vue-router.js"></script>
</head>
<body>
    <div class="box">
        <!-- router-link会解析成a标签 -->
        <router-link to="/">去首页</router-link>
        <router-link to="/user">去用户页</router-link>
        <!-- 路由视图,显示的试图,router-view是解析成你需要渲染的内容 -->
        <router-view></router-view>
    </div>
    <script>
        //渲染的内容
        let home = Vue.component('home', {
            template: '<div>首页</div>'
        })
        // 渲染的内容
        let user = Vue.component('user', {
            template: '<div>用户页</div>'
        })
        // 路由对象
        let router = new VueRouter({
            // 路由配置:router是名词(配置对象),route是动词(路由配置),routes也是动词(多个路由配置)
            routes: [
                {
                    name: 'home',//名字
                    path: '/',//路径
                    component: home //需渲染的内容
                }, {
                    name: 'user',
                    path: '/user',
                    component: user
                }
            ]
        })
        new Vue({
            el: '.box',
            //传入路由配置router
            router
        })
    </script>
</body>
</html>
hash模式路由实现
根据hash值的变化来渲染内容(使用onhashchange事件)
class VueRouter {
    constructor(option) {
        //获取传入的配置
        this.routes = option['routes']
        this.handlerLoad()
    }
    //处理hash改变的监听 需要渲染的元素
    obServer(element) {
        this.el = element
        window.onhashchange = () => {
            this.render()
        }
    }
    render() {
        let _this = this
        //获取当前hash值 去除#
        let hash = location.hash.slice(1)
        //当前hash值和this.routes比较,相同就渲染
        this.routes.forEach(route => {
            if (hash == route.path) {
                _this.el.querySelector('router-view').innerHTML = route.component.template
            }
        });
    }
    //a标签变化
    handlerLink() {
        let _this = this
        //获取所有的router-link
        let linkList = this.el.querySelectorAll('router-link')
        Array.from(linkList).forEach(link => {
            //找到对应的to属性
            let path = link.getAttribute('to')
            //创建a标签 将他的to地址赋值href属性
            let a = document.createElement('a')
            a.href = "#" + path
            a.innerHTML = link.innerHTML
            _this.el.replaceChild(a, link)
        })
    }
    //在打开的时候前面自动+#/
    handlerLoad() {
        window.onload = () => {
            location.hash = '/'
        }
    }
}
class Vue {
    constructor(option) {
        this.el = document.querySelector(option.el)
        this.router = option.router
        this.router.obServer(this.el)
        //第一次渲染
        this.router.render()
        this.router.handlerLink()
    }
}
history模式
核心点就是使用onpopstate事件监听path路径的变化来进行渲染(location.pathname)
class VueRouter {
    constructor(option) {
        this.routes = option['routes']
    }
    //监听path的变化
    obServer(element) {
        this.el = element
        window.onpopstate = () => {
            //渲染(传个路径)
            this.render(location.pathname)
        }
    }
    //渲染的方法
    render(path) {
        let self = this
        console.log(this.routes);
        //遍历路由配置并判断路径是否相同,相同就渲染到页面上
        this.routes.forEach((route) => {
            if (path == route.path) {
                self.el.querySelector('router-view').innerHTML = route.component.template
            }
        })
    }
    //浏览器加载就替换 replaceState是替换url地址
    handlerLoad() {
        window.onload = () => {
            history.replaceState('', '', './')
        }
    }
    handlerLink() {
        let self = this
        let list = []
        //获取页面上的router-link并通过遍历给每个标签添加a标签和 href属性
        let linkList = this.el.querySelectorAll('router-link')
        Array.from(linkList).forEach((link) => {
            let path = link.getAttribute('to')
            let a = document.createElement('a')
            a.href = path
            //
            a.innerHTML = link.innerHTML
            self.el.replaceChild(a, link)
            list.push(a)
        })
        list.forEach((a) => {
            //给所有的a设置点击事件并禁止默认跳转行为
            a.addEventListener('click', function (e) {
                e = e || window.event
                e.preventDefault()
                history.pushState('', '', a.href)
                //渲染
                self.render(location.pathname)
            })
        })
    }
}

class Vue {
    constructor(option) {
        this.el = document.querySelector(option.el)
        this.router = option.router
        this.router.obServer(this.el)
        // this.router.render('/')
        this.router.handlerLoad()
        this.router.handlerLink()
    }
}
Sass
概述 :
sass是一个预编译的css , 核心是css ( css语法它都支持 ) , 然后它最终还是会编译成css , 它是使用ruby语言书写的 , 后续使用的是ptython 所以sass必须具备Python环境
好处在于可以以js的方式来书写css样式 ( 有跟js原生一样的语法 )
跟他同类的预编译css的 还有less , 以及stylus 等
它和less是一类产品 , 但是两种的书写语言不一样
使用方式
-
使用node来进行sass的编译
npm i sass -D (安装)
sass文件名 编译后的sass文件名
-
使用第三方插件来进行编译
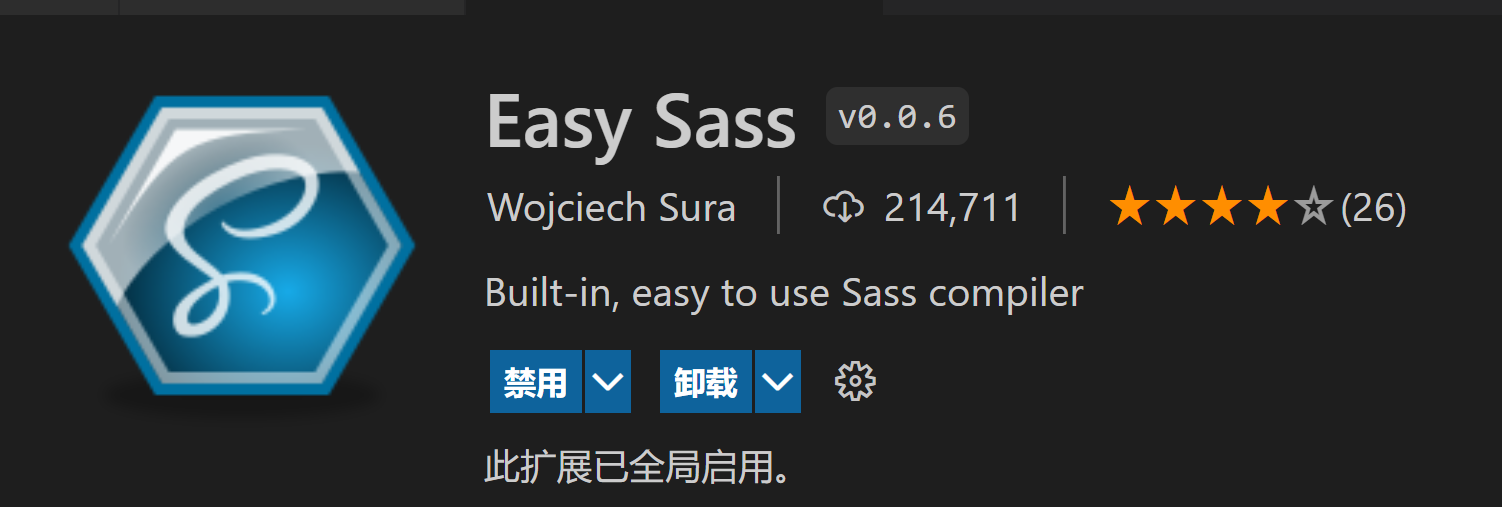
vscode的第三方插件 easy sass , sass , live sass
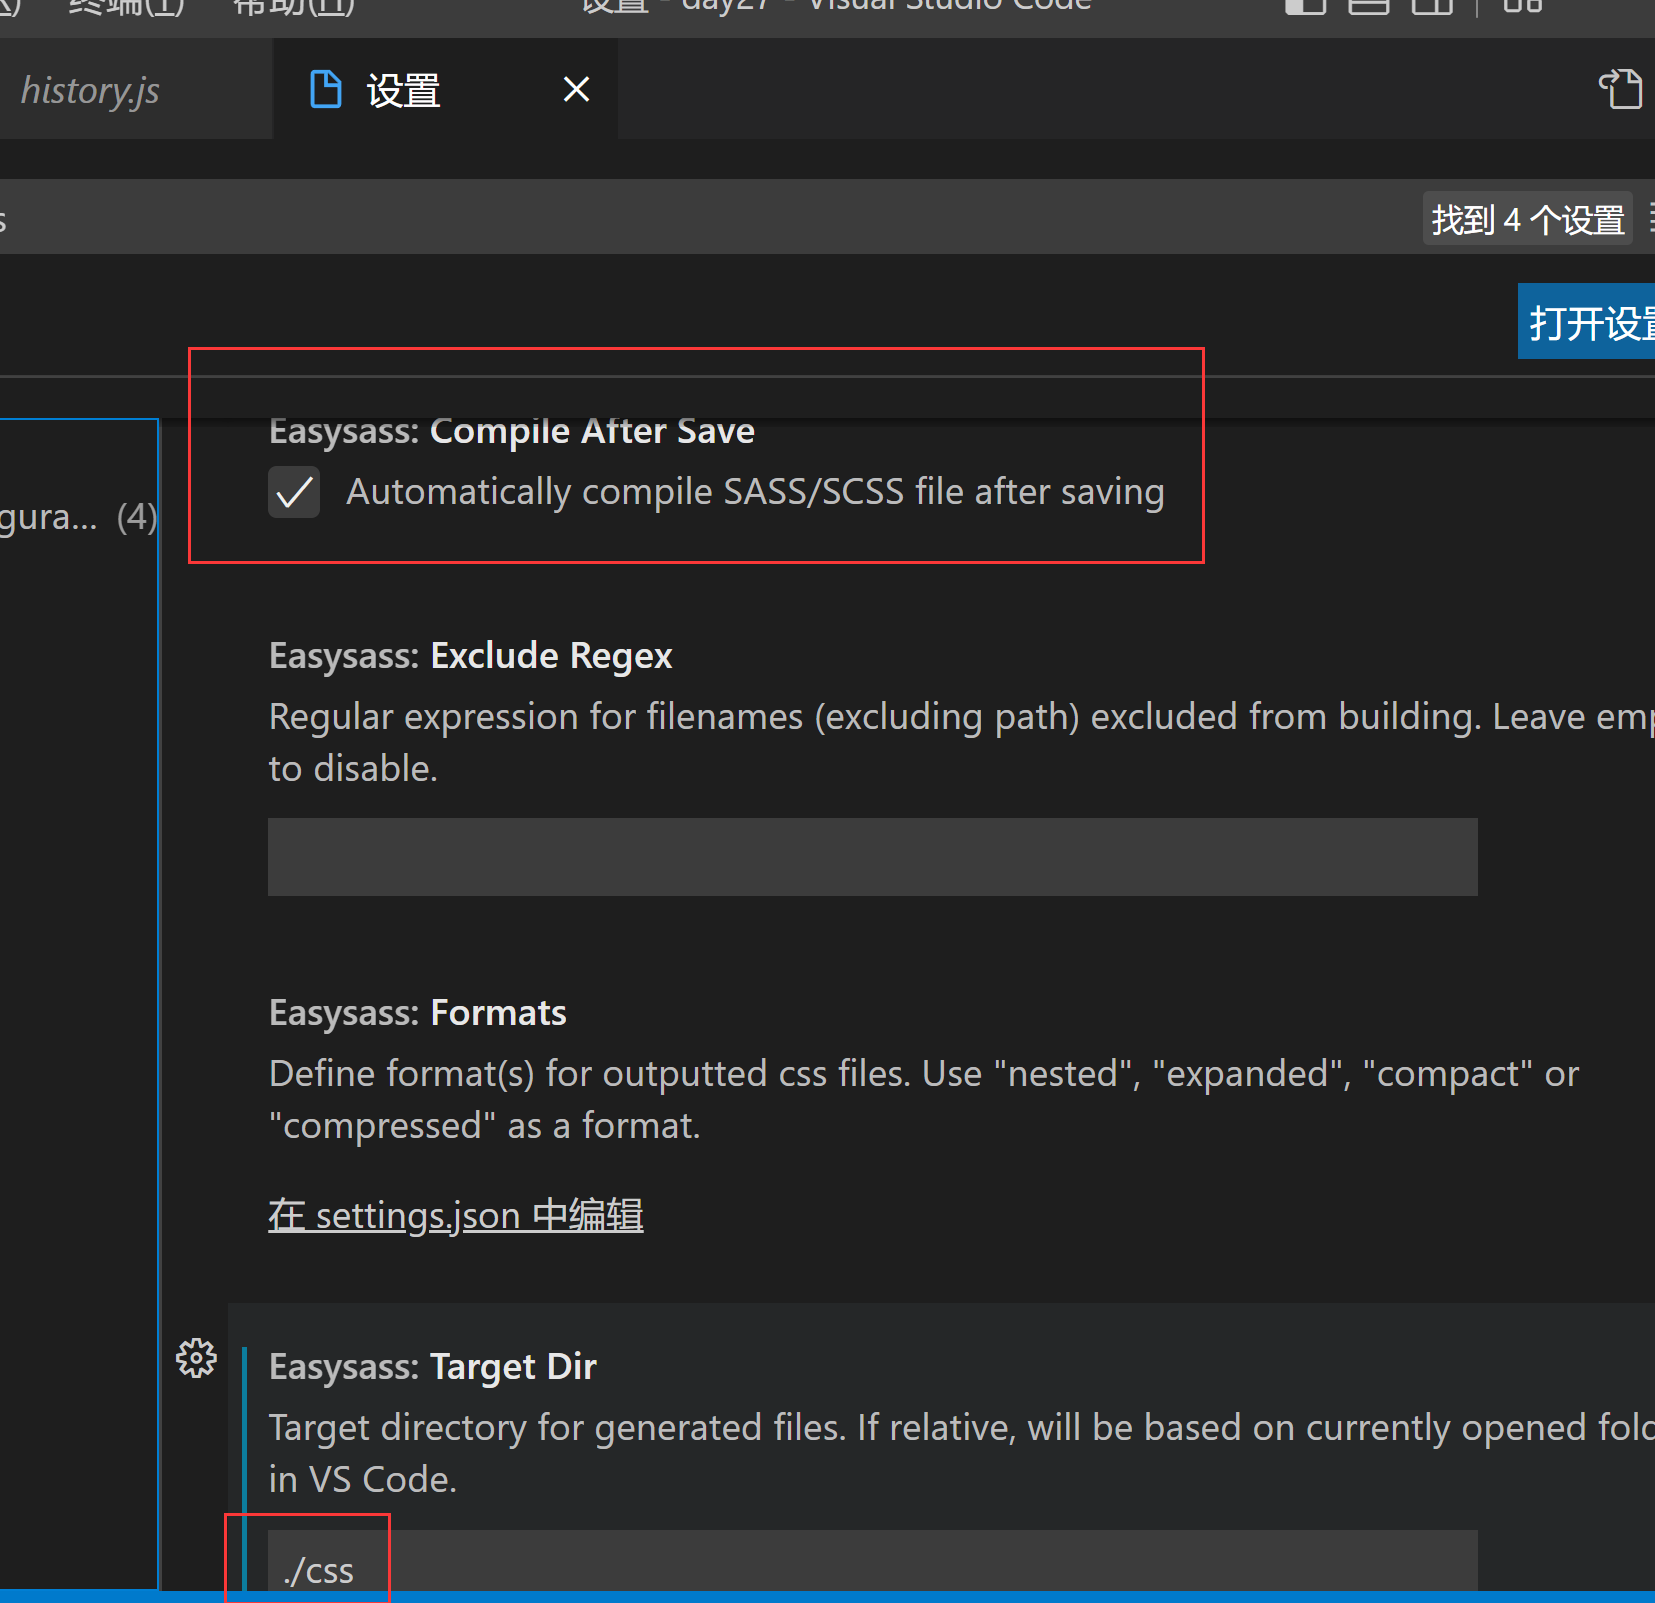
easy sass的扩展配置
sass的两种扩展名
-
.sass 以缩进作为区分 ( 里面是没有 ; 和{} )
div
    color:red
    p
        font-size:14px
- .scss 跟正常的css一样
div{
    background-color:red;
}
sass的相关应用
- 变量定义 ( $变量名 : 值 )
$color:red;
$font-size:14px;
div{
    color:$color
        p{
            font-size:$font-size
    }
}
编译
div{
    color:red;
}
p{
    font-size:14px
}
- 支持运算符 ( + - * / % ) *
$size:12px;
p{
    font-size:$size%100;
    width:$size*10-100;
    height:$size+100
}
编译
p{
    font-size:12px;
    width:20px;
    height:112px
}
- 样式关系
span,img{
    padding:10px;
}
.box{
    background-color:red;
    img{
        width:100px;
        h1{
            height:100px
        }
    }
}
#content{
    color:yellow;
    &:hover{
        color:green;
    }
}
.box{
    font-size:12px;
    &:hover{
        font-size:18px
    }
}
编译
span{
    padding:10px;
}
img{
    padding:10px;
}
.box{
    background-color:red;
}
.box img{
    width:100px;
}
.box img h1{
    height:100px;
}
#content{
    color:yellow;
}
#content:hover{
    color:green;
}
#content .box{
    font-size:12px;
}
#content .box:hover{
    font-size:18px;
}
- 插值表达式
#{变量名}:获取对应的变量值
- if判断
$number:10;
.item{
    @if $number>=10{
        color:hotpink;
    }@else{
        color:green;
    }
}
编译
.item{
    color:hotpink;
}
- for循环 ( while循环 )
@for $i from 0 to 3{
    .item_#{$i}{
        size:$i
    }
}
编译
.item_0 {
  size: 0;
}

.item_1 {
  size: 1;
}

.item_2 {
  size: 2;
}
- each (forEach遍历)
$list:1,2,3,4; //声明数组
@each $item in $list{
    .item_list_#{$item}{
        width:$item;
    }
}
编译
.item_list_1 {
  width: 1;
}

.item_list_2 {
  width: 2;
}

.item_list_3 {
  width: 3;
}

.item_list_4 {
  width: 4;
}
- 函数
@function f($arg:20px){
    @return $arg+10
}
div{
    height:f(10px);
    width:f()
}
编译
div{
    height:20px;
    width:30px;
}
- 混入器
@mixin a{
    background:red;
}
@mixin border($size,$style,$color){
    border:$size $style $color
}
@mixin shadow($offsetleft:10px,$offsettop:20px,$width:30px,$color:green){
    box-shadow:$offsetleft $offsettop $width $color;
}
div{
    font-size:18px;
    @include a();
    @include border(1px,solid,red);
    @include shadow()
}
编译
div{
    font-size:18px;
    background:red;
    border:1px,solid,red;
    box-shadow:10px,20px,30px,green
}
- 导入 (模块化思想)*
@import './test.scss';
div{
    @include shadow
}


【推荐】国内首个AI IDE,深度理解中文开发场景,立即下载体验Trae
【推荐】编程新体验,更懂你的AI,立即体验豆包MarsCode编程助手
【推荐】抖音旗下AI助手豆包,你的智能百科全书,全免费不限次数
【推荐】轻量又高性能的 SSH 工具 IShell:AI 加持,快人一步
· TypeScript + Deepseek 打造卜卦网站:技术与玄学的结合
· 阿里巴巴 QwQ-32B真的超越了 DeepSeek R-1吗?
· 【译】Visual Studio 中新的强大生产力特性
· 10年+ .NET Coder 心语 ── 封装的思维:从隐藏、稳定开始理解其本质意义
· 【设计模式】告别冗长if-else语句:使用策略模式优化代码结构