
离线安装 docker & docker-compose
安装包下载
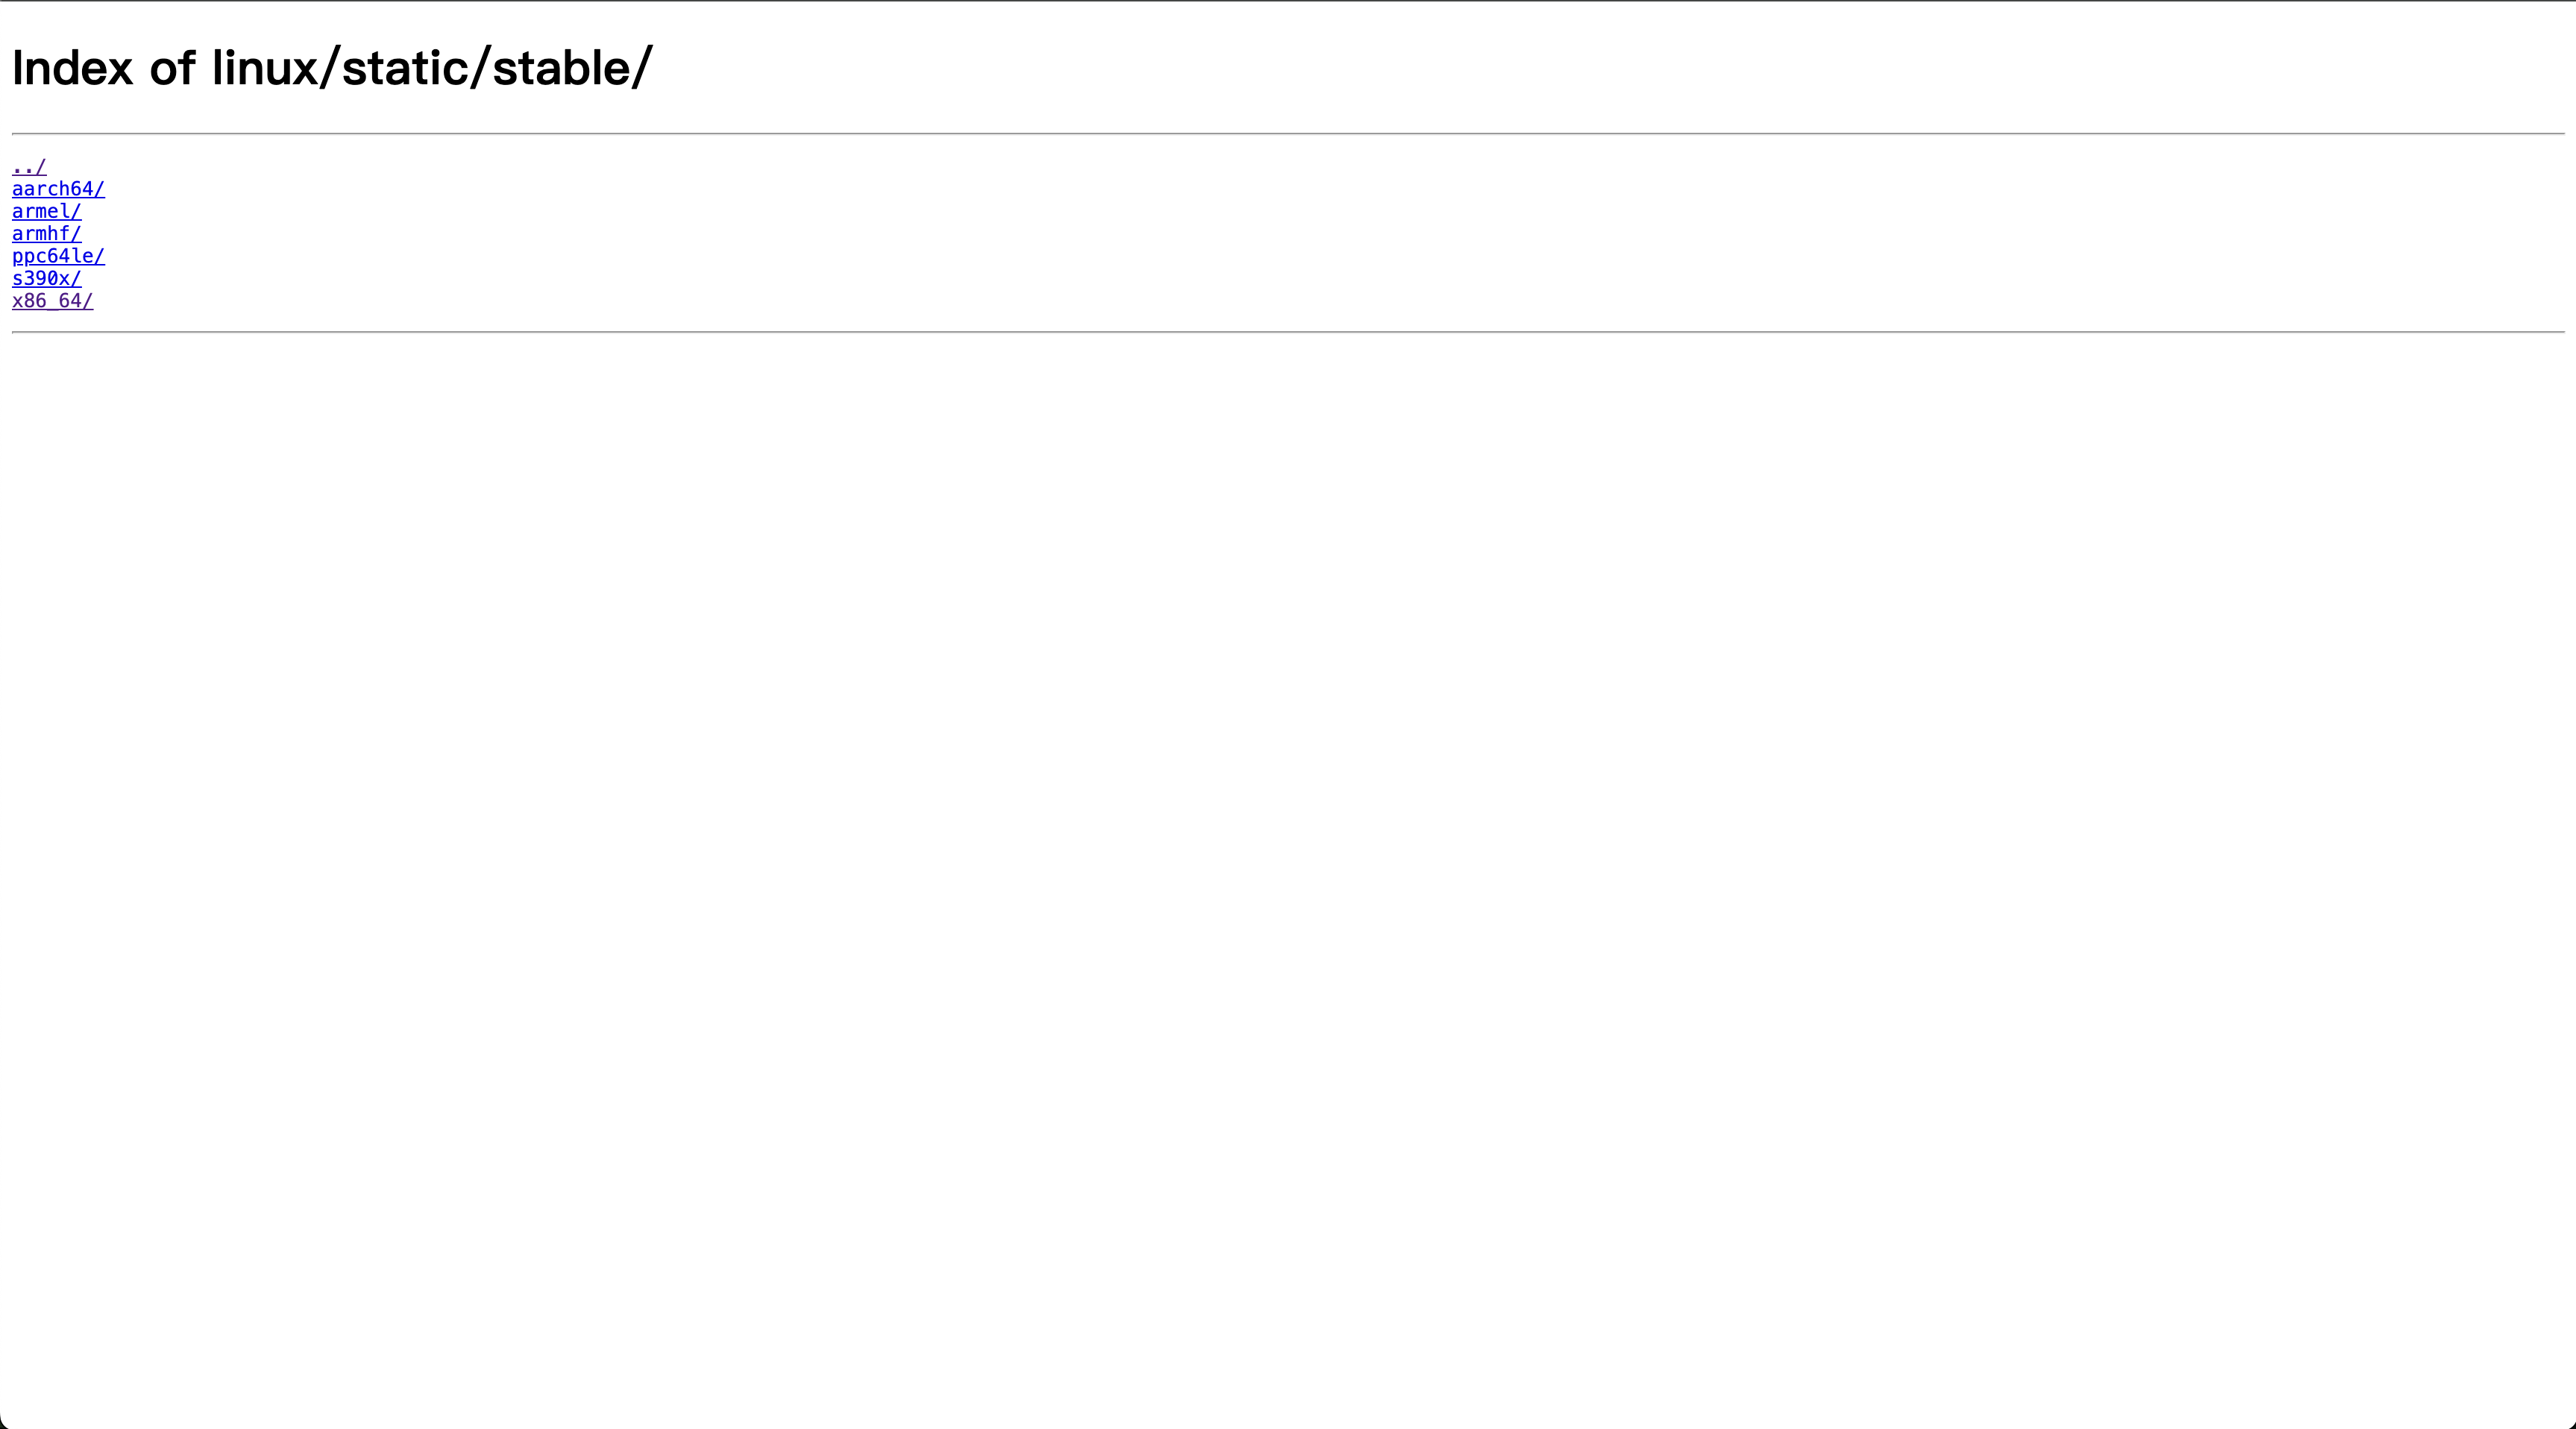
docker下载
- 点击上方链接进入到下载页面,选择需要部署服务器的CPU结构如:x86_64、aarch64或者其他(图一)
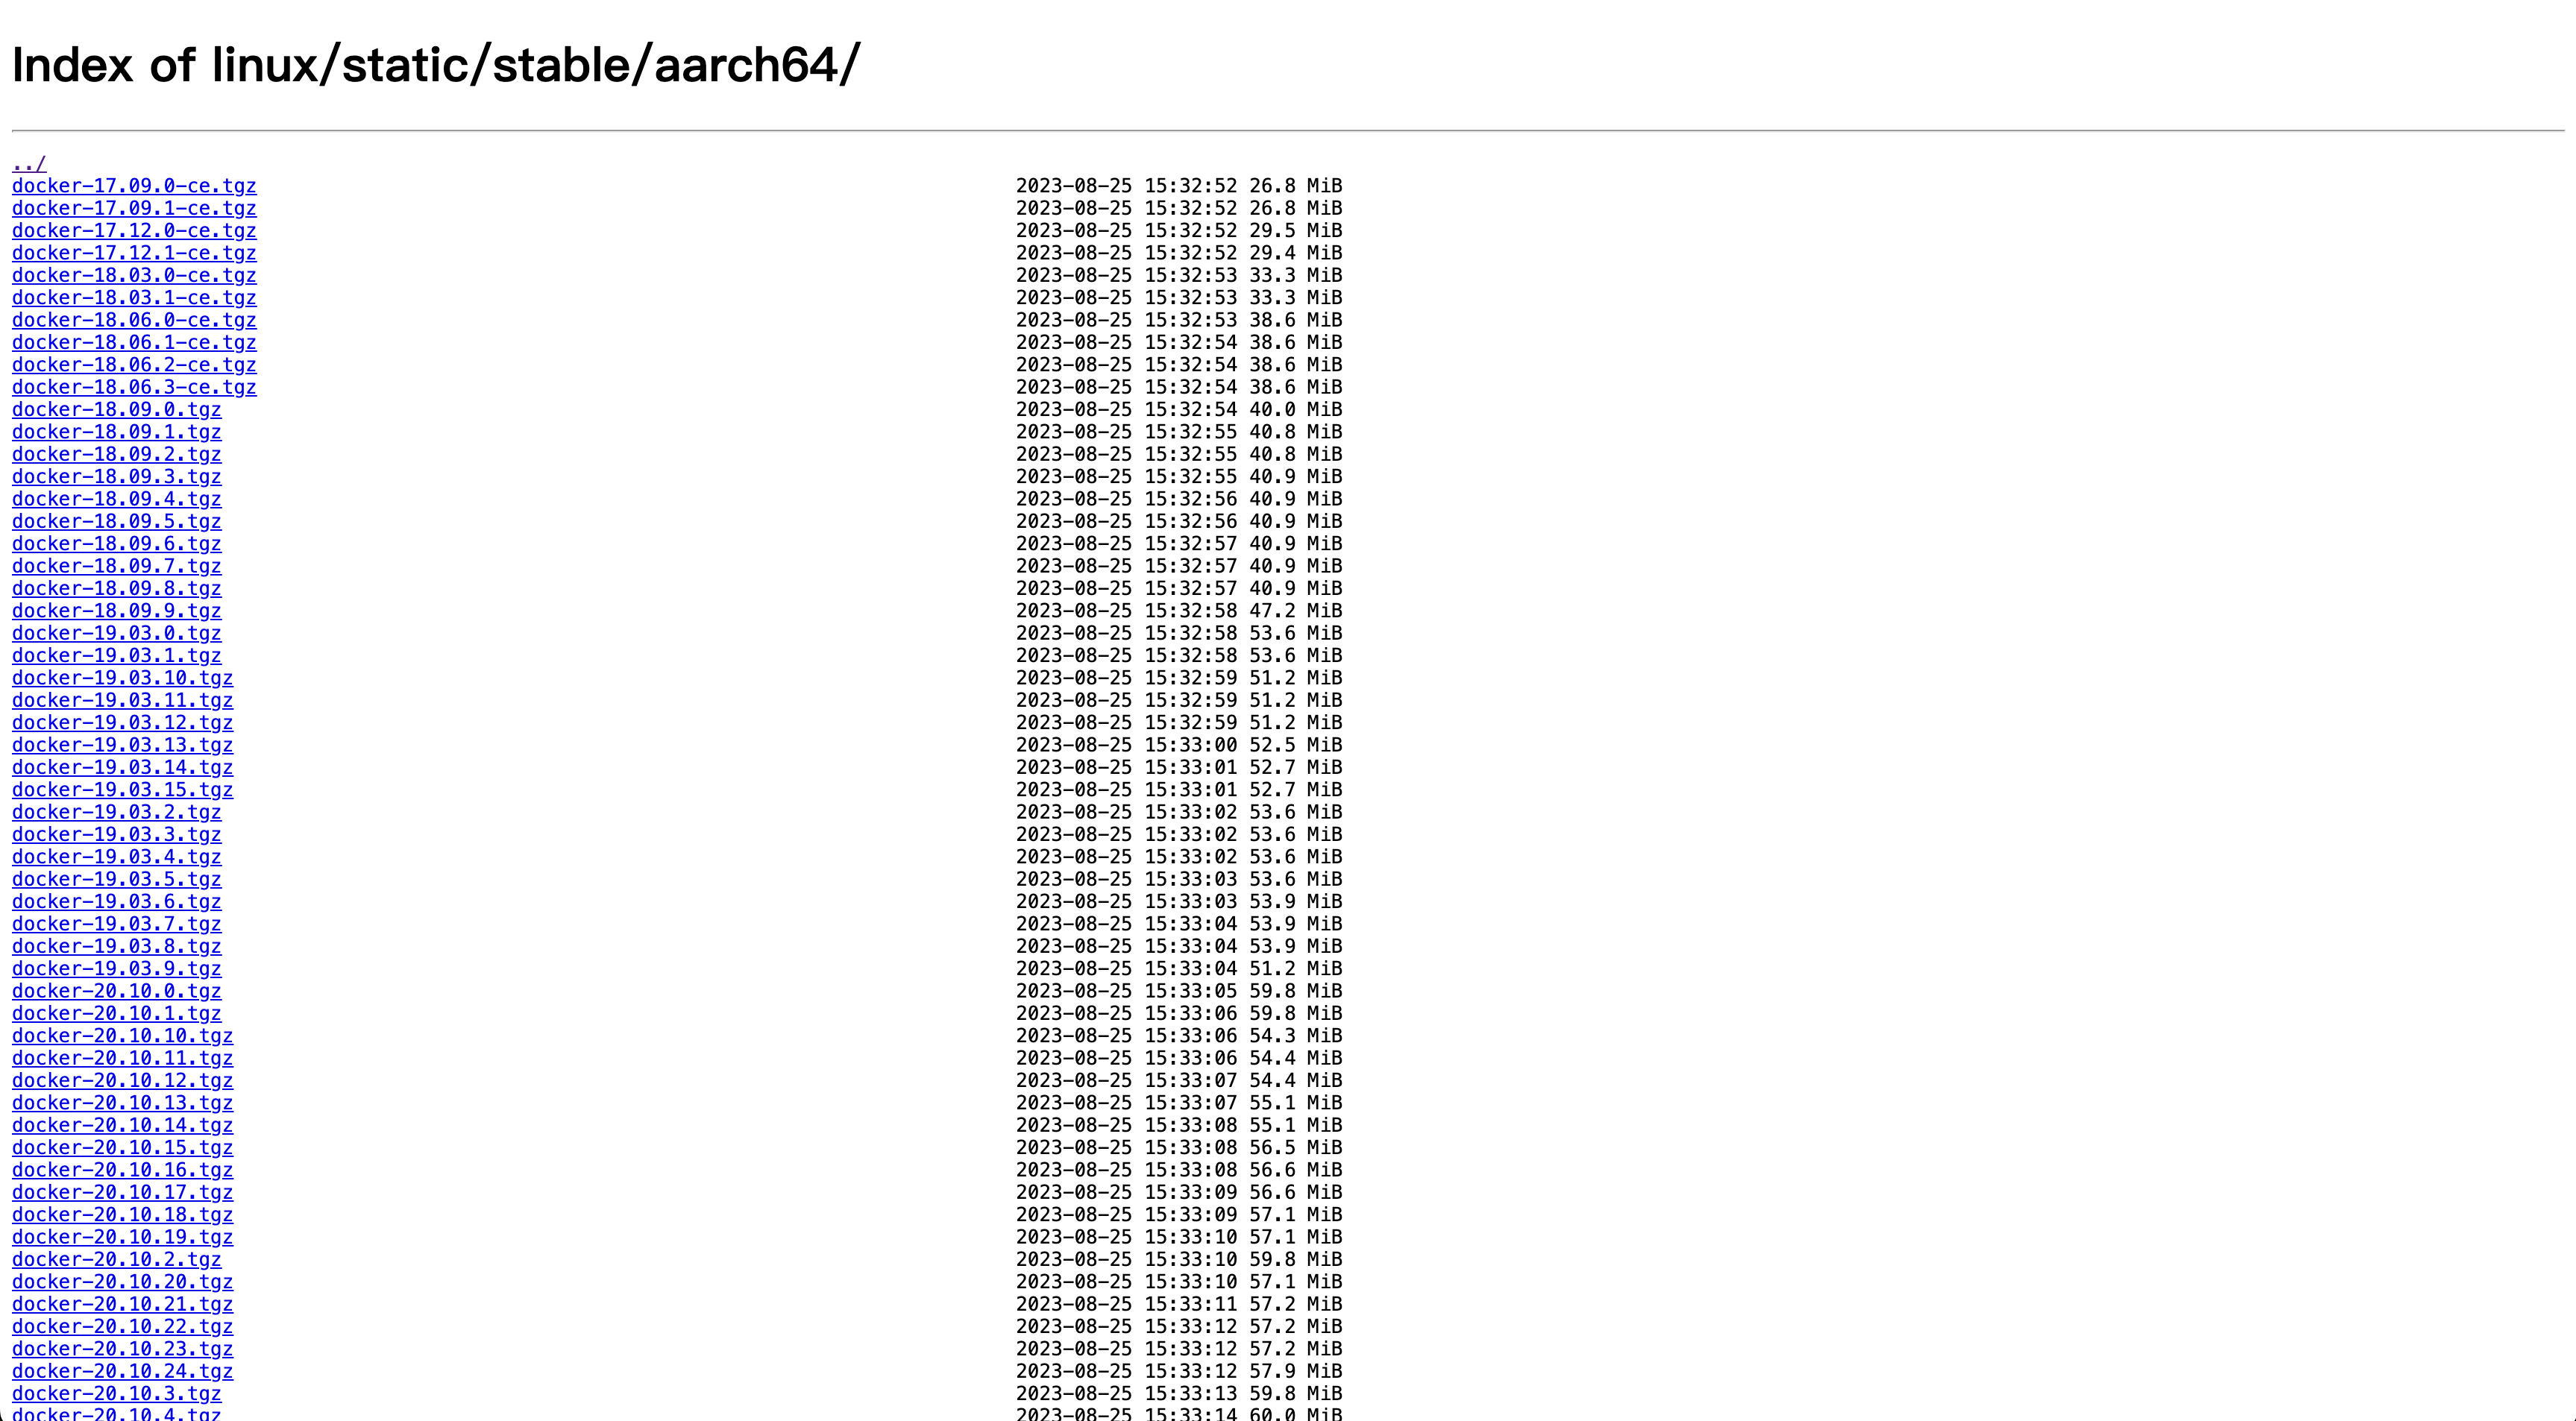
- 选择需要的版本(图二)
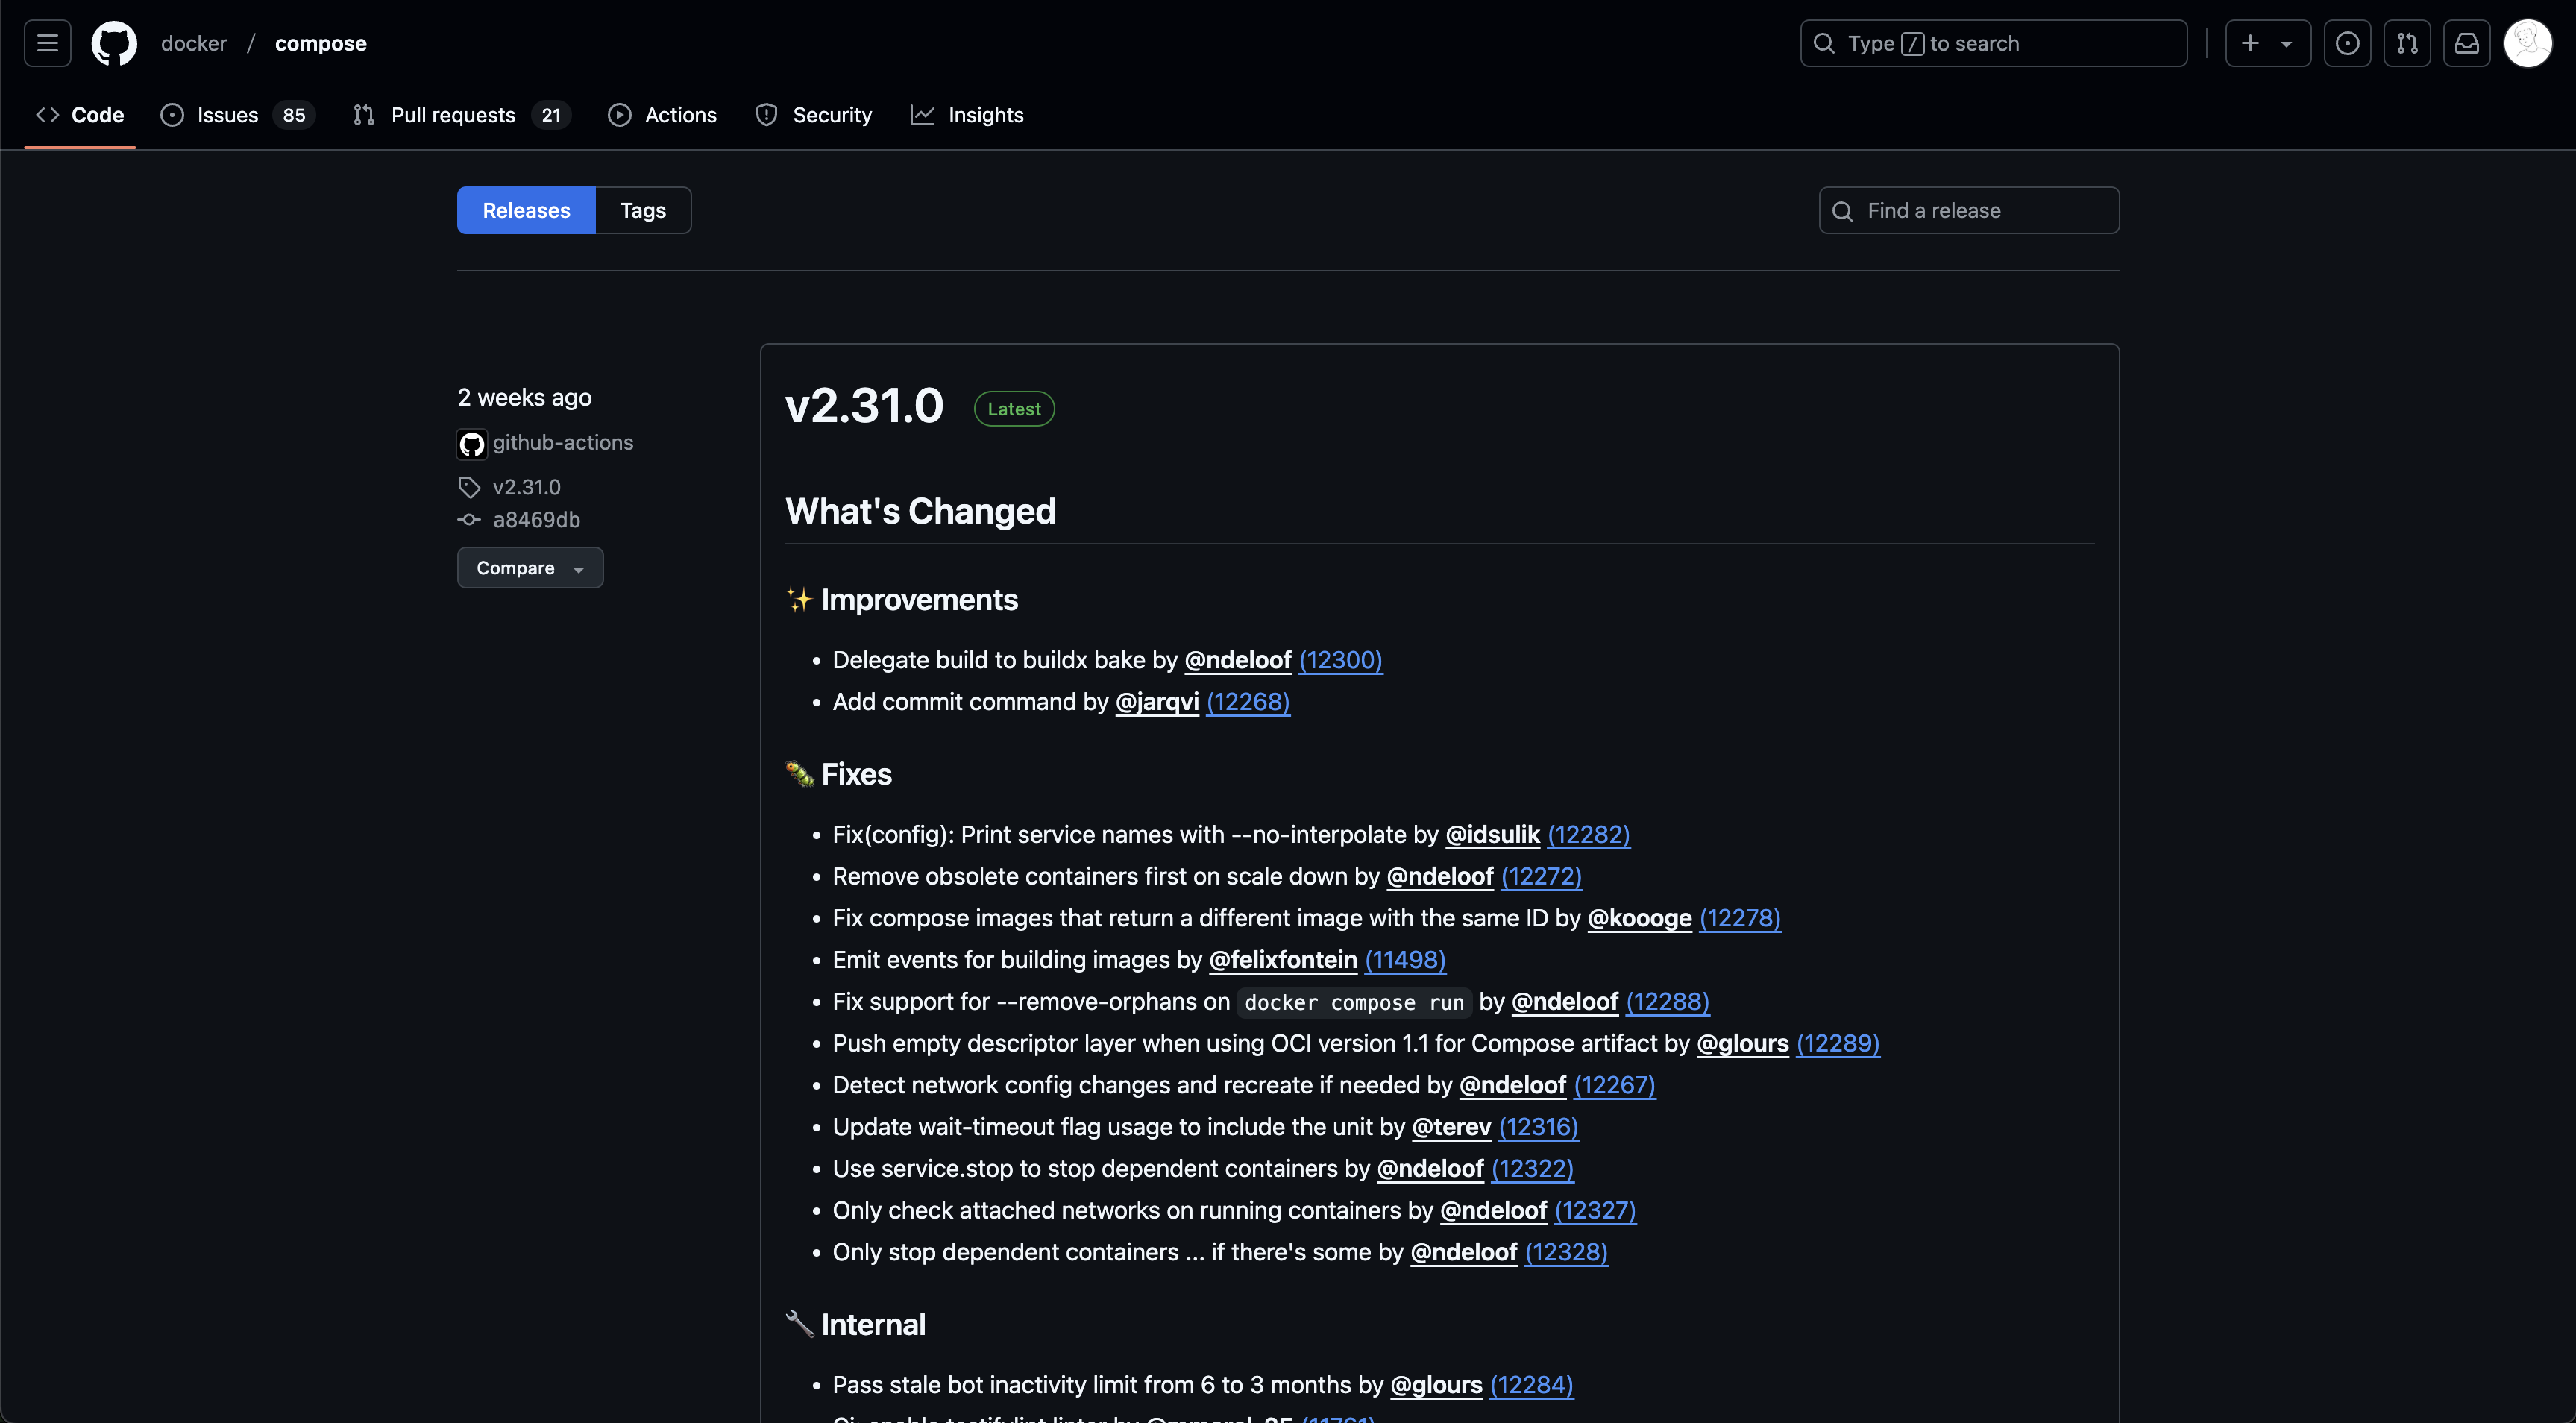
docker-compose下载
- 点击上方链接进入到docker-compose的releases页面
- 选择对应docker版本的docker-compose
- releases说明里有对应的docker版本号,会写当前compose是用哪一个版本的docker测试的,不行就都下最新版
开始安装
-
将包上传到服务器上任意目录
- 例如:/opt/package,(没有请创建)
-
创建一个
docker.service文件touch docker.service -
复制以下内容到
docker.service内,并修改--data-root="/{your-path}/docker",指定docker生成目录(路径后的docker目录需手动创建)[Unit] Description=Docker Application Container Engine Documentation=https://docs.docker.com After=network-online.target firewalld.service Wants=network-online.target [Service] Type=notify ExecStart=/usr/bin/dockerd --default-ulimit nofile=65535:65535 --data-root="/{your-path}/docker" ExecReload=/bin/kill -s HUP $MAINPID LimitNOFILE=infinity LimitNPROC=infinity TimeoutStartSec=0 Delegate=yes KillMode=process Restart=on-failure StartLimitBurst=3 StartLimitInterval=60s [Install] WantedBy=multi-user.target -
移动
docker.service到 /usr/lib/systemd/system/ 目录下,将docker作为系统进程进行管理mv docker.service /usr/lib/systemd/system/ -
将下载好的
docker-compse文件赋予可执行权限、改名、并移动到/usr/bin目录下# 赋予可执行权限 chmod +x docker-compose-linux-XXXX # 更名为 docker-compose mv docker-compose-linux-XXXX docker-compose # 移动到全局命令目录下 mv docker-compose /usr/bin -
解压
docker包,将解压出来的包移动或复制到/usr/bin 目录下# 解压 tar -zxf docker-XX.XX.XX.tgz # 复制 cp docker/* /usr/bin -
查看docker、docker-compose版本
# 查看docker版本 docker -v # 查看docker-compose版本 docker-compose -v -
执行以下命令:设置自启动、启动服务、查询服务状态
# 设置docker自启动 systemctl enable docker.service # 启动docker服务 systemctl start docker.service # 查询docker状态 systemctl status docker.service -
可以准备一个
hello-world的镜像,当docker安装好后试一下是否安装成功docker run hello-world - 显示以下信息则docker安装成功
Hello from Docker! This message shows that your installation appears to be working correctly. To generate this message, Docker took the following steps: 1. The Docker client contacted the Docker daemon. 2. The Docker daemon pulled the "hello-world" image from the Docker Hub. (arm64v8) 3. The Docker daemon created a new container from that image which runs the executable that produces the output you are currently reading. 4. The Docker daemon streamed that output to the Docker client, which sent it to your terminal. To try something more ambitious, you can run an Ubuntu container with: $ docker run -it ubuntu bash Share images, automate workflows, and more with a free Docker ID: https://hub.docker.com/ For more examples and ideas, visit: https://docs.docker.com/get-started/
本文作者:isOllie
本文链接:https://www.cnblogs.com/isollie/p/18676999
版权声明:本作品采用知识共享署名-非商业性使用-禁止演绎 2.5 中国大陆许可协议进行许可。


【推荐】国内首个AI IDE,深度理解中文开发场景,立即下载体验Trae
【推荐】编程新体验,更懂你的AI,立即体验豆包MarsCode编程助手
【推荐】抖音旗下AI助手豆包,你的智能百科全书,全免费不限次数
【推荐】轻量又高性能的 SSH 工具 IShell:AI 加持,快人一步